
Build Your No-Code Forms in Minutes
Design, automate, and connect forms seamlessly within Salesforce. Capture customer data, approvals, and feedback no code required.
Talk to Our TeamForms are often the first touchpoint between your business and your users, but in Salesforce, building forms shouldn’t feel complex or disconnected. What if creating a form felt as intuitive as dragging fields, applying logic visually, and publishing instantly, without worrying about data security or integrations?
That’s exactly where Forms Made Easy sets a new standard. From patient intake forms, event registrations, partner onboarding, to service requests and consent forms, creating dynamic, data-driven forms is now simple, scalable, and built for real business needs.
In this guide, we explain how to create a form in Salesforce using a Salesforce form builder like Forms Made Easy. You’ll learn how to design dynamic forms, apply conditional logic, and embed or share forms easily—while keeping everything fully Salesforce-native and simple to manage.
Ready to Build? From Idea to Your First Form in Seconds
Let’s build your first Salesforce form with Forms Made Easy: visual, no-code, and ready in minutes.
Step 1: After installing the package, go to the App Launcher and search for Forms Made Easy.
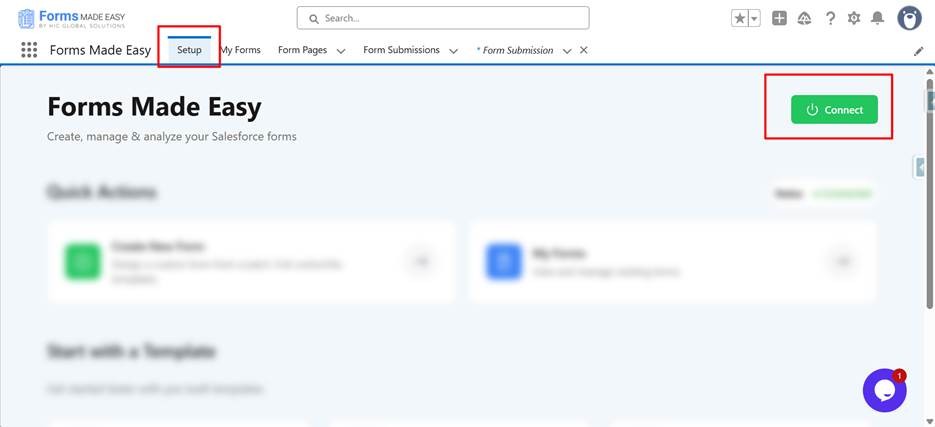
Step 2: Go to the Setup page, where you will see a Connect button. Click on the Connect button.
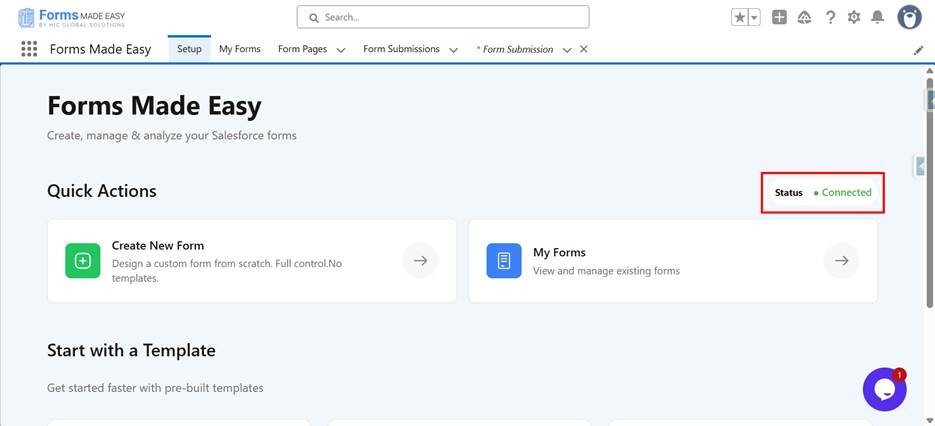
Step 3: Once connected, the status will change to Connected.
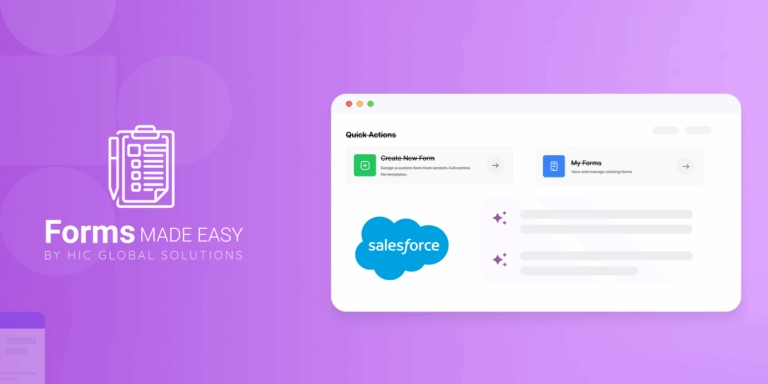
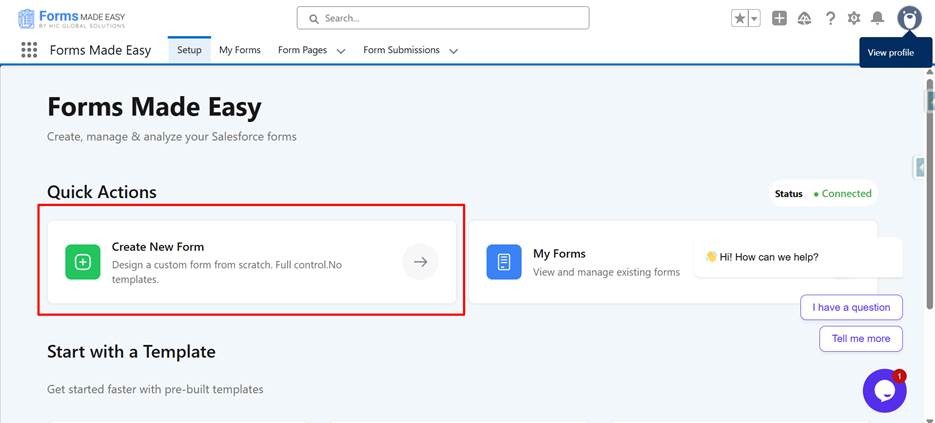
Step 4: In the Quick Action menu, click on Create New Form.
-
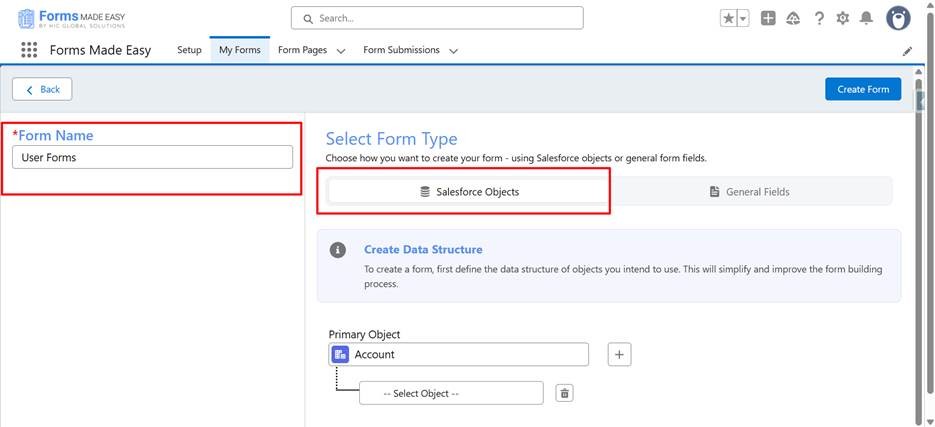
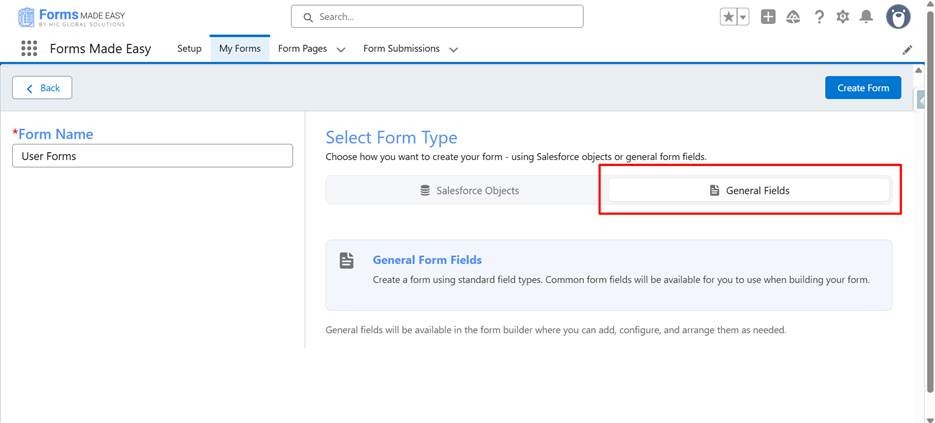
You will be redirected to the My Forms tab.
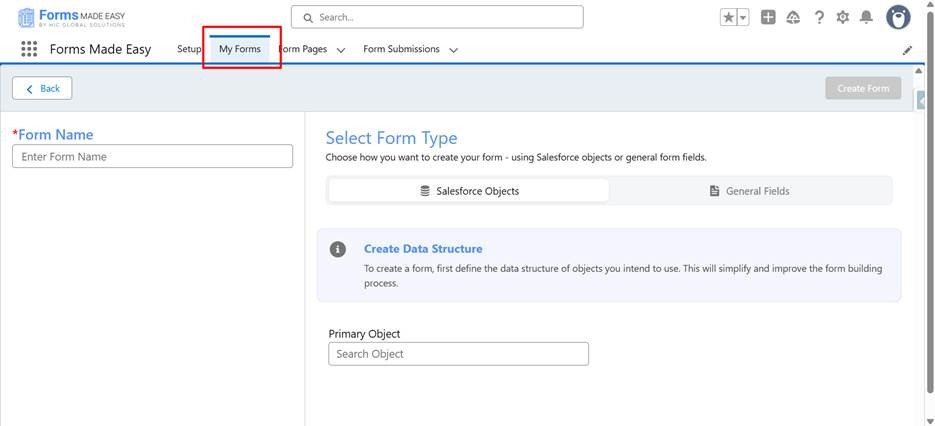
- Enter the Form Name, select the Primary Object or General Field, and click on the Create Form button.
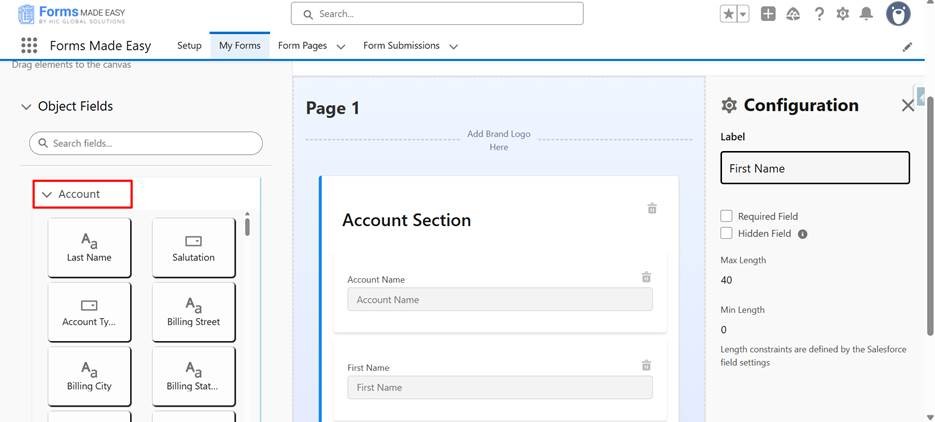
Step 5: You will be redirected to the Form Builder screen.
- The selected object will be displayed, and the required fields will already be added automatically.
Step 6: In the Form Elements section, you will see all fields of the selected object.
Drag and drop any fields you want (e.g., First Name, Account Name).
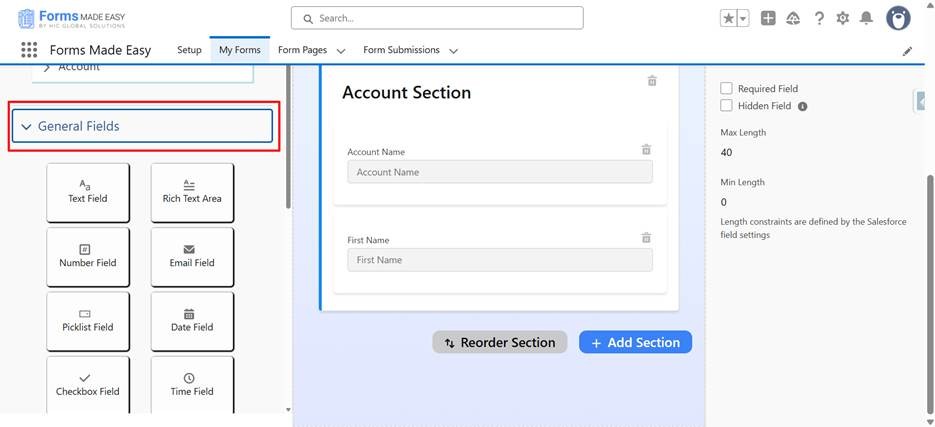
Step 7: Below the Salesforce Object section, you will find the General Fields section.
- These are non-Salesforce fields that you can drag and drop into your form as needed.
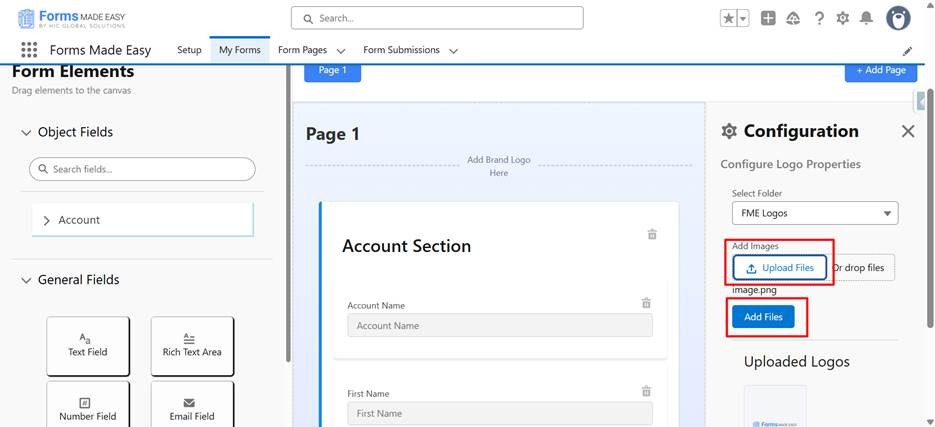
Step 8: To add your brand logo:
- Click on Add Brand Logo in the canvas.

- A configuration panel will appear on the right.
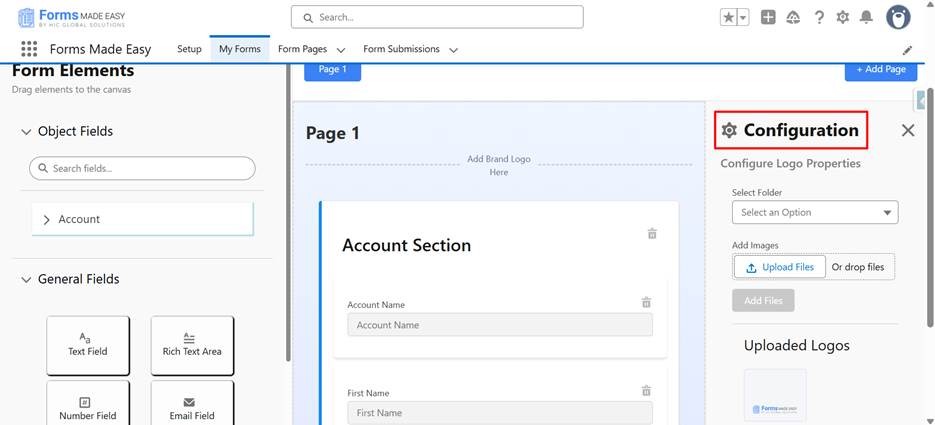
- Select the folder, upload your logo, and apply the file.
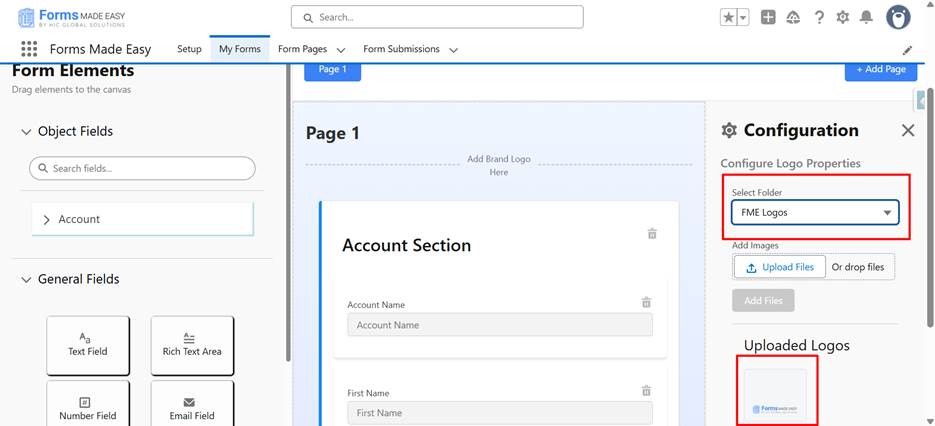
- Your uploaded logo will appear in the Upload Logo section.
- Click Apply.
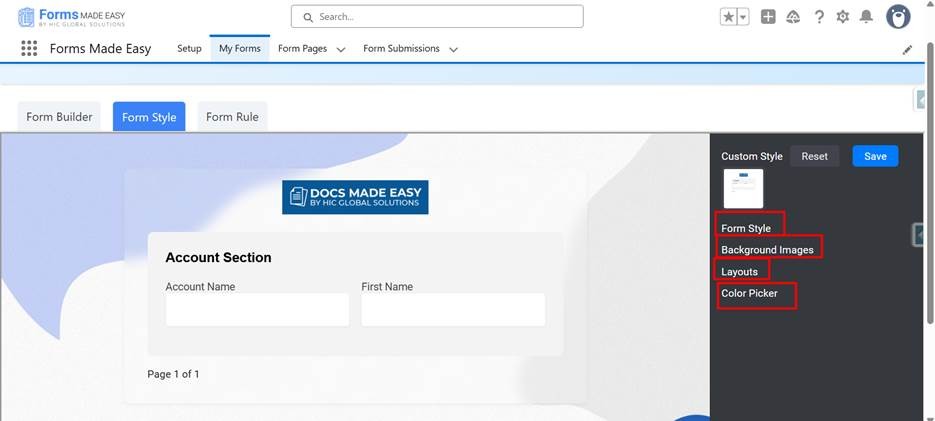
Step 9: To style your form, click on the Form Style tab.
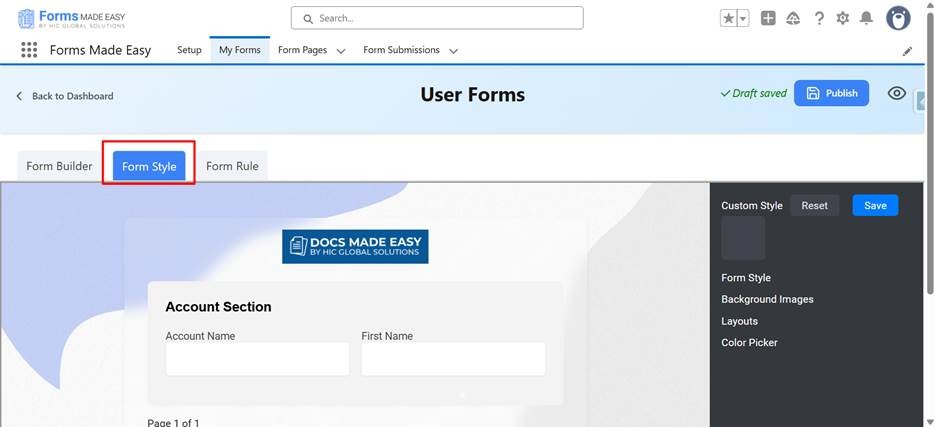
- Choose a Form Theme.
- Upload a Background Image or select from the default options.
- Change the Layout (Single Column, Double Column, or Triple Column).
- Use the Color Picker to change background color, section color, and label color.
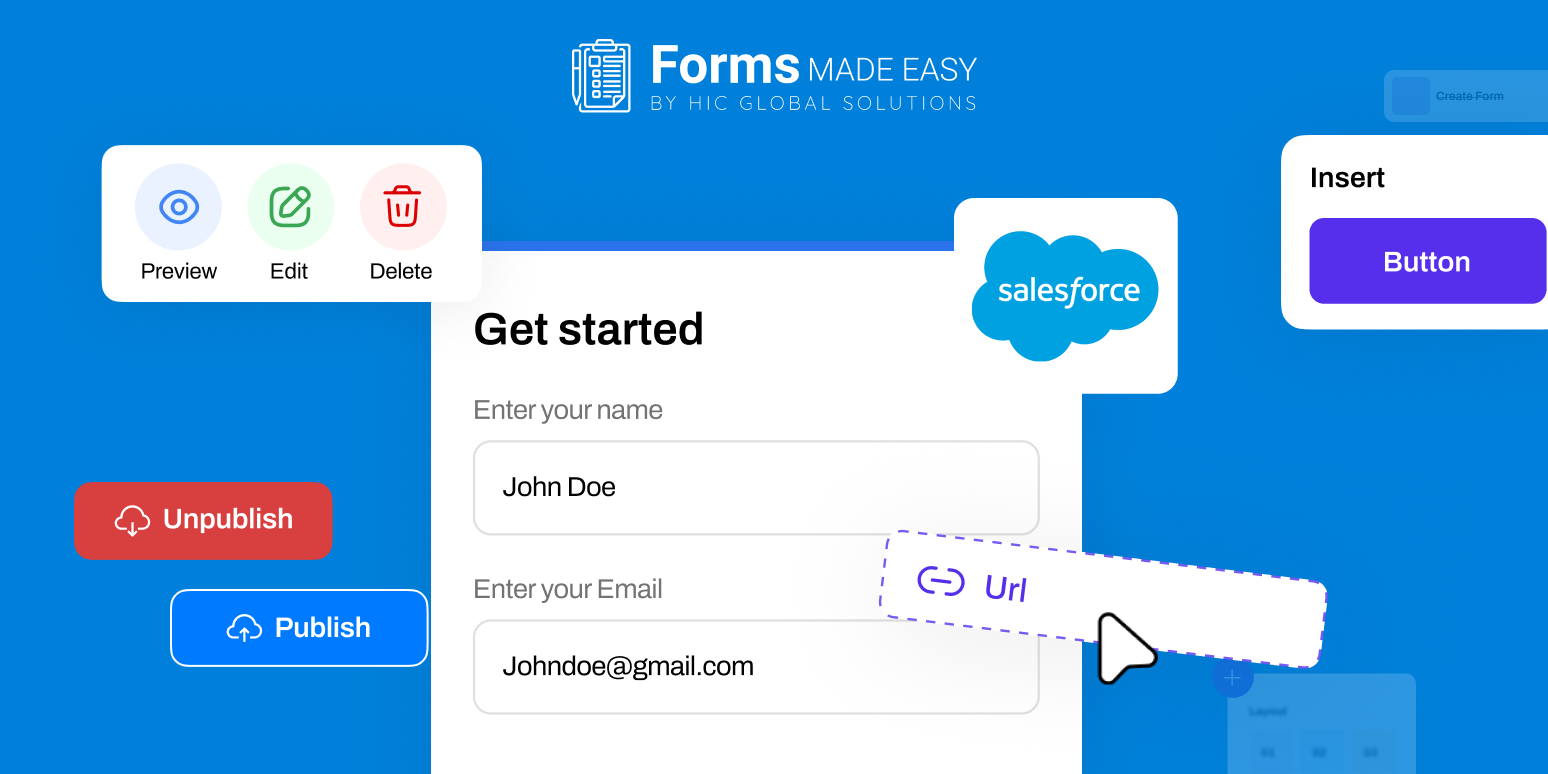
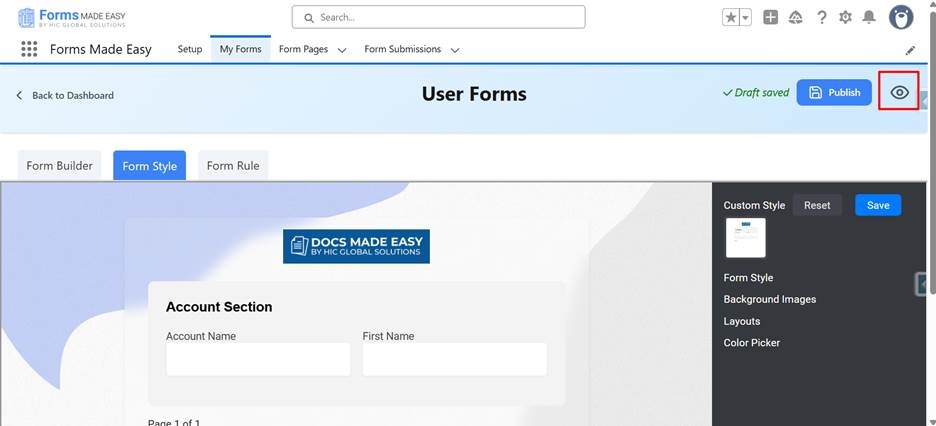
Step 10: After applying your styles, click on the Save button. You can preview how the form looks by clicking on the Preview button.
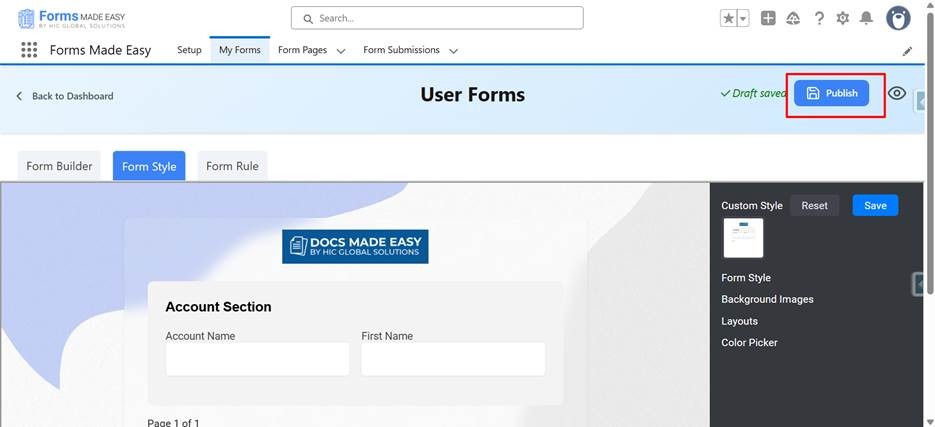
Step 11: Then, click the Publish button.
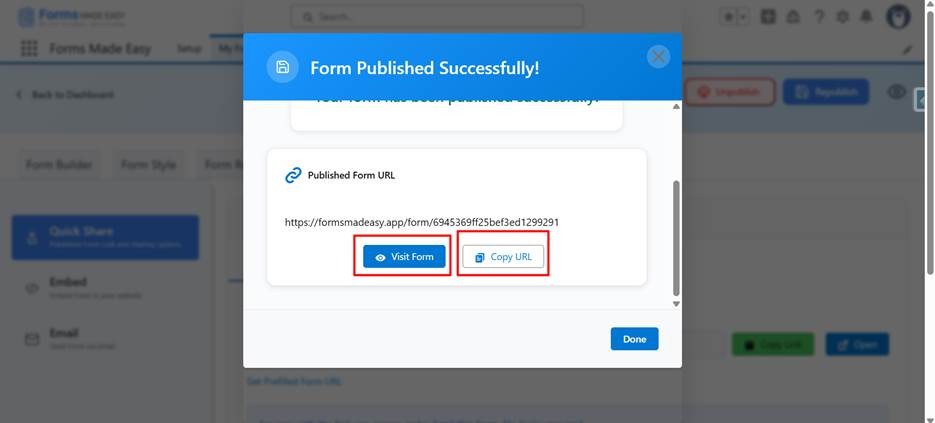
Step 12: A Public URL will be generated for your form.
- Copy the form URL to share it.
- Now, the second option is to click on Visit Form; the form will be visible there.
Step 13: Submit the Form
- Fill in your details and click the Submit button.
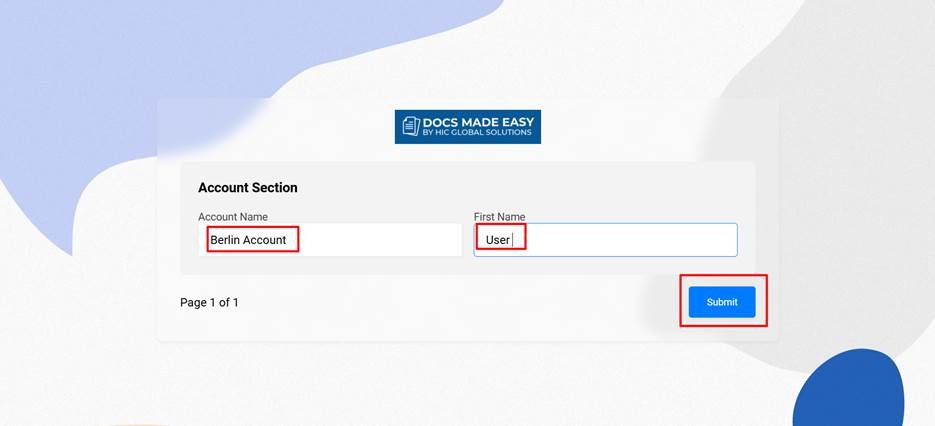
- Your form will be submitted. Go to the My Forms tab to confirm that your form submission is visible.
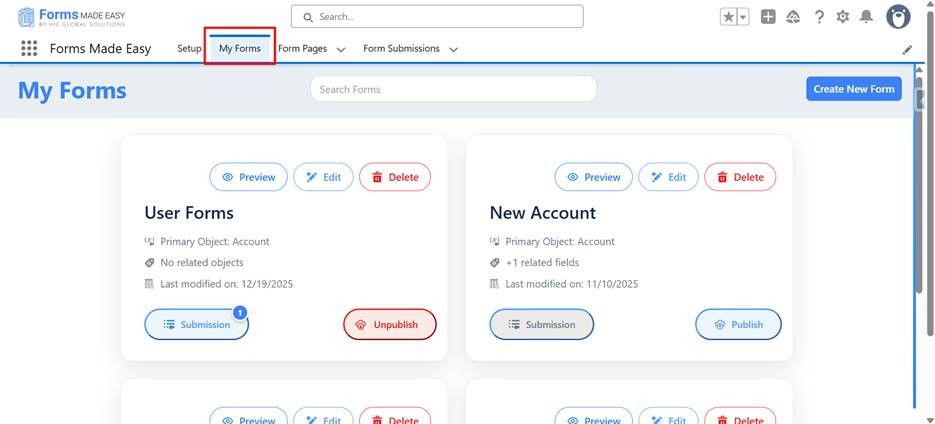
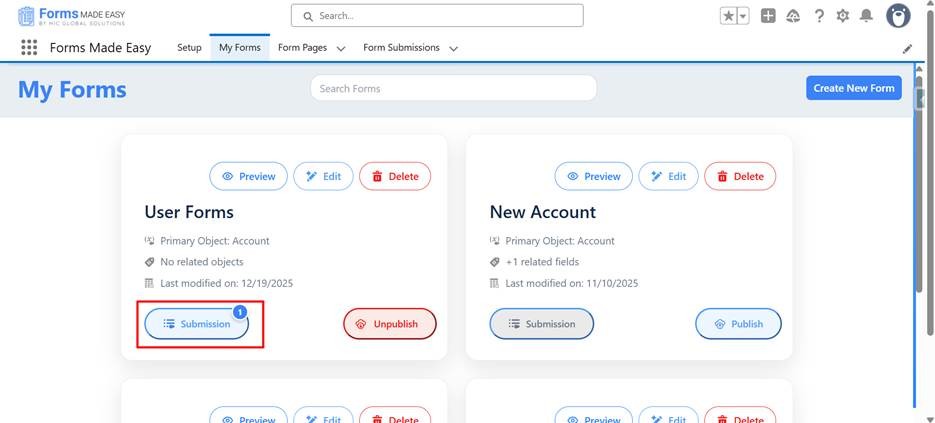
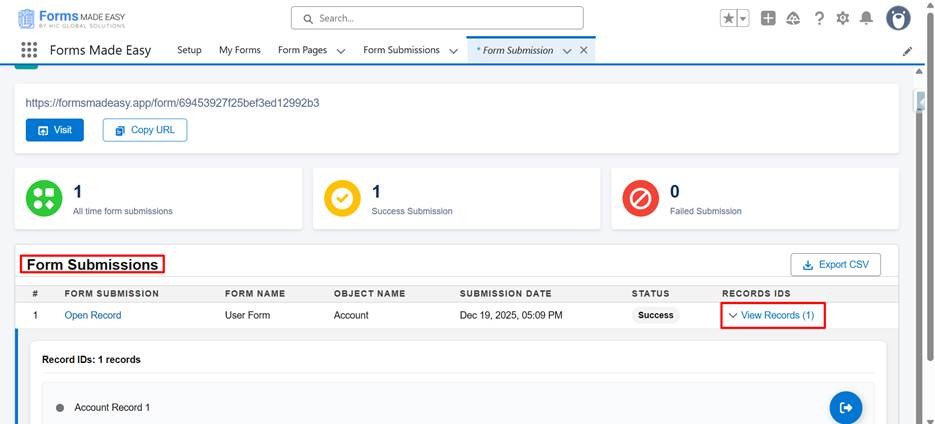
- Click on the Submissions button to view the submission records for your form.
Conclusion
Salesforce forms don’t have to crawl through code anymore. With Forms Made Easy, form creation transforms from a technical task into a seamless, click-driven experience, directly within Salesforce. Deliver custom-branded, secure forms that work as efficiently as your teams do.
Our modern, no-code form builder eliminates external dependencies, ensures cleaner data, and accelerates business workflows. Whether you’re customizing a Salesforce web-to-lead form, replacing static tools, or upgrading your data capture strategy, Forms Made Easy provides a smarter, faster way to build.
Click, create, and go. Create form in Salesforce now and experience how simple, no-code form building can transform your Salesforce workflows. Launch faster, collect cleaner data, and scale without limits.