
Build Your No-Code Forms in Minutes
Design, automate, and connect forms seamlessly within Salesforce. Capture customer data, approvals, and feedback no code required.
Talk to our ExpertsCreating multiple child records under one parent in Salesforce can seem complex, but with a no-code form builder, it becomes simple and fast. Using the Repeat functionality, you can add multiple related records, like several Contacts under one Account, through a single form submission. In this blog, we’ll show you how to do it step by step using an easy drag-and-drop Salesforce form builder.
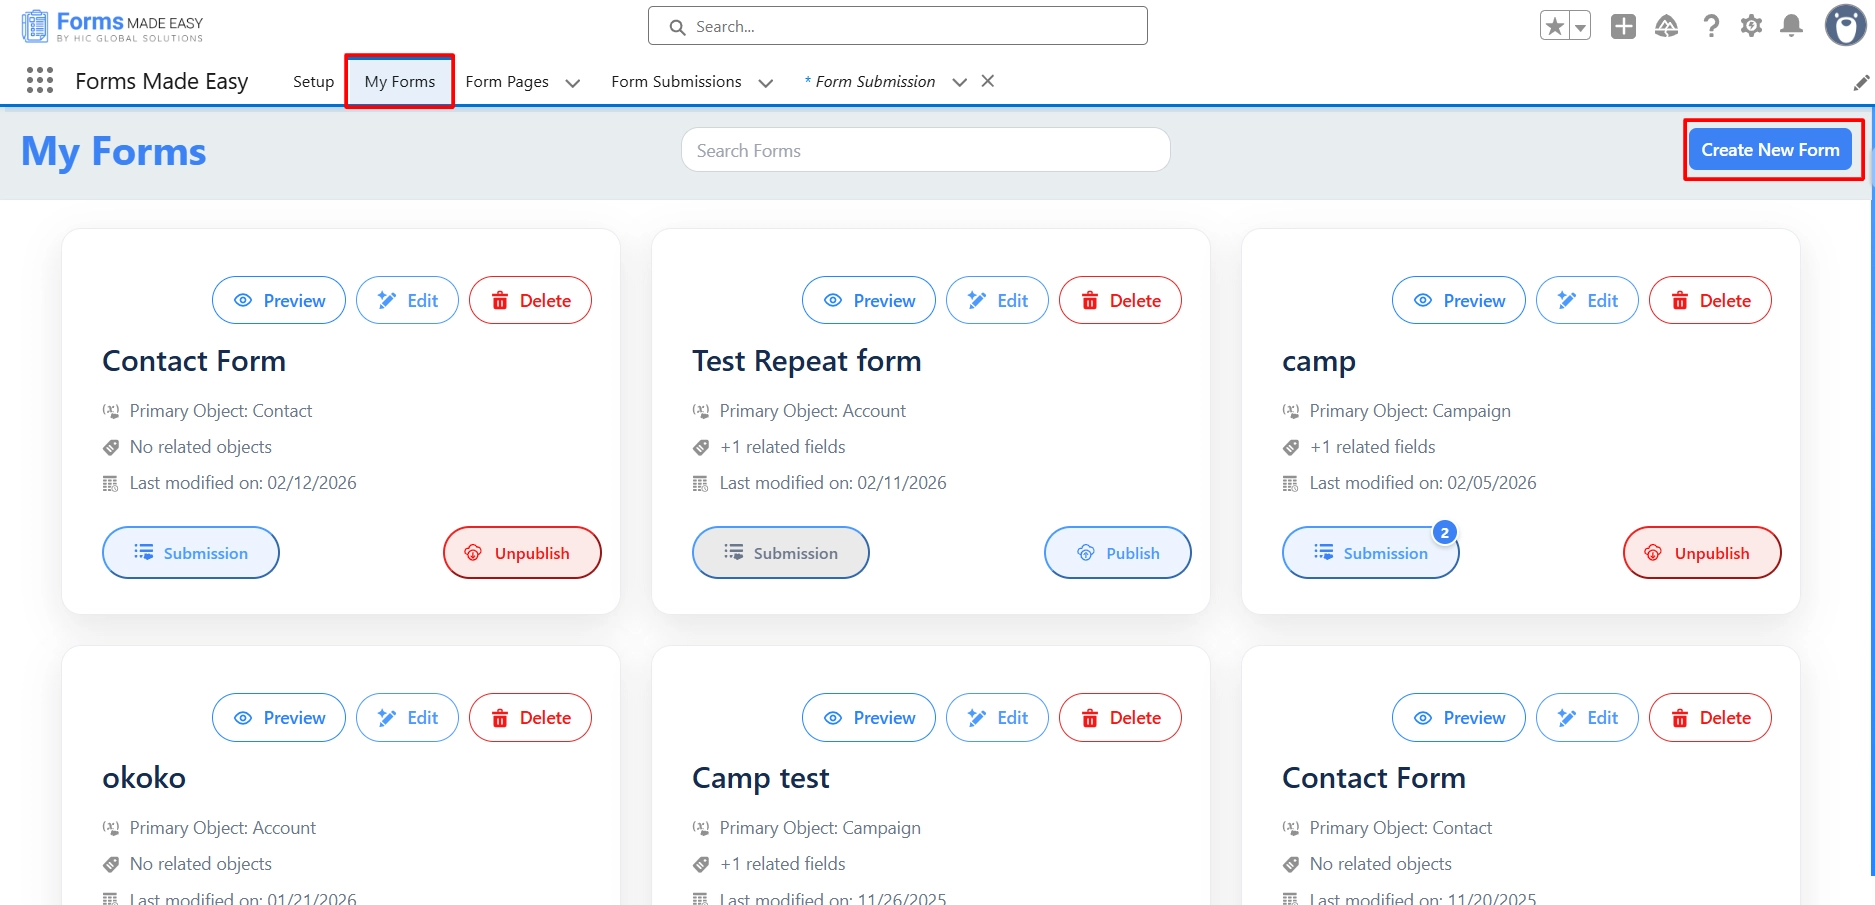
Step 1: Go to the My Forms tab and click on the “Create New Form” button.
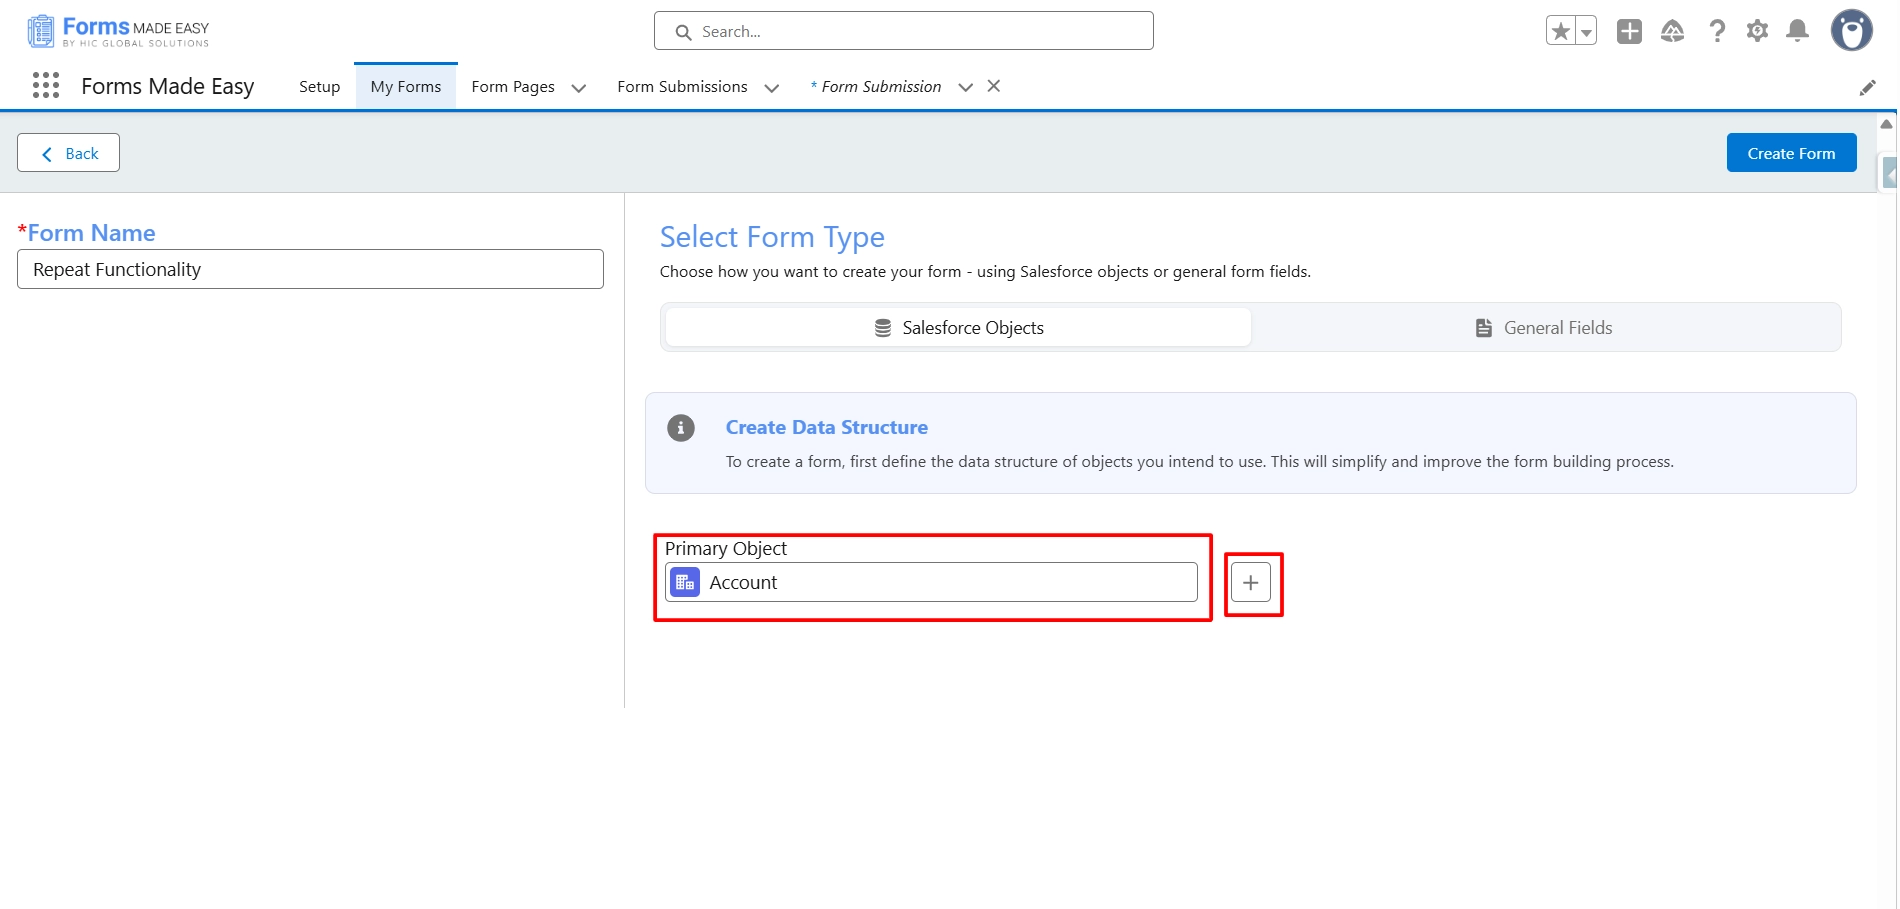
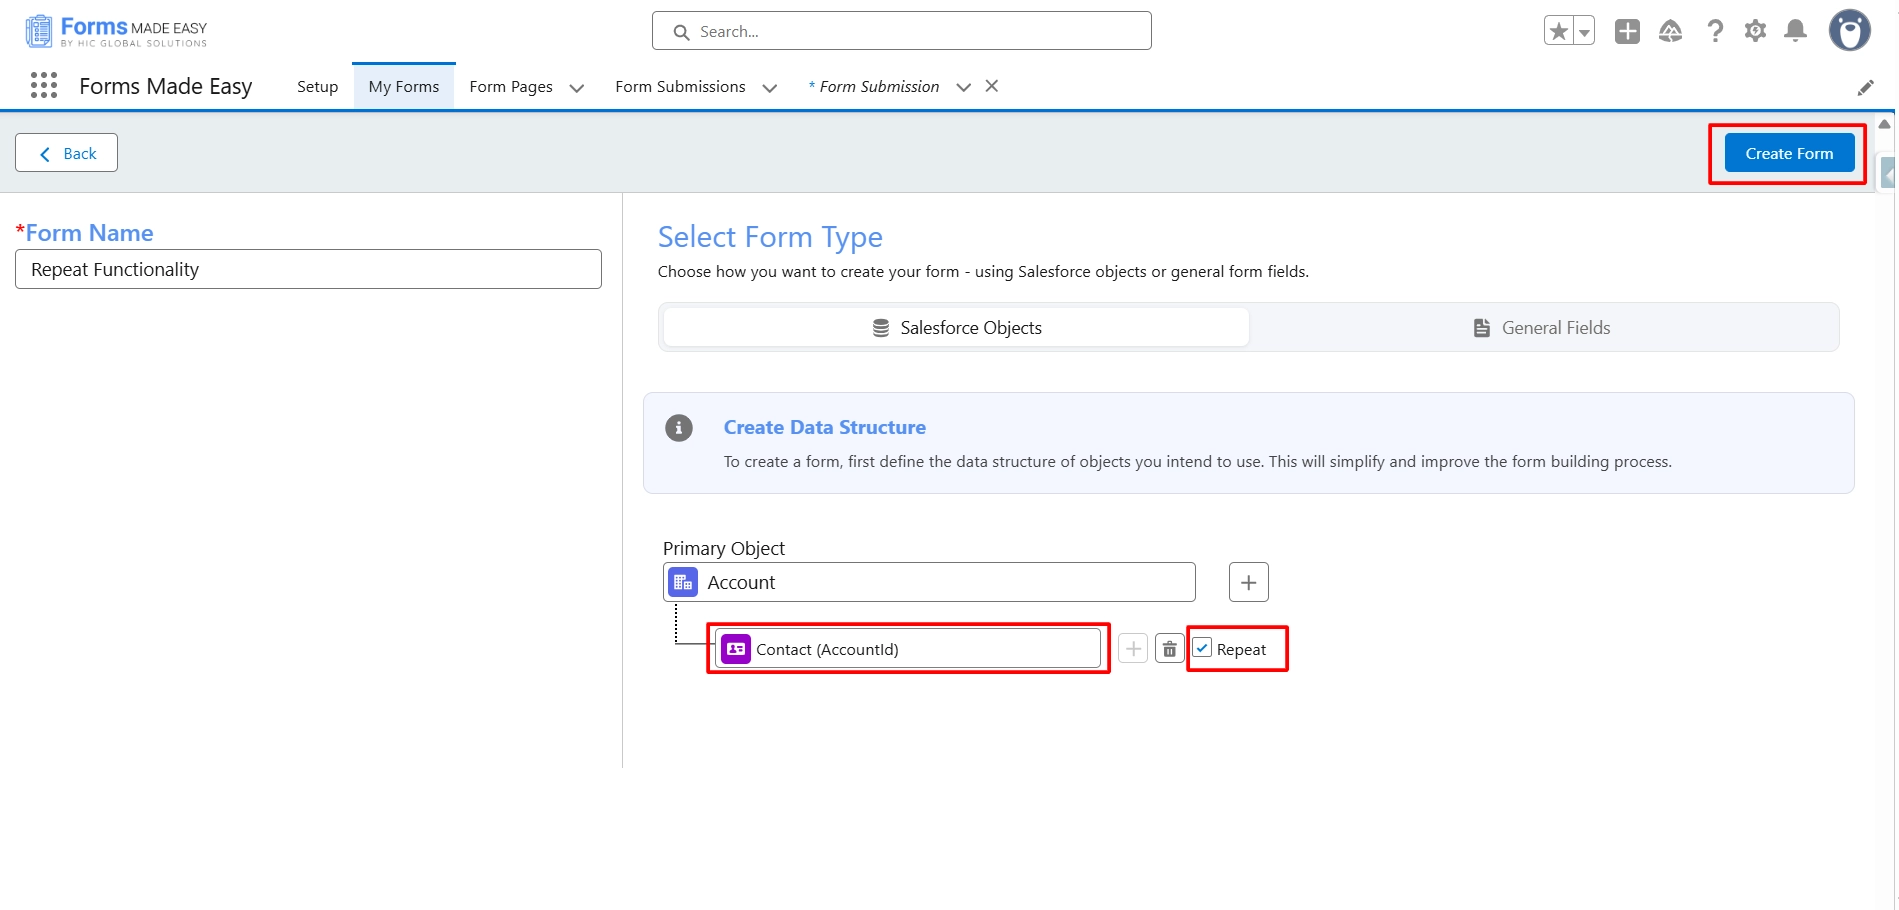
Step 2: Enter the form name and select the form type (Salesforce Objects or General Fields).
- Currently, I have chosen the Salesforce Objects option.

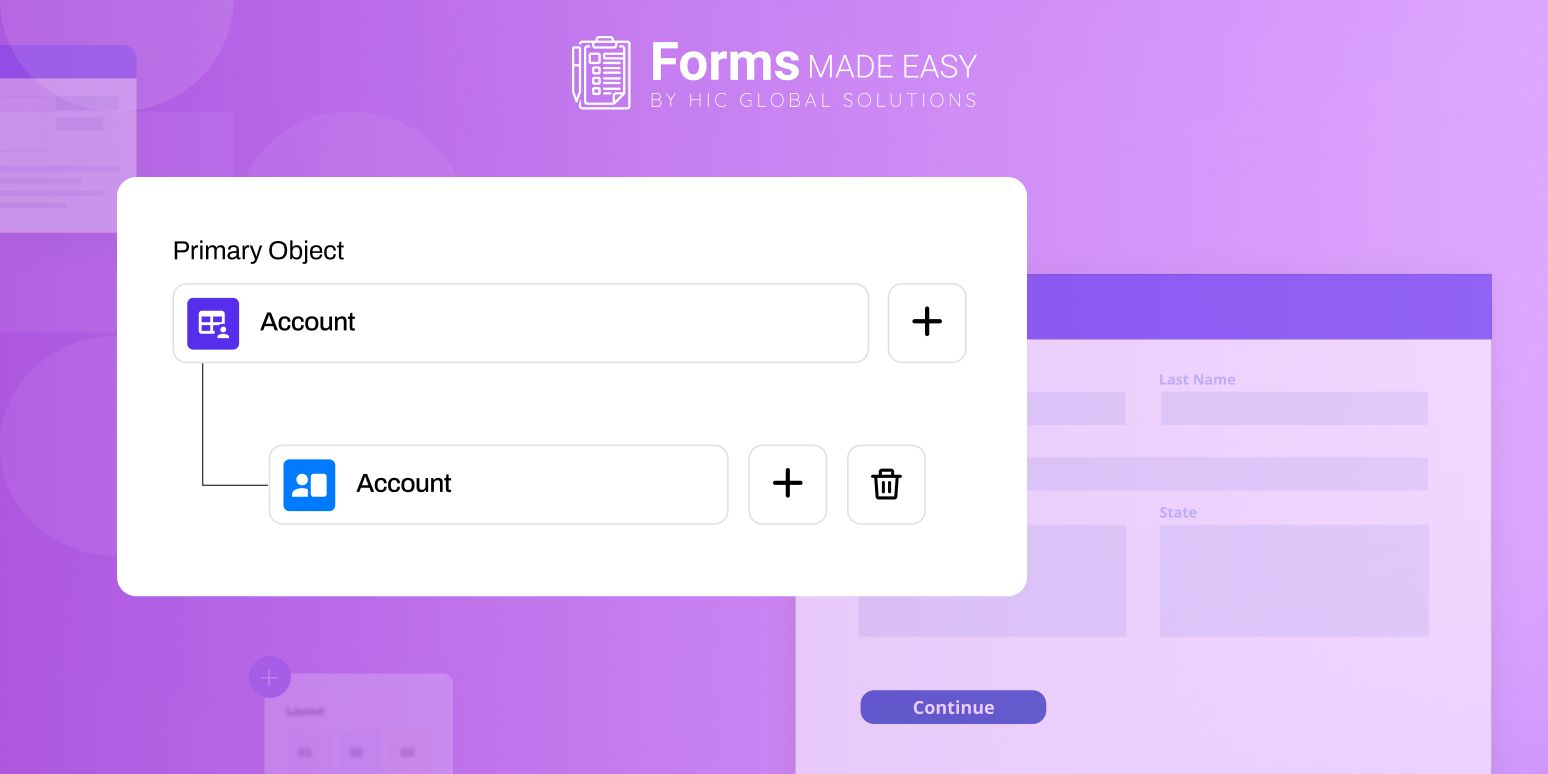
Step 3: Select “Account” as the Primary Object, then click the “+” icon to add child objects related to the Account.
Step 4: Select “Contact” as the Child Object, check the “Repeat” checkbox, and click the “Create Form” button.
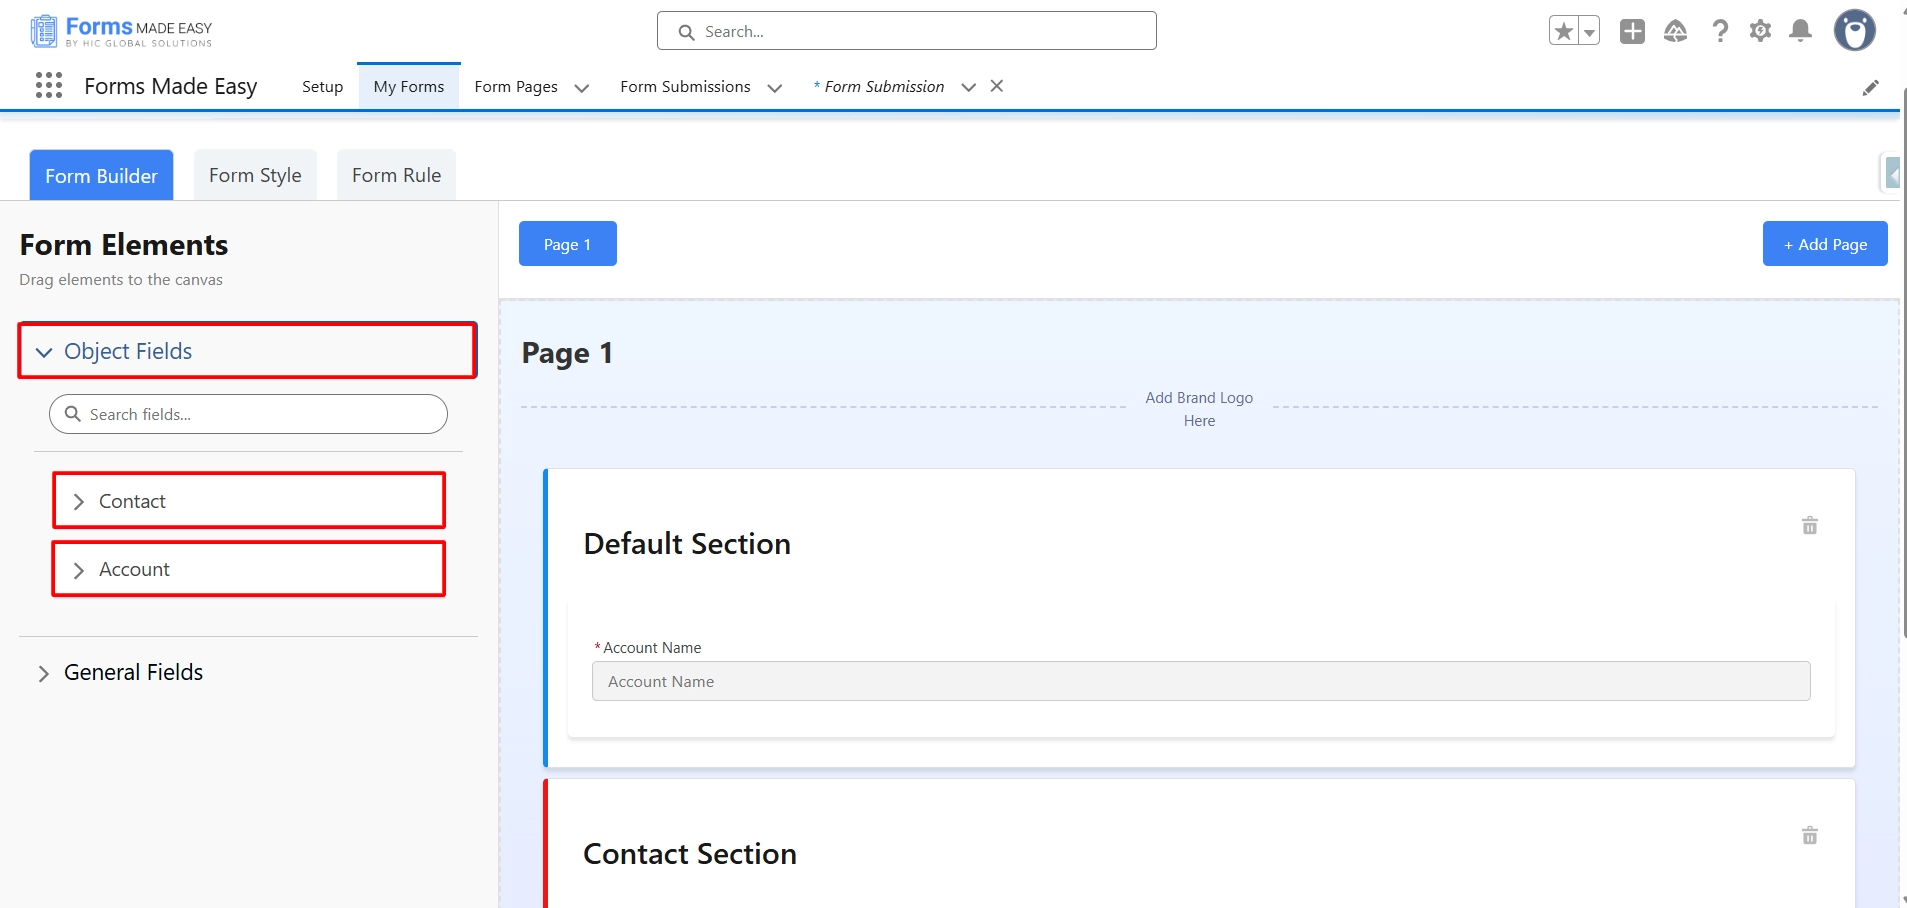
Step 5: Go to the Object Fields section and click on “Account” and “Contact,” and drag and drop the required fields.
(Note: In this case, no fields are dragged from either the Account or Contact objects.)
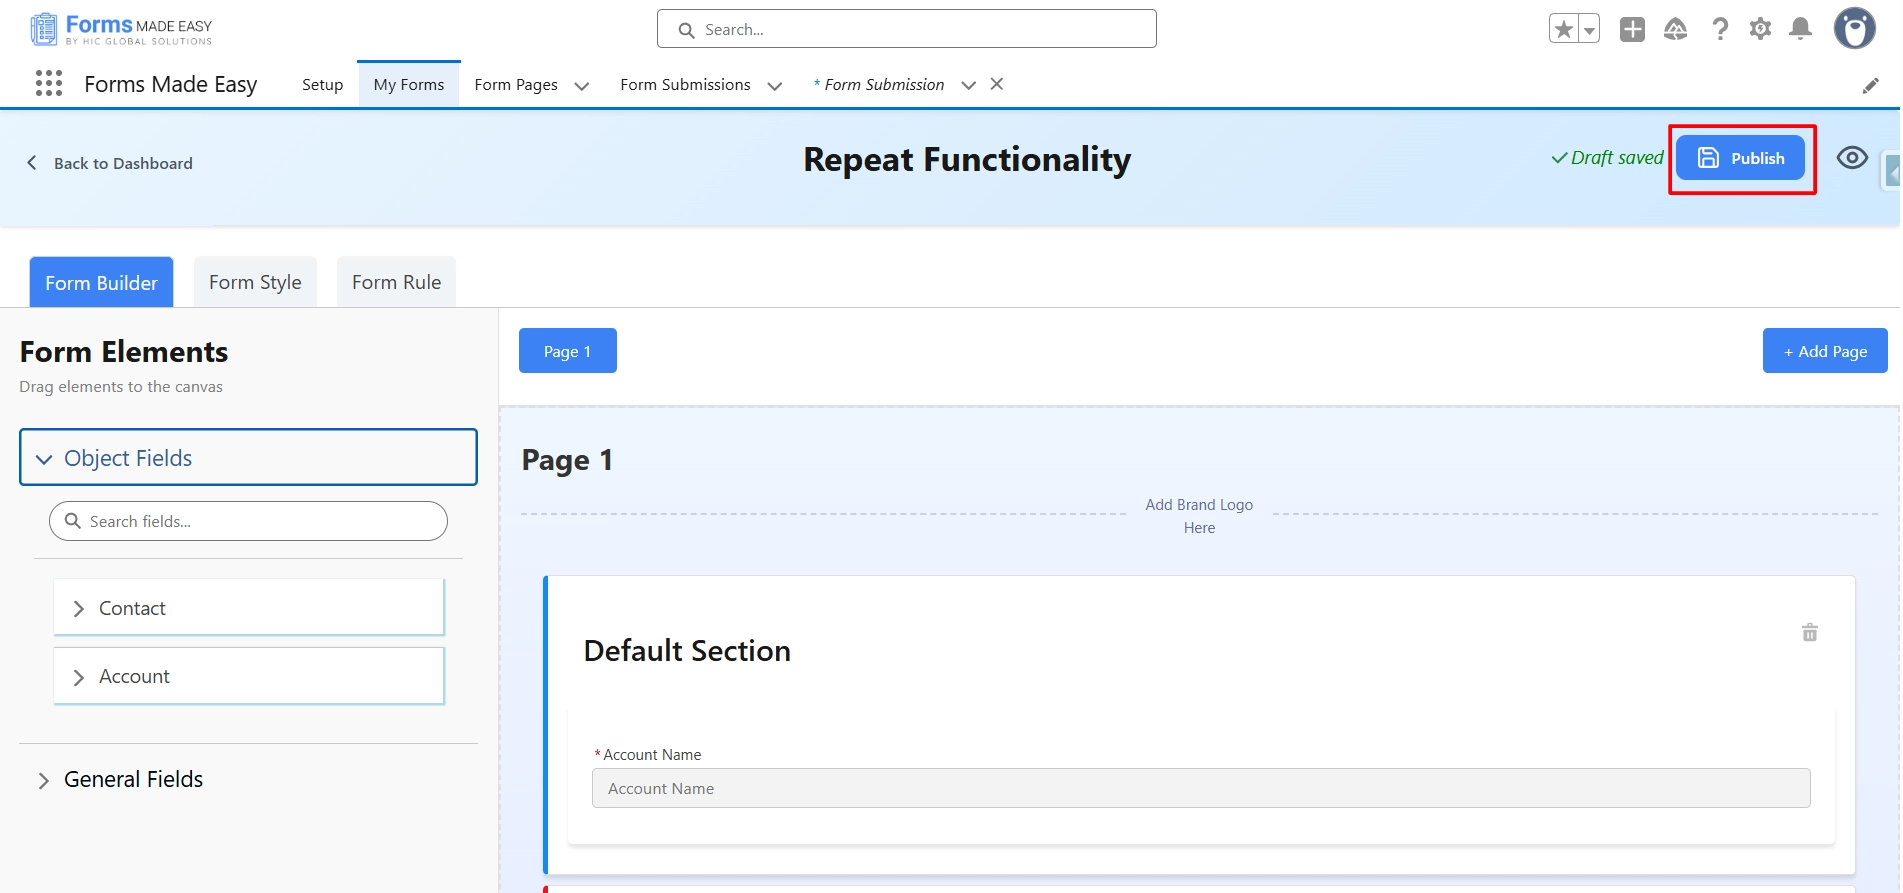
Step 6: After that, you can publish the form by clicking the “Publish” button.
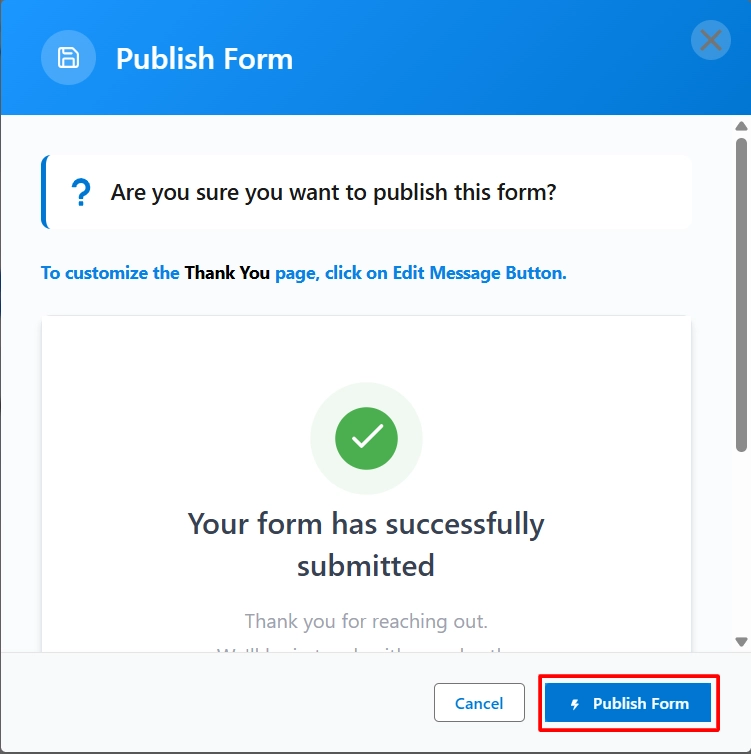
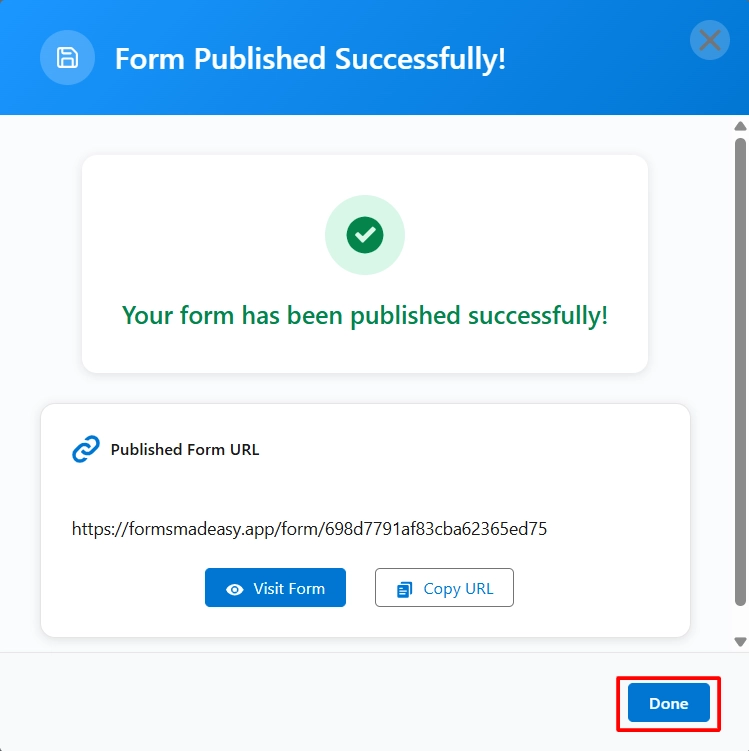
Step 7: Next, click the “Publish Form” button.
Step 8: Click on “Done” to close the modal.
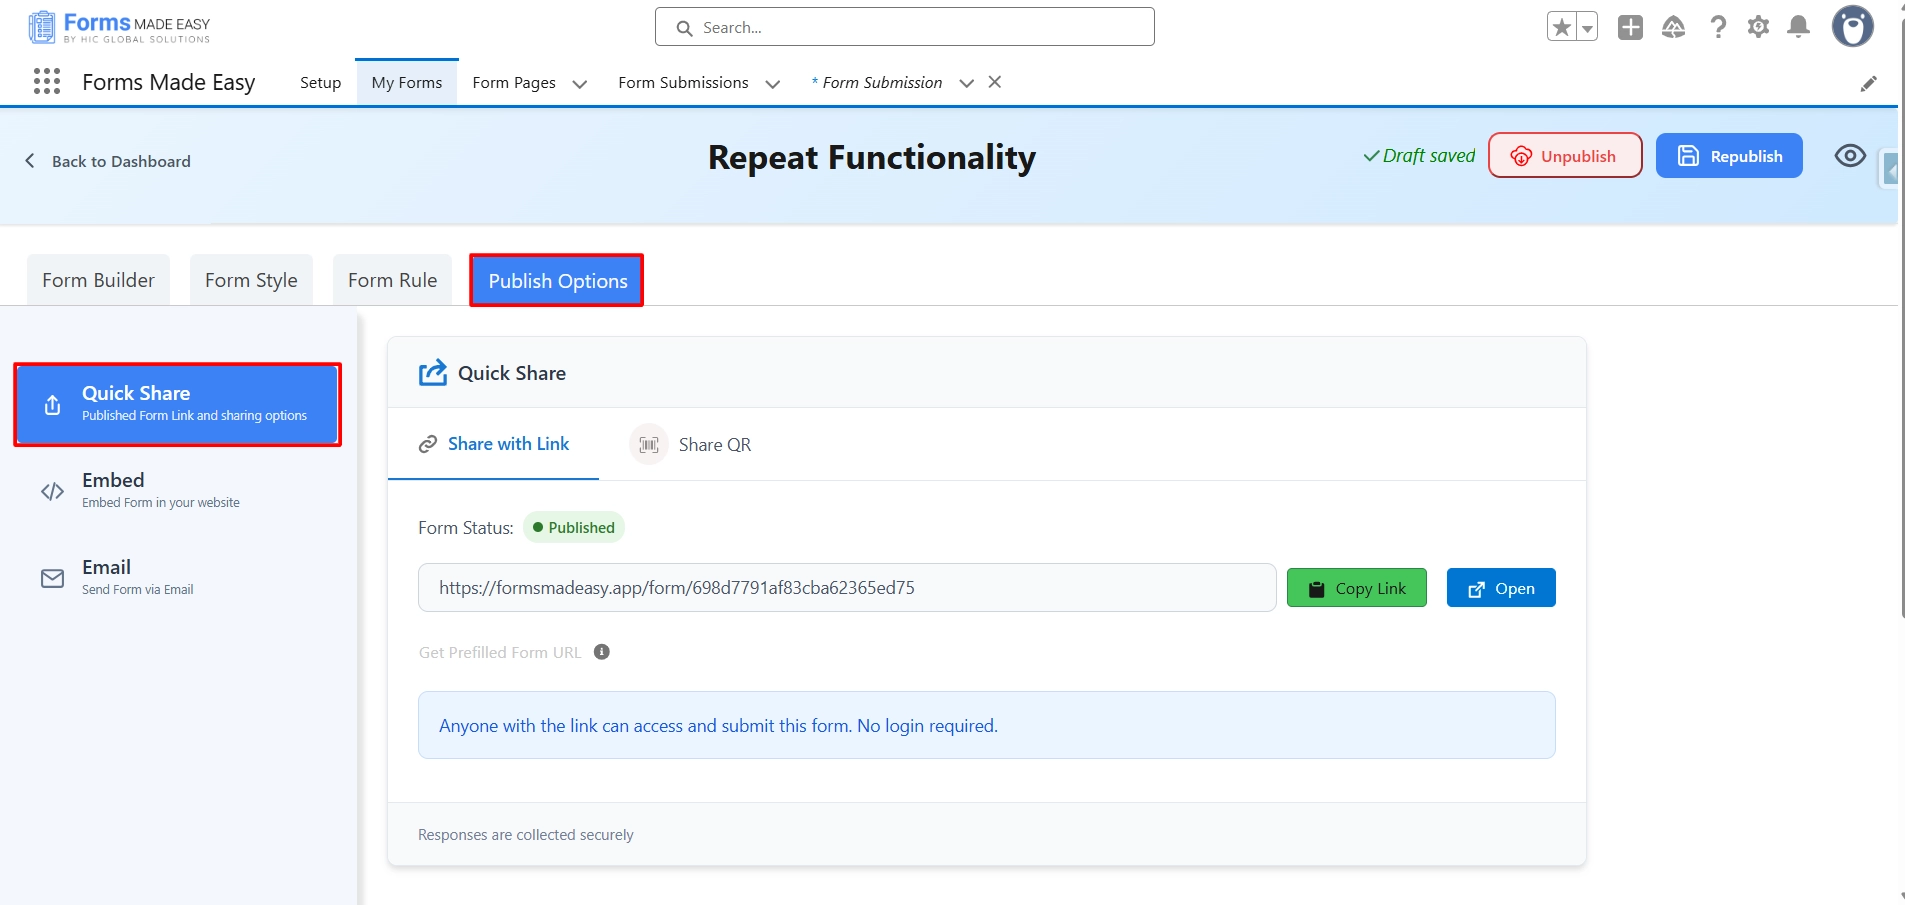
Step 9: Once the form is published, an additional Publish Options tab becomes available. Under this tab, there is a sub-option called Quick Share. Click on “Quick Share.”
(Note: If the form is already created, click “Edit,” go to Publish Options, and click “Quick Share.”)
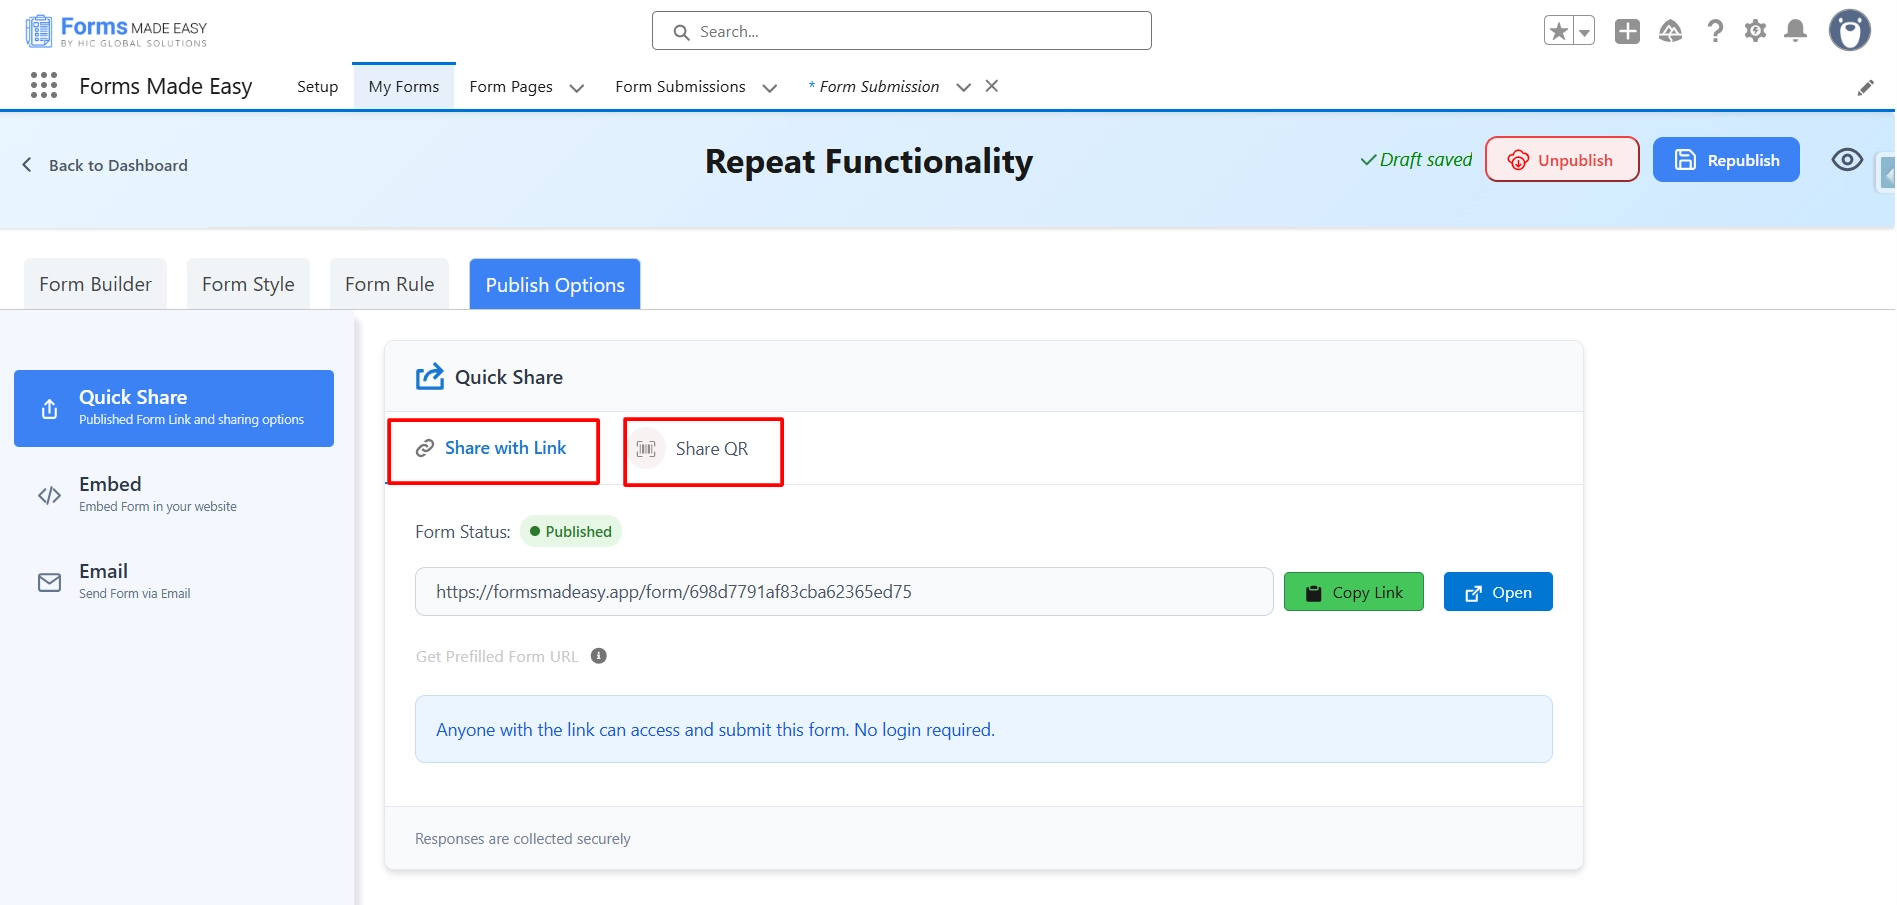
Step 10: Inside the Quick Share section, you will see two options: Share with Link and Share QR.
- I currently have Share with Link selected.
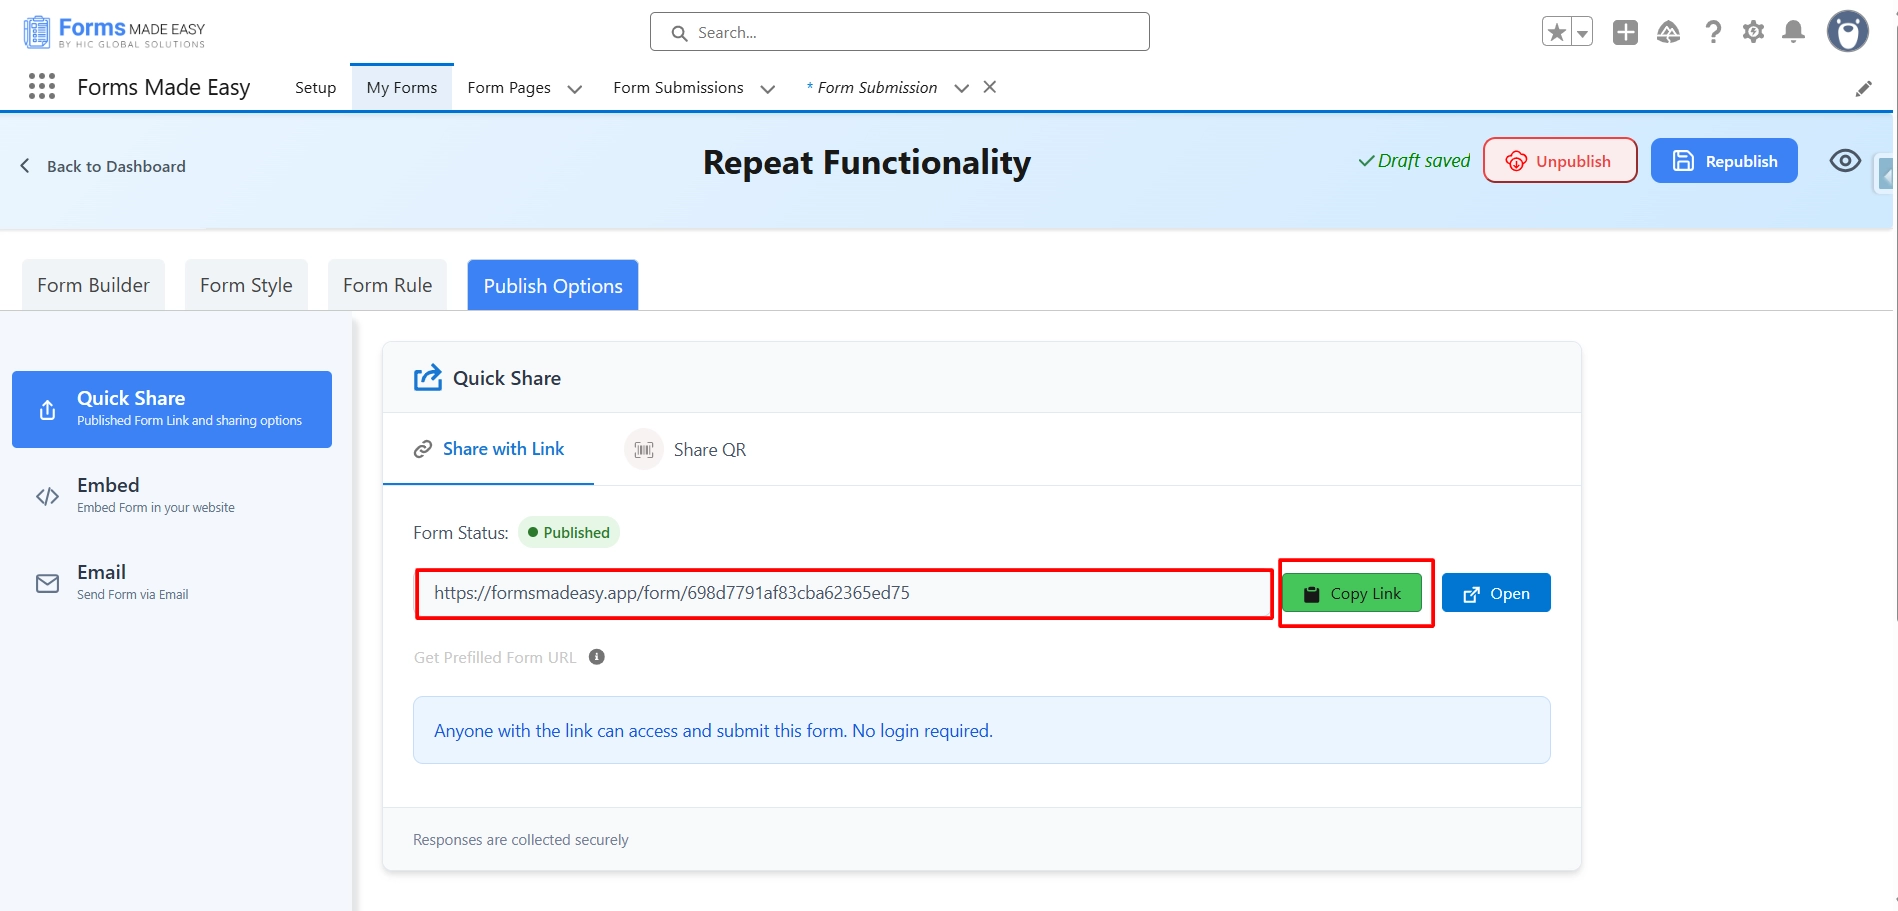
Step 11: Within the Share with Link section, you will see the Form Status displayed as ‘Published’.
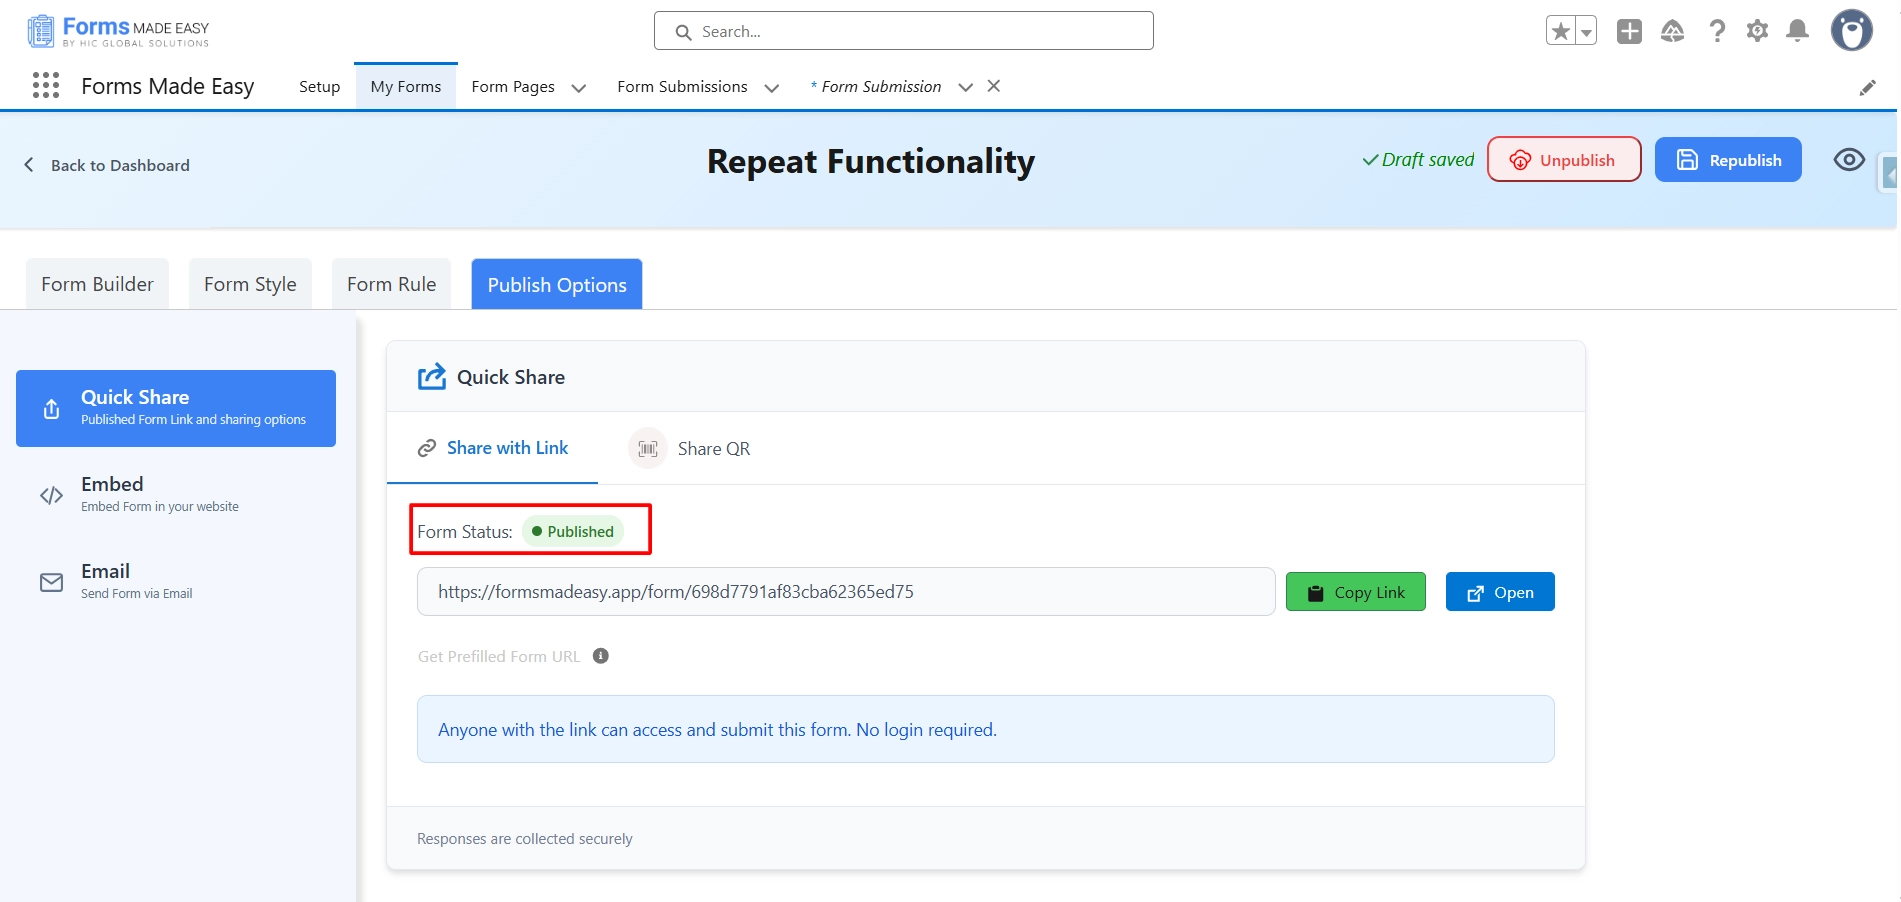
Step 12: Click on the “Copy Link” button to copy the form URL.
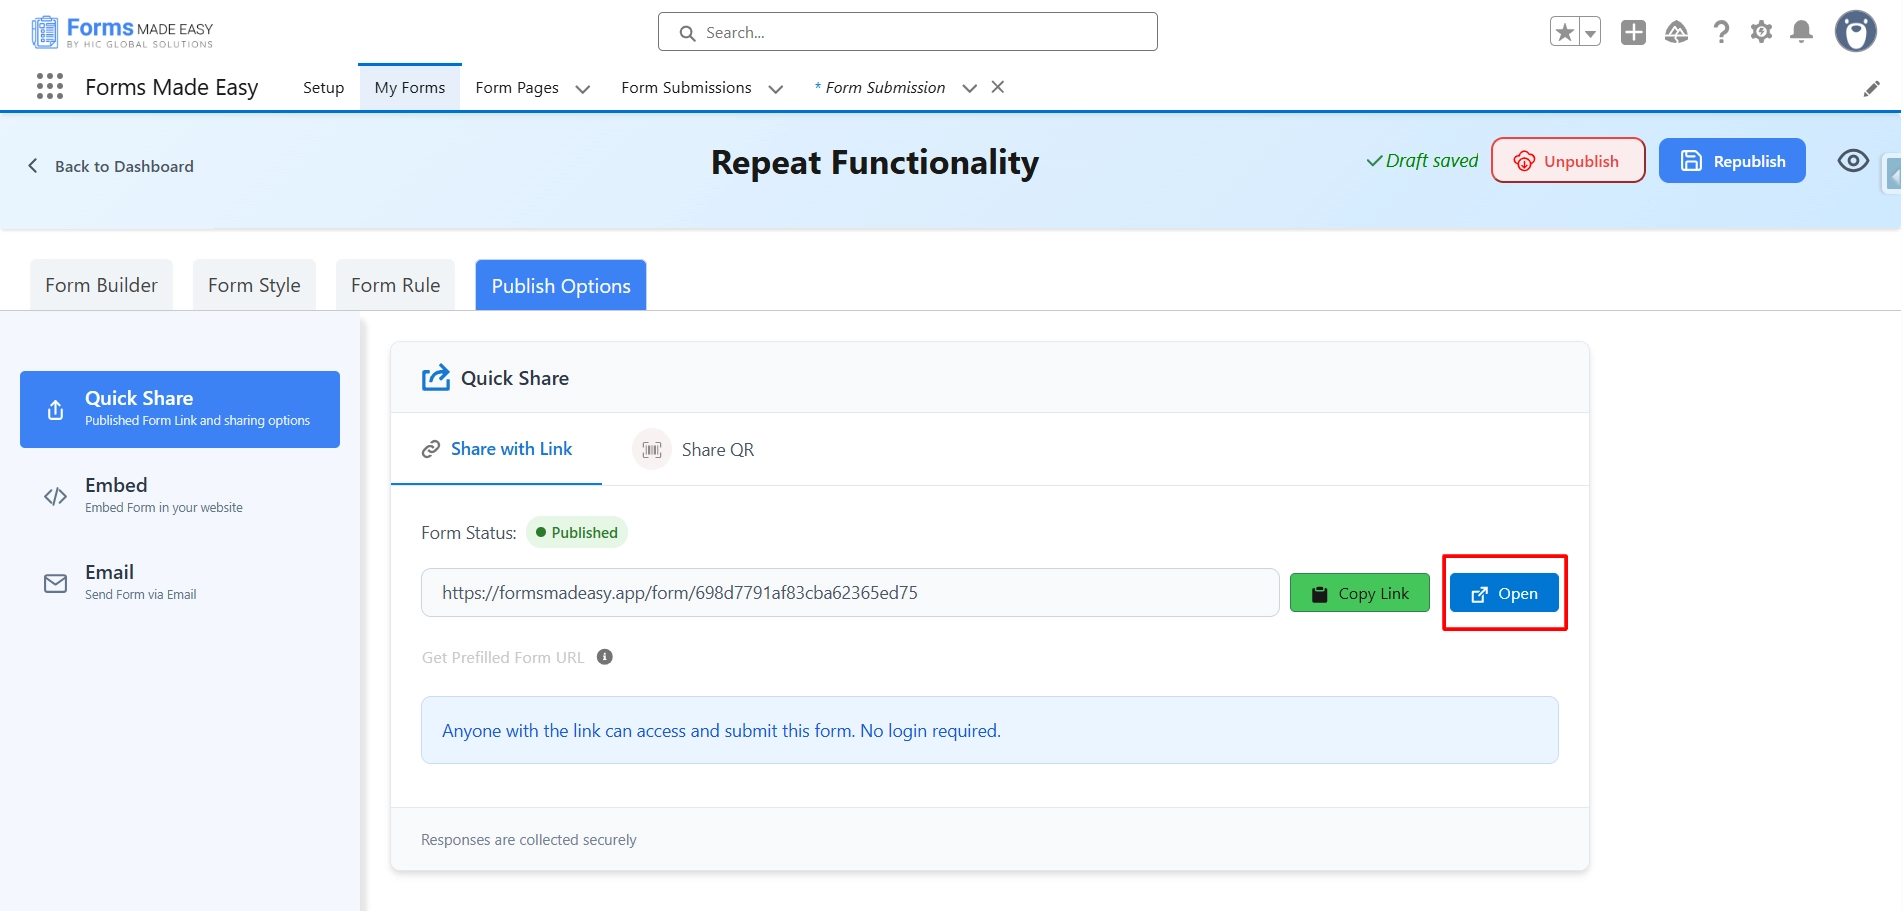
Step 13: Click on the “Open” button to directly open the form in your web browser.
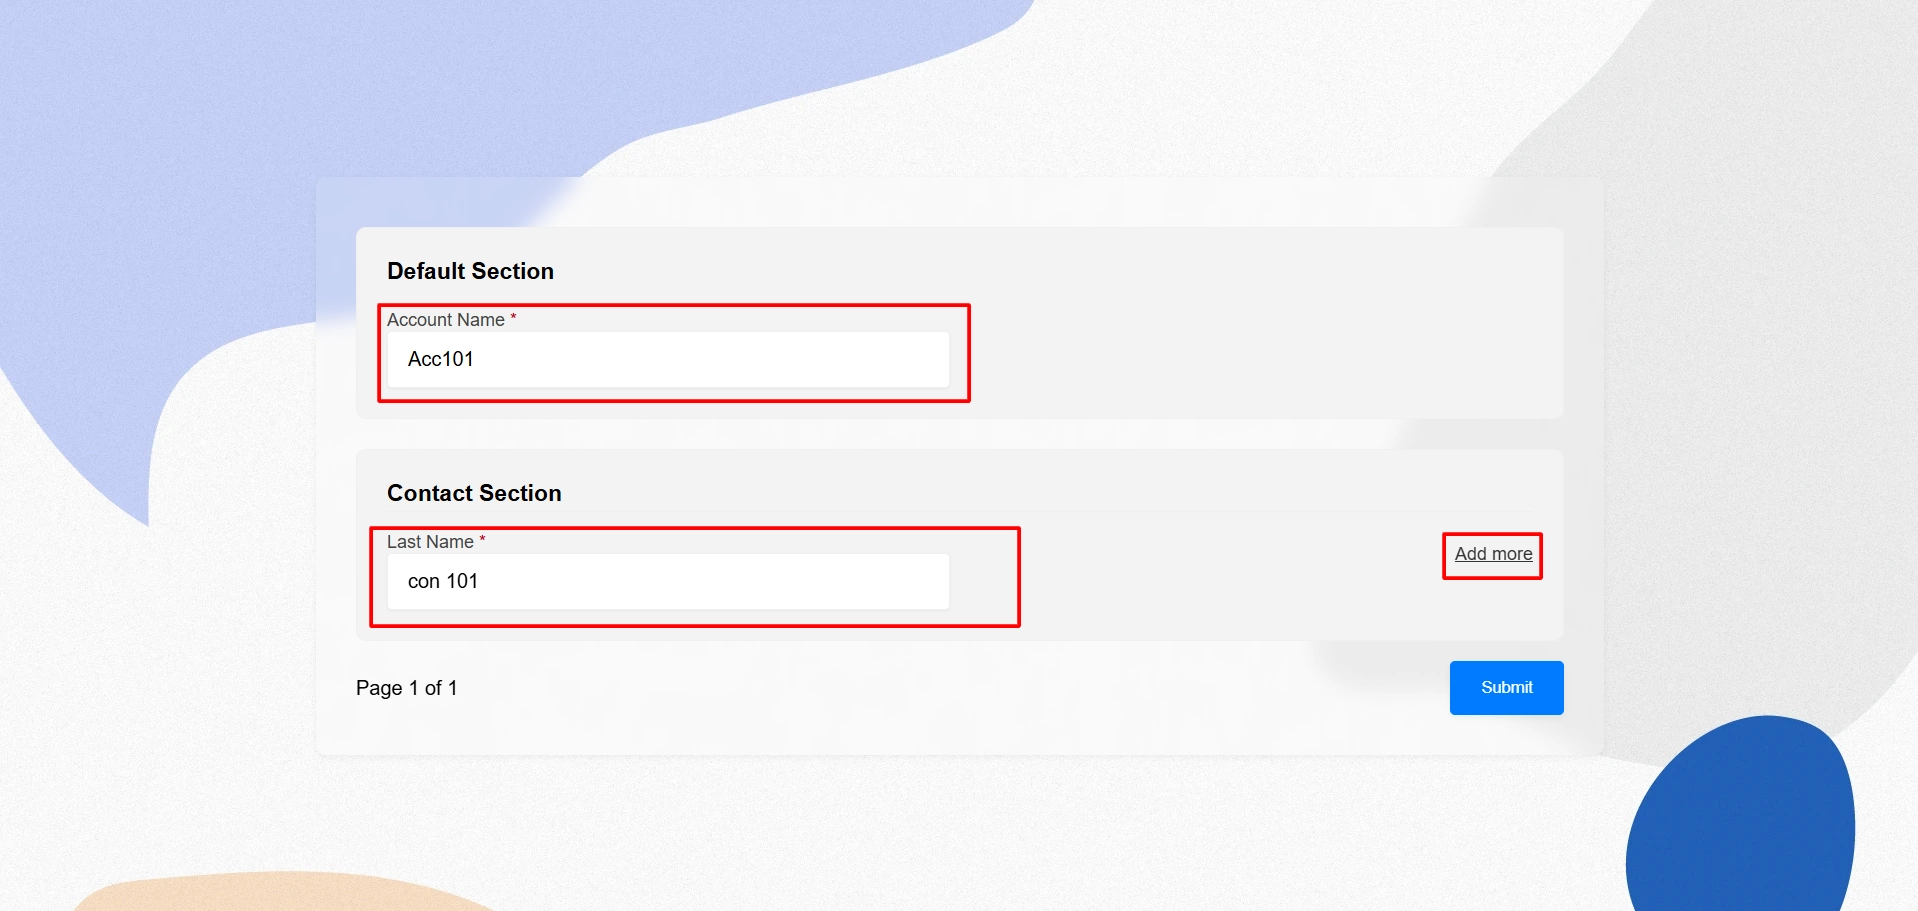
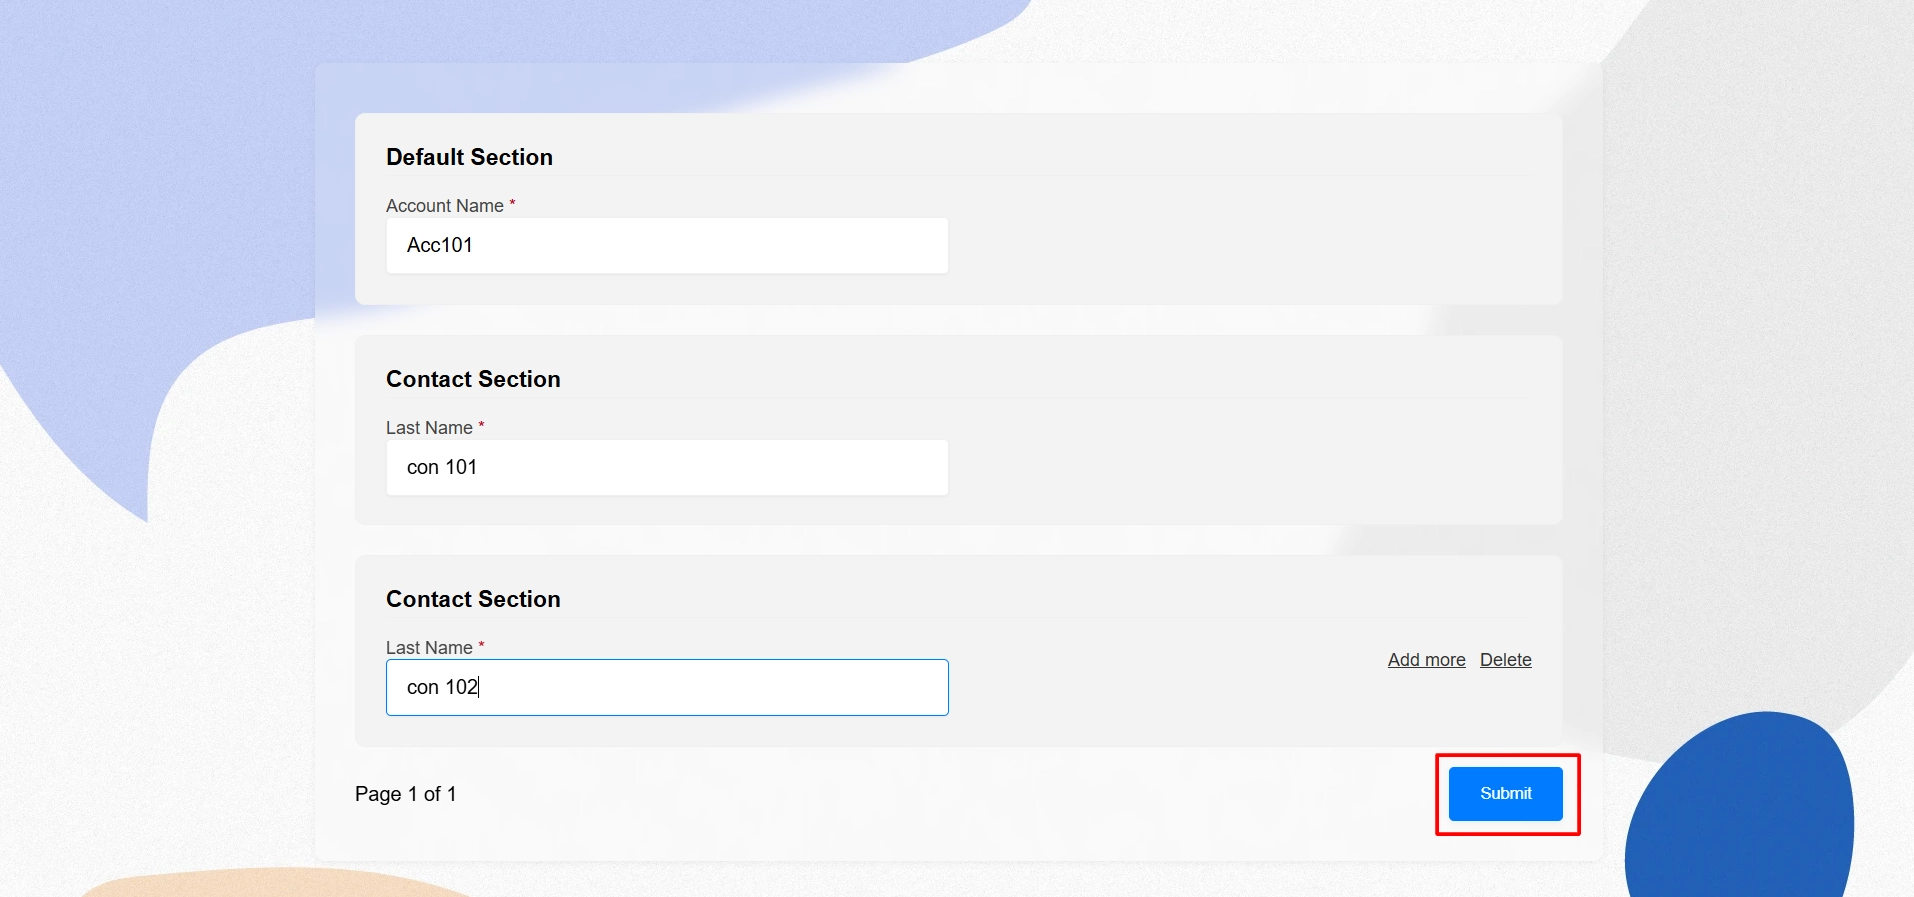
Step 14: Enter all the required information and click “Add more” to create multiple records related to the Account.
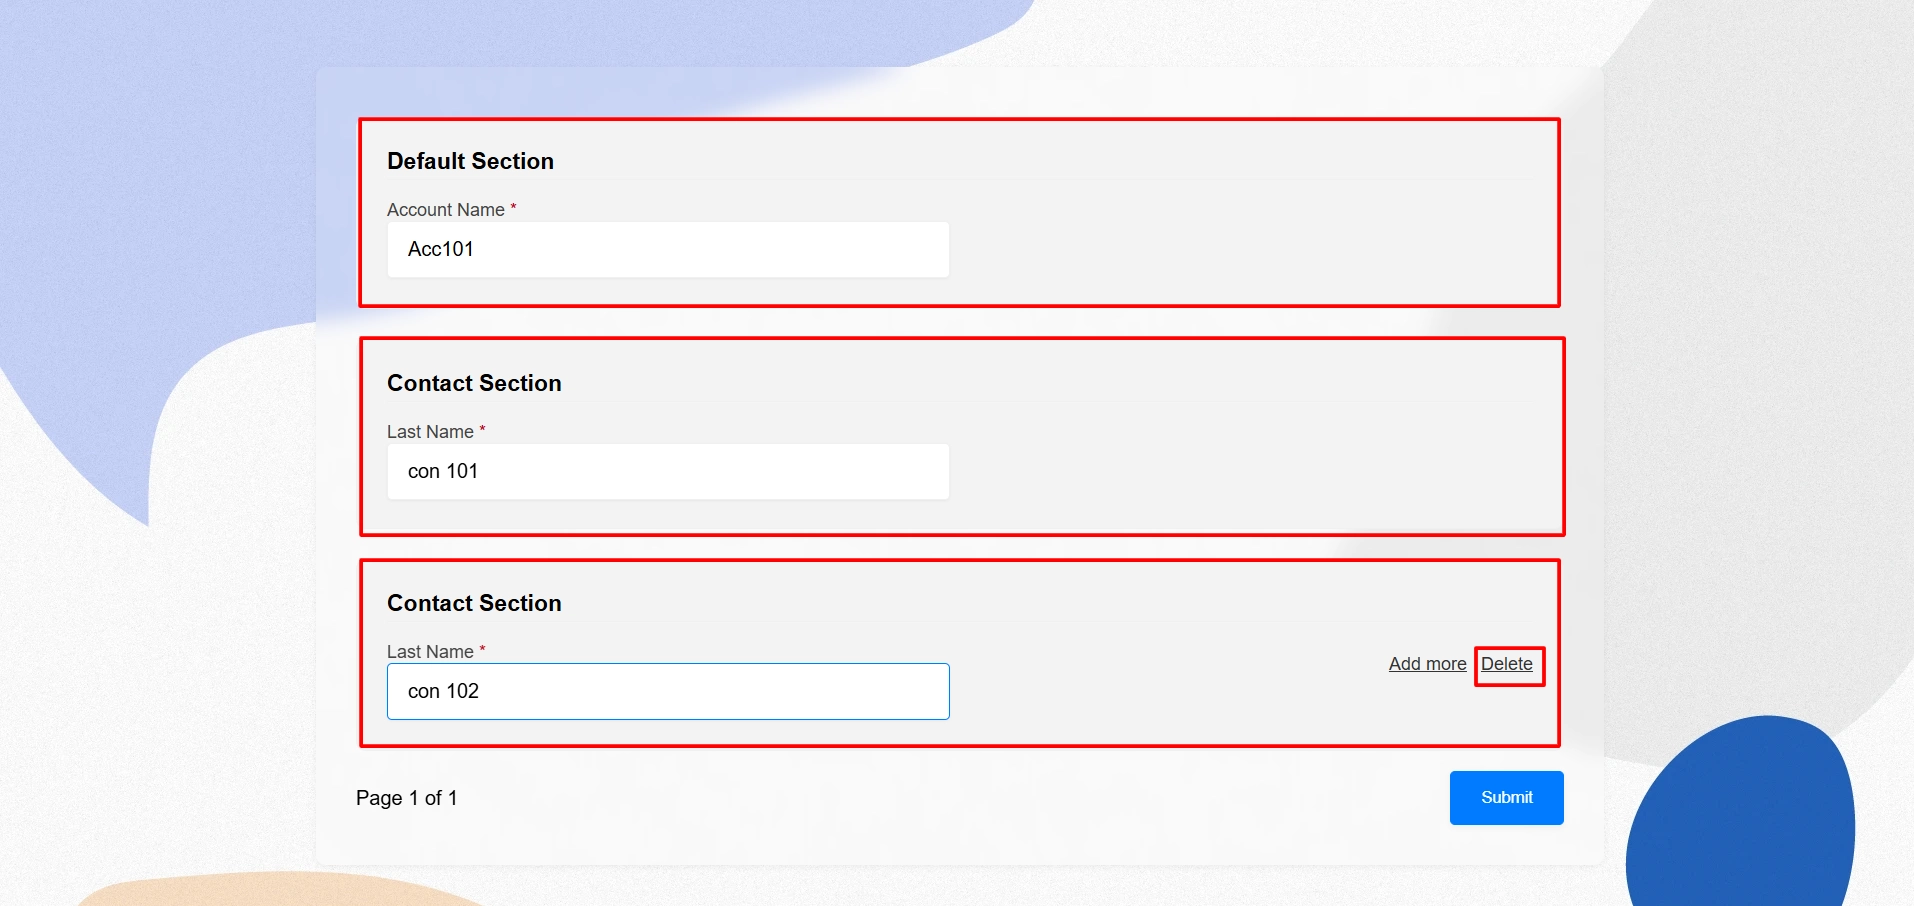
Step 15: After clicking “Add more,” you can add another Contact related to the Account. You can also click “Delete” to remove an added Contact.
Step 16: Finally, click the “Submit” button.
Step 17: Go to the “My Forms” tab and refresh the page.
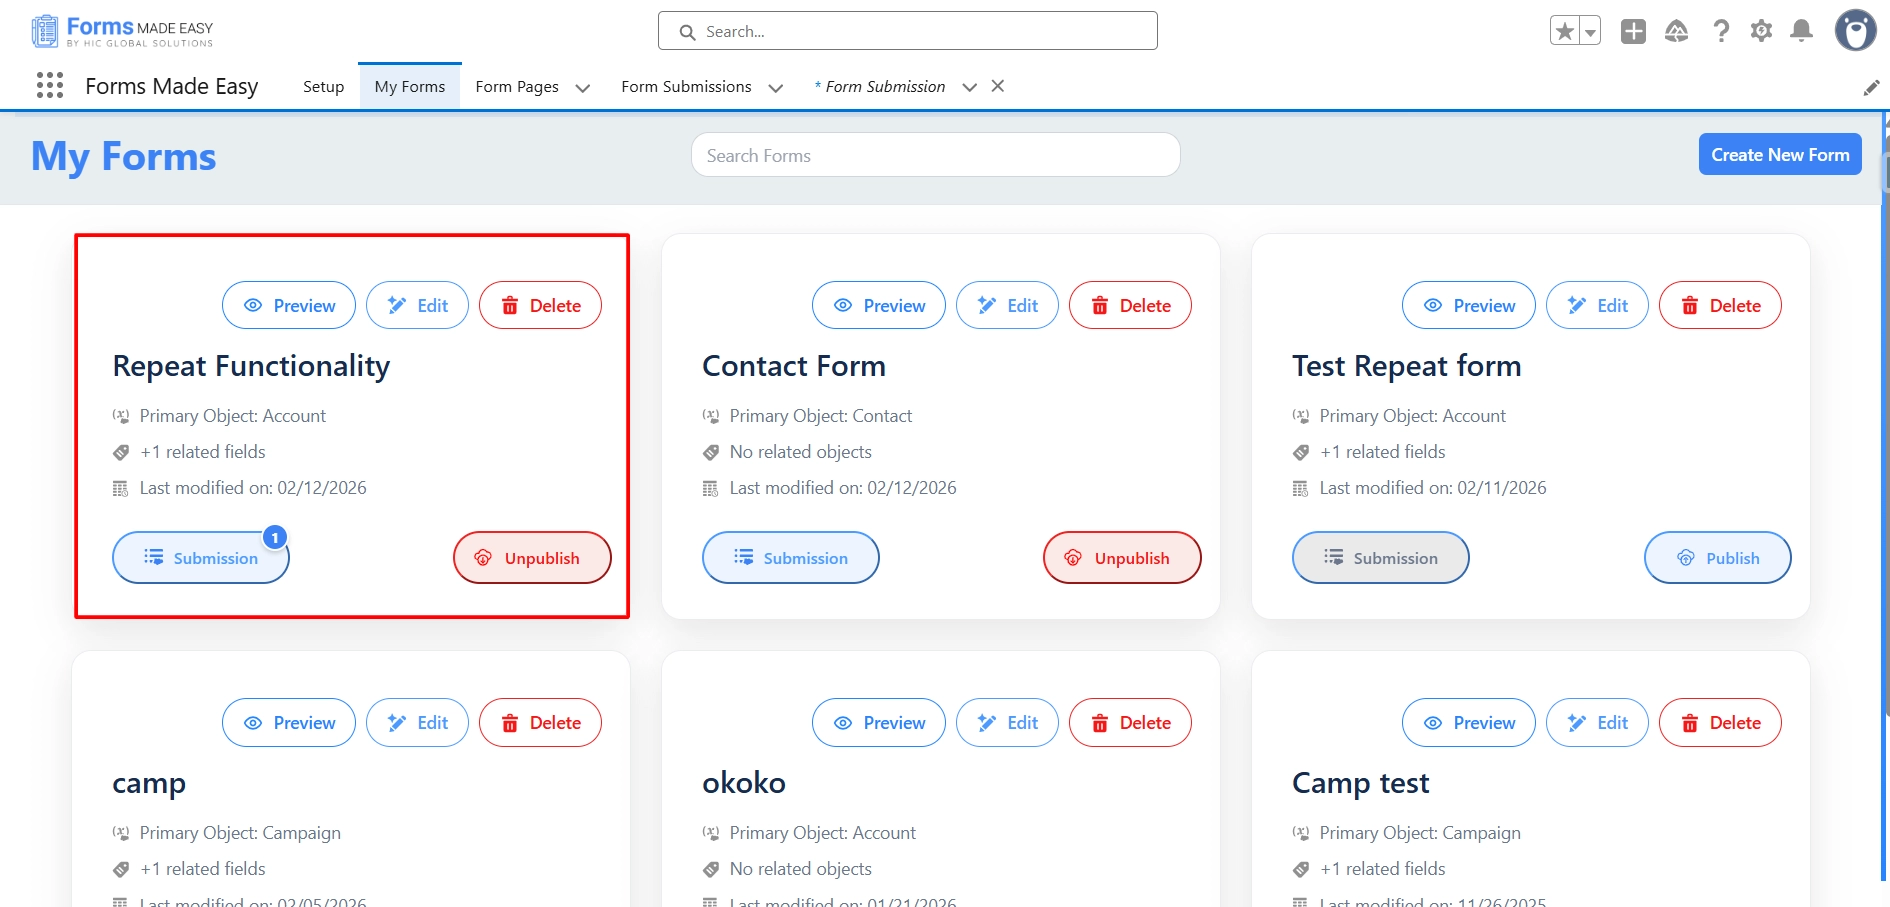
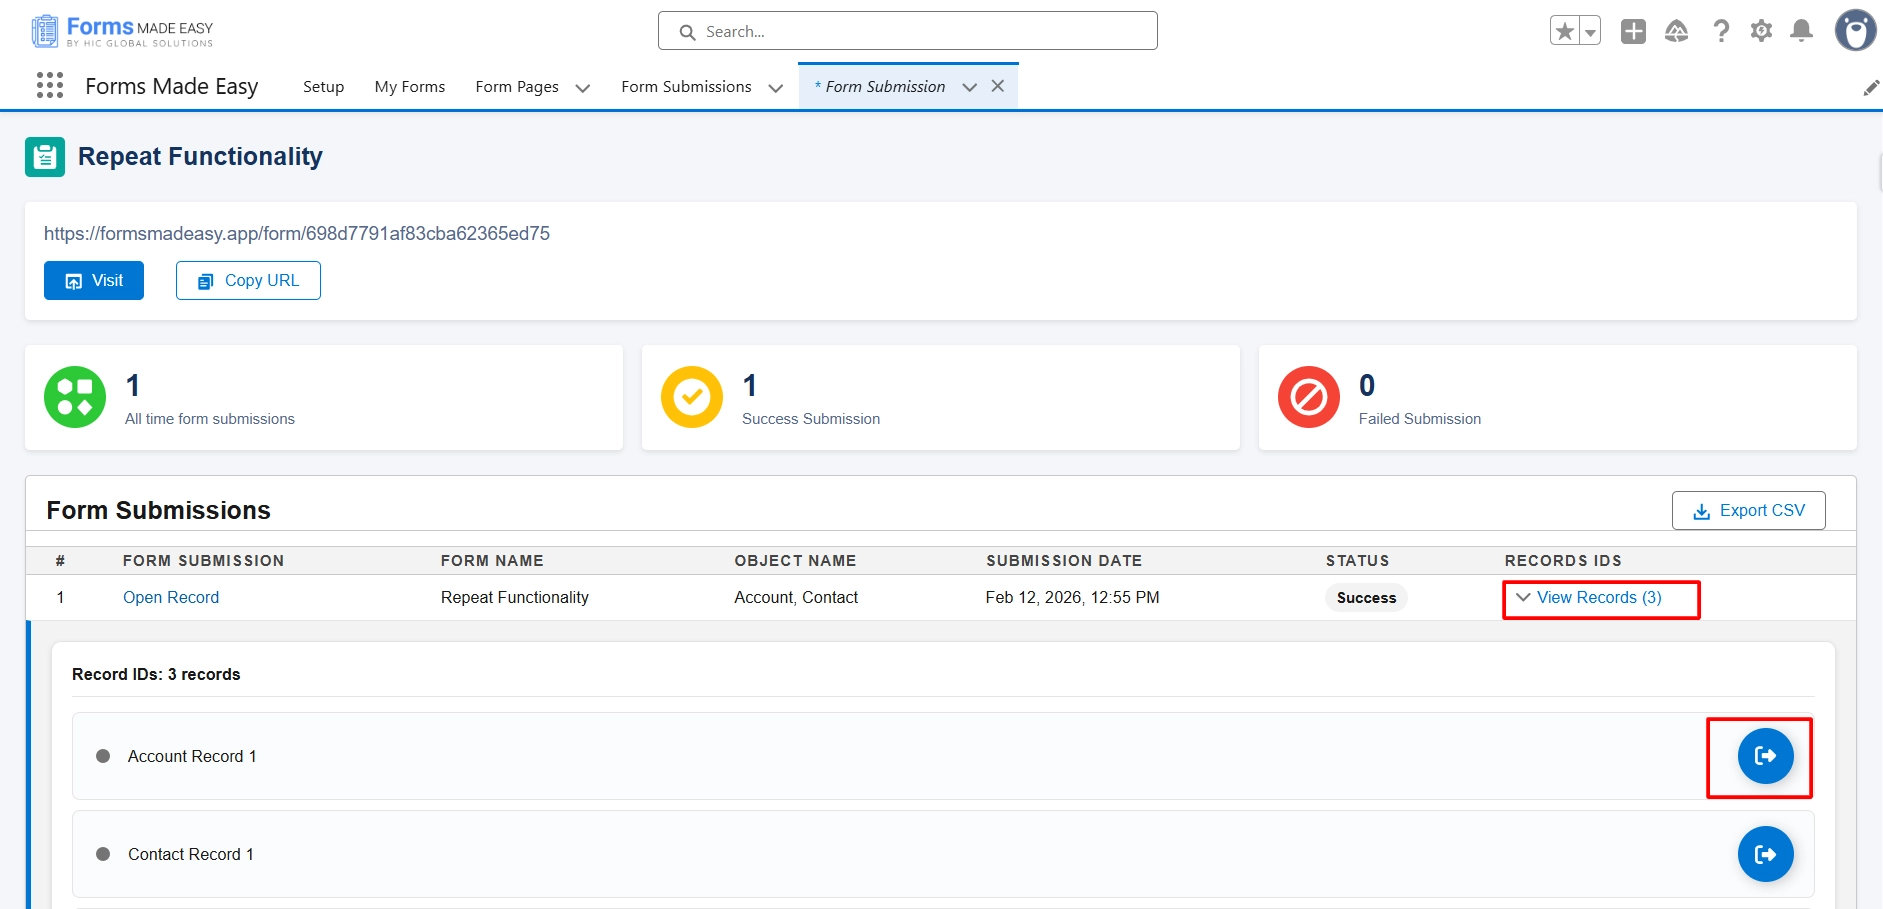
Step 18: Click on the “Submission” button to see all submissions.
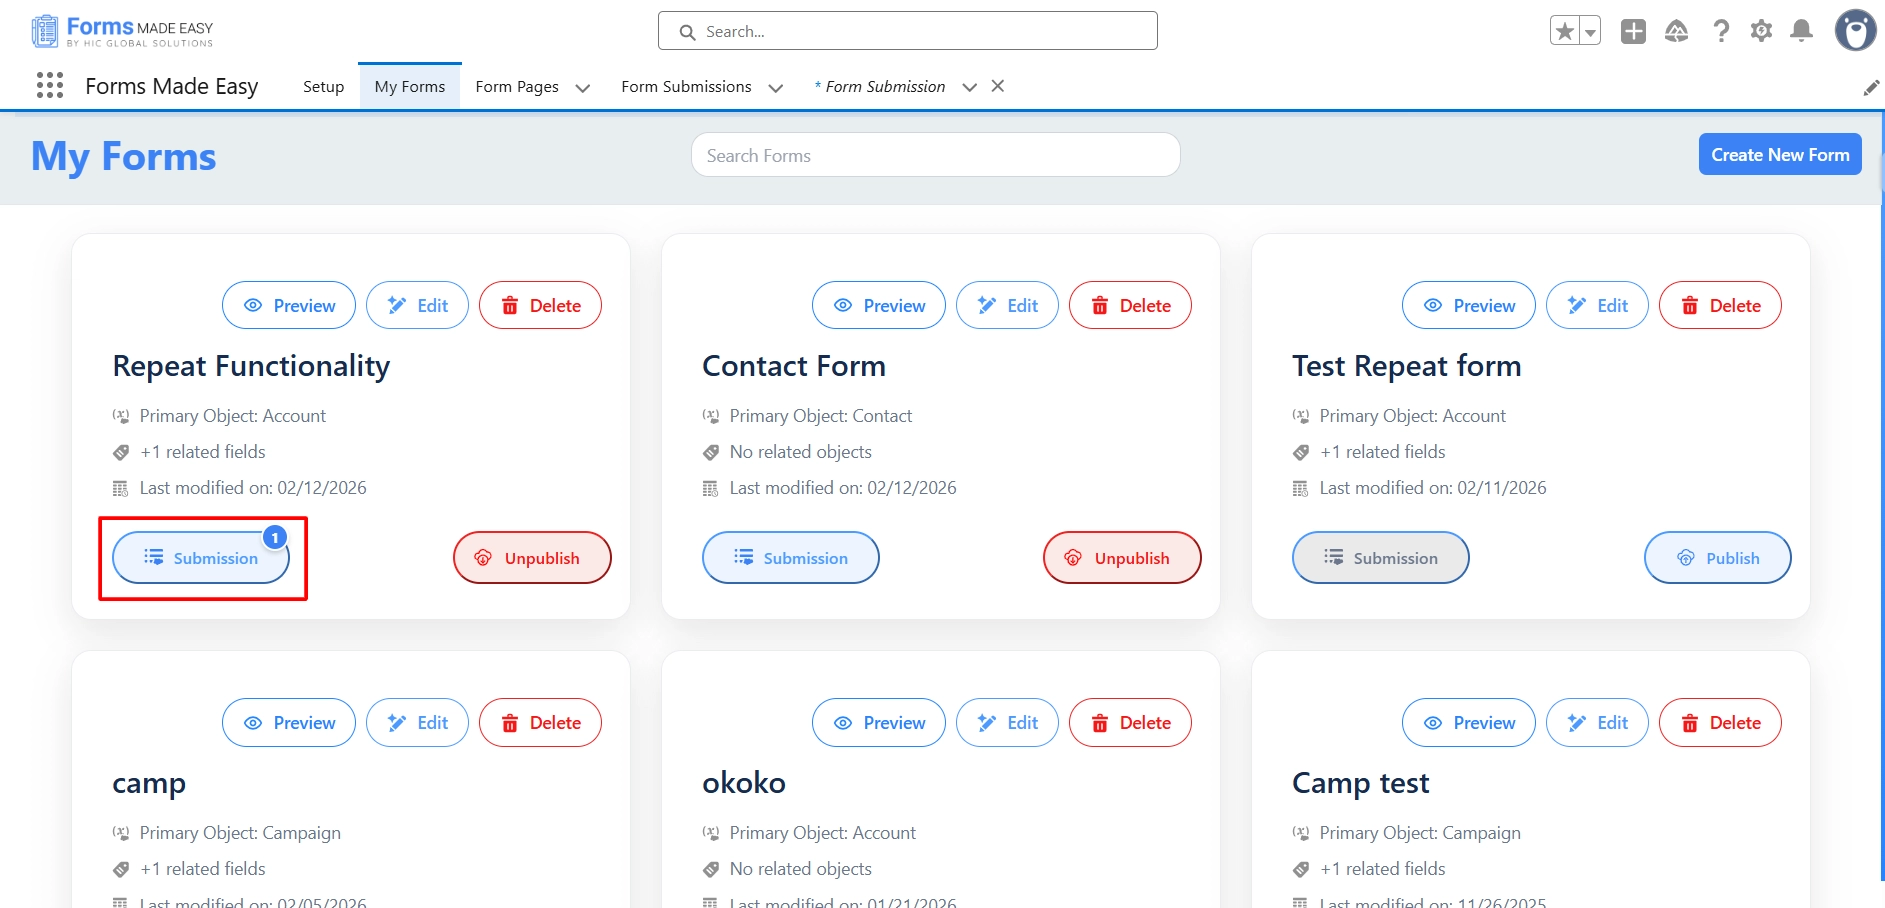
Step 19: Here, all submissions for that form will be displayed.
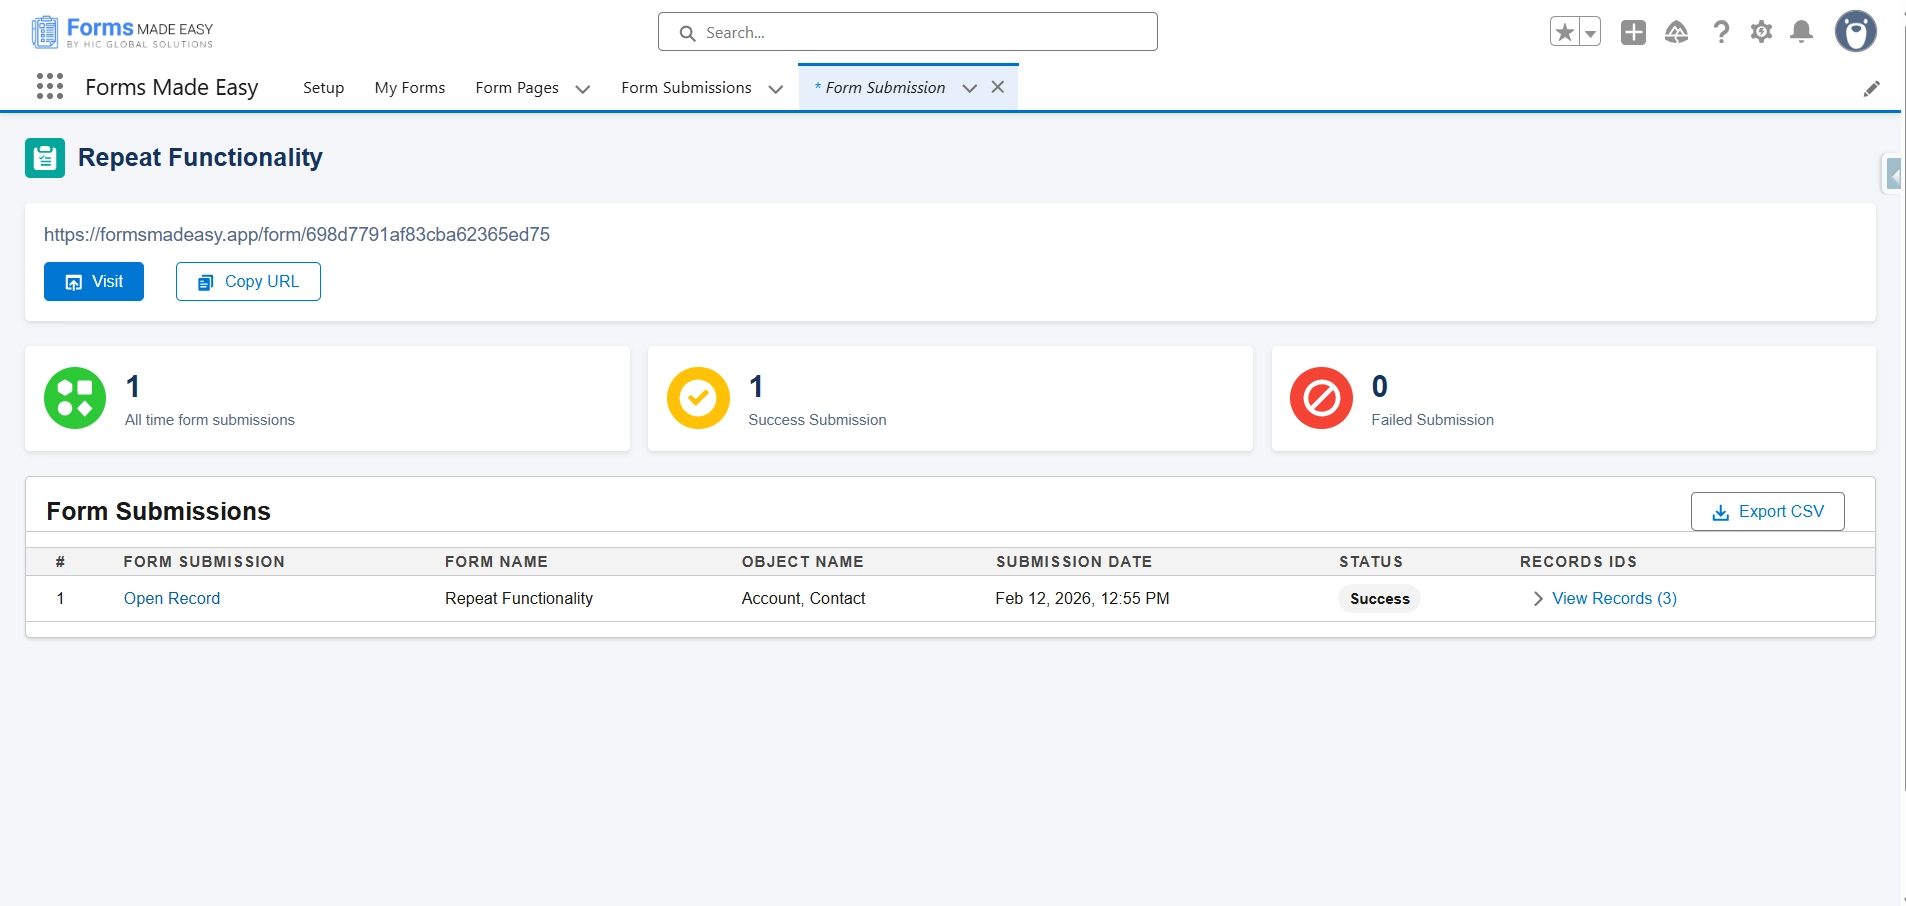
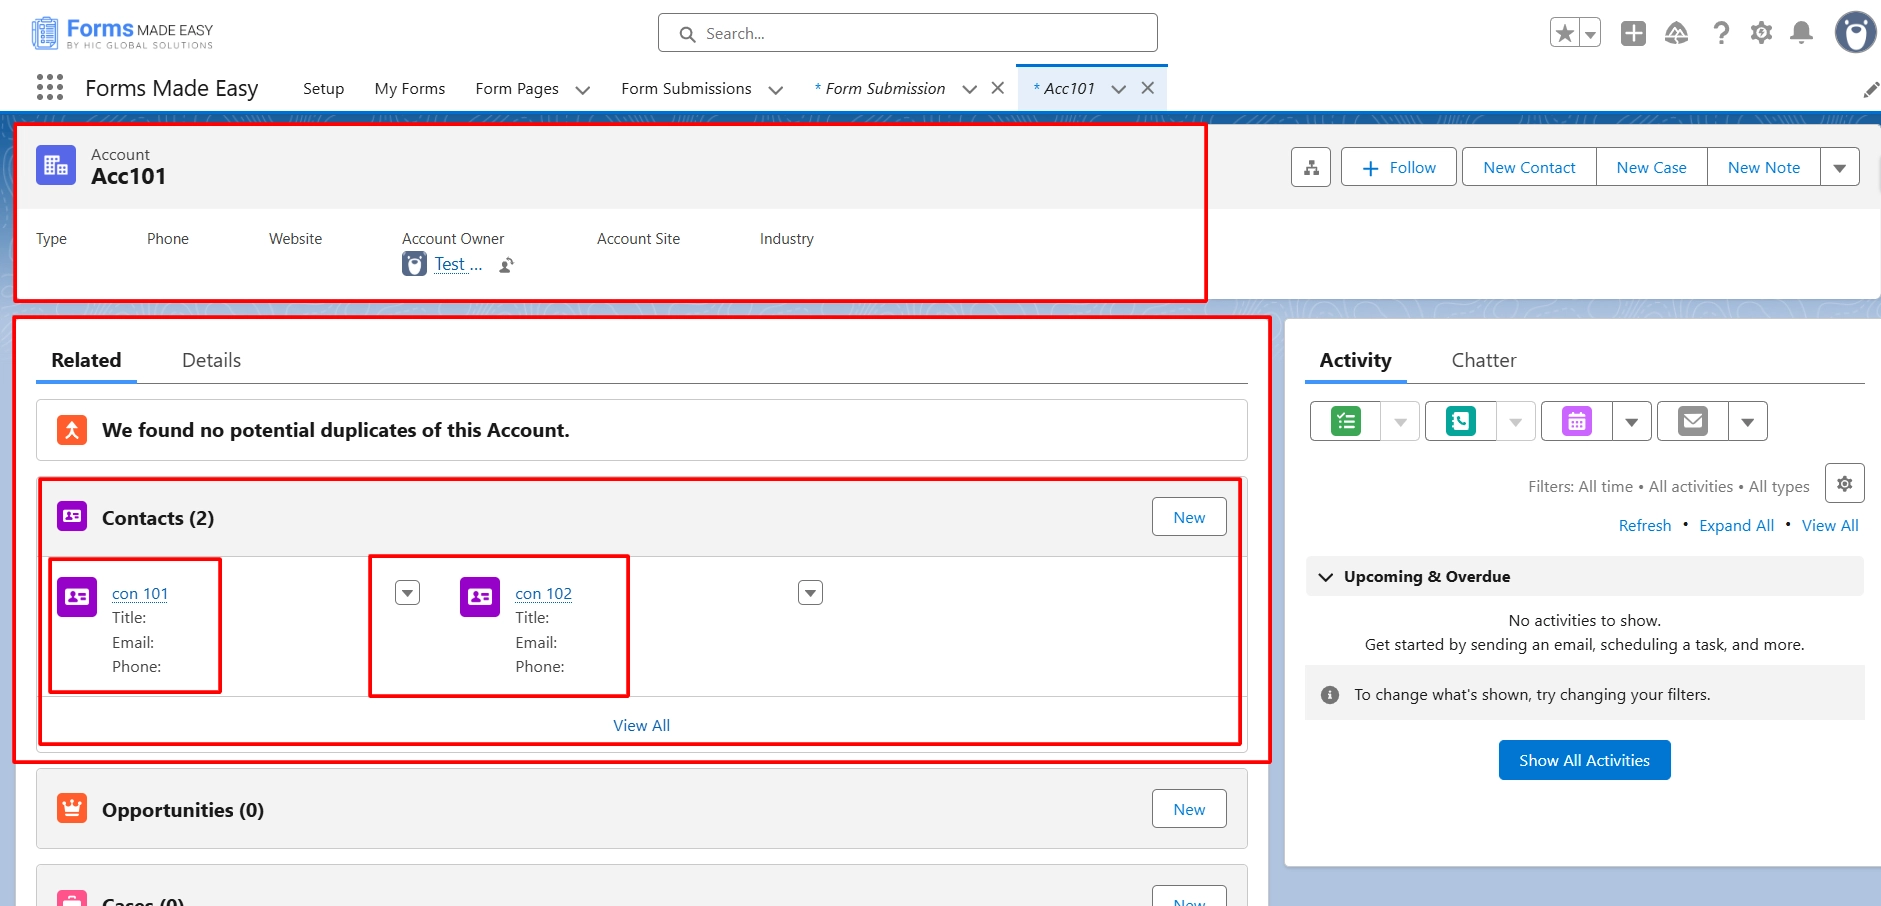
Step 20: Click “View Records,” then click “Preview” to see the submission in Salesforce.
Step 21: Now, two related Contacts will be successfully created under a single Account.
Conclusion
The Repeat functionality in Salesforce, when used with a no-code form builder, provides a powerful and flexible way to create multiple related records under a single parent record through a single form submission. It simplifies data collection by allowing users to add, review, or remove repeated sections dynamically, ensuring accurate and structured record creation.
By using Repeat, users can efficiently capture multiple child records, such as Contacts related to an Account, without submitting separate forms. This approach improves usability, reduces manual effort, and maintains clean data relationships. This blog highlights how Repeat functionality makes Salesforce forms more dynamic, scalable, and user-friendly when handling one-to-many record relationships.