

Build Your No-Code Forms in Minutes
Design, automate, and connect forms seamlessly within Salesforce. Capture customer data, approvals, and feedback no code required.
Talk to Our TeamThis guide walks you through creating rich, branded, and responsive Salesforce forms with a no-code form builder. We will upload a custom logo, upload files, add images, etc.
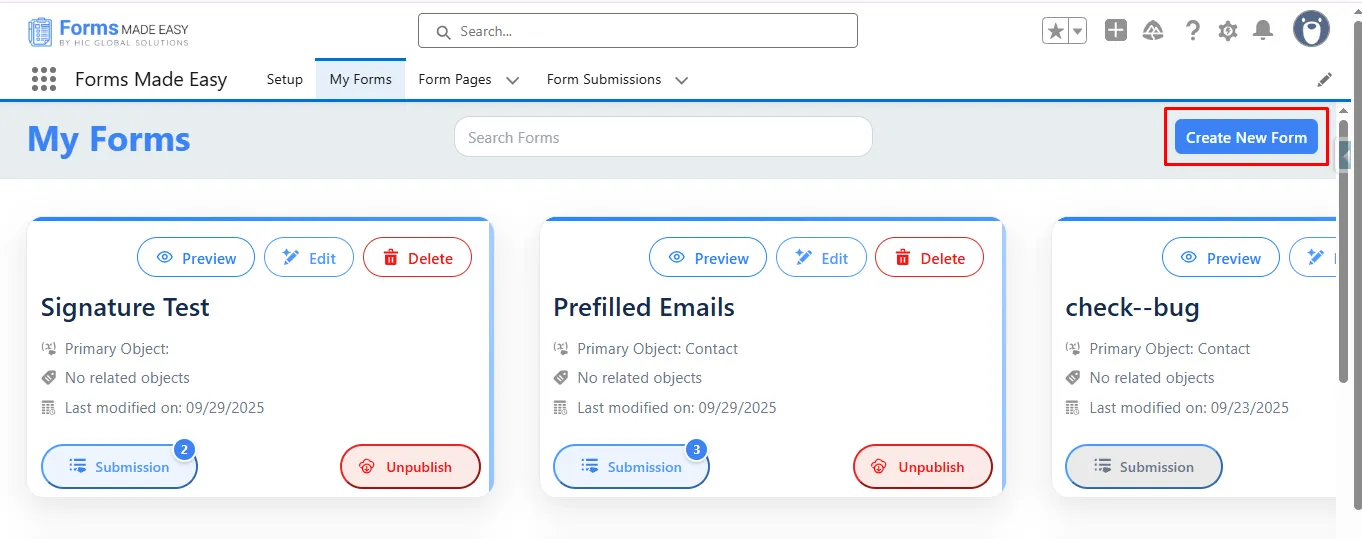
Step 1: Go to the My Forms tab and click on the “Create New Form” button.
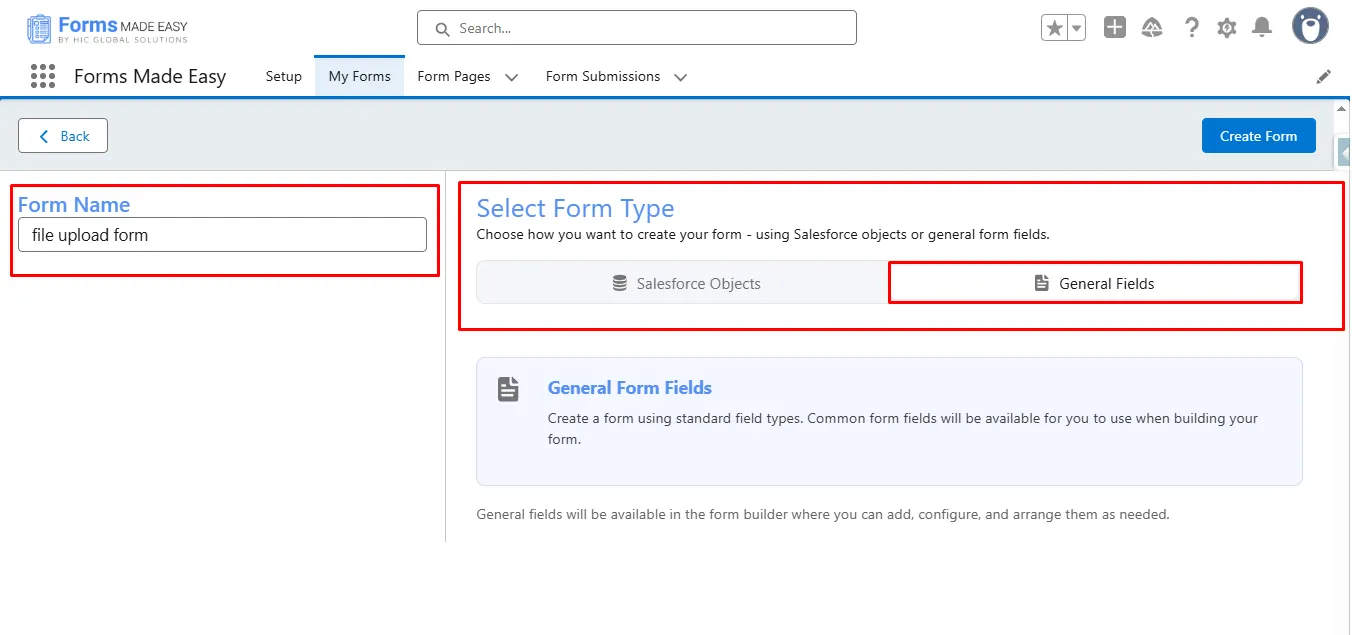
Step 2: Enter the form name and select the form type (Salesforce Objects or General Fields).
- Currently, we have chosen the general fields option.
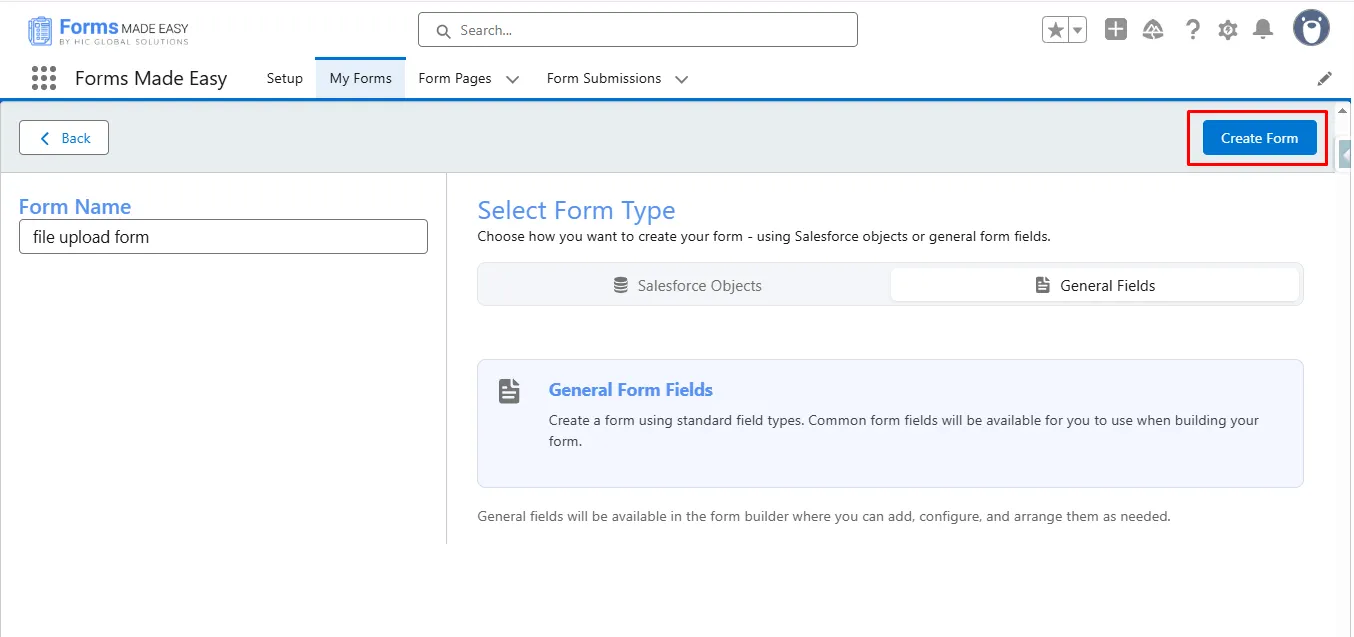
Step 3: Click on the “Create Form“ button.
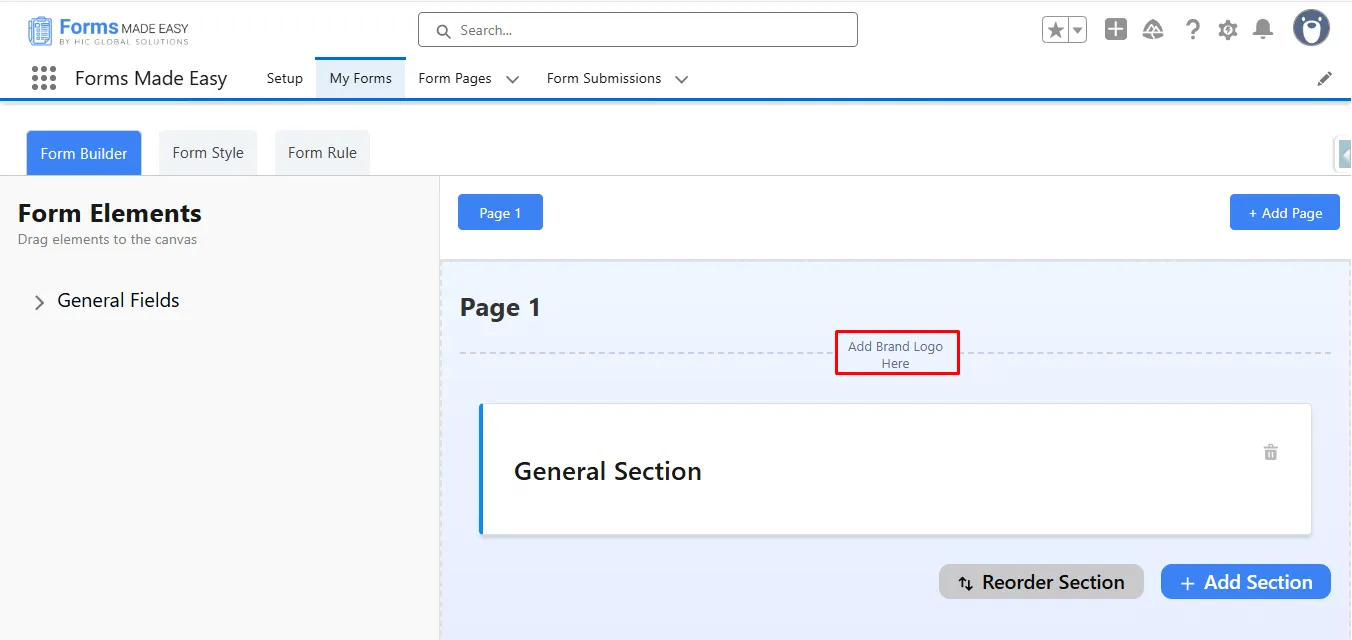
Step 4: To add a brand logo, click on “Add Brand Logo Here”.
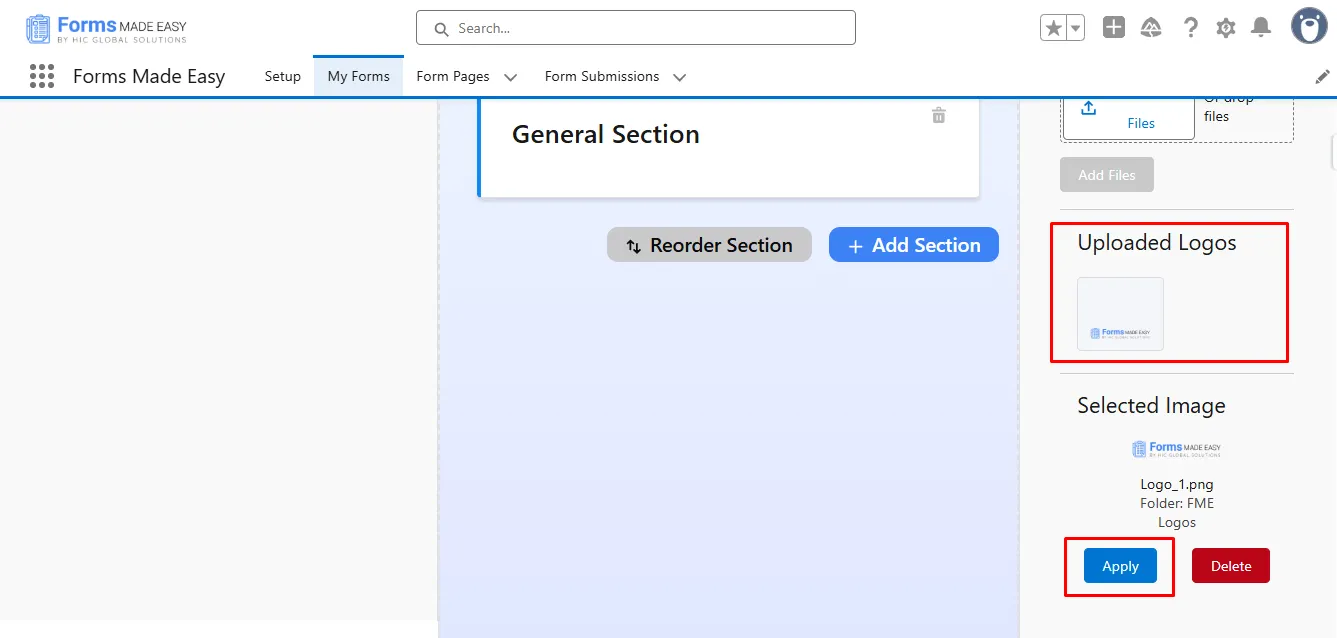
Step 5: Now, a configuration side panel will be displayed. In that, click on “Select Folder” to select the folder “FME Logos.” After that, click on Upload Files, then upload your logo, then click on Add Files.

Step 6: Now your uploaded logo will be shown in the “Uploaded Logos” section. Here, click on the uploaded logo and then the “Apply” button.
Step 7: Click on the “General Fields” section to drop a new general field.

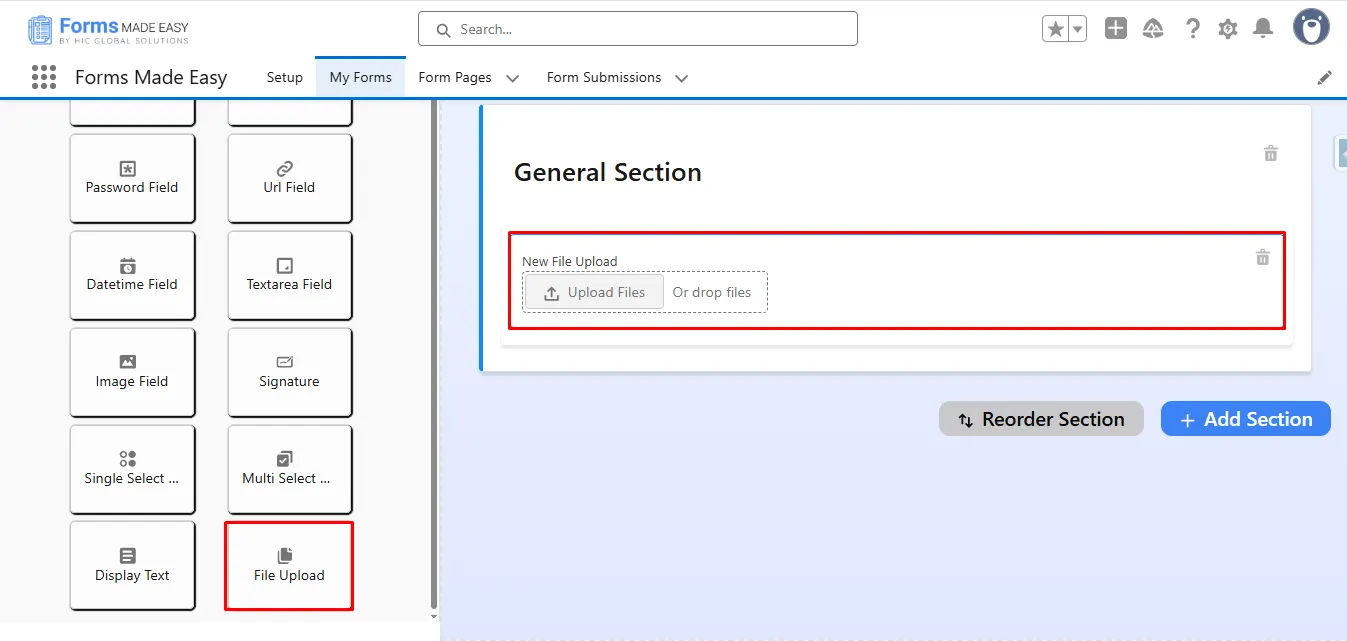
Step 8: Drag and drop the “File Upload” field from General Fields.
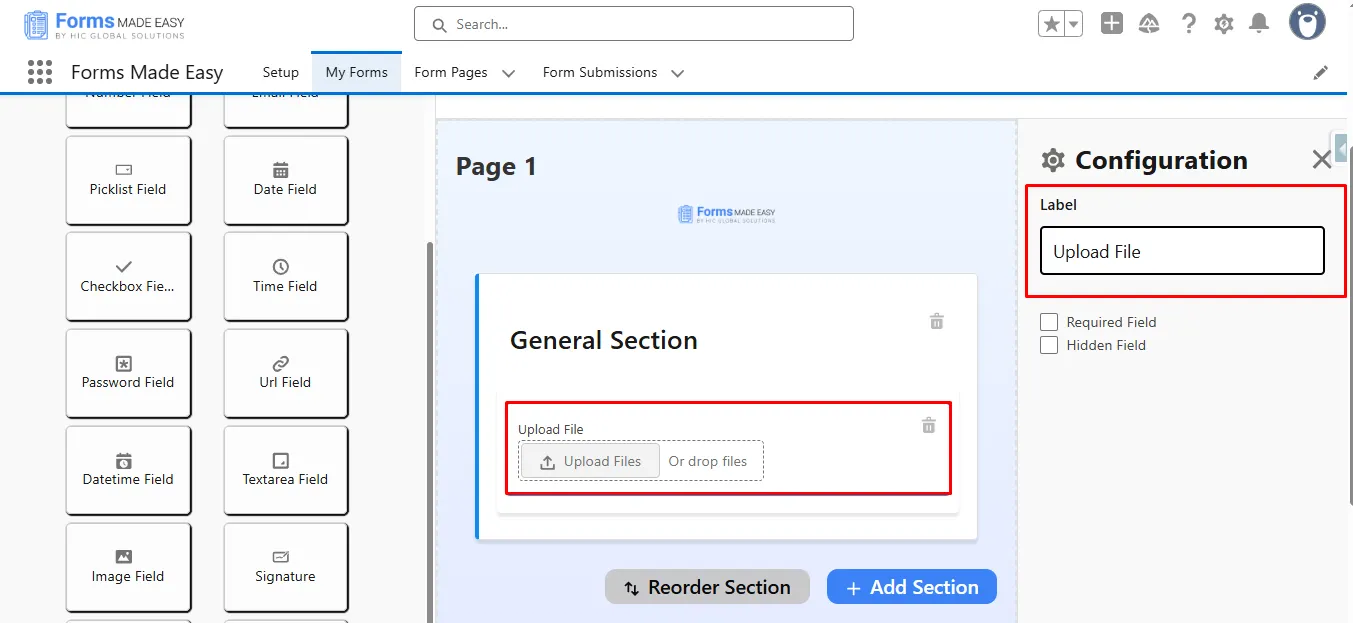
Step 9: Click on the “File Upload” field and change the “Label” of the field (if needed).
Step 10: Now, drag and drop the “Image Field” field from General Fields.
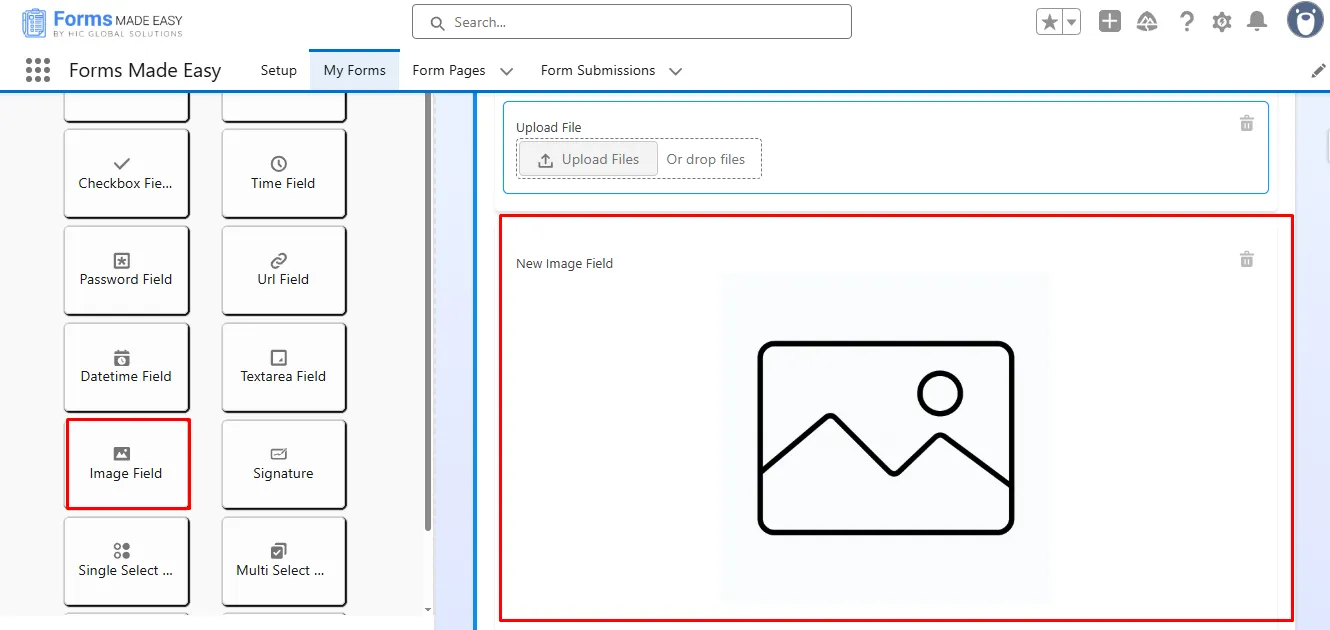
Step 11: Click on “Image Field” and change the “Label” of the field (if needed).

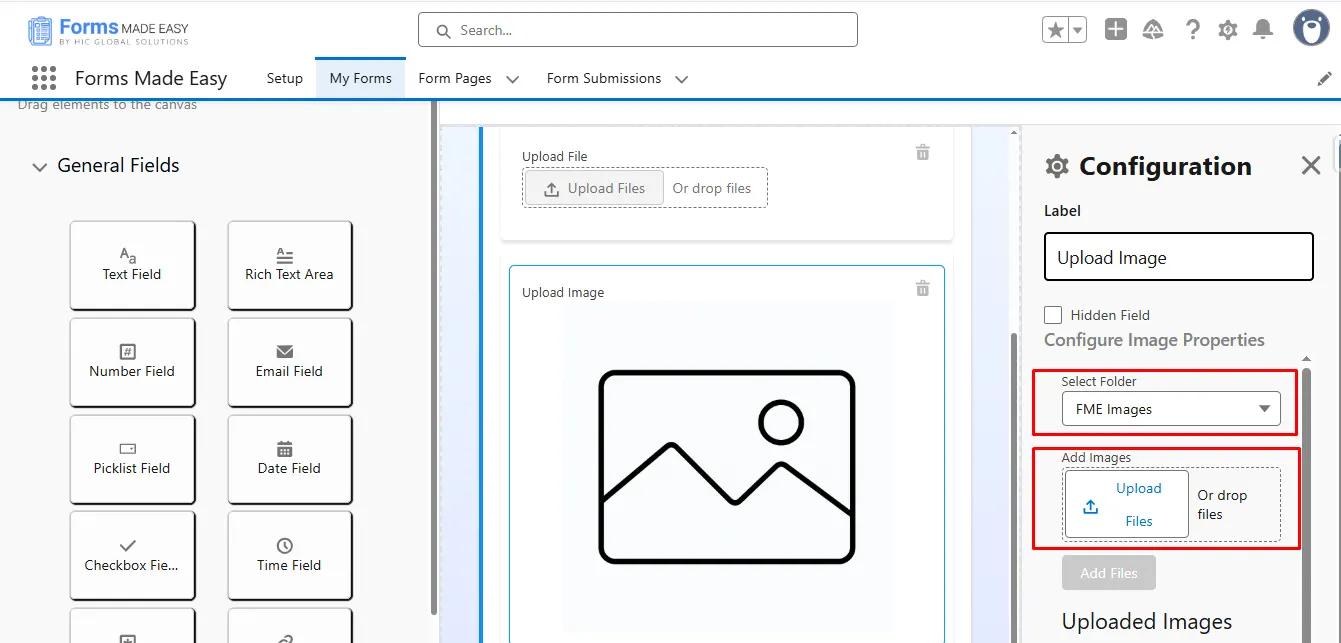
Step 12: Click on “Select Folder” to select the folder “Add Images,” then click on Upload Files and choose the image from the computer. After that, click on the Add field to upload that image into Salesforce.
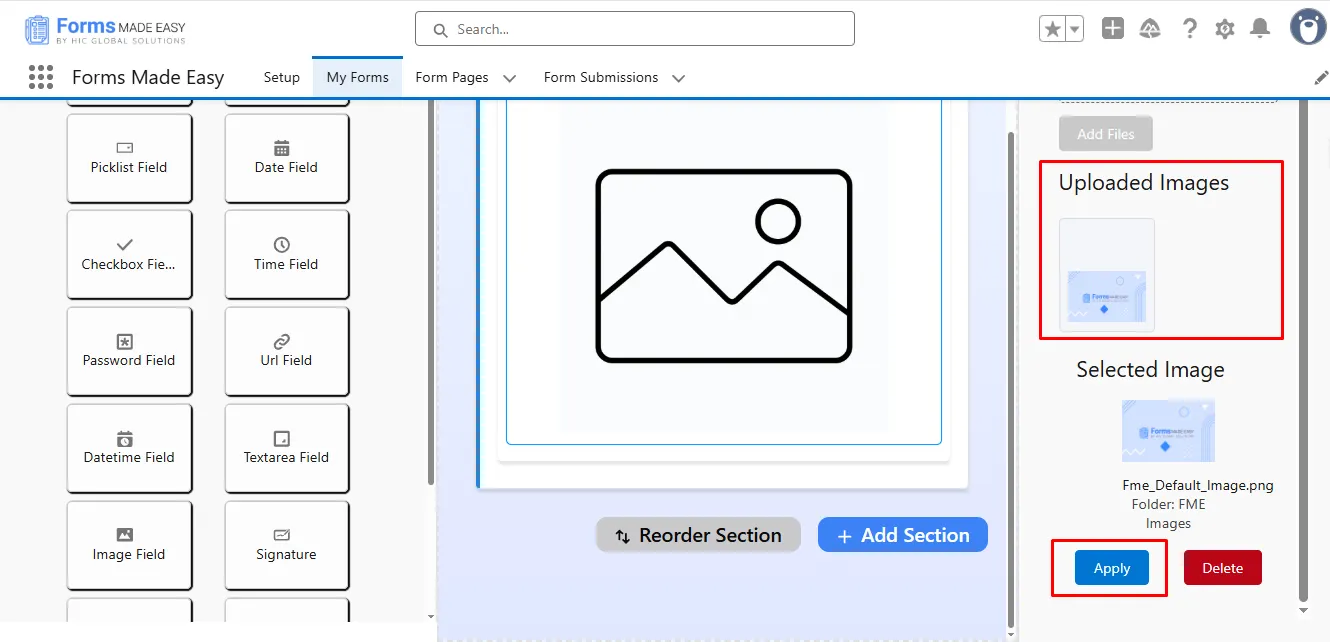
Step 13: Now your uploaded image is shown in the uploaded image section. Select your image from “Uploaded Images” and click on the “Apply” button.
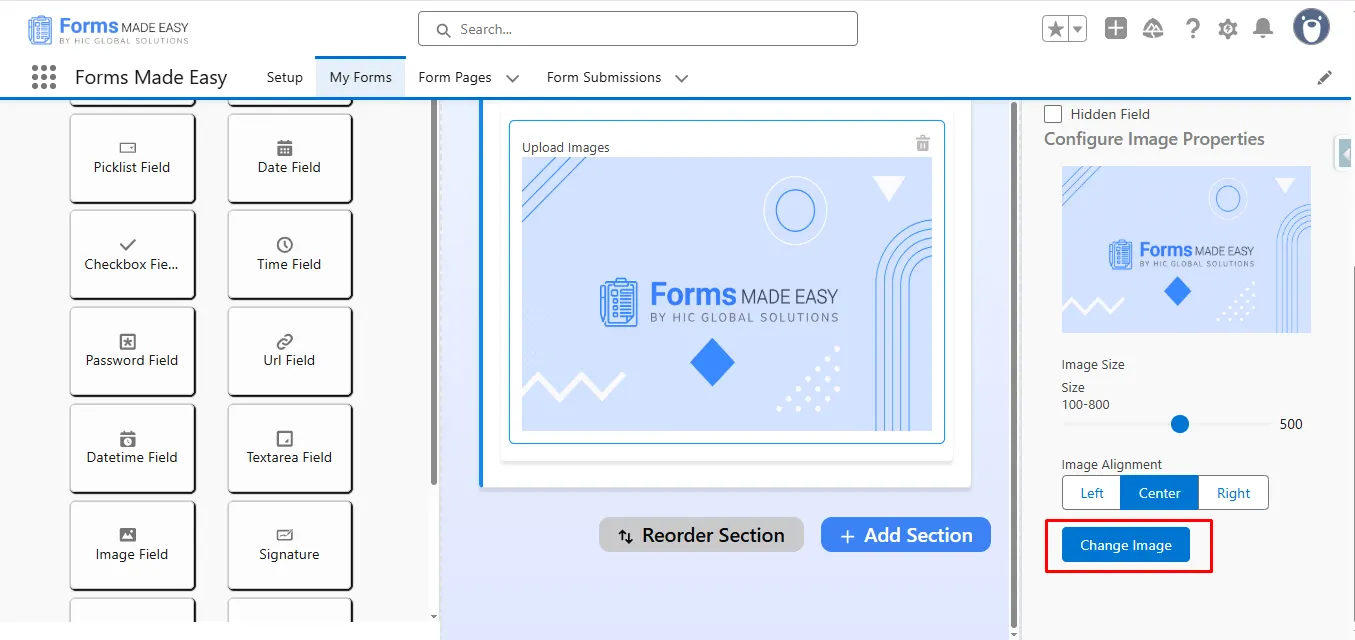
Step 14: To adjust the alignment of the image, click on ‘Image’ in the form builder. Now, a configuration panel will open. So, from there, you can increase the size of the image as per requirement, and for alignment, click on “Image Alignment” to change the alignment of images (like left, center, and right).

Step 15: If you want to change the image, click on the “Change Image” button to change the images.
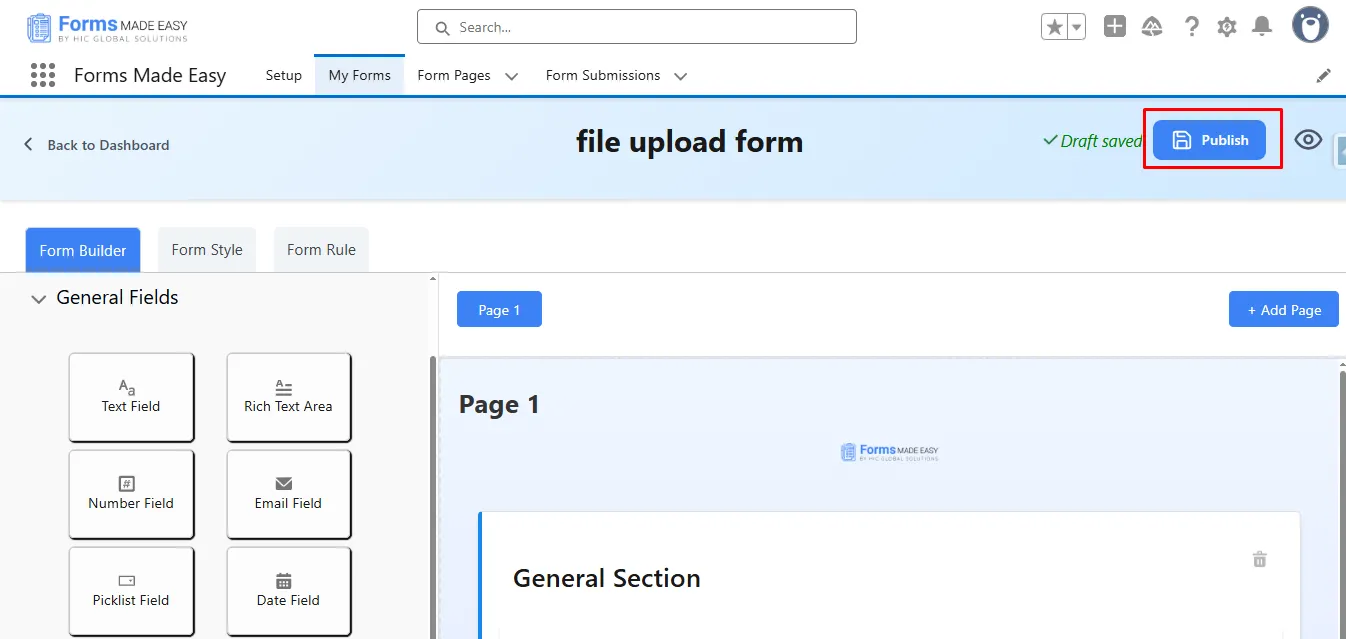
Step 16: After all of that, you can publish the form by clicking the “Publish” button.
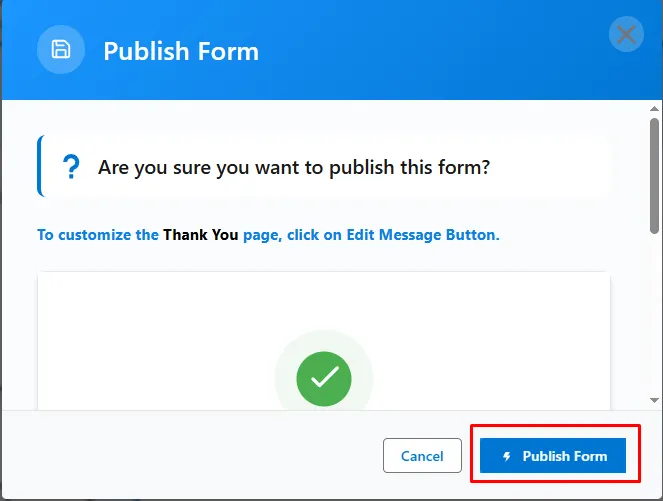
Step 17: Click the “Publish Form” button.
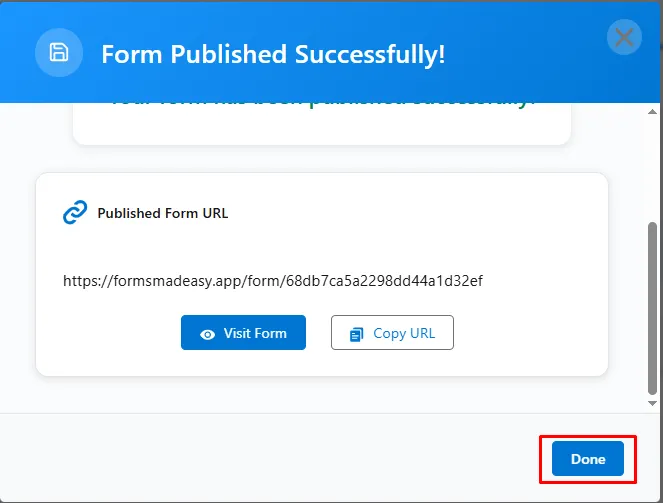
Step 18: To close the modal, click “Done.”
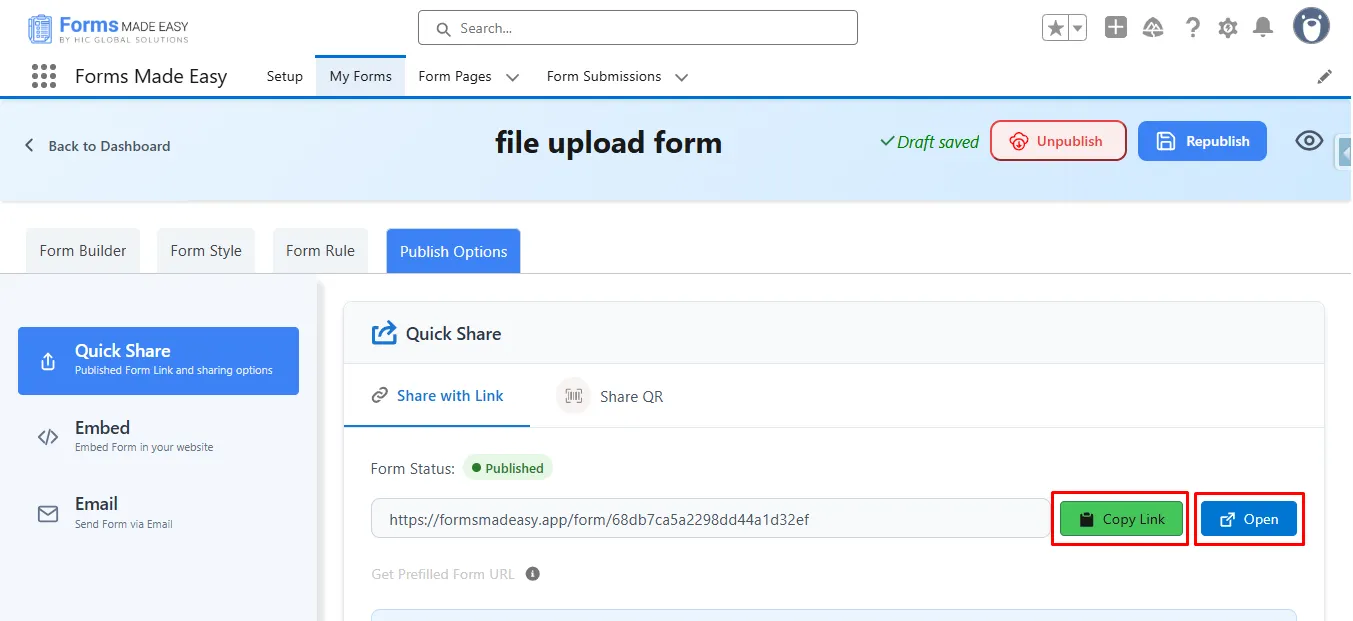
Step 19: Click on the “Copy Link” or “Open” buttons to open the forms directly on the web.
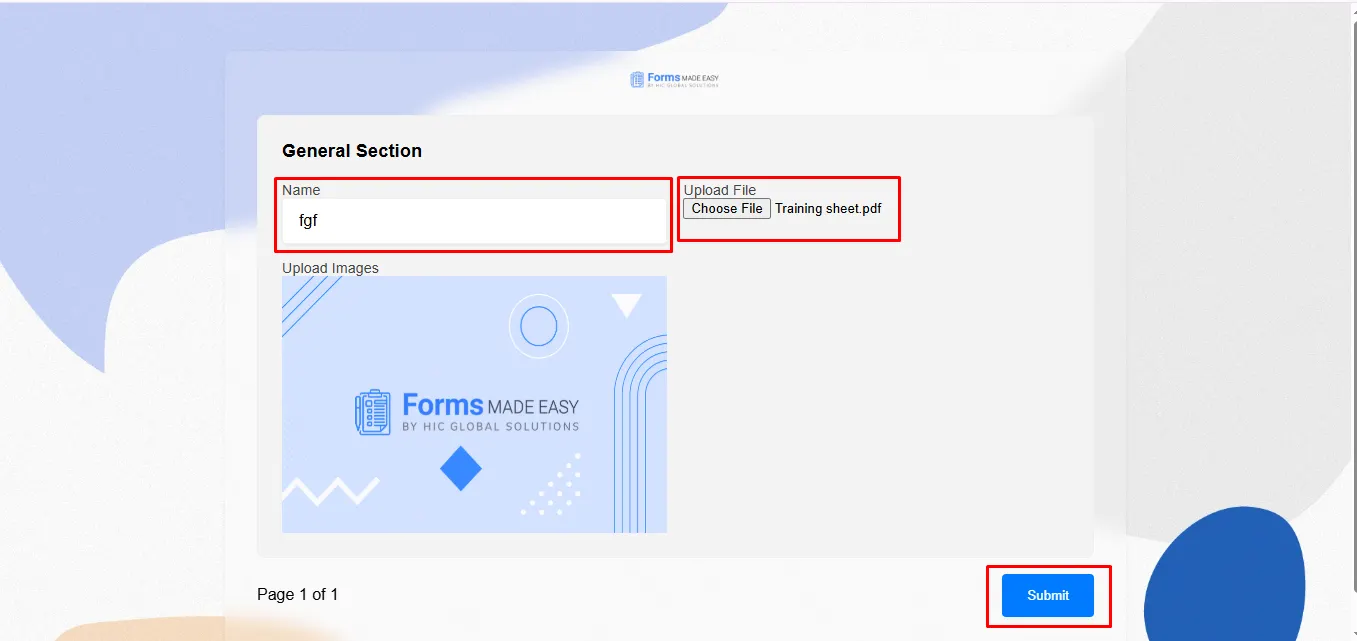
Step 20: Click on “Choose File” to select the file and click on the “Submit” button.
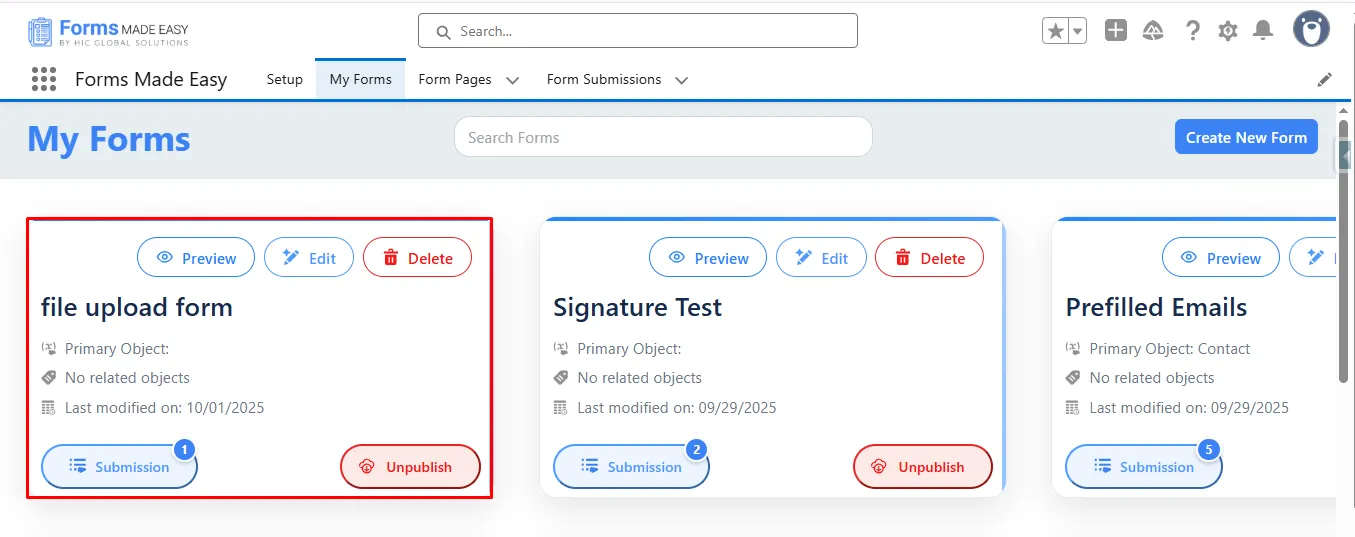
Step 21: Go to the “My Forms” tab and click on the “Submission” button of that form.
Step 22: Here you will see all your submissions for that form.
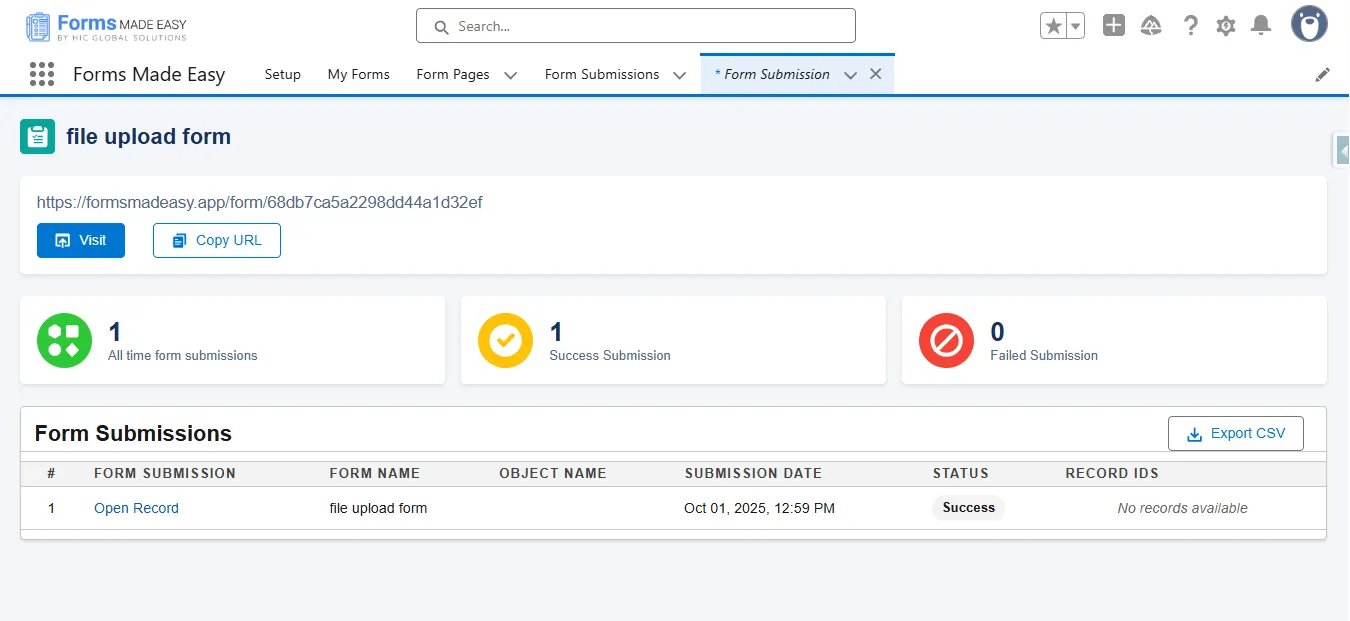
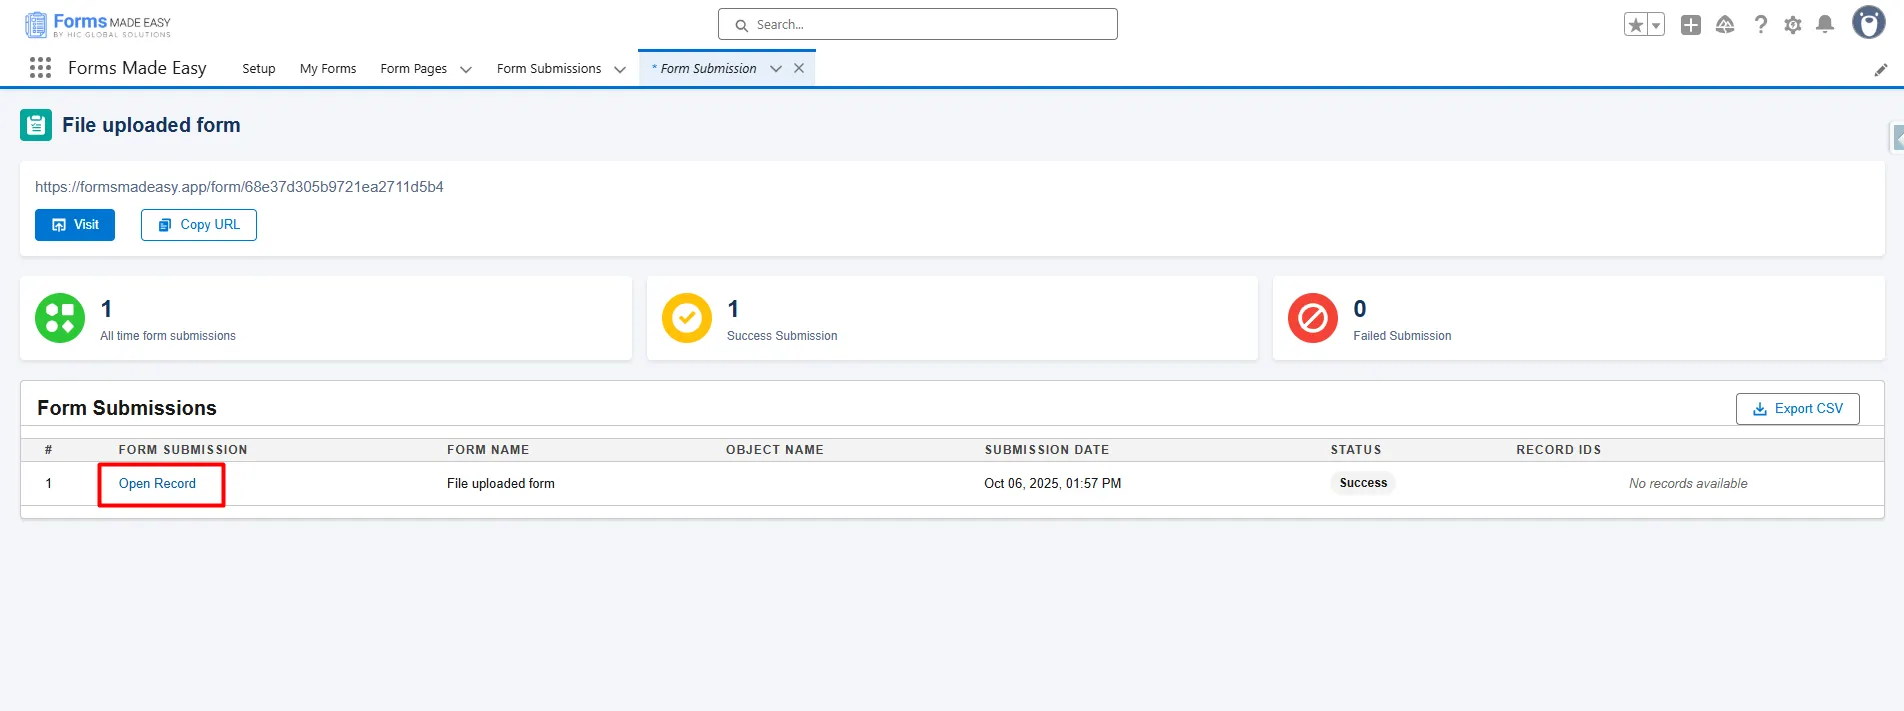
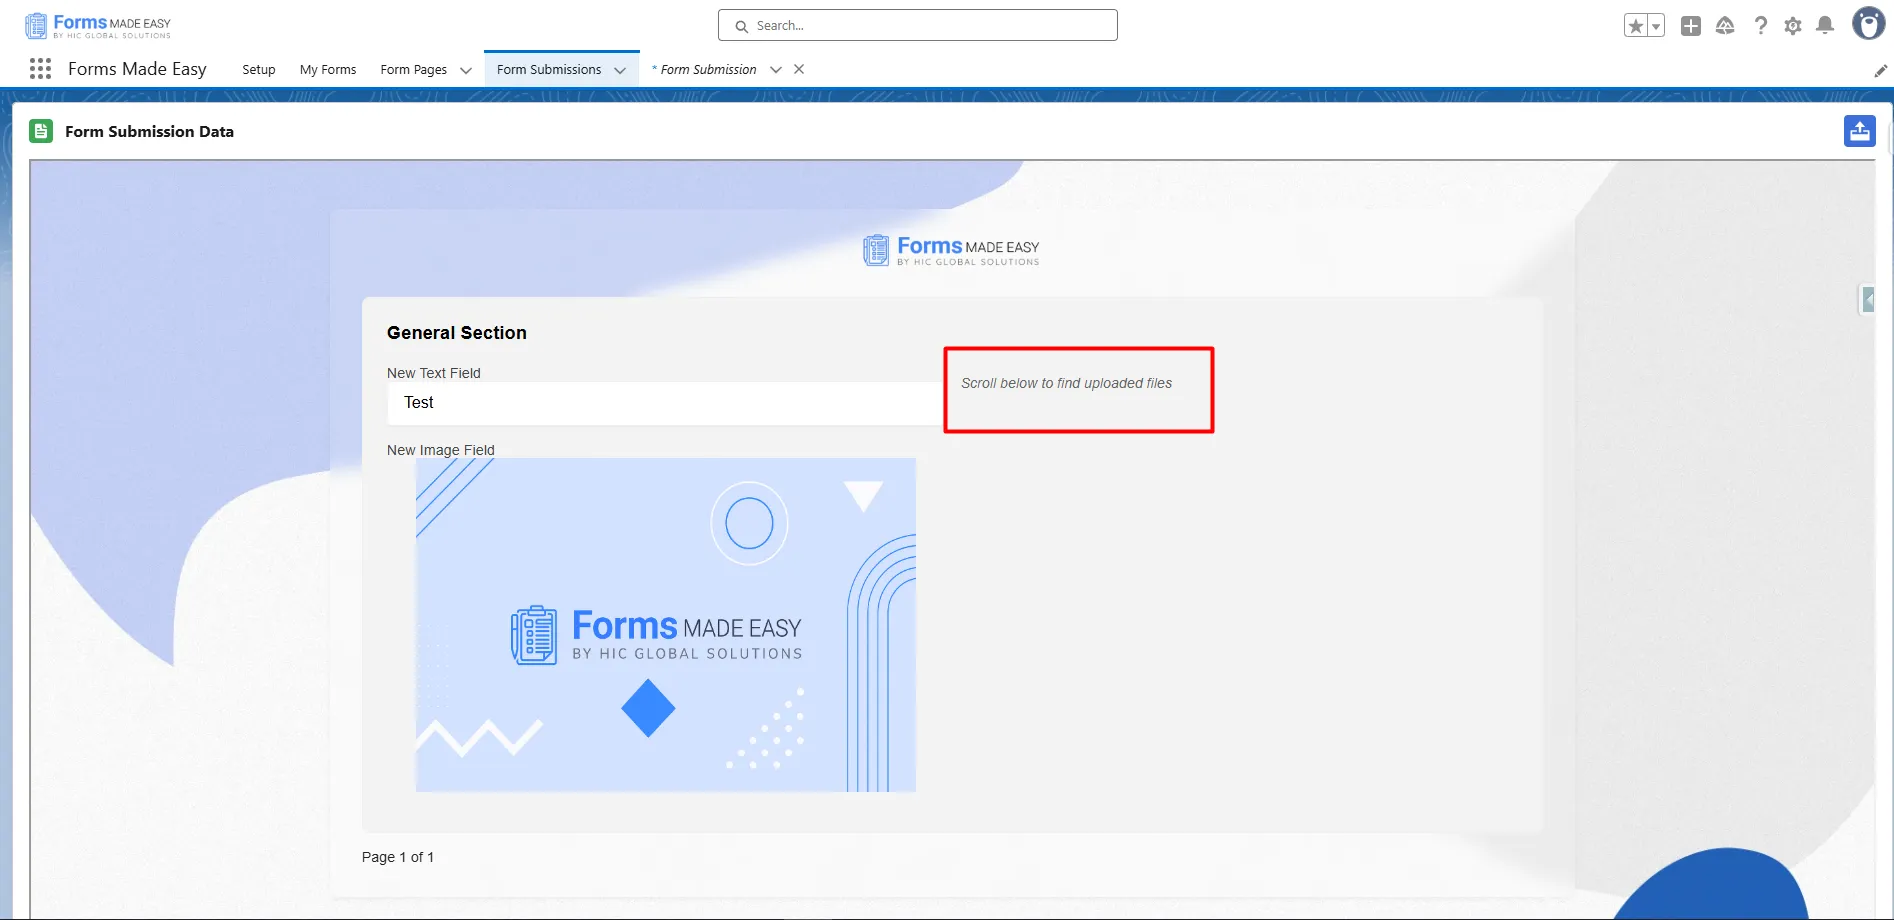
Step 23: To see the uploaded field, click on the Open Record of the submission.
Step 24: When you open the record, you will see the preview of the form the customer has filled in and the uploaded file. To see the file, scroll down to the end of the form.
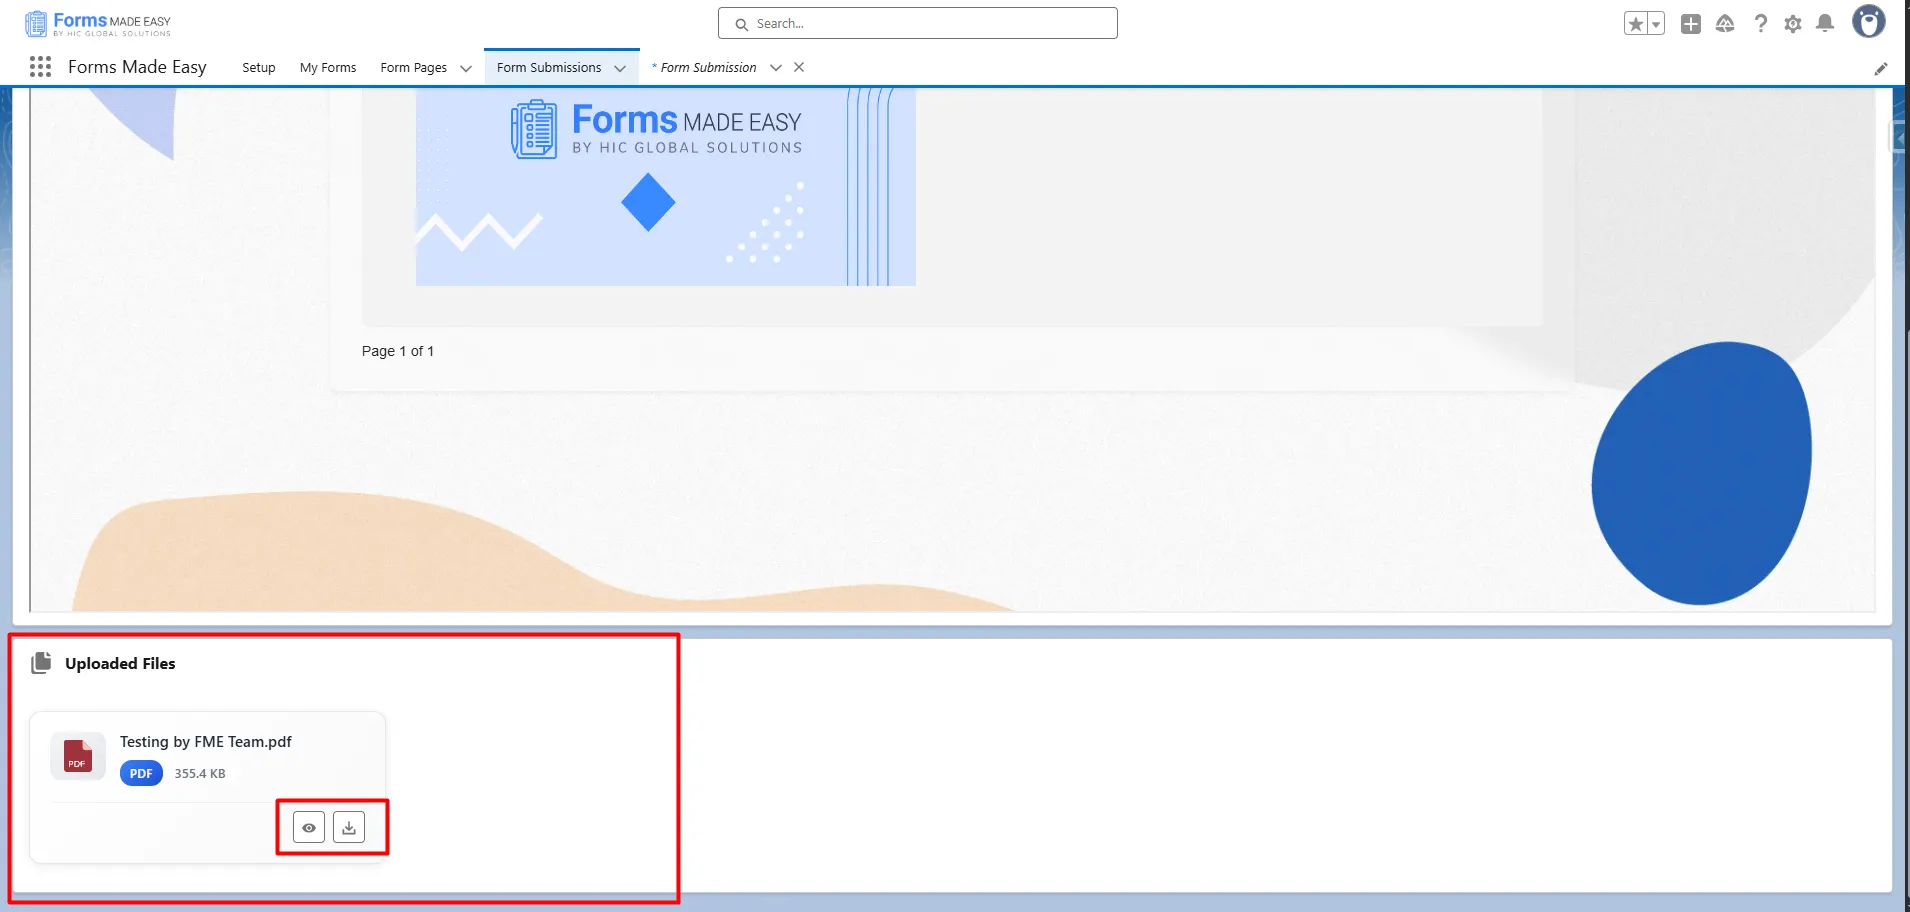
Step 25: Here, you will see the file and the view or download file option.
Conclusion
Using a no-code form builder makes creating branded, interactive, and file-enabled Salesforce forms incredibly simple. Whether you’re using it as a Salesforce form creation tool or exploring broader Salesforce form builder solutions, you can design visually appealing and highly functional forms in minutes. With the added flexibility of a Salesforce online form builder, your entire form-building process becomes faster, cleaner, and far more efficient, with no coding required.