
Build Your No-Code Forms in Minutes
Design, automate, and connect forms seamlessly within Salesforce. Capture customer data, approvals, and feedback no code required.
Talk to Our TeamThis step-by-step guide will provide the simple steps on how the Salesforce form creation tool works when sharing a form for a specific record using Quick Share. With modern Salesforce Form Builder Solutions and Salesforce Online Form Builder capabilities, publishing your form and sharing it through a link or QR code becomes simple and efficient. This blog on Quick Share (Publish Options) explains how Salesforce Form Solutions enable you to create a form, publish it, and instantly access Quick Share features to distribute it for any record-based requirement.
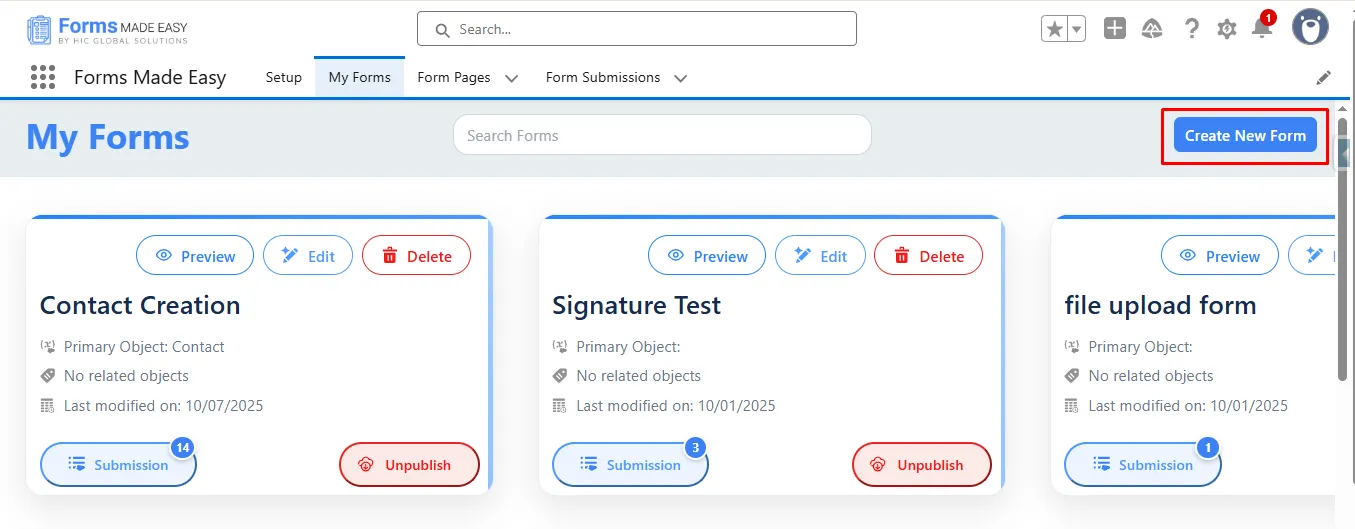
Step 1: Go to the My Forms tab and click on the “Create New Form” button.
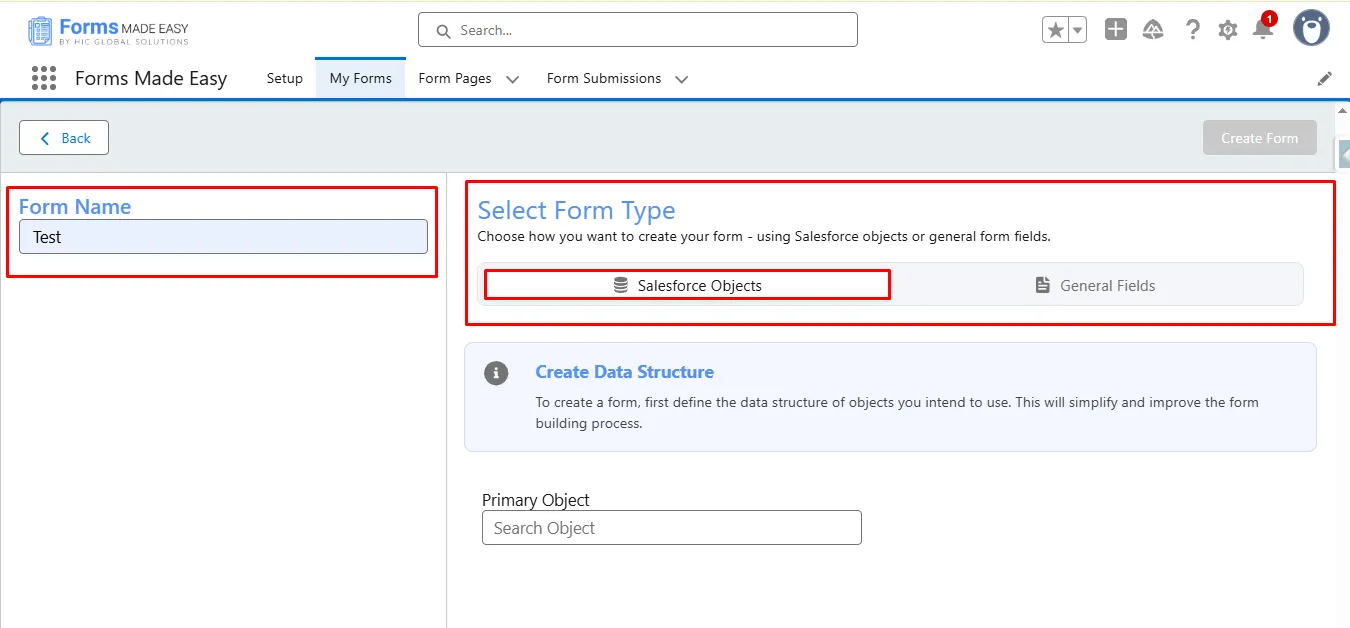
Step 2: Enter the form name and select the form type (Salesforce Objects or General Fields).
- Currently, I have chosen the Salesforce Objects option.
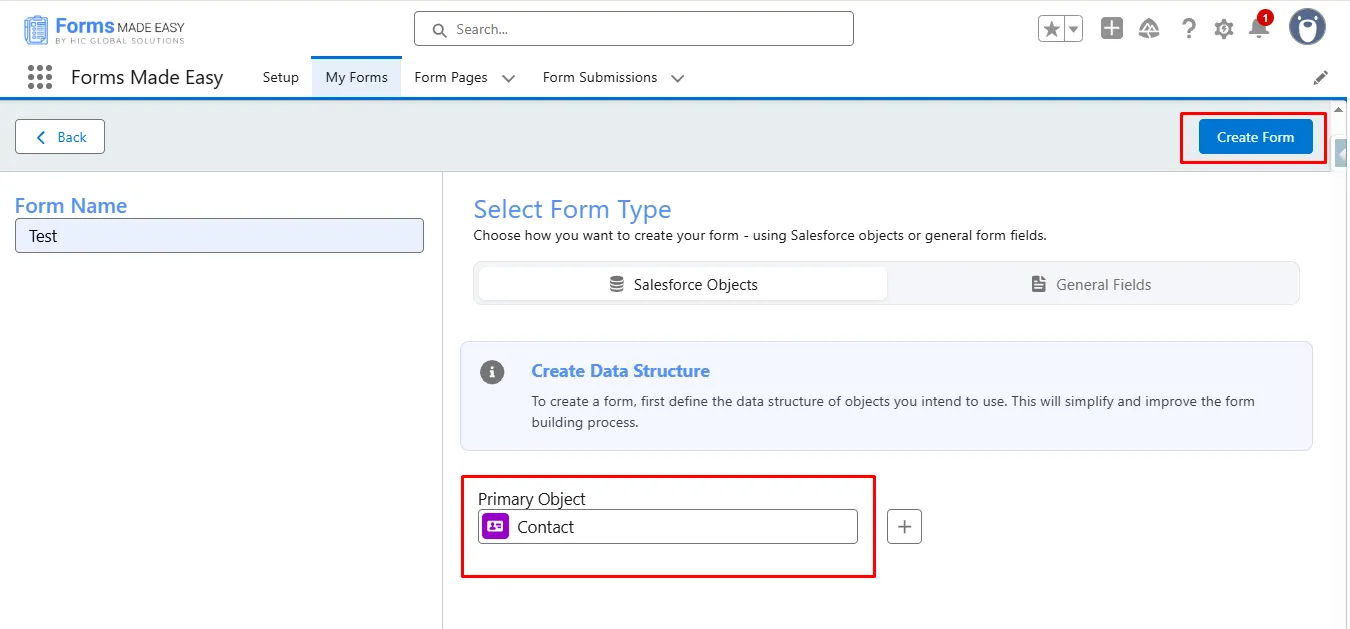
Step 3: Select “Contact” as the Primary Object and click the “Create Form” button.
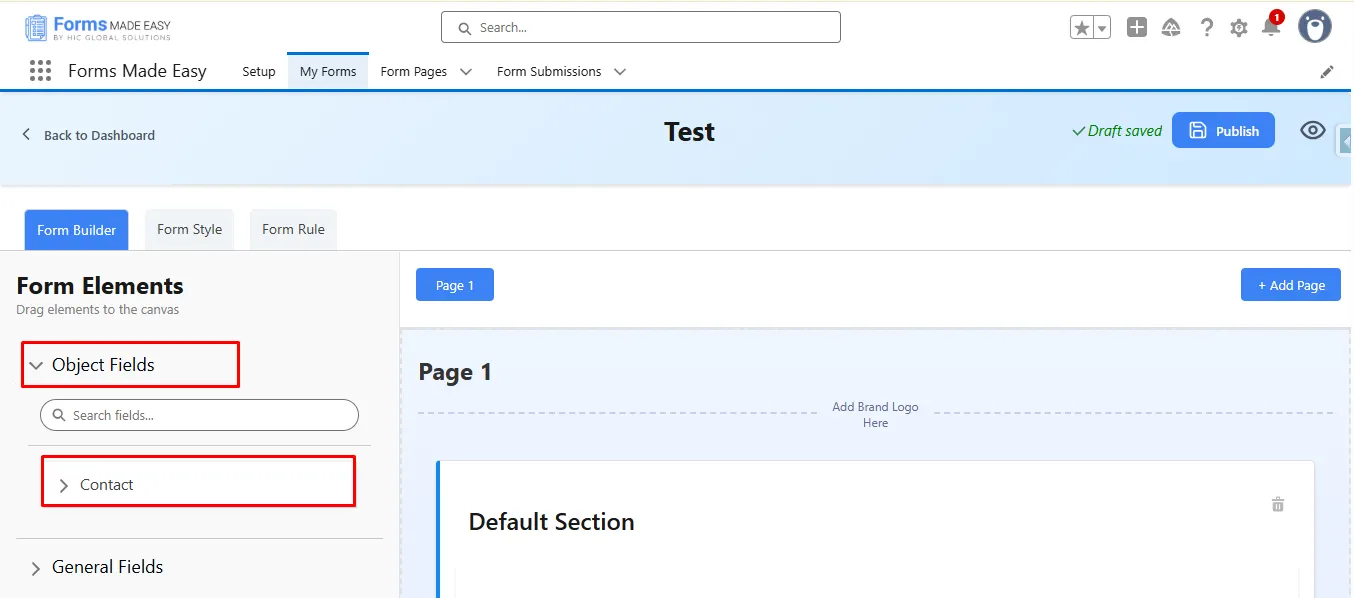
Step 4: Go to the Object Fields section and click on “Contact.”
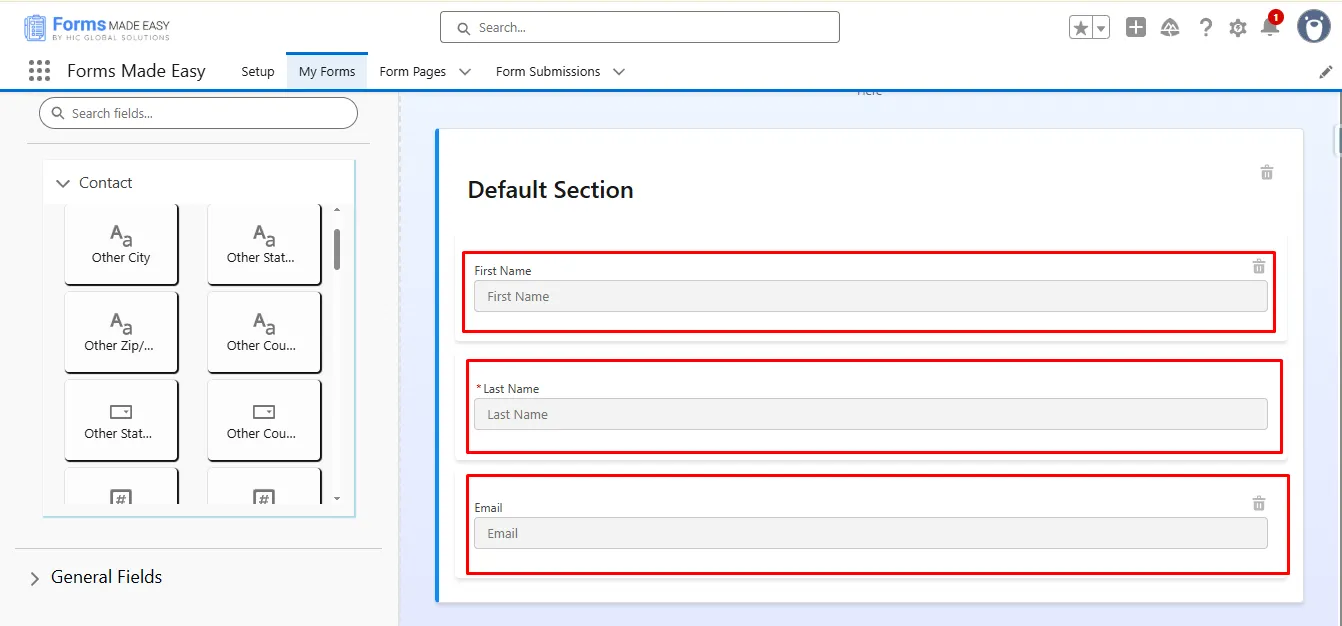
Step 5: Drag and drop the First Name and Email fields from Contact.
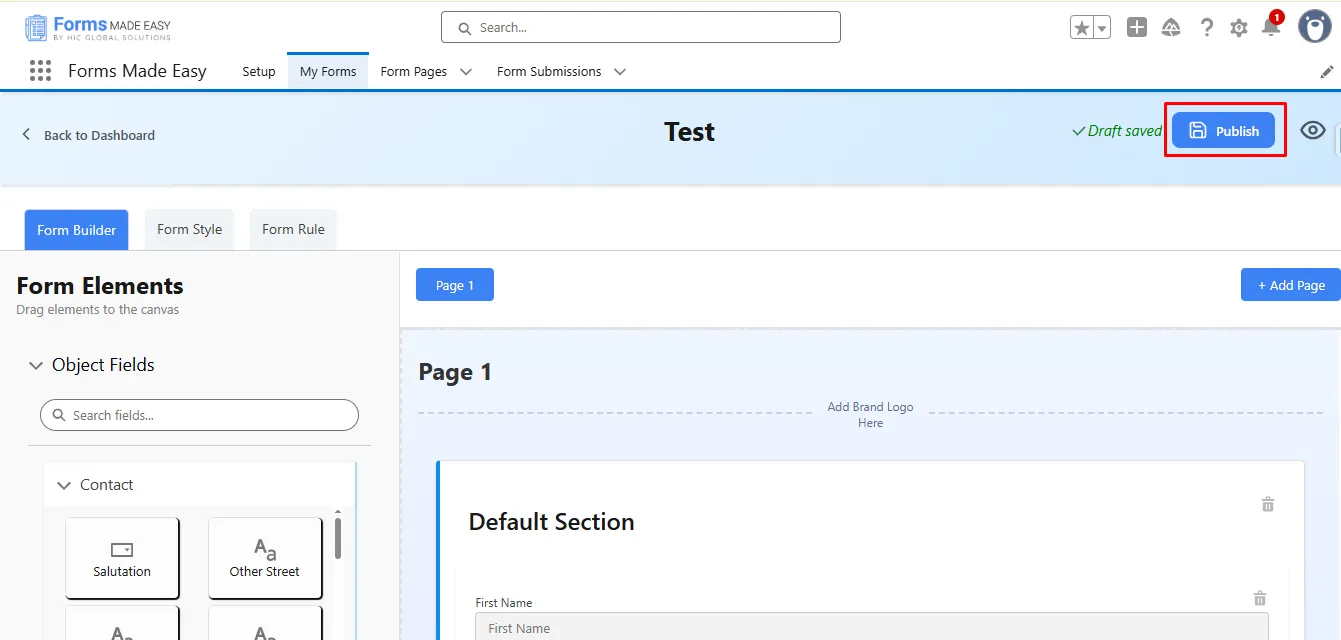
Step 6: After that, you can publish the form by clicking the “Publish“ button.
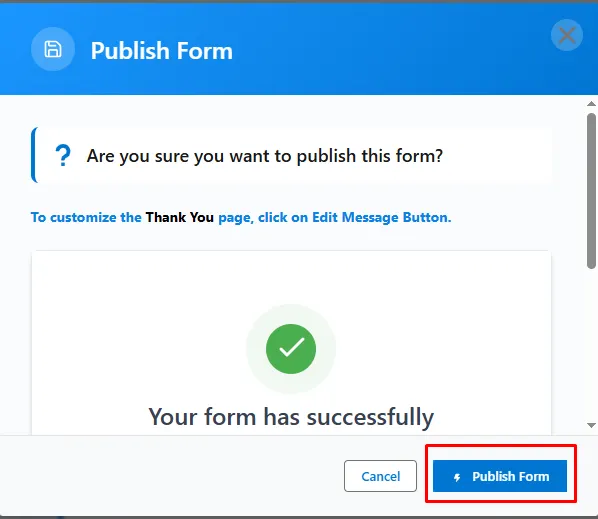
Step 7: Next, click the “Publish Form“ button.
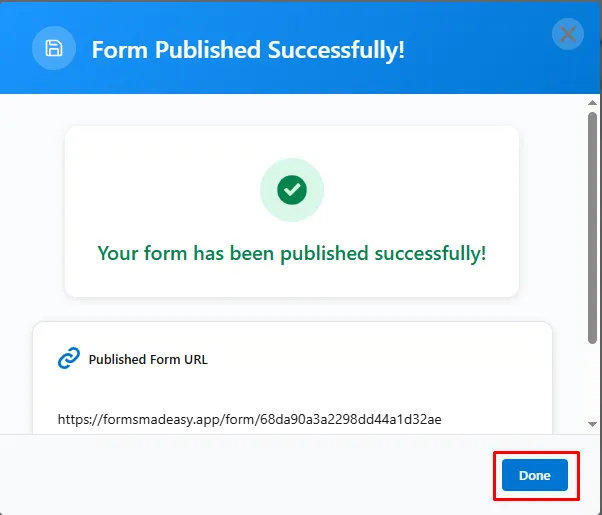
Step 8: Click on “Done” to close the modal.
Step 9: Once the form is published, an additional Publish Options tab becomes available. Under this tab, there is a sub-option called Quick Share. Click on “Quick Share.”
Note: If the form is already created, click “Edit,” go to Publish Options, and click “Quick Share.”
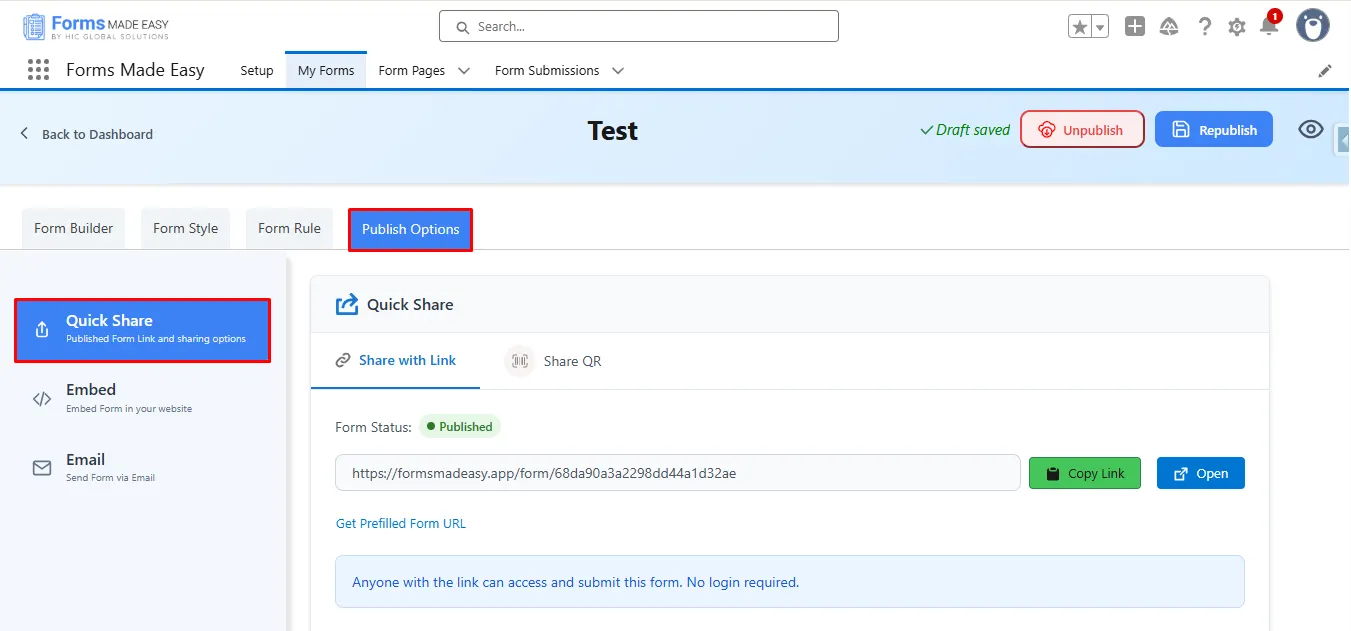
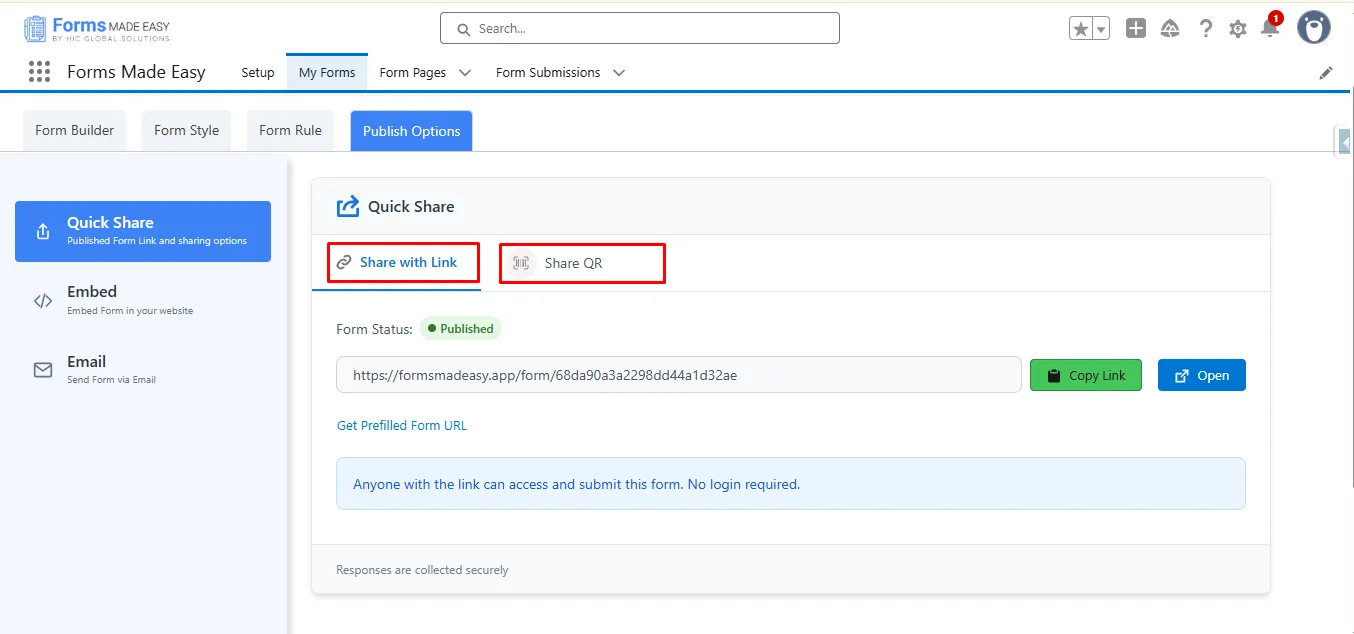
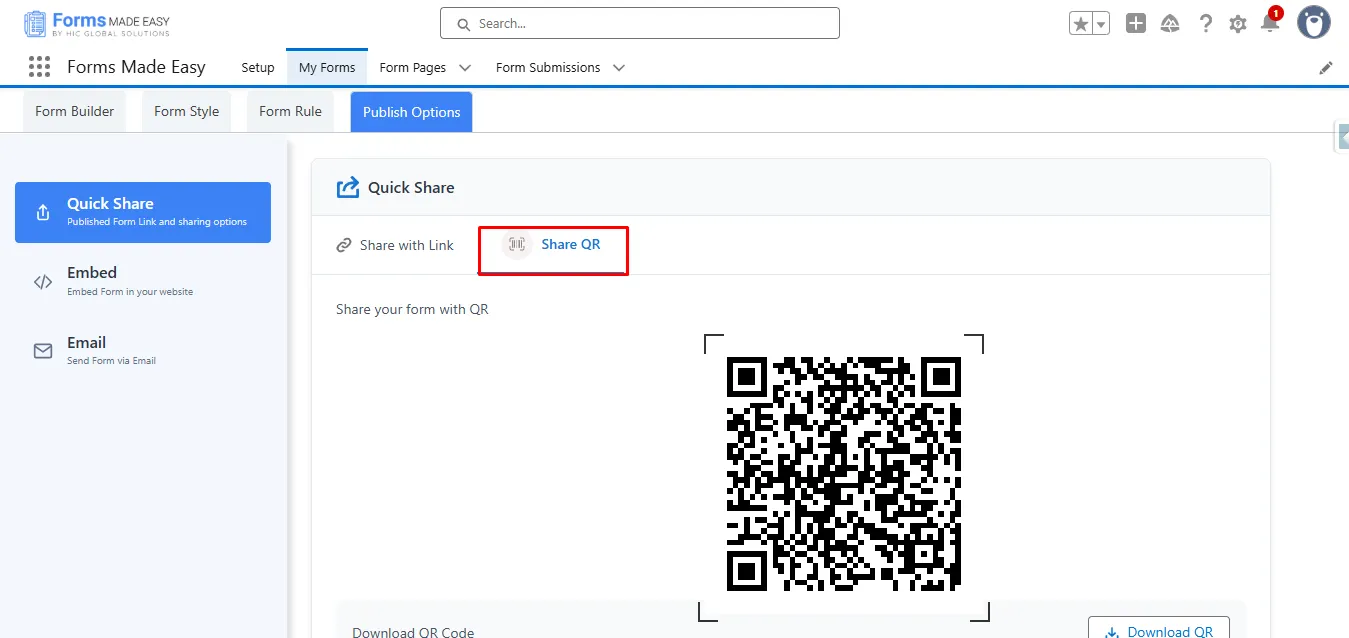
Step 10: Inside the Quick Share section, you will see two options: Share with Link and Share QR.
- Currently, we have chosen the Share with Link.
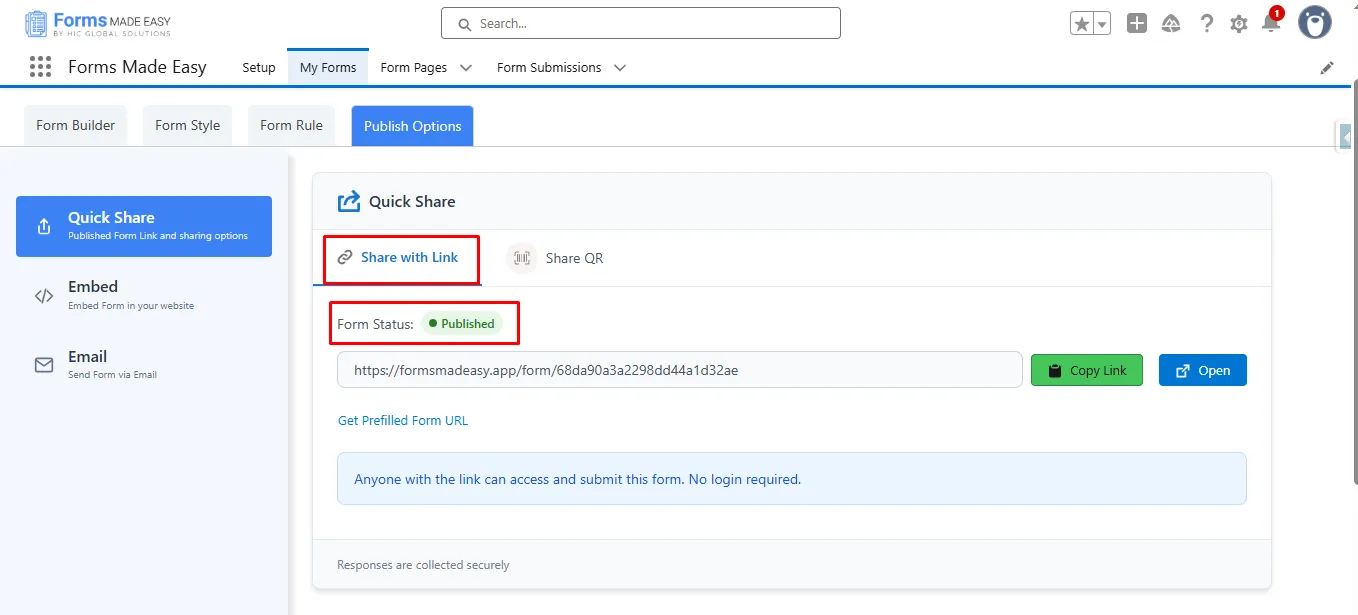
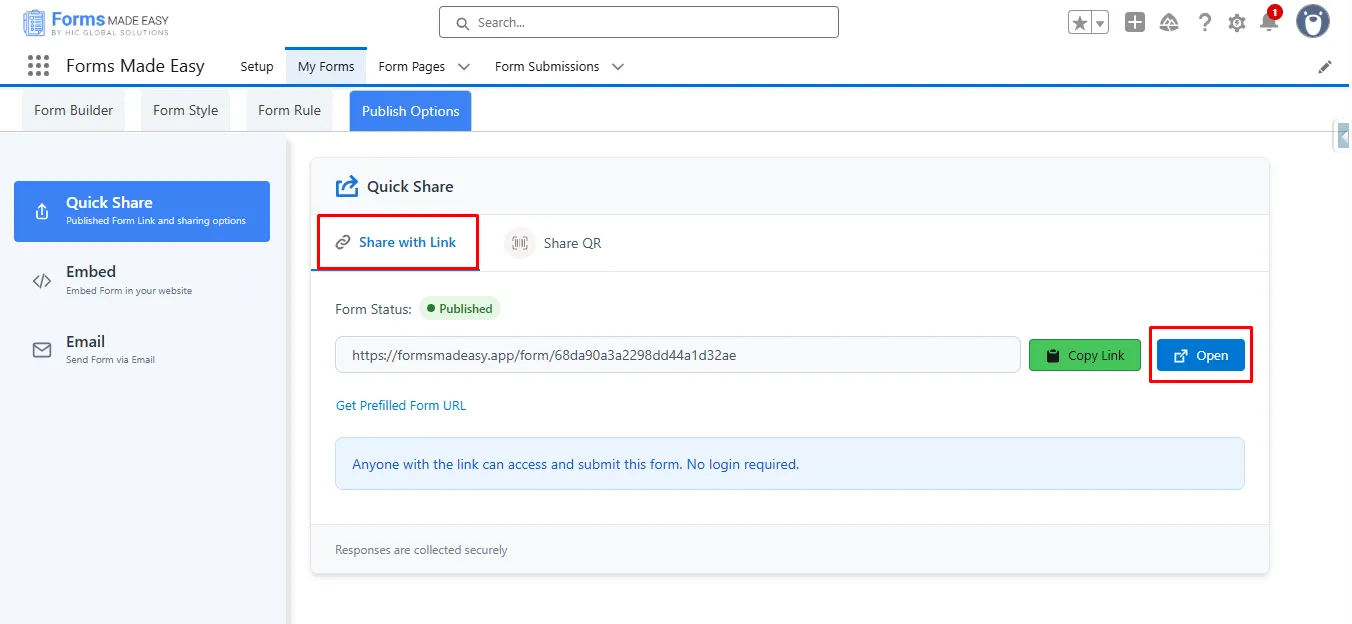
Step 11: Within the Share with Link section, you will see the Form Status displayed as ‘Published’.
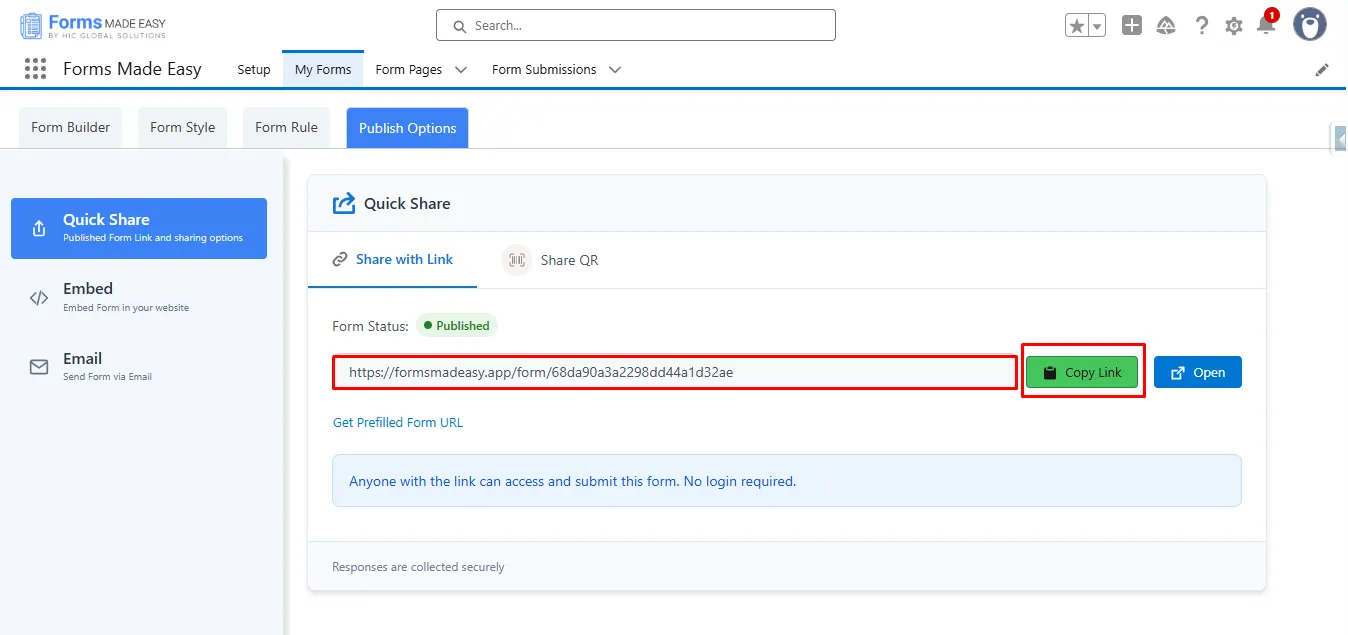
Step 12: Click on the “Copy Link” button to copy the form URL.
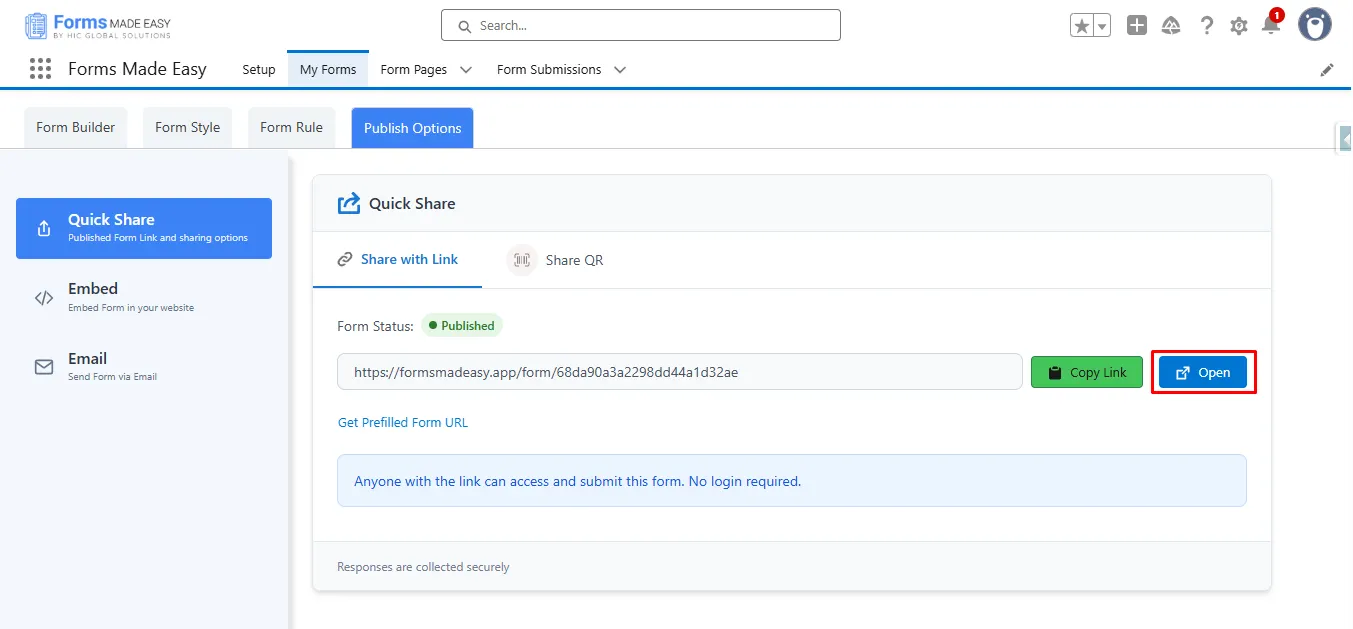
Step 13: Click on the “Open” button to directly open the form in your web browser.
Step 14: Now, click on the “Share QR”.
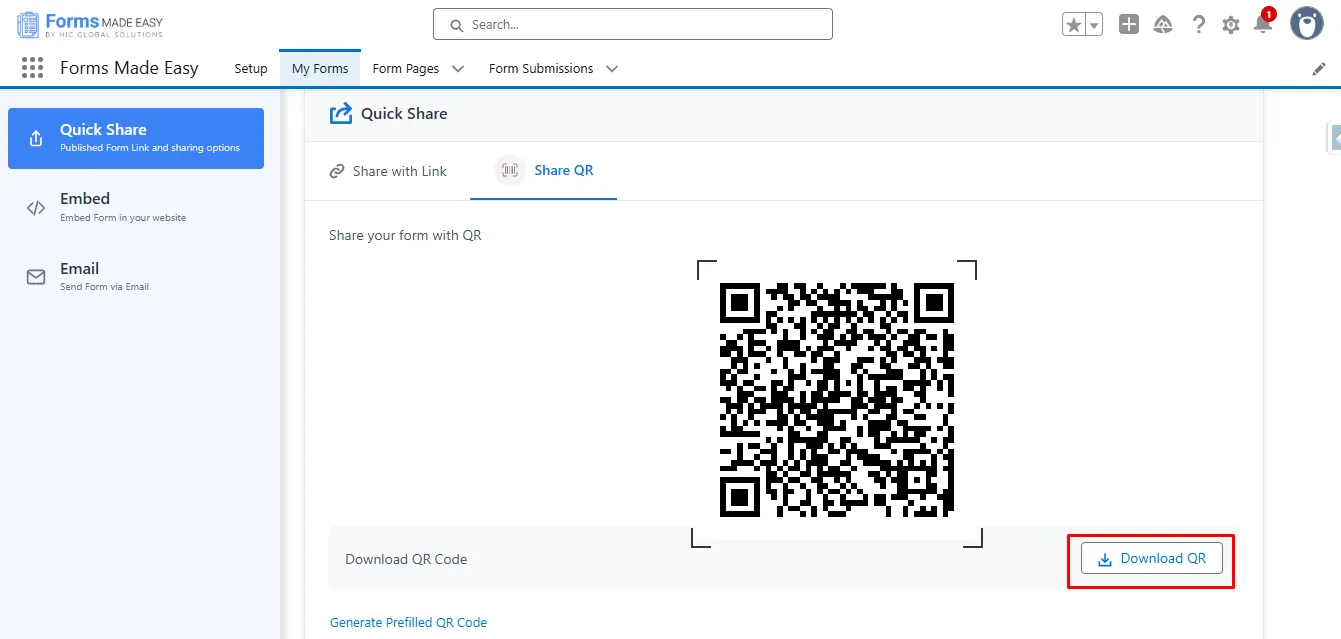
Step 15: Click on the “Download QR” button to download the QR Code. You can also scan the QR code directly to open and fill out the form.
Step 16: Afterwards, click on the “Share with Link” tab and click on the “Open” button to open the form on the web.
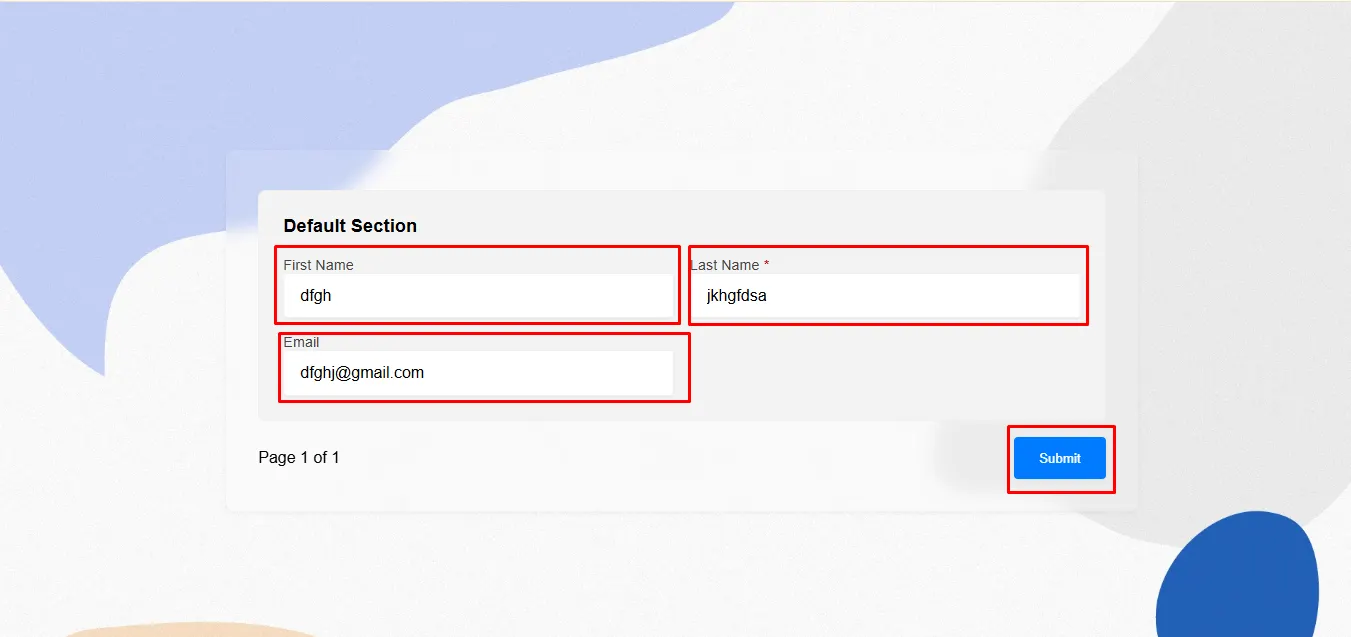
Step 17: Enter all the information and click the “Submit” button.
Step 18: Go to the “My Forms” tab and refresh the page.
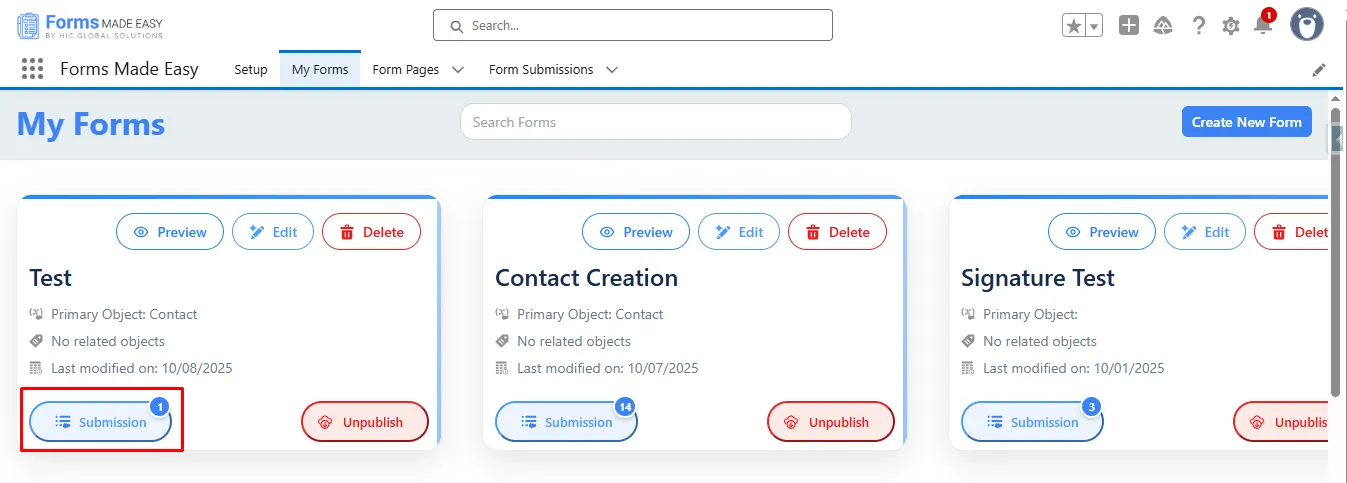
Step 19: Click on the “Submission” button to see all submissions.
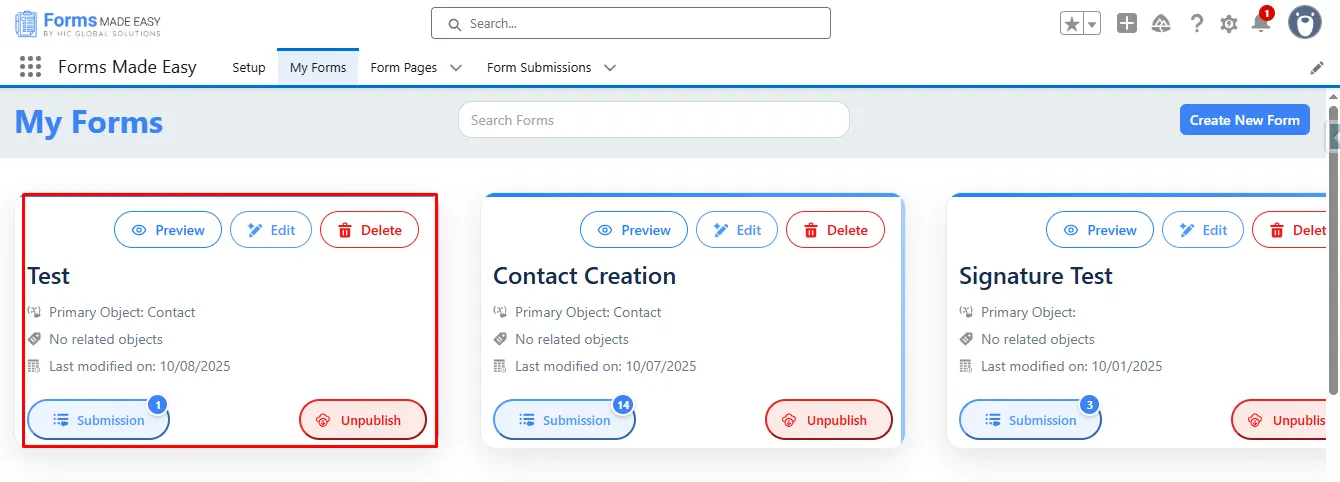
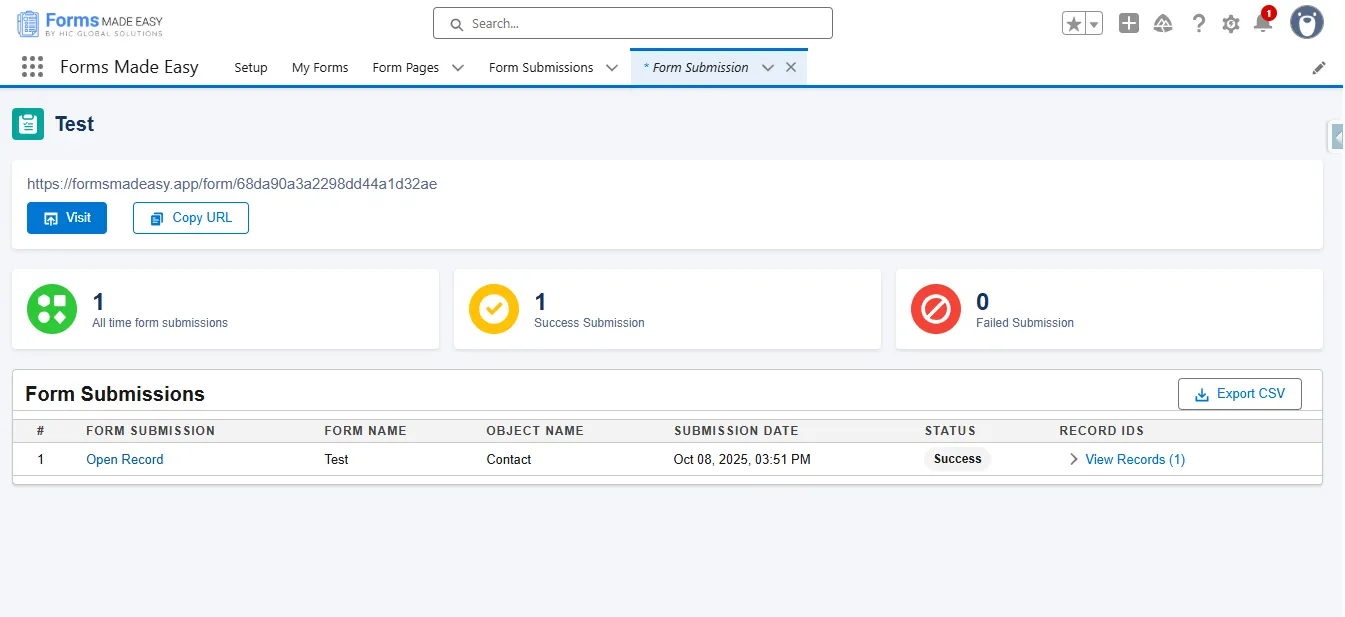
Step 20: Here, all submissions for that form will be displayed.
Conclusion
The Salesforce Form Creation tool gives users a streamlined way to publish forms and share them instantly through Quick Share options. Whether you rely on Salesforce Form Builder solutions or prefer a Salesforce online form builder approach, the entire process, from form creation to publishing, remains smooth and efficient.
With flexible Salesforce form solutions, Quick Share ensures that every form linked to a specific record can be distributed effortlessly via direct link or QR. This blog on Quick Share (Publish Options) highlights how easy it is to share, open, and track submissions, helping you manage responses with complete accuracy.