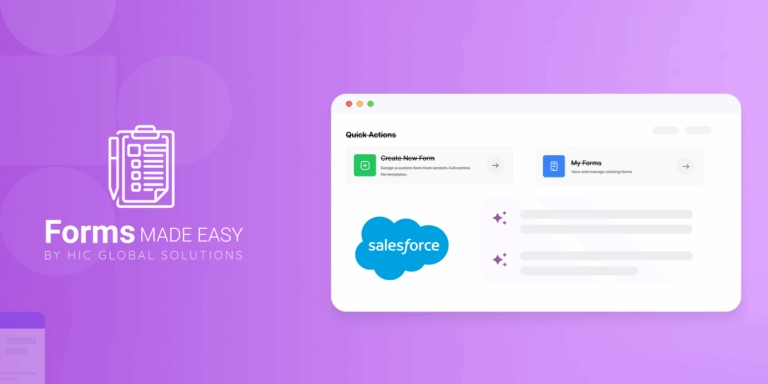


Build Your No-Code Forms in Minutes
Design, automate, and connect forms seamlessly within Salesforce. Capture customer data, approvals, and feedback no code required.
Talk to our ExpertsThis guide walks you through how to collect signature confirmation from users using the signature field inside Forms Made Easy. With the power of a no-code form builder, you can easily design forms, automate data capture, and streamline Salesforce processes without technical effort. Whether you’re exploring a Salesforce form creation tool or comparing Salesforce form builder solutions, these steps will help you build a smooth signature-enabled workflow. Forms Made Easy brings all essential Salesforce form solutions into a single intuitive interface.
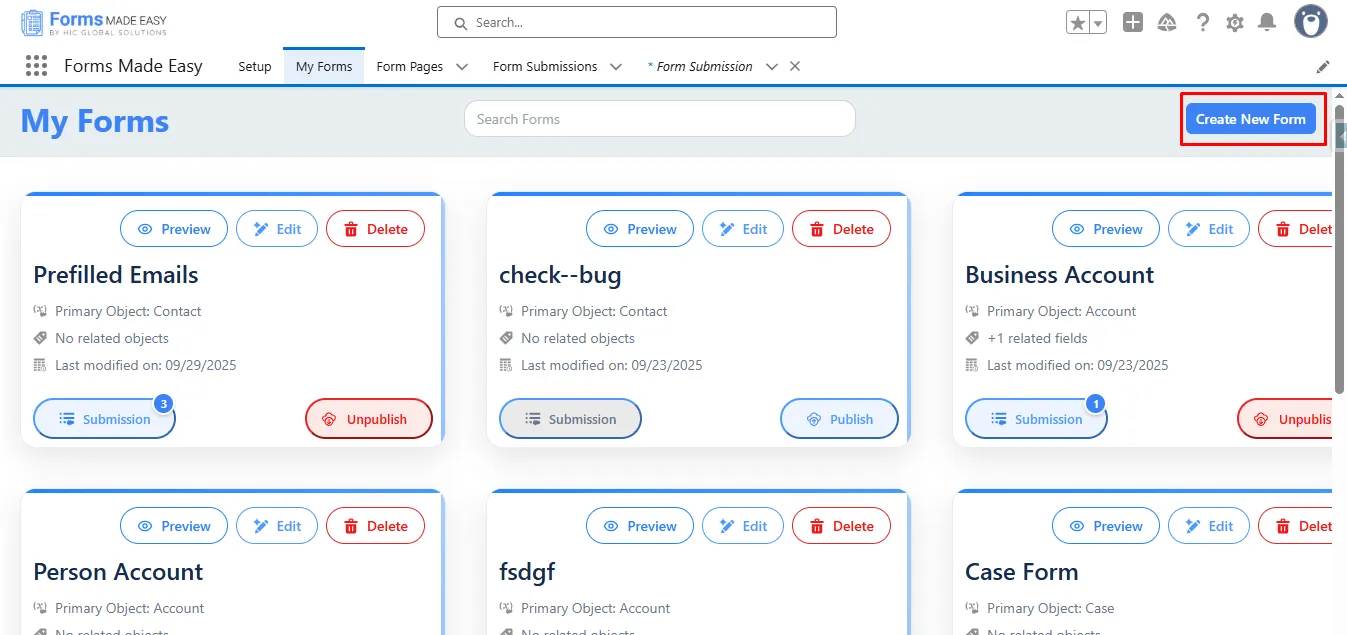
Step 1: Go to the My Forms tab and click on the “Create New Form” button.
Step 2: Enter the Form Name and select the Form Type (Salesforce or General Fields).
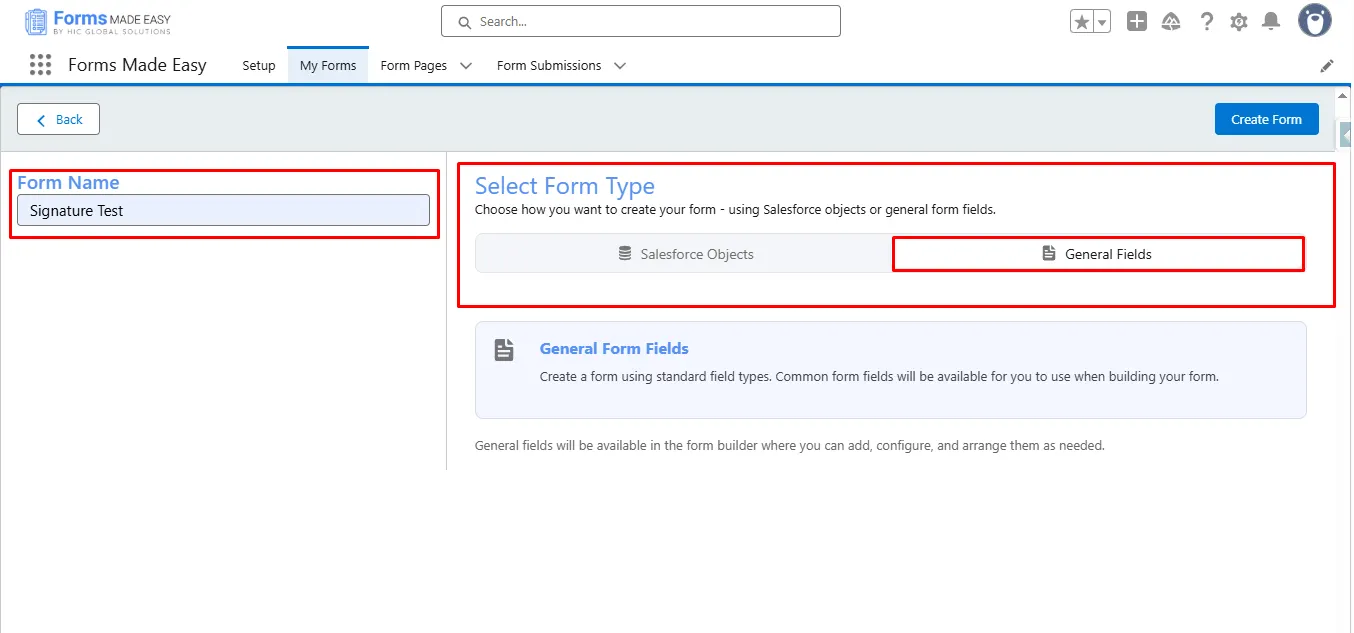
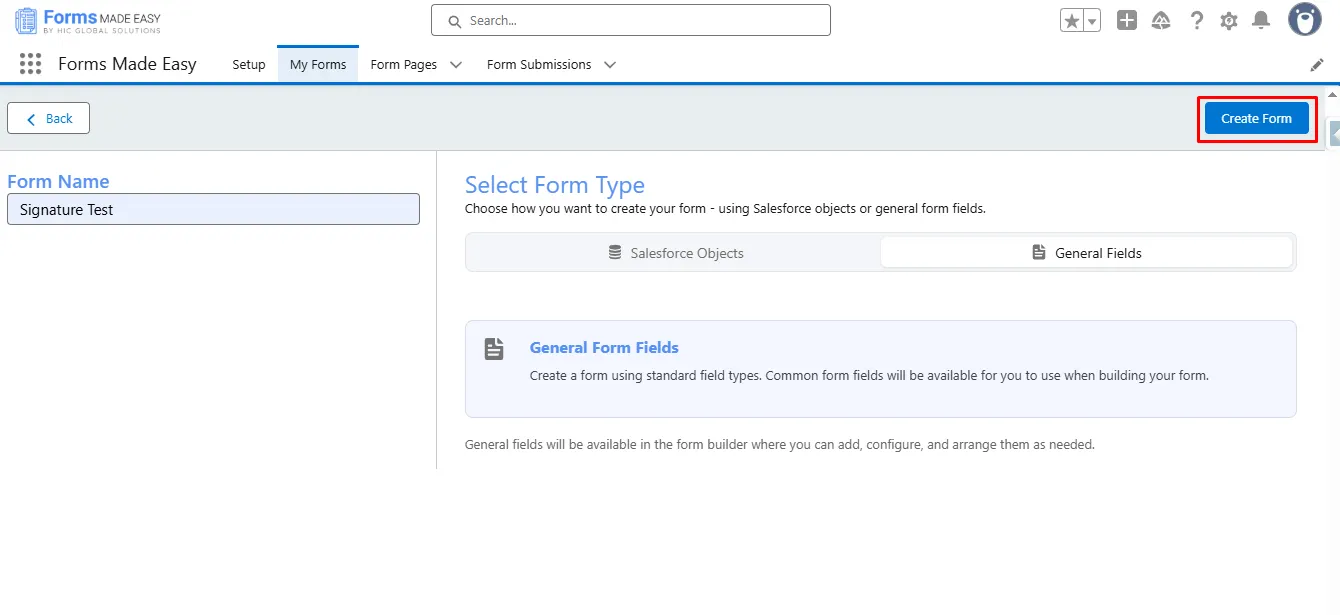
Step 3: Click on the “Create Form” button.
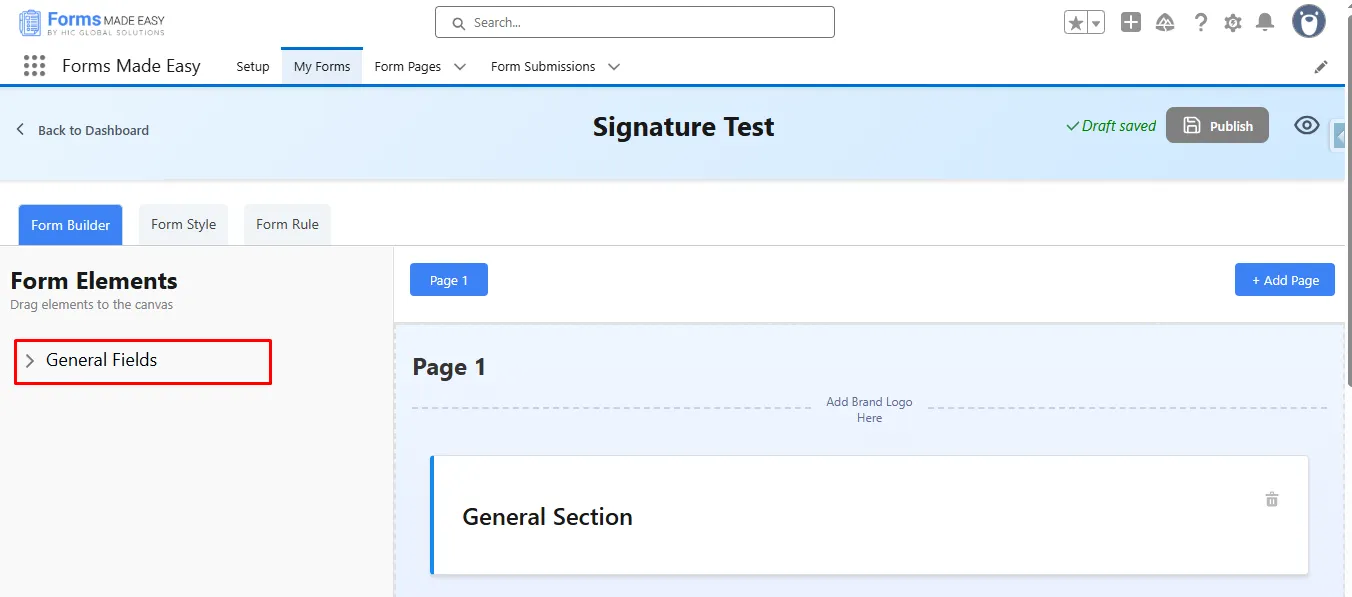
Step 4: Click on the “General Fields” Section.
Step 5: Drag and drop the Signature field from General Fields.
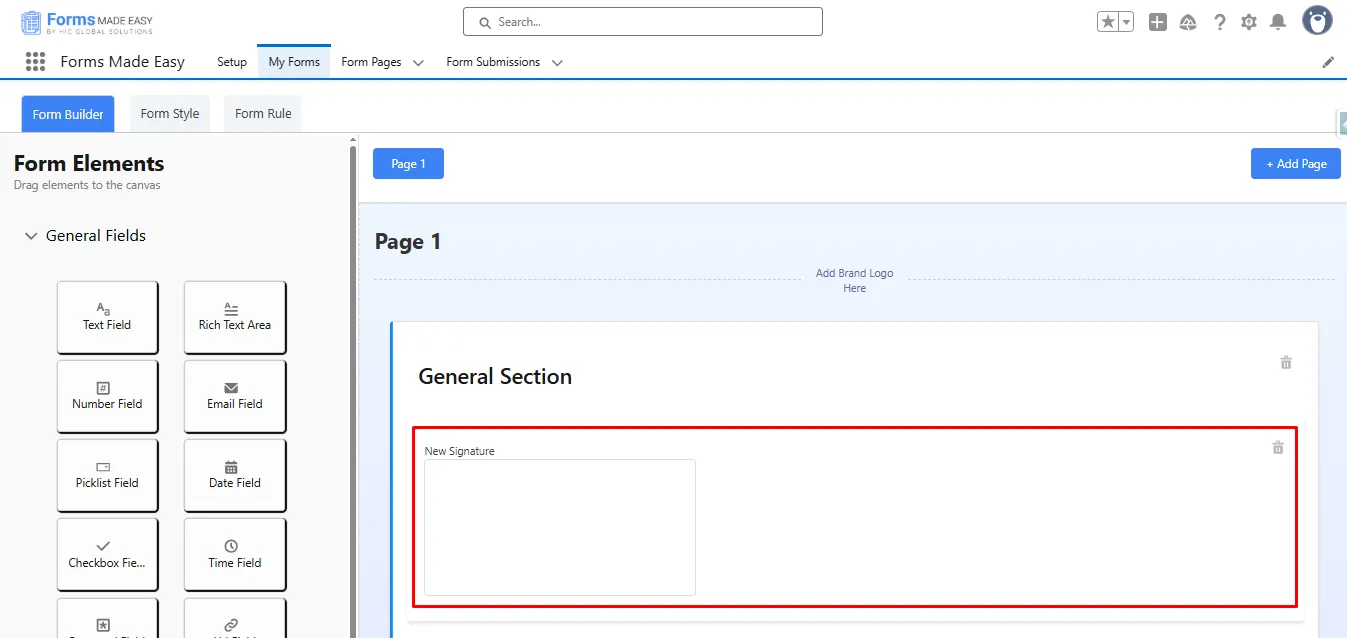
Step 6: Click and change the Label of Signature Fields.

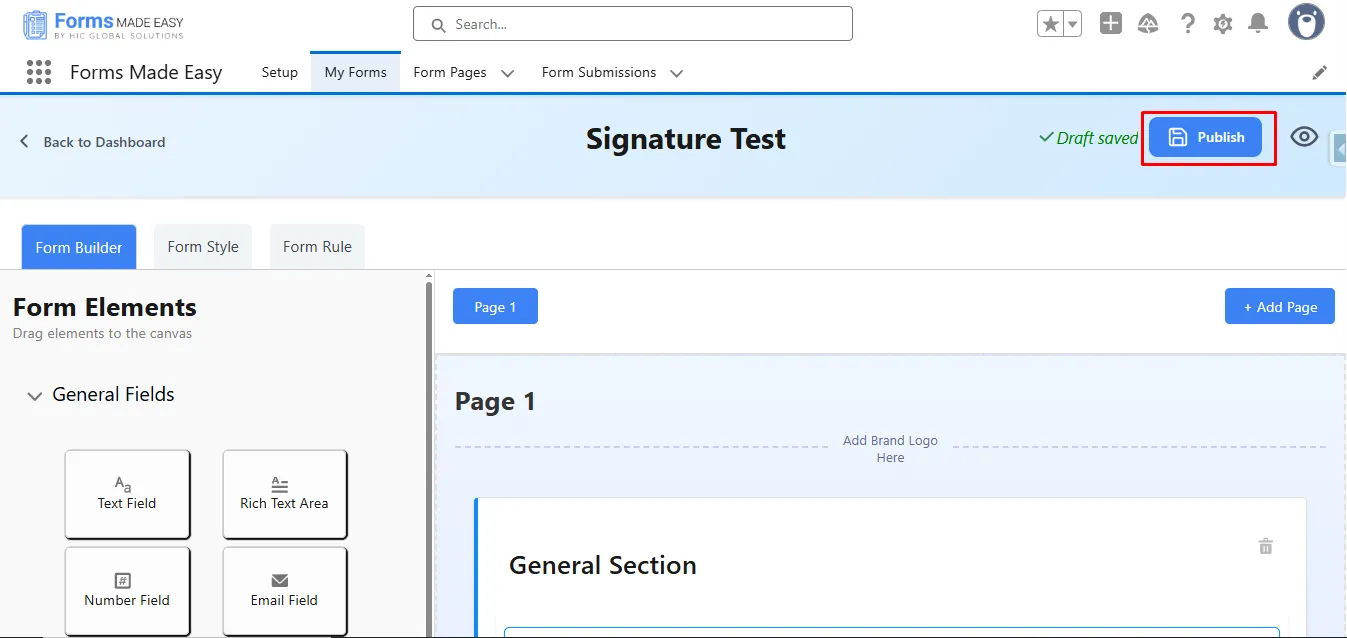
Step 7: After that, click the “Publish” button.
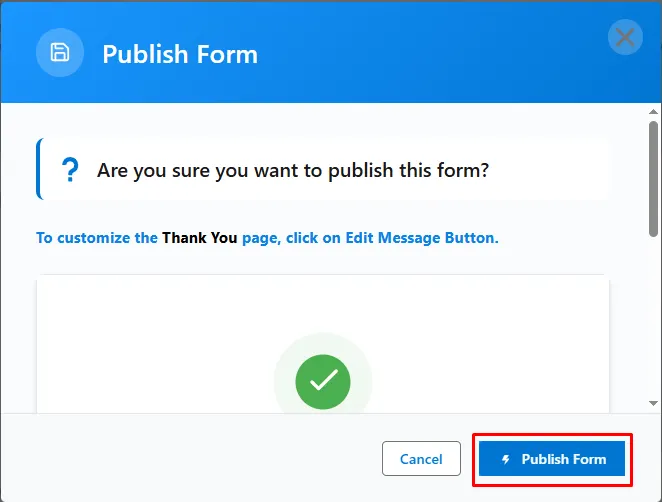
Step 8: Next, click the “Publish Form” button.
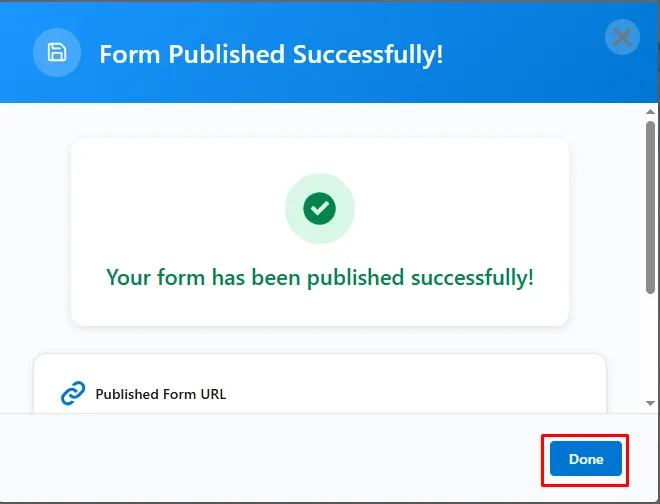
Step 9: To close the modal, click on the “Done” button.
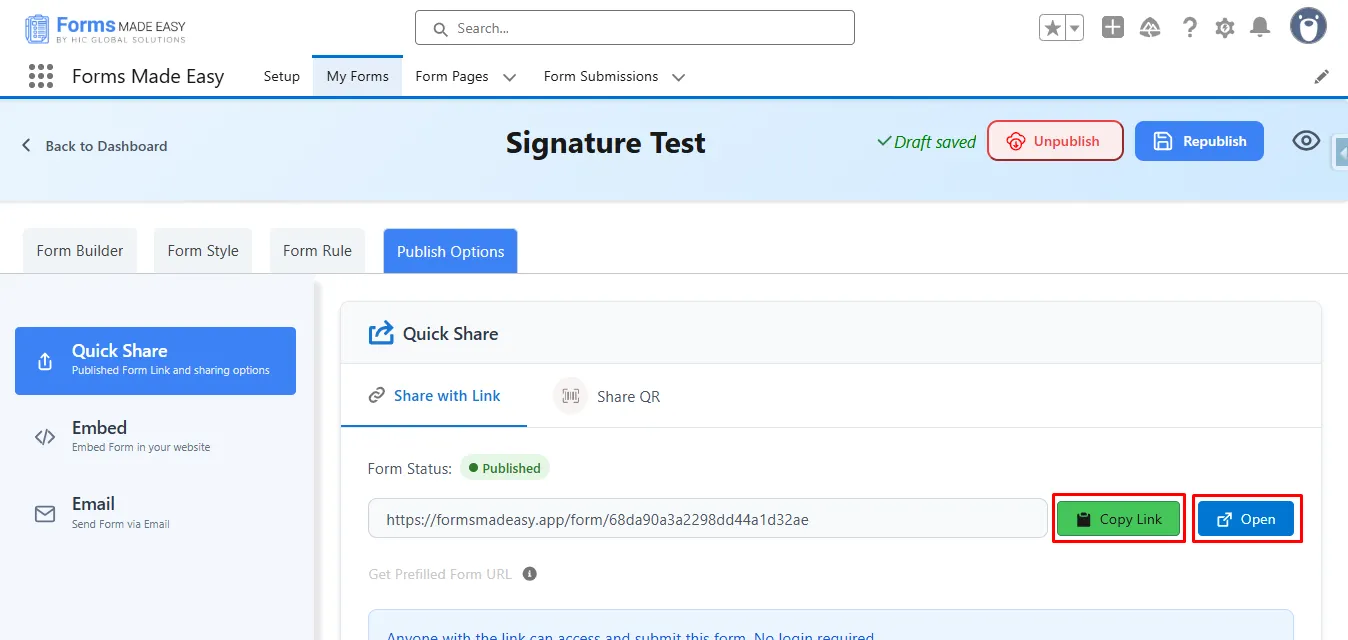
Step 10: Click on the “Copy Link” or “Open” Buttons to open the forms.
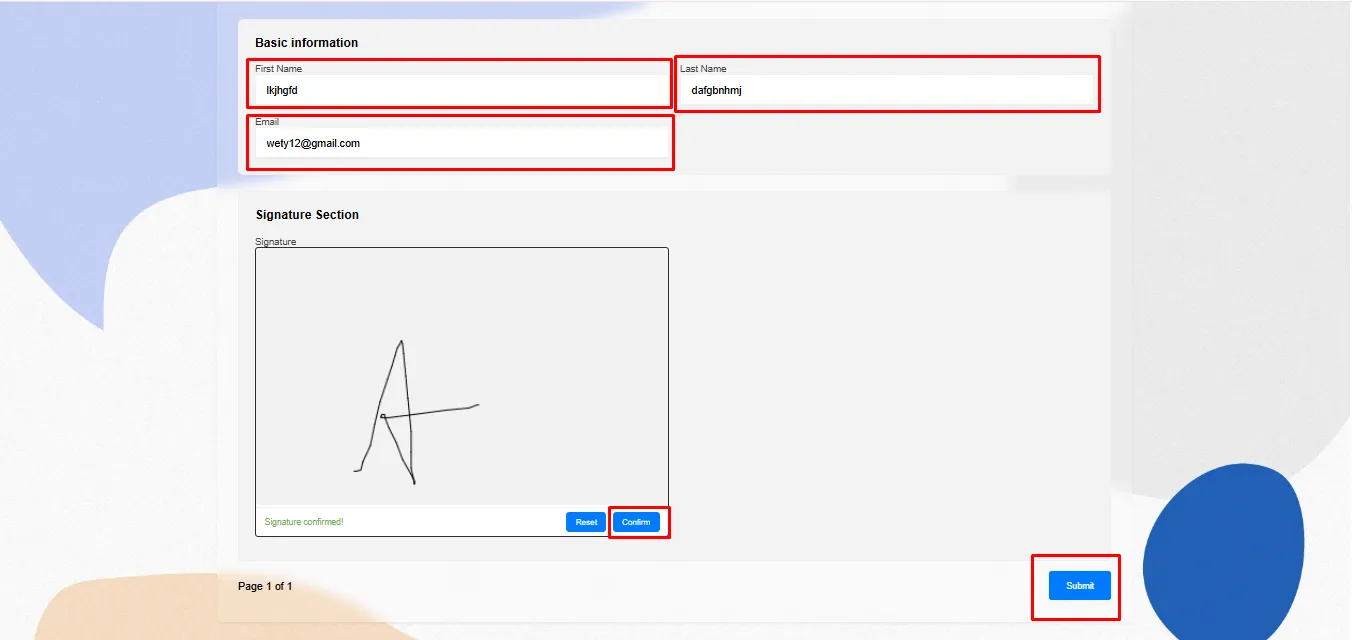
Step 11: Fill in the “Signature” and click on the “Confirm” button, and then click on “Submit”.
Step 12: Go to the “My Forms” tab and refresh the page.
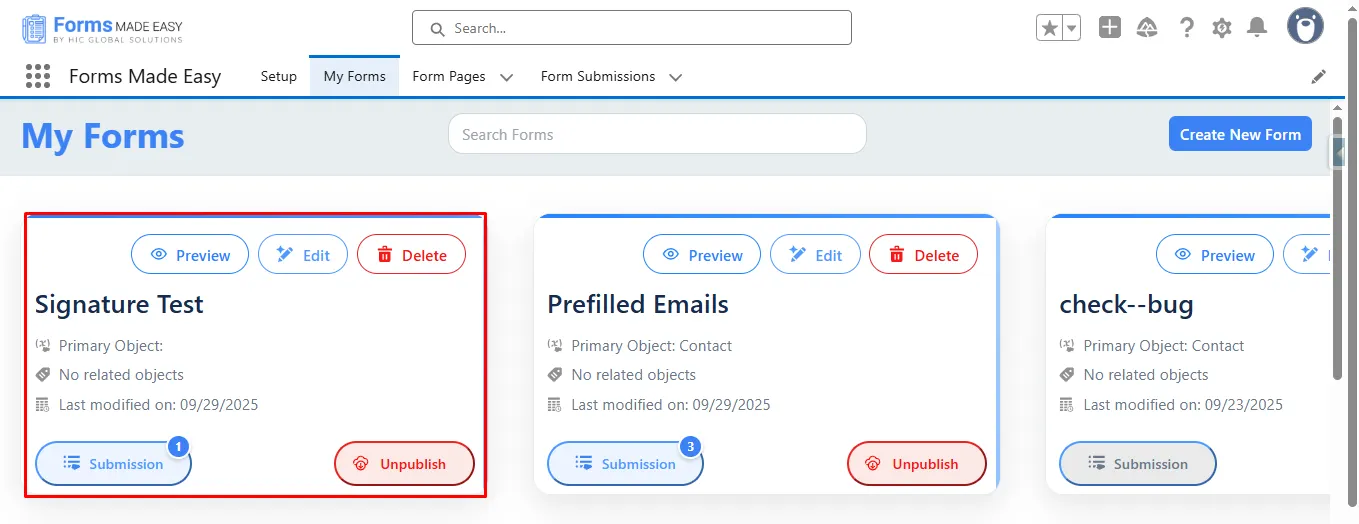
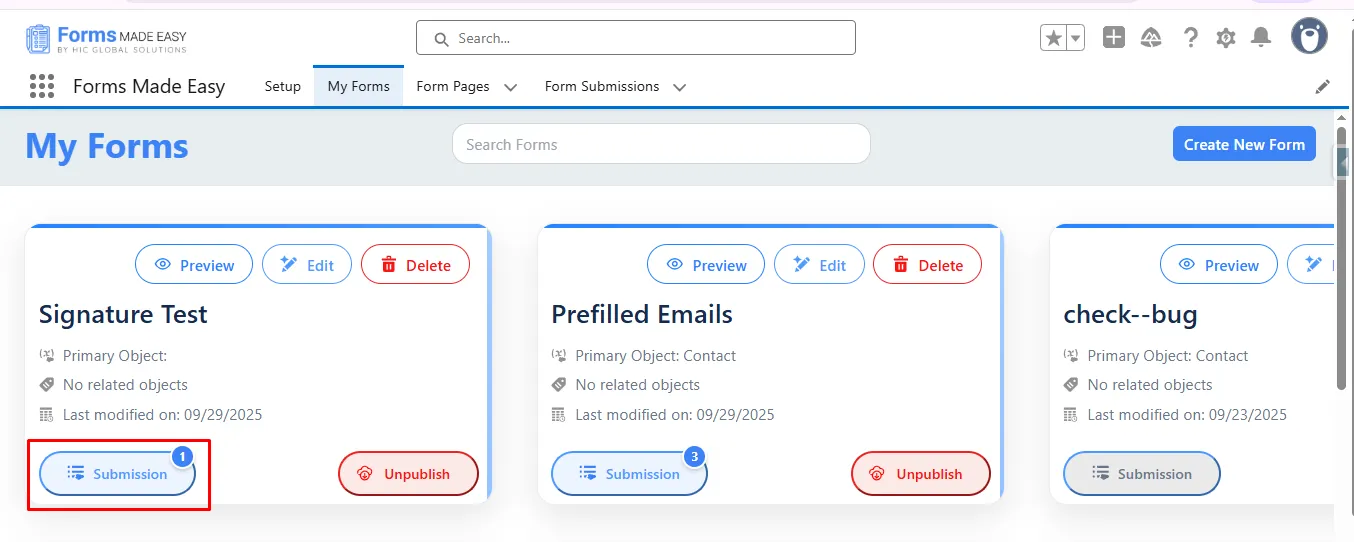
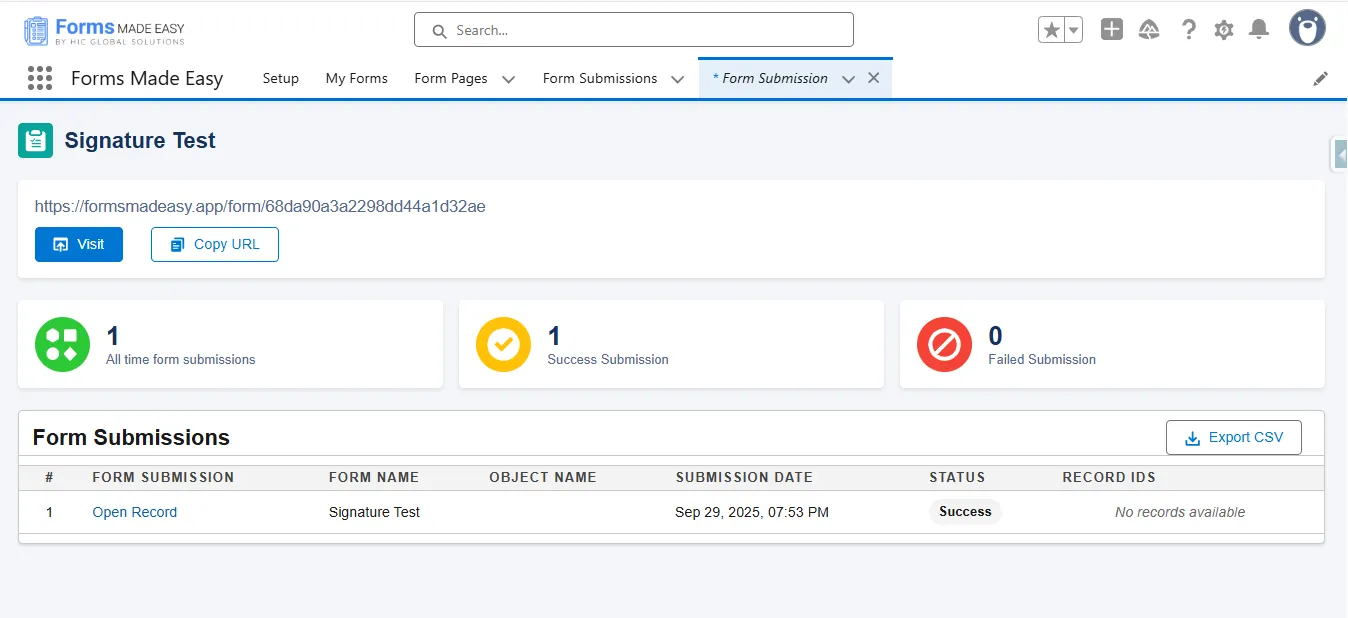
Step 13: Click on the “Submission” button to see the submissions.
Step 14: Here, all submissions for that form will be displayed.
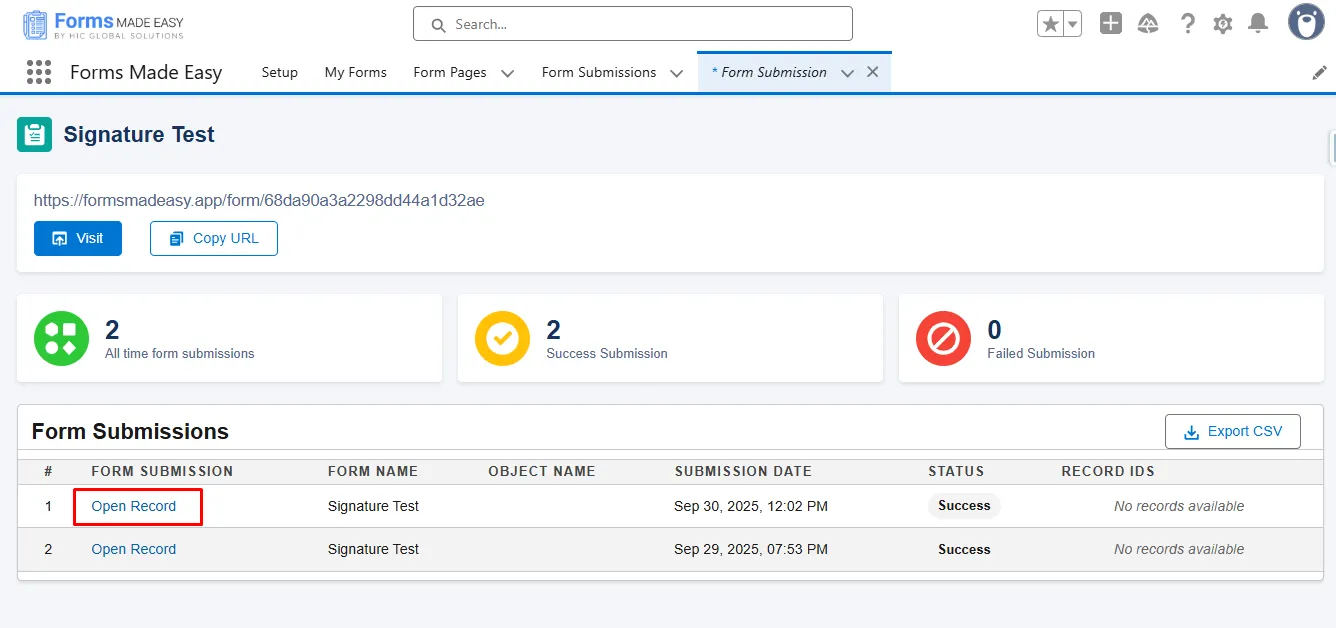
Step 15: Click on “Open Record” to view Form Submission Data.
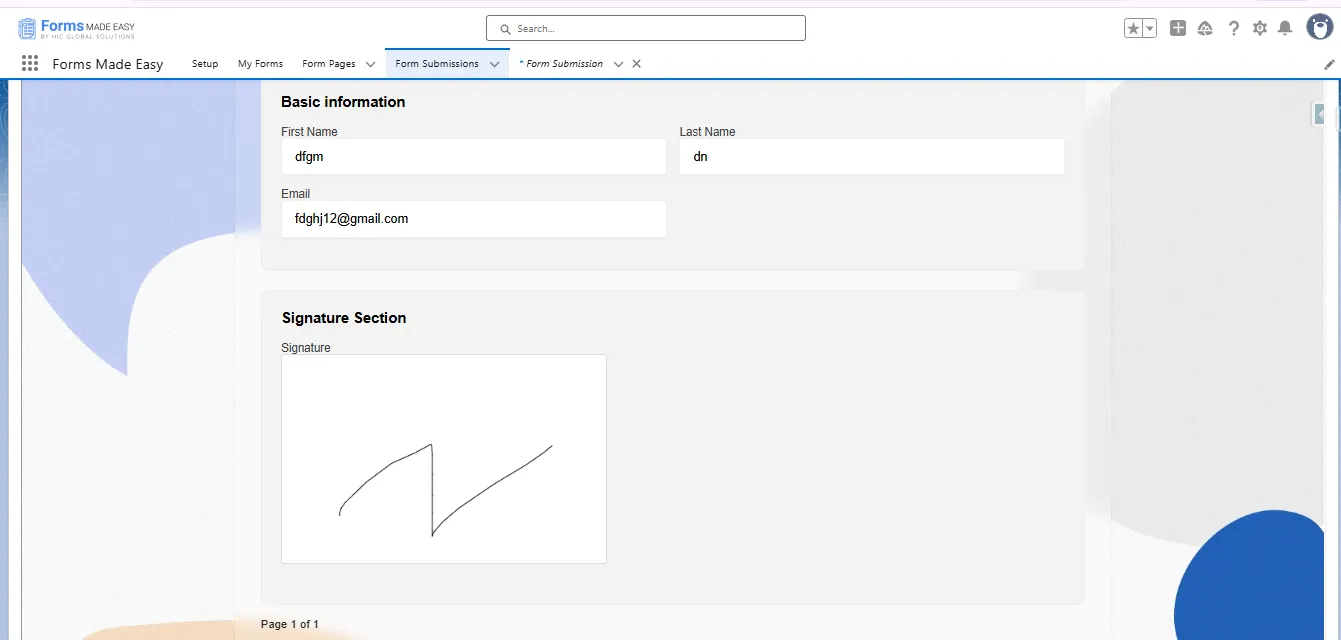
Step 16: When you click on the open record, your form submission will be shown with the signature.
Conclusion
Using a no-code form builder, signature collection becomes incredibly simple, fast, and accurate. With a clean drag-and-drop experience and native Salesforce mapping, you can generate signature-ready forms in minutes. This streamlined approach ensures better data capture, improved customer experience, and efficient internal workflows, all supported by powerful Salesforce form solutions designed to scale your form processes effortlessly.