

Turn Forms Into Automated Workflows
Design dynamic forms, streamline operations, and eliminate repetitive manual tasks — all without code.
Talk to Our ExpertsBuild Smarter Forms Faster
Create no-code forms inside Salesforce and automate data collection, approvals, and workflows without complexity.
Get StartedSimplify Your Form Workflows
Replace manual processes with intelligent forms that capture, route, and manage data seamlessly in Salesforce.
Book a DemoIn this blog, we will guide you on using Salesforce form builder solutions, explore the flexibility of a no-code form builder, and show you how to create dynamic, interactive forms with multiple form rules. With a Salesforce form builder tool, you can control field visibility, enforce conditions, and create smarter forms that respond to user input in real time.
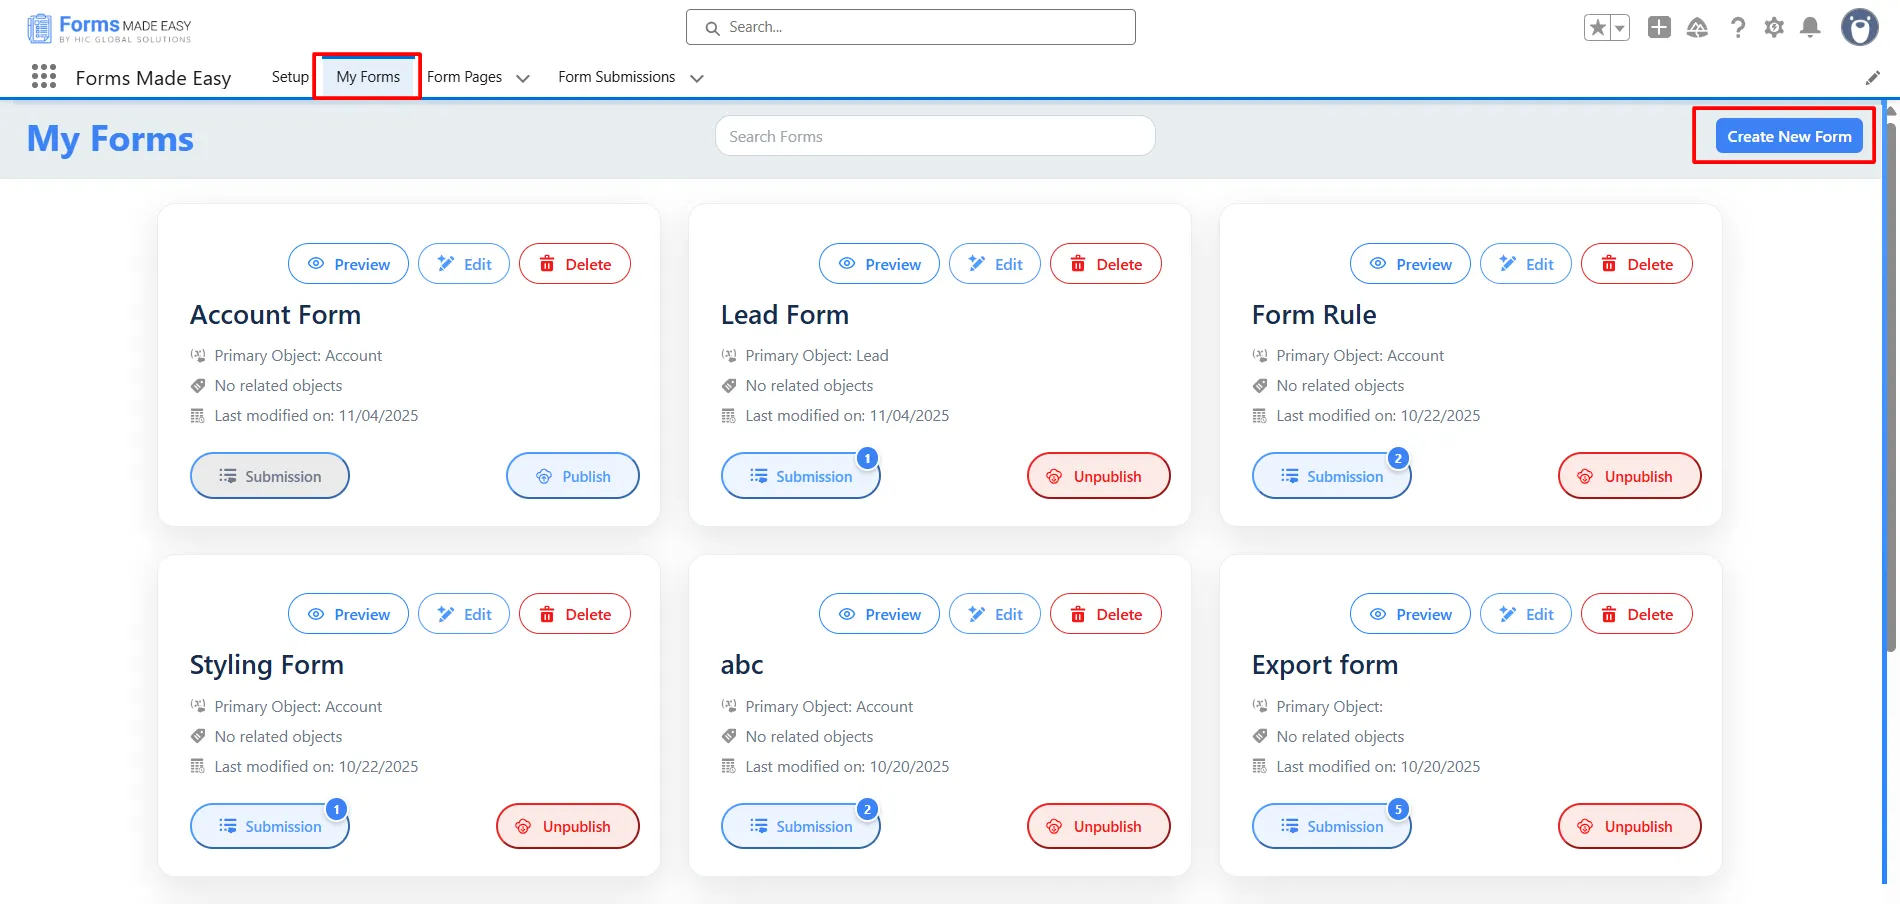
Step 1: First, go to the My Forms tab and click on the Create New Form button.
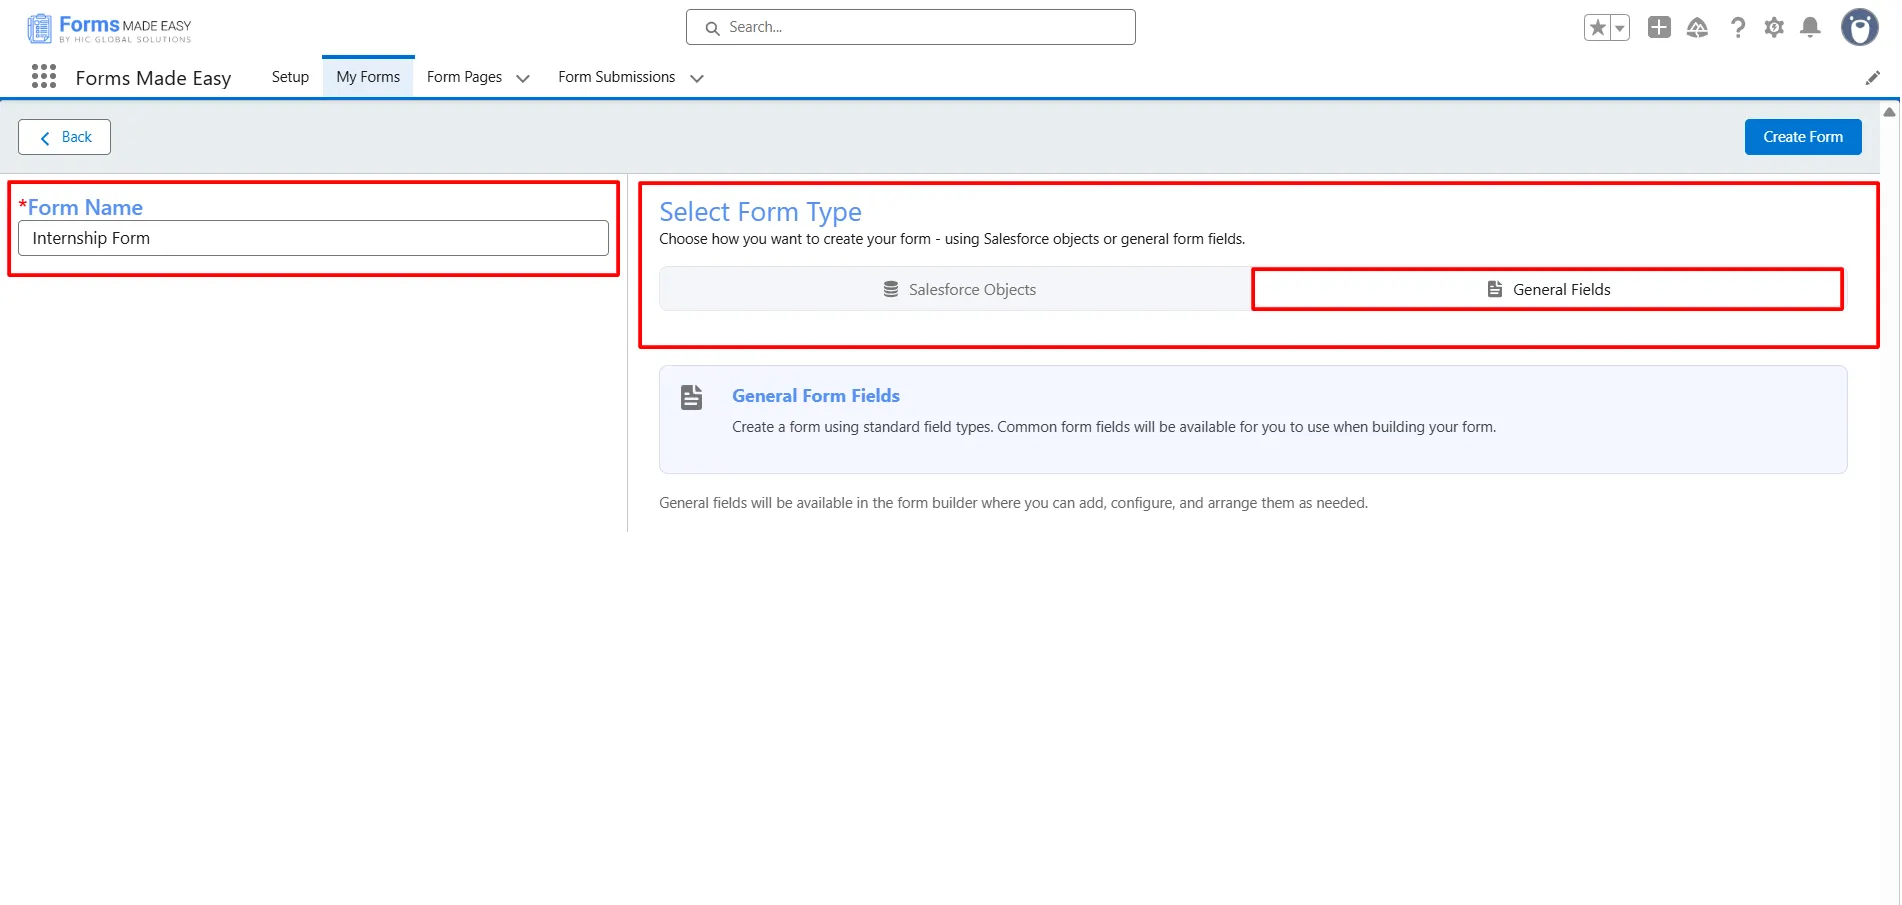
Step 2: Enter the form name and select the form type (Salesforce Objects or General Fields).
- Currently, we have chosen the General Fields option.
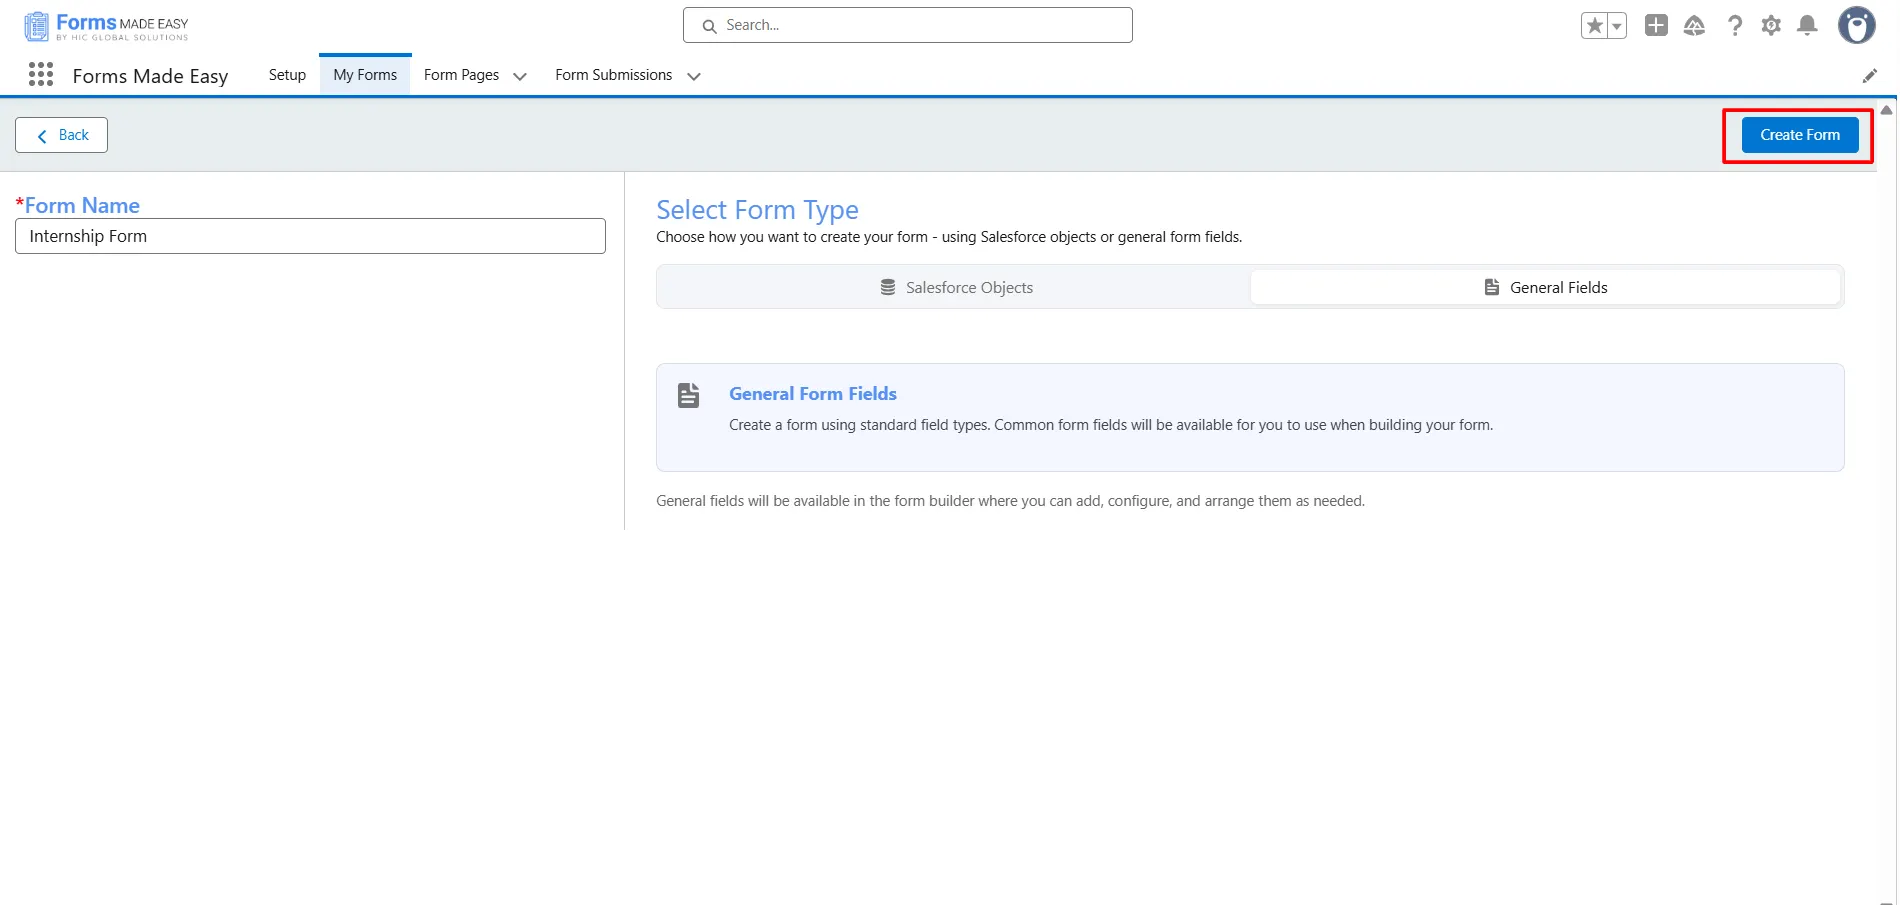
Step 3: Click on the Create Form button.
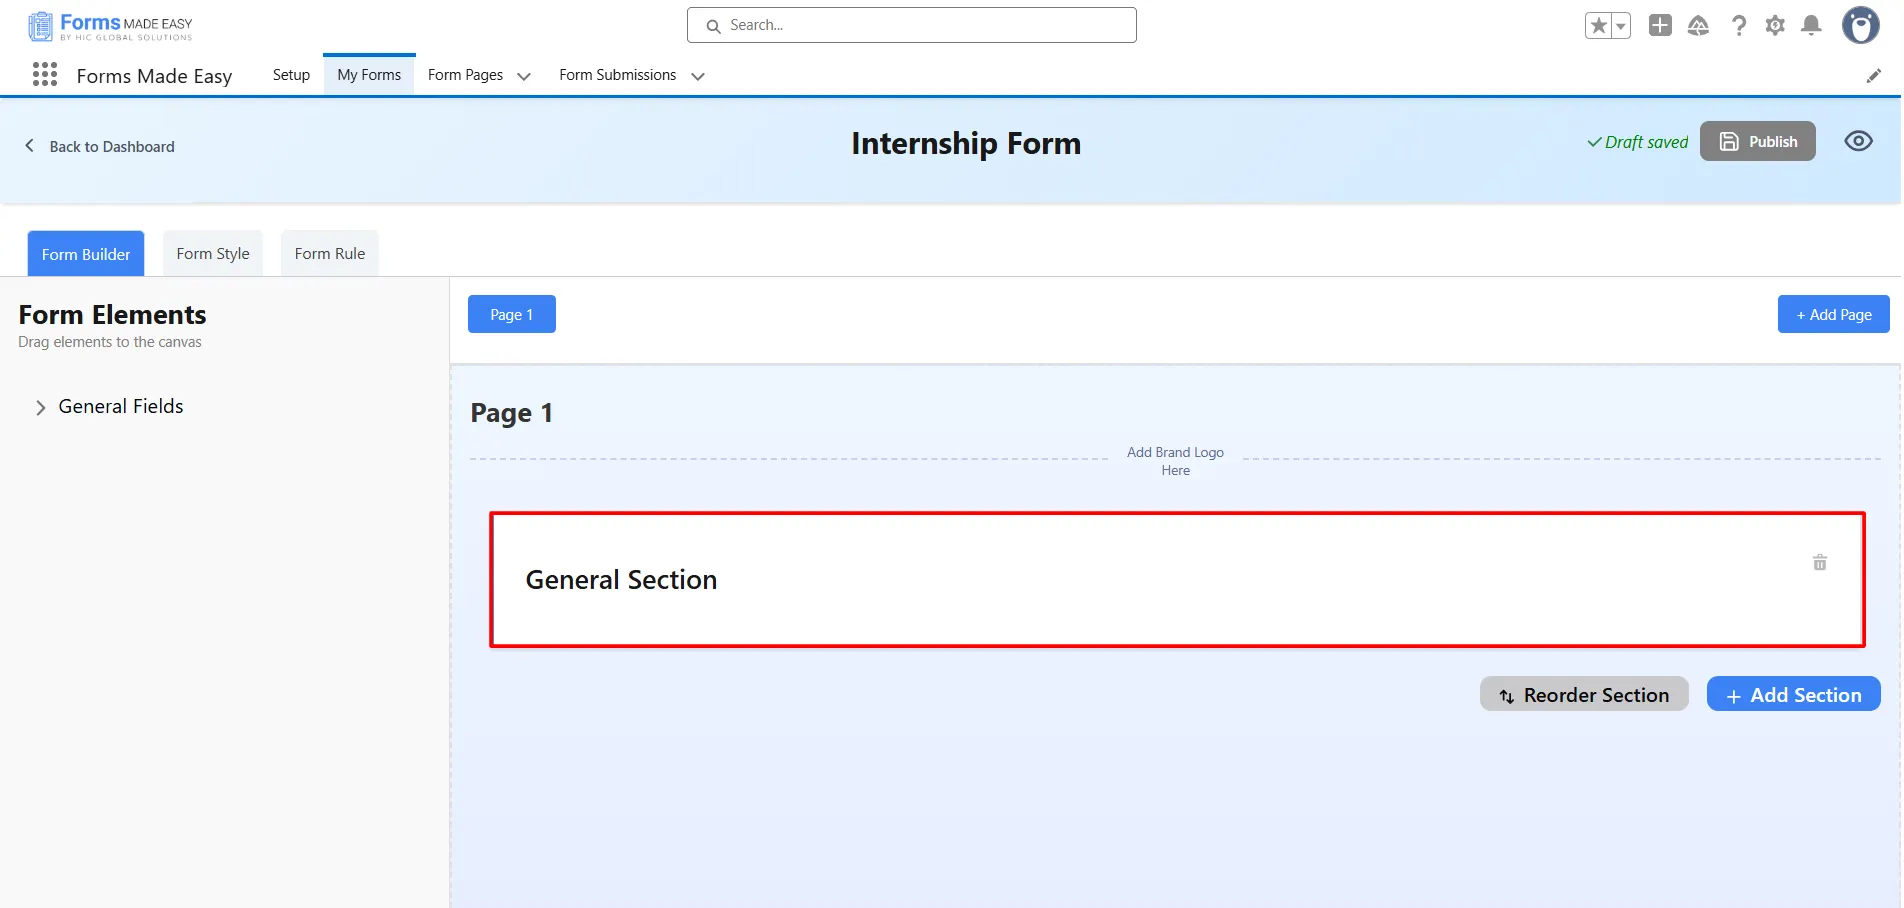
Step 4: Click on the General Section.
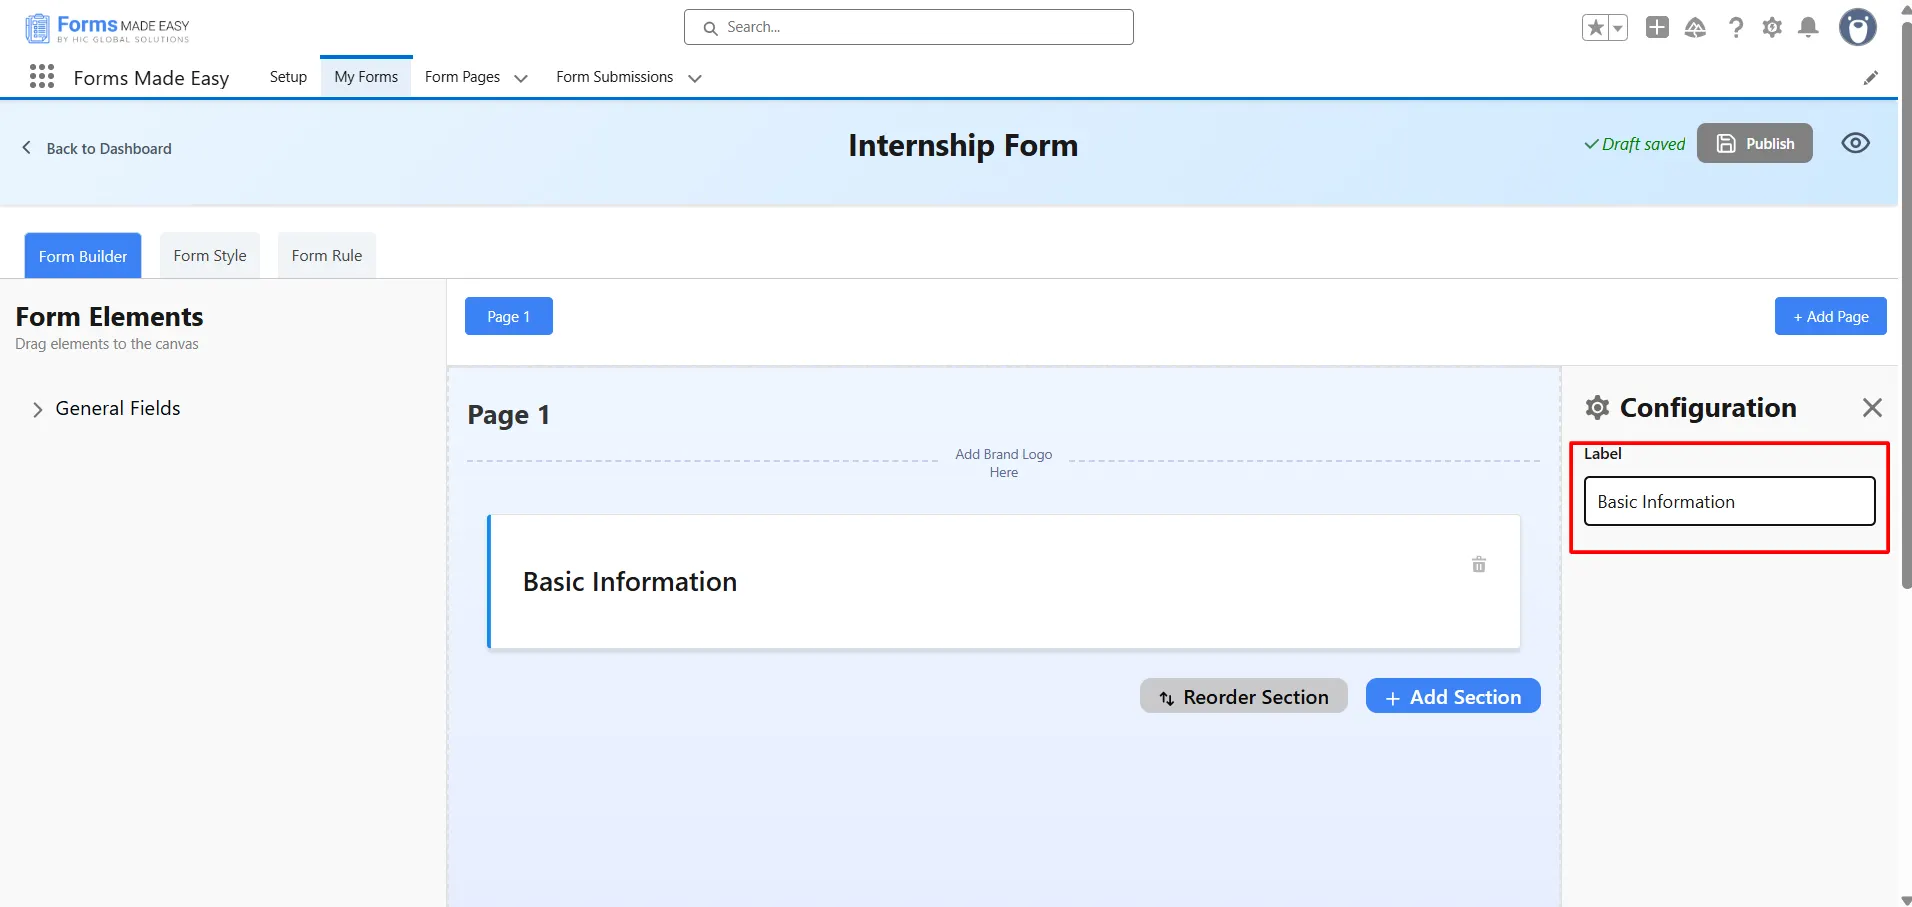
Step 5: Now, a configuration side panel will be displayed. In that, enter the Section Name as per your requirement.
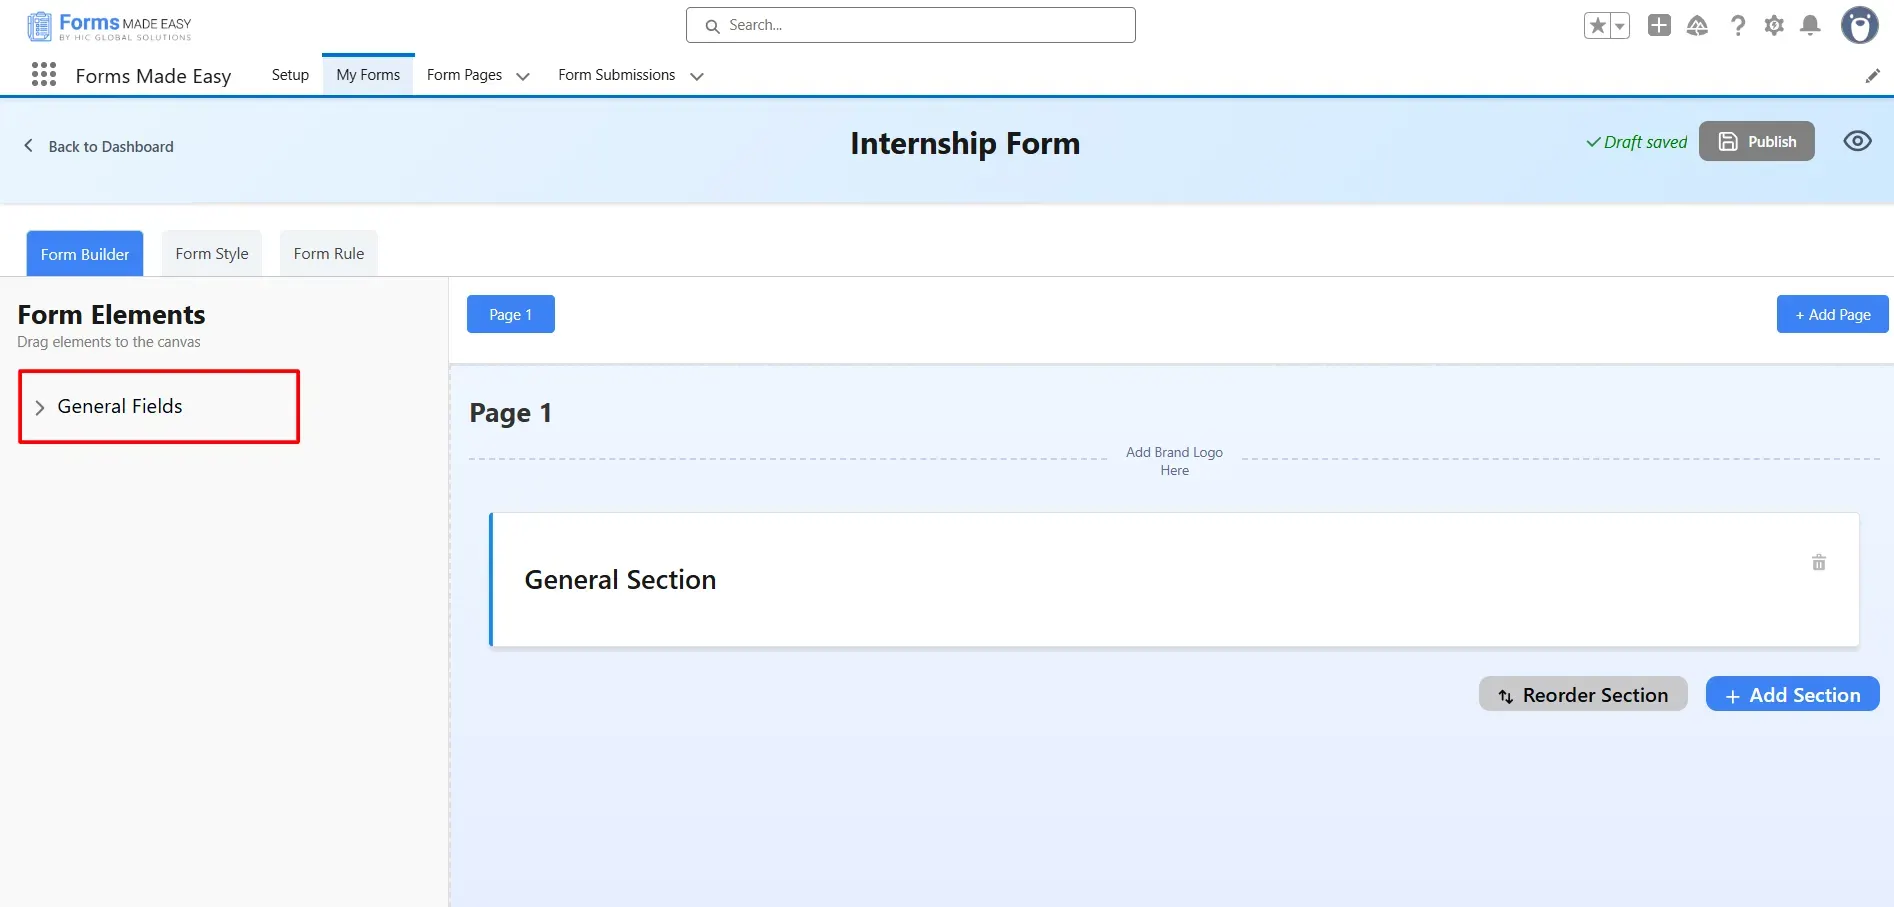
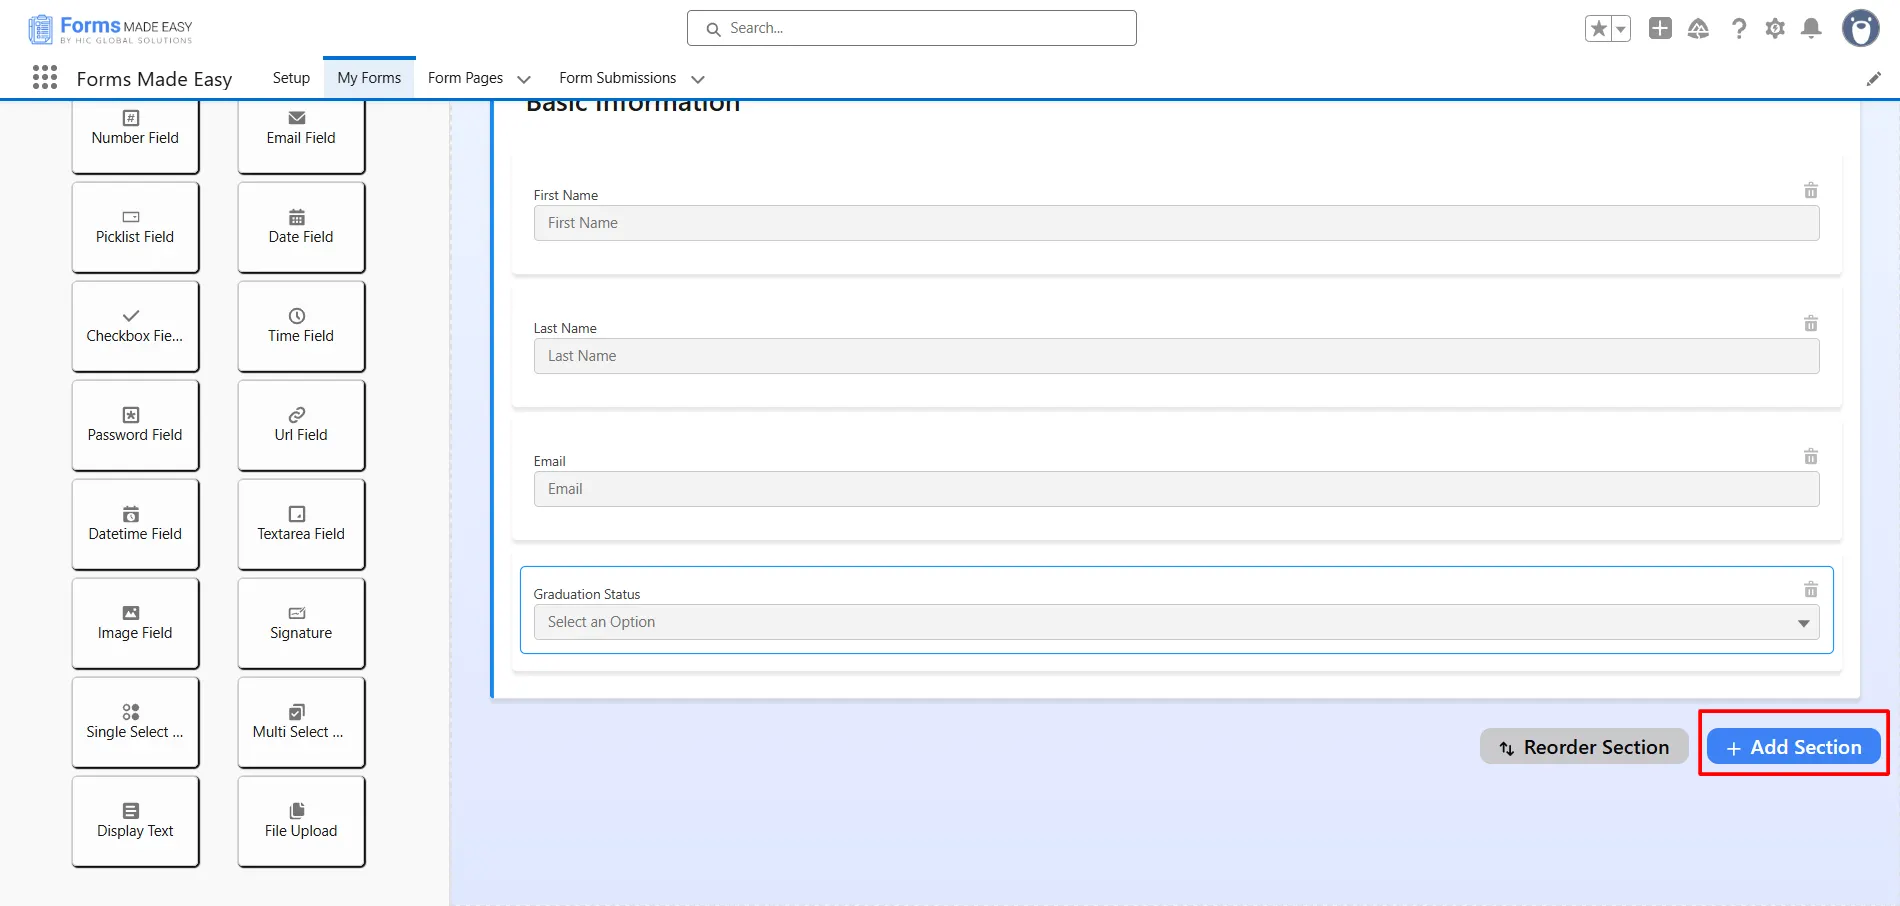
Step 6: Go to the General Fields section.
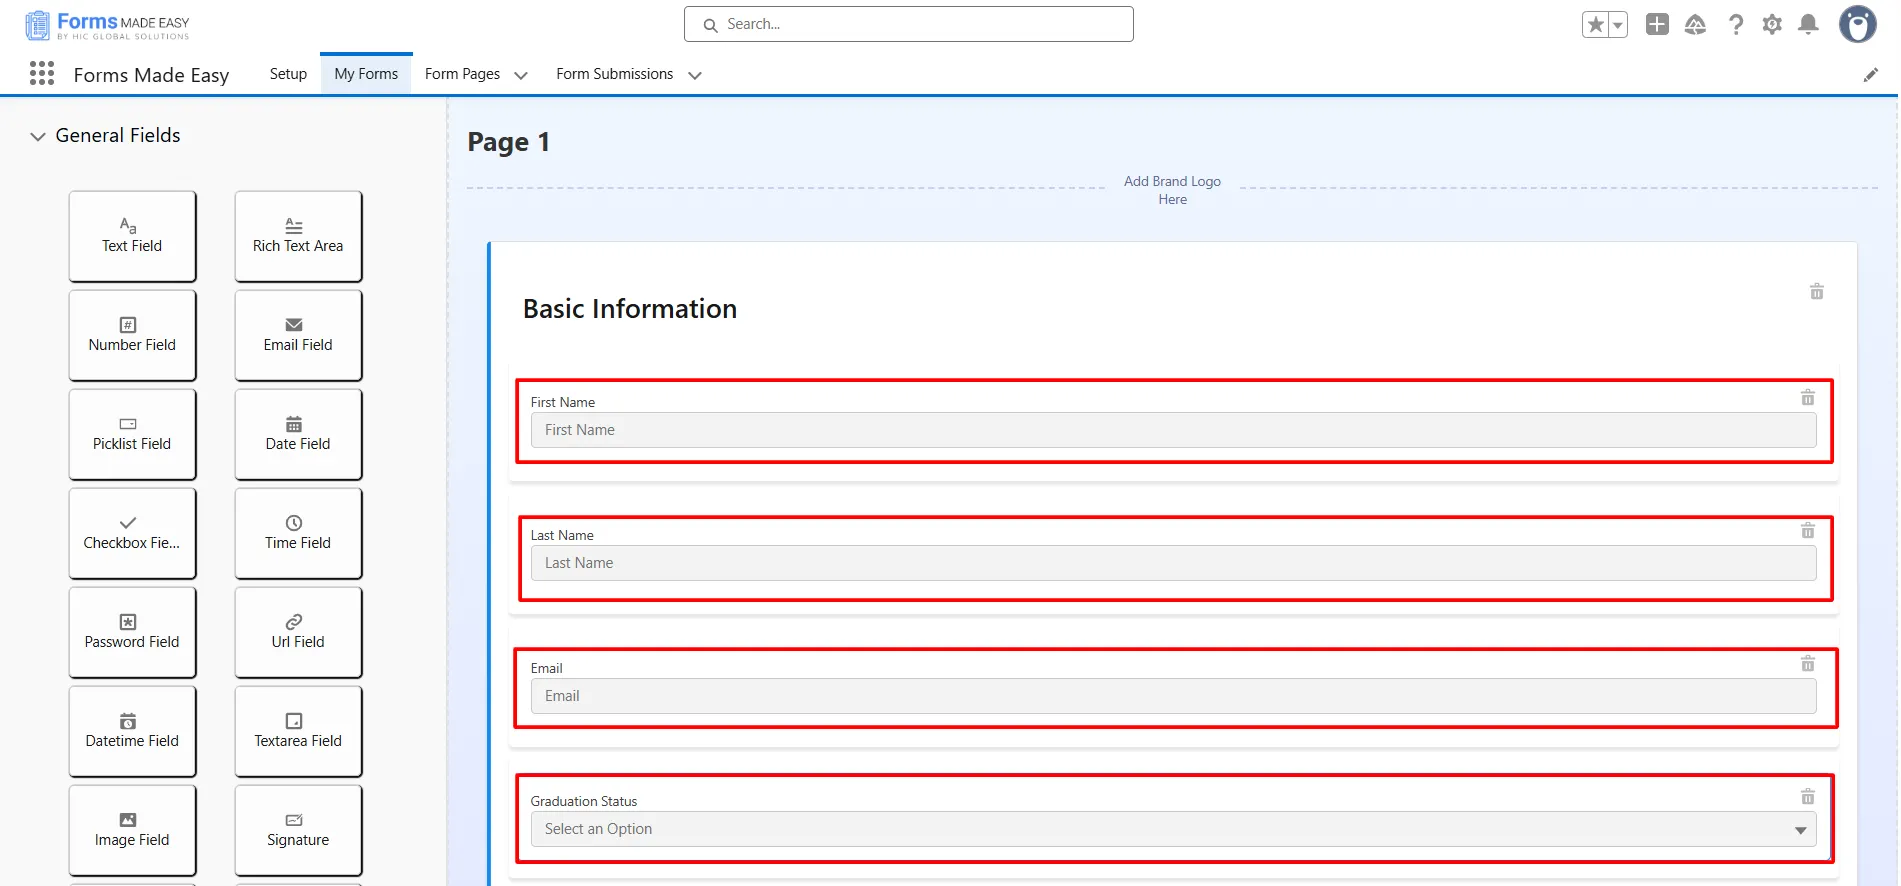
Step 7: Drag and drop your required fields into this section to include them in your form.
Step 8: Click on the Add section button to add a new section to your form.
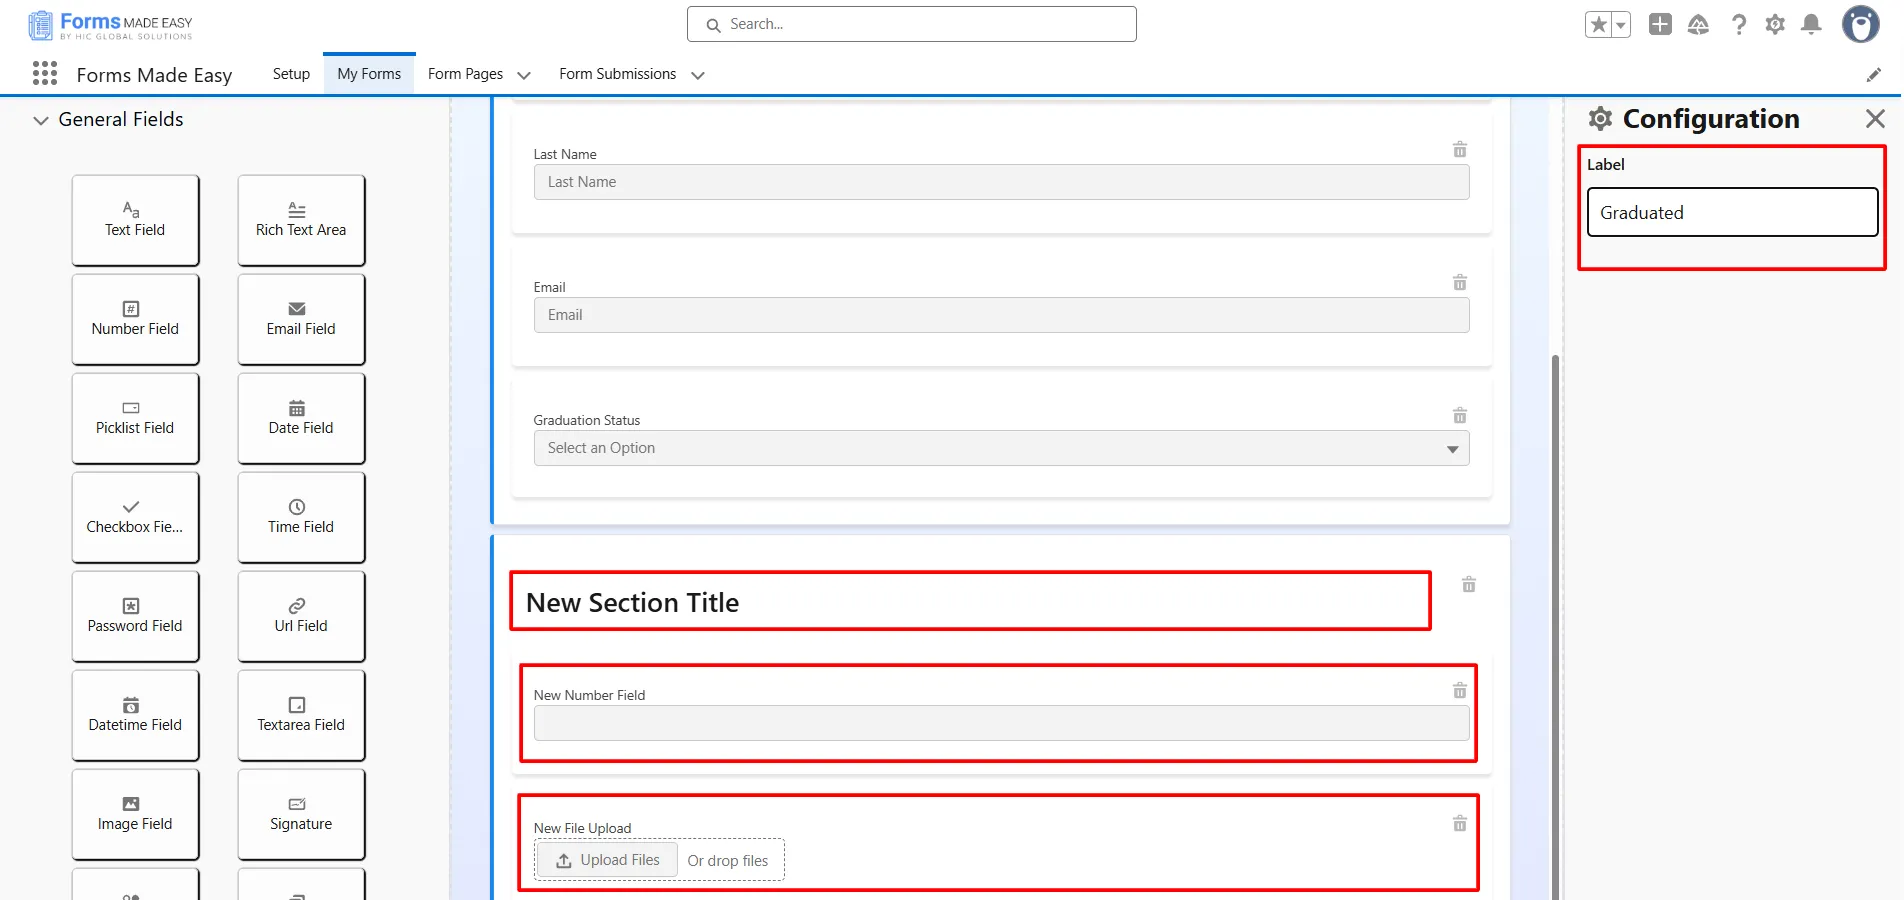
Step 9: Click on the New Section Title and enter a name for the section as per your requirements. Thereafter, drag and drop your required fields into this section to include them in your form.
Step 10: After dragging and dropping all the required fields and sections into your form, click on the Form Rule tab to open it and start configuring rules based on specific conditions.
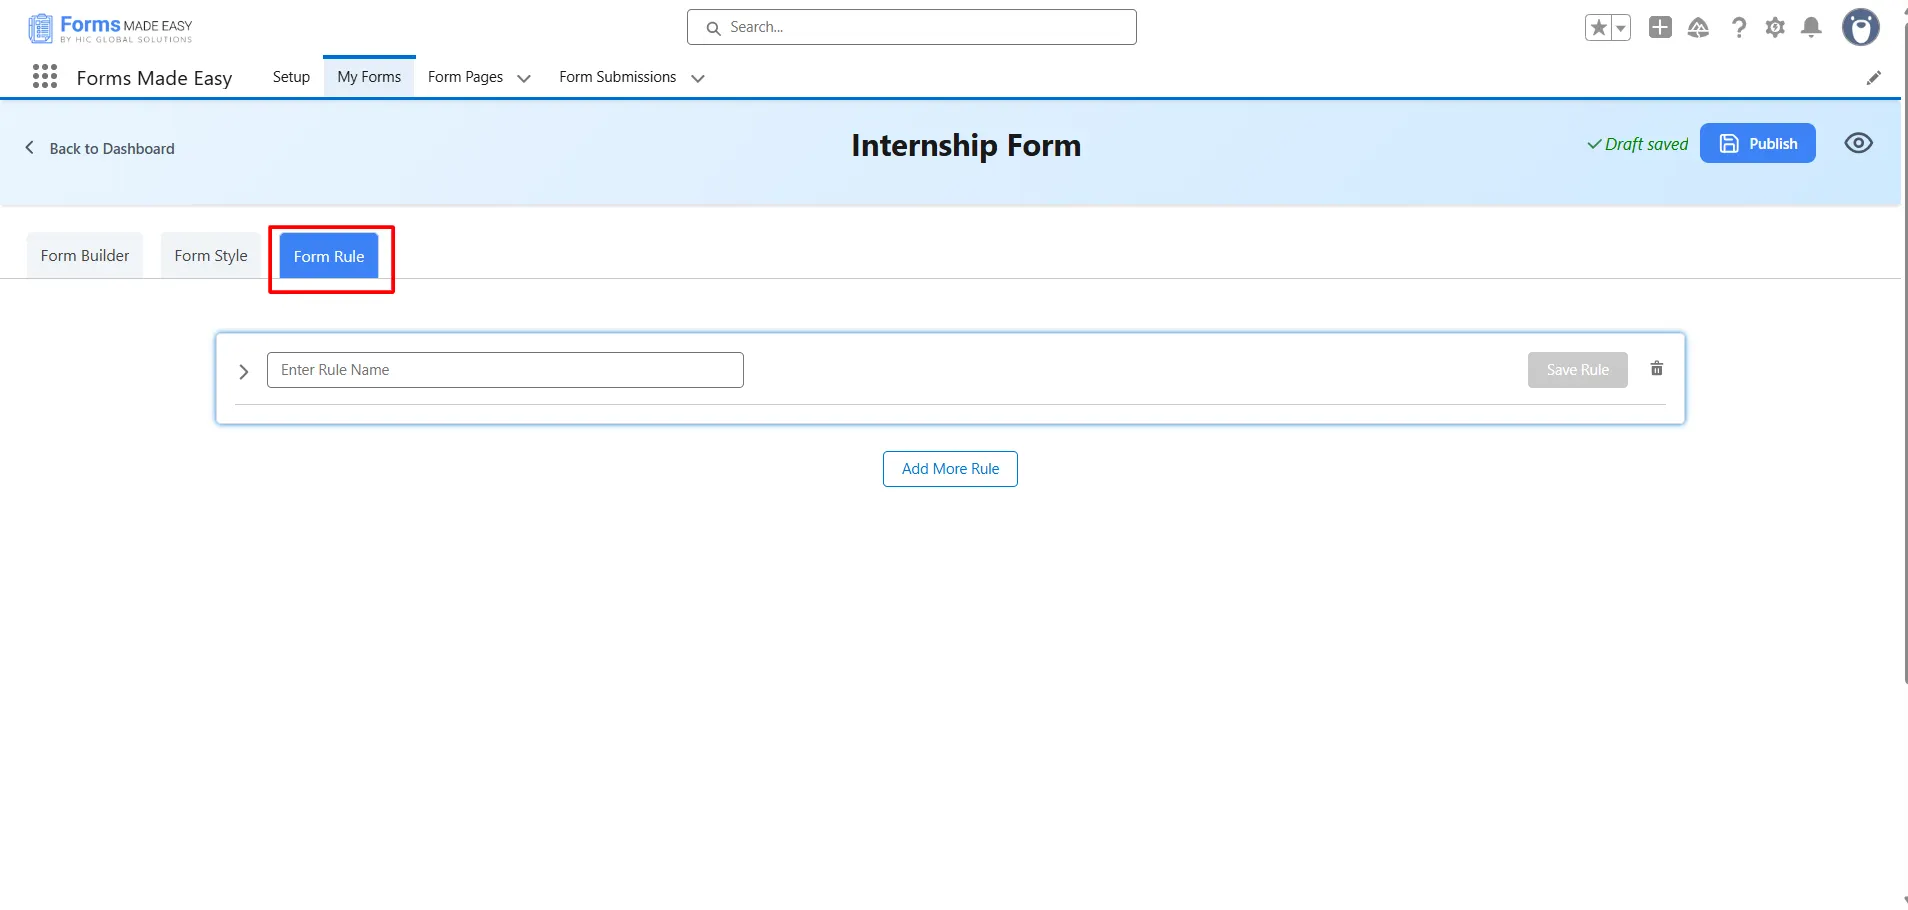
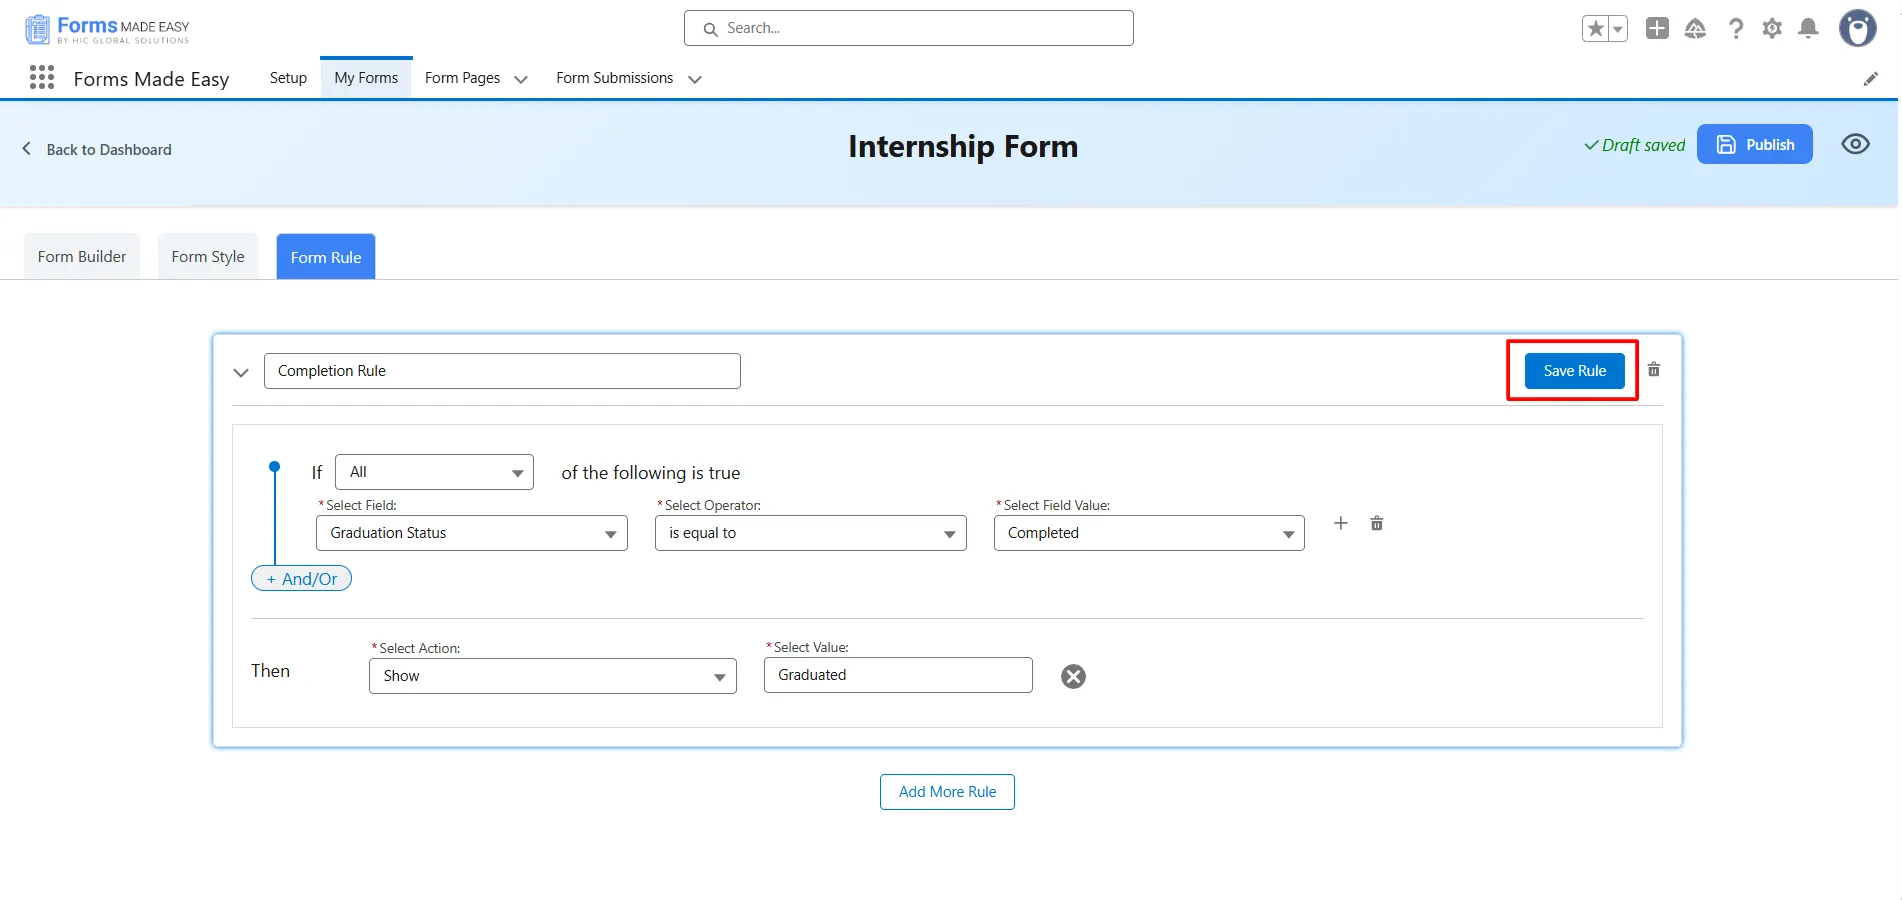
Step 11: Enter a name for the rule in the Enter Rule Name field, then click on “>” to define the specific conditions for the rule.

Step 12: After clicking on “>”, you will be taken to the condition builder. Here, you can set specific conditions that determine when the rule should be triggered. Choose the relevant field, set the condition type (e.g., is equal to, contains, is empty), and then provide the value to match. You can also add multiple conditions using AND/OR logic, depending on your rule requirements.
(Note: In this case, we use the condition: If the Graduation Status is equal to Completed, then the Graduated Section will be populated.)
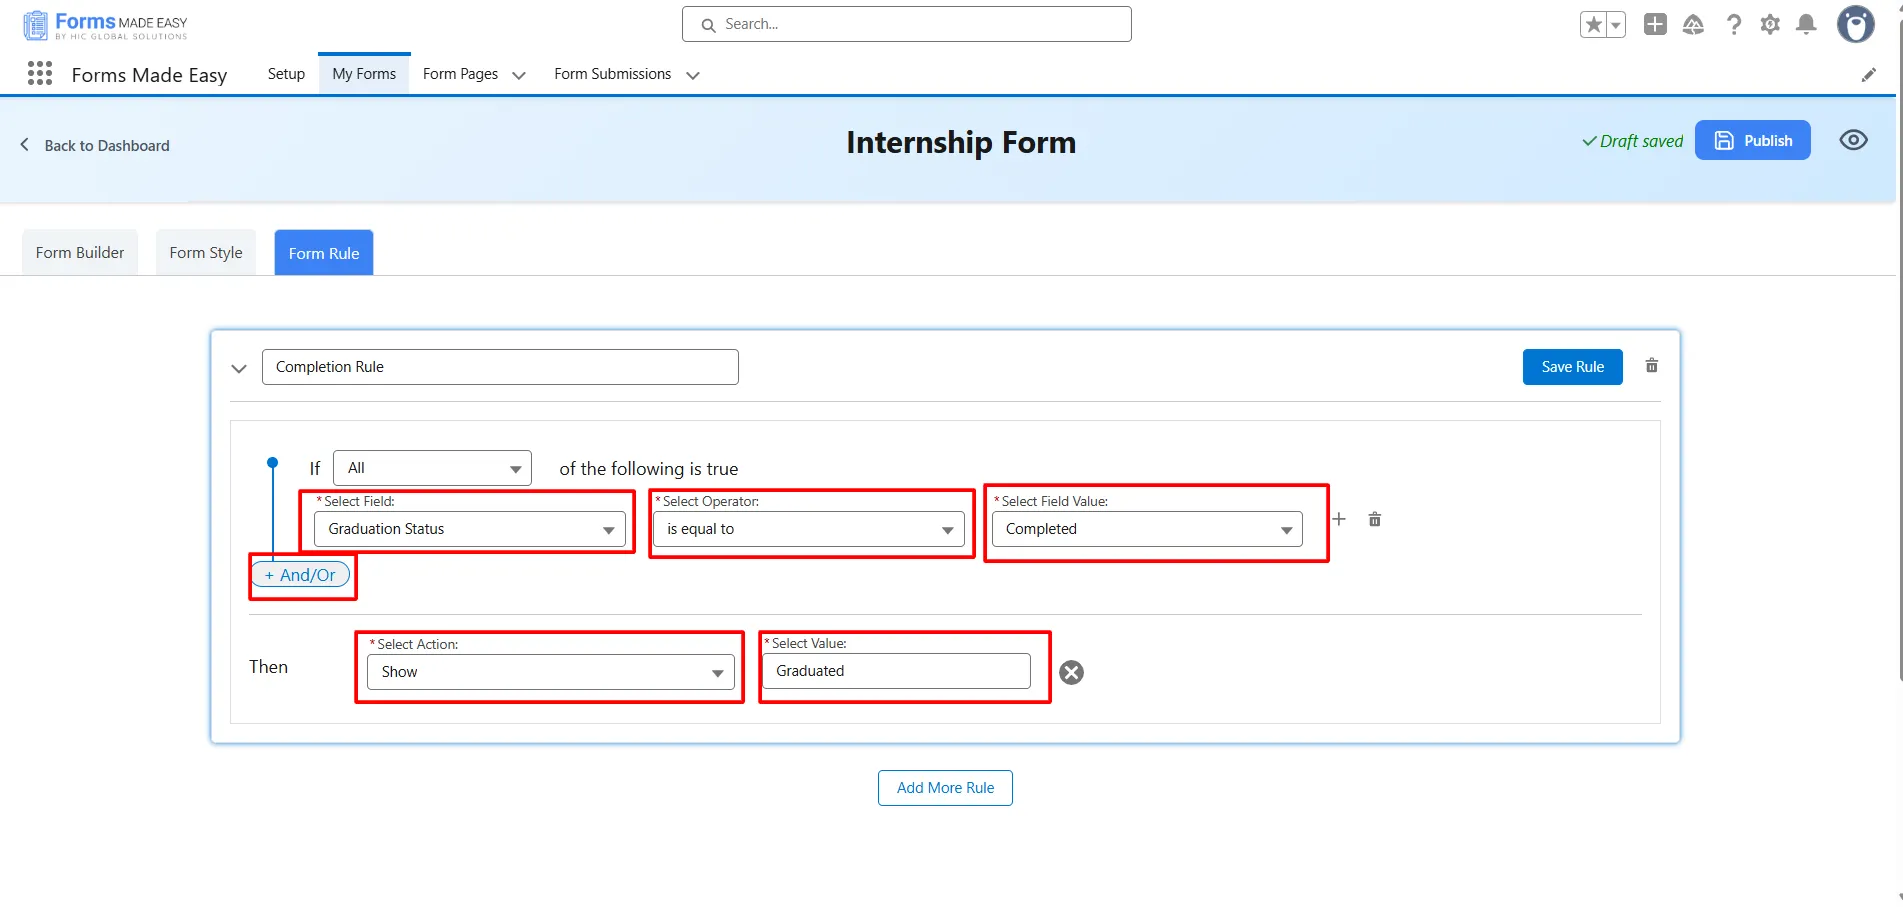
Step 13: Now, click on the Save Rule button to save the rule.
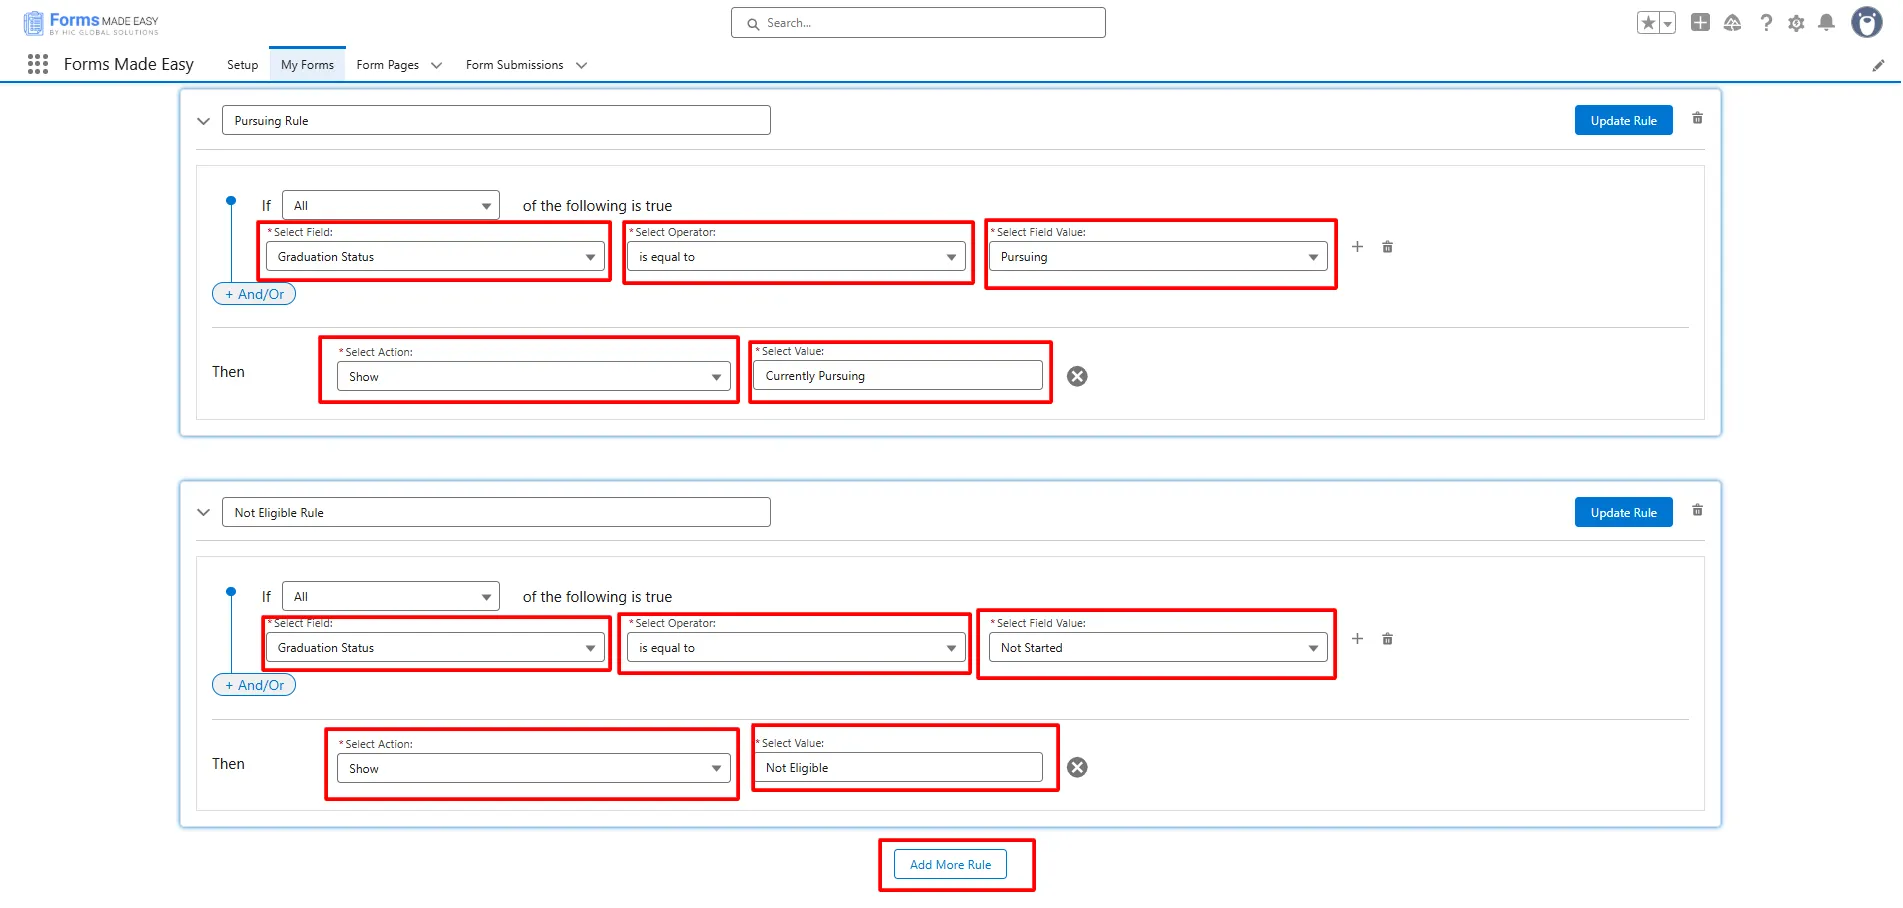
Step 14: Click on the Add More Rule button to create and configure multiple rules within your form.
(Note: In this case, we will add two additional rules: The first rule is the Pursuing Rule: if the Graduation Status is equal to Pursuing, then the Currently Pursuing section will be displayed, and The second rule is, if the Graduation Status is equal to Not Started, then the Not Eligible section will be displayed.)
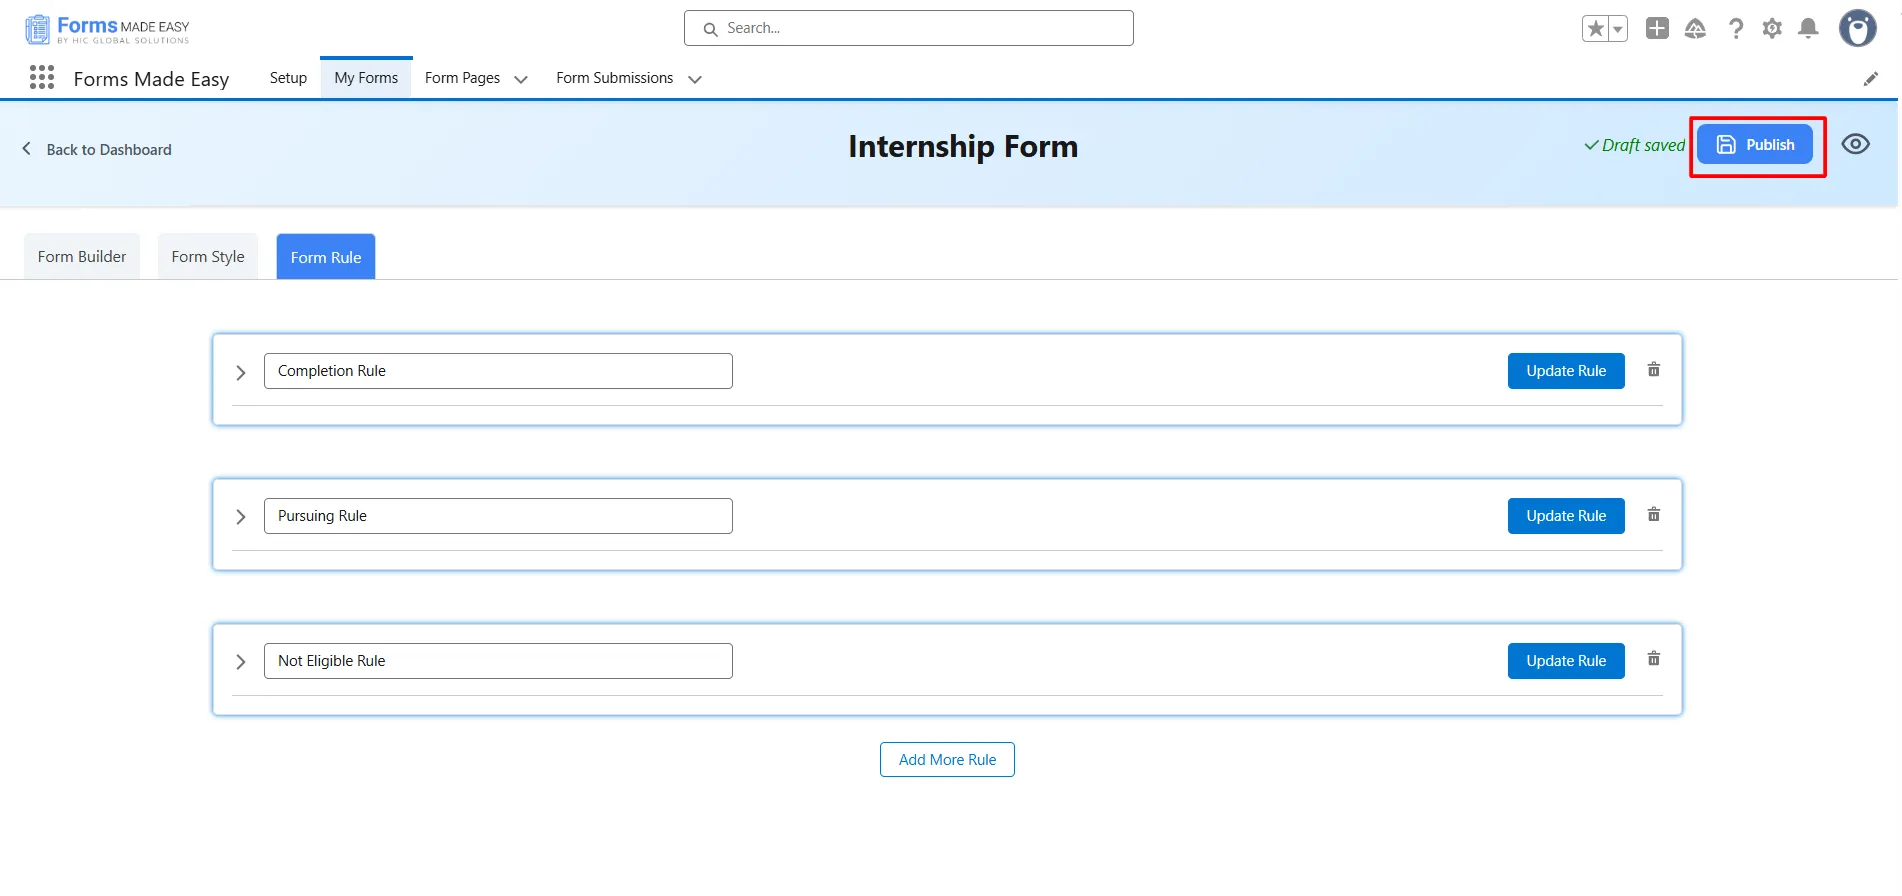
Step 15: After all of that, you can publish the form by clicking the Publish button.
Step 16: Click the Publish Form button.
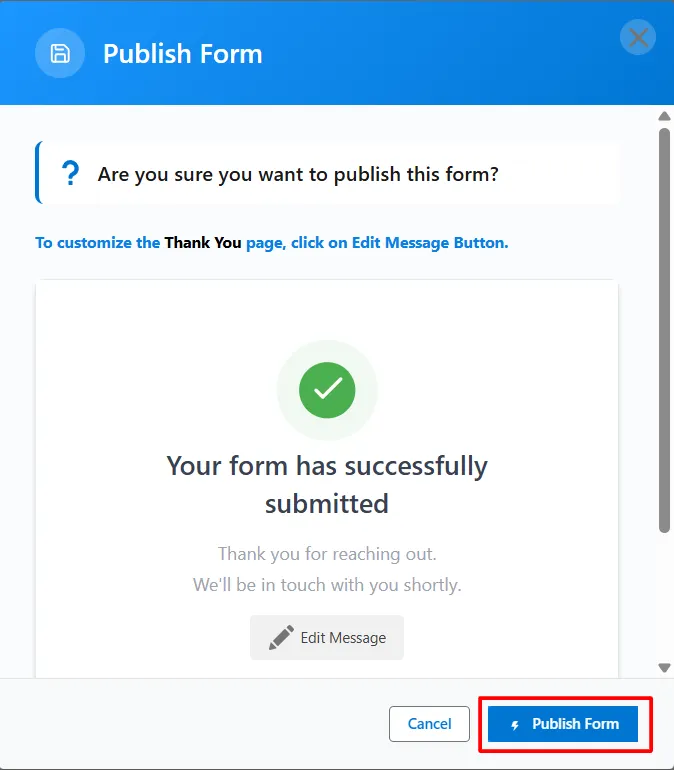
Step 17: Click on Done to close the modal.
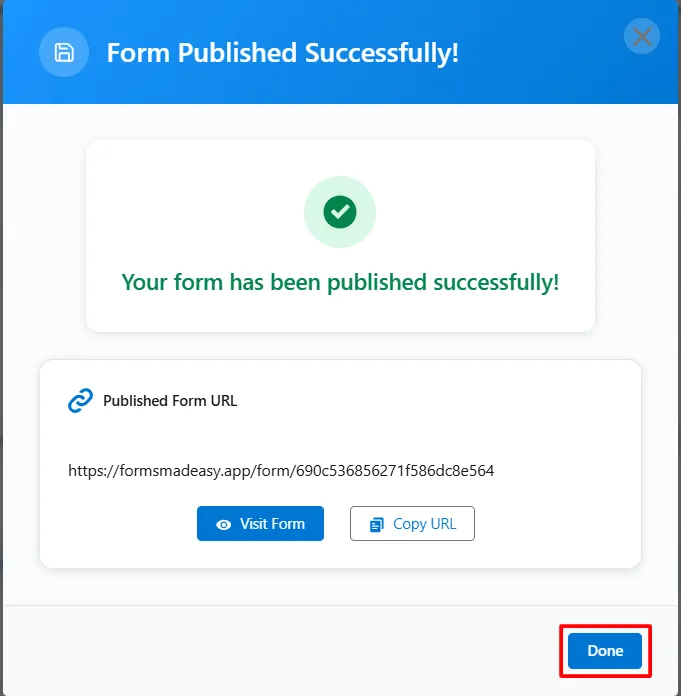
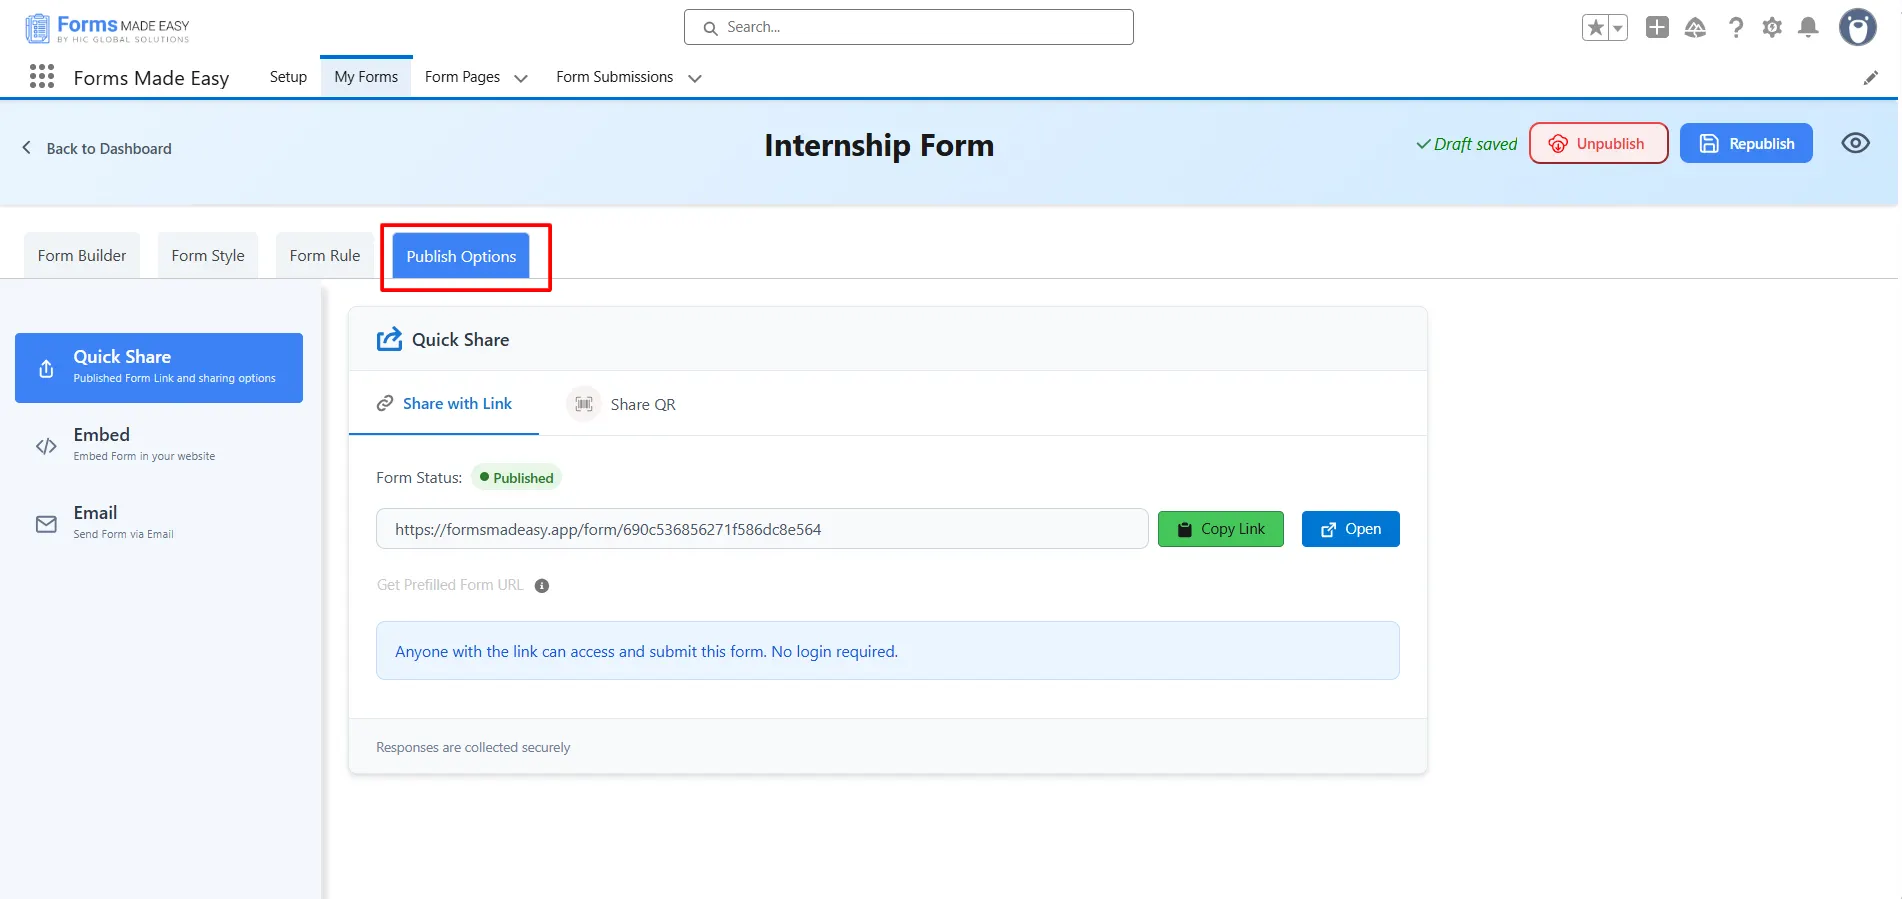
Step 18: Once the form is published, an additional Publish Options tab becomes available.
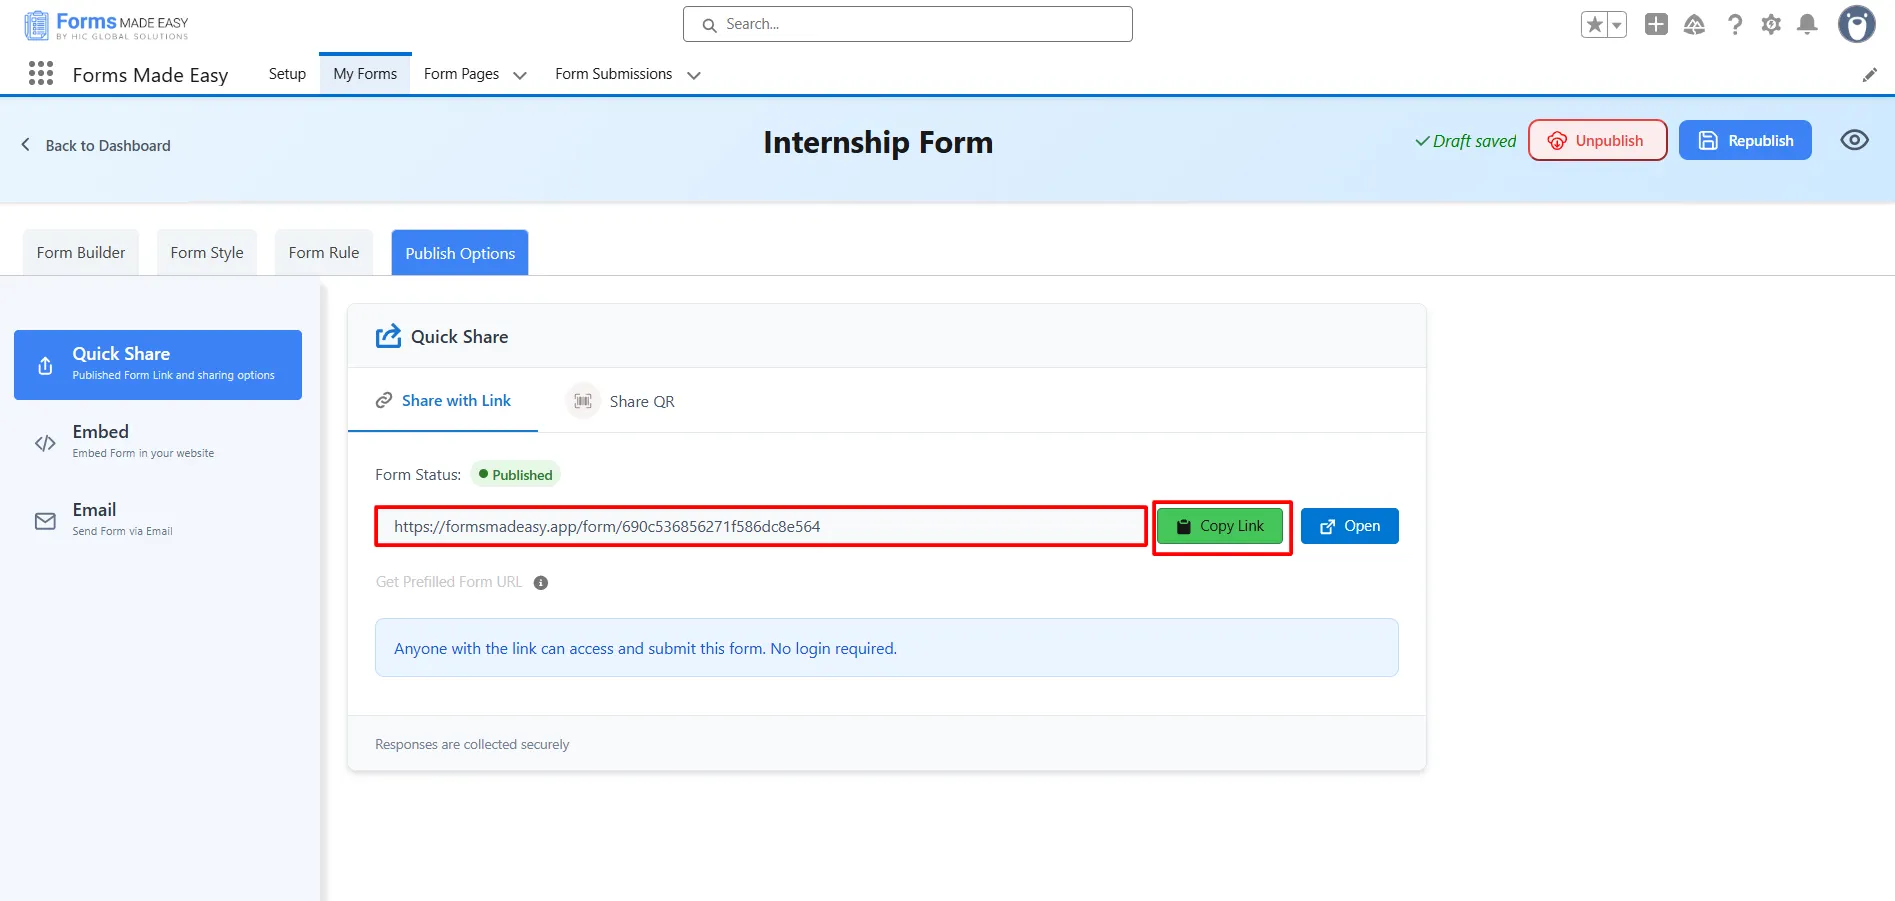
Step 19: Click on the Copy Link button to copy the form URL, which you can then share with others. You can also manually copy the link.
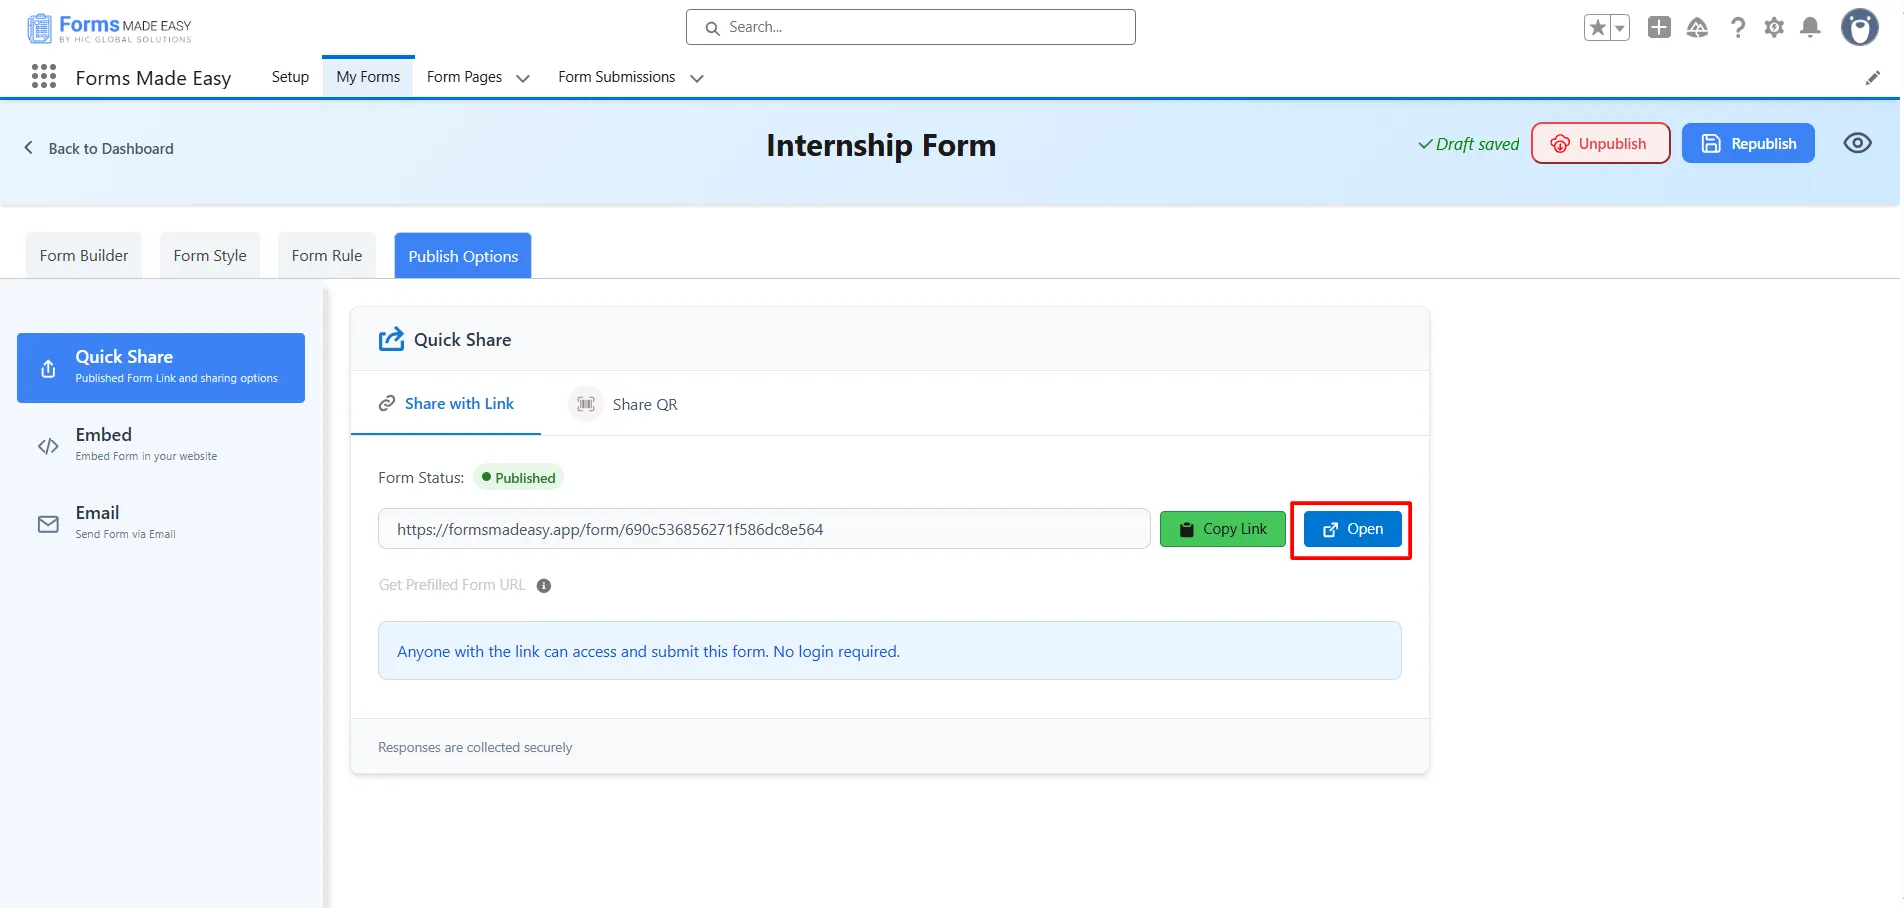
Step 20: Click on the Open button to directly open the form in your web browser.
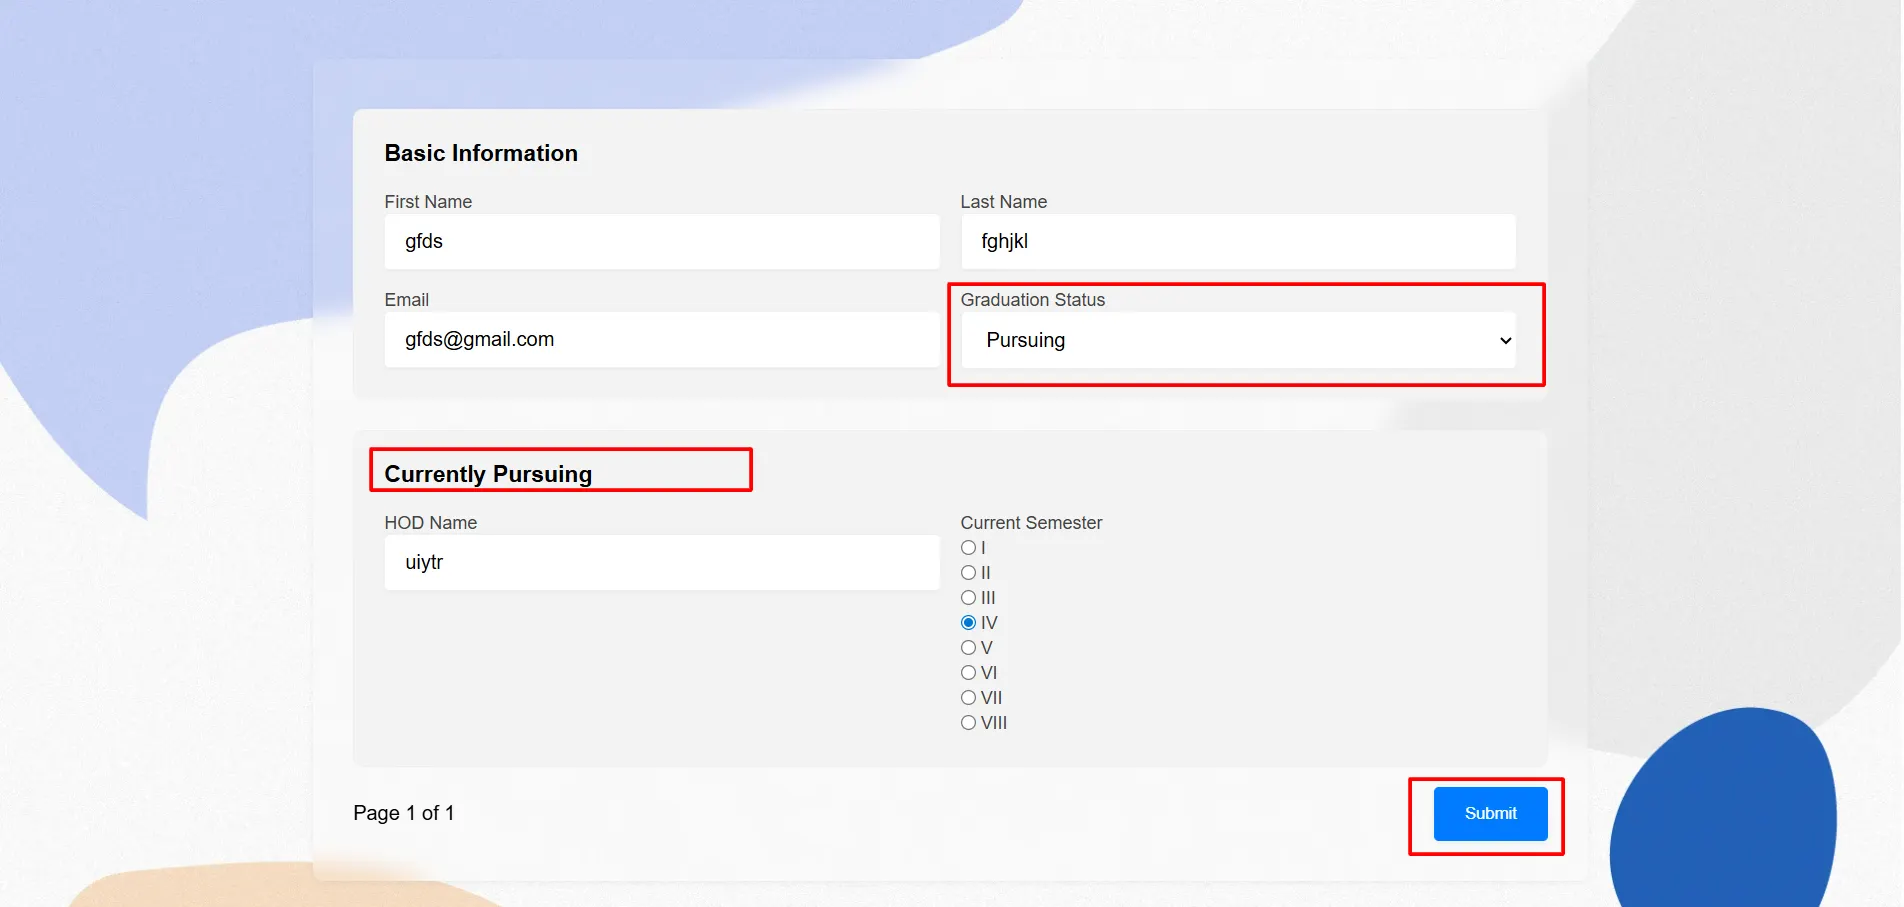
Step 21: After filling in all the information, click the Submit button to submit the records.
(Note: When you select Graduation Status as Completed, the Graduated section will be automatically populated. When you select Graduation Status as Pursuing, the Currently Pursuing section will be automatically populated. And when you select Graduation Status as Not Started, the Not Eligible section will be automatically populated.)
Step 22: Go to the My Forms tab and refresh the page.
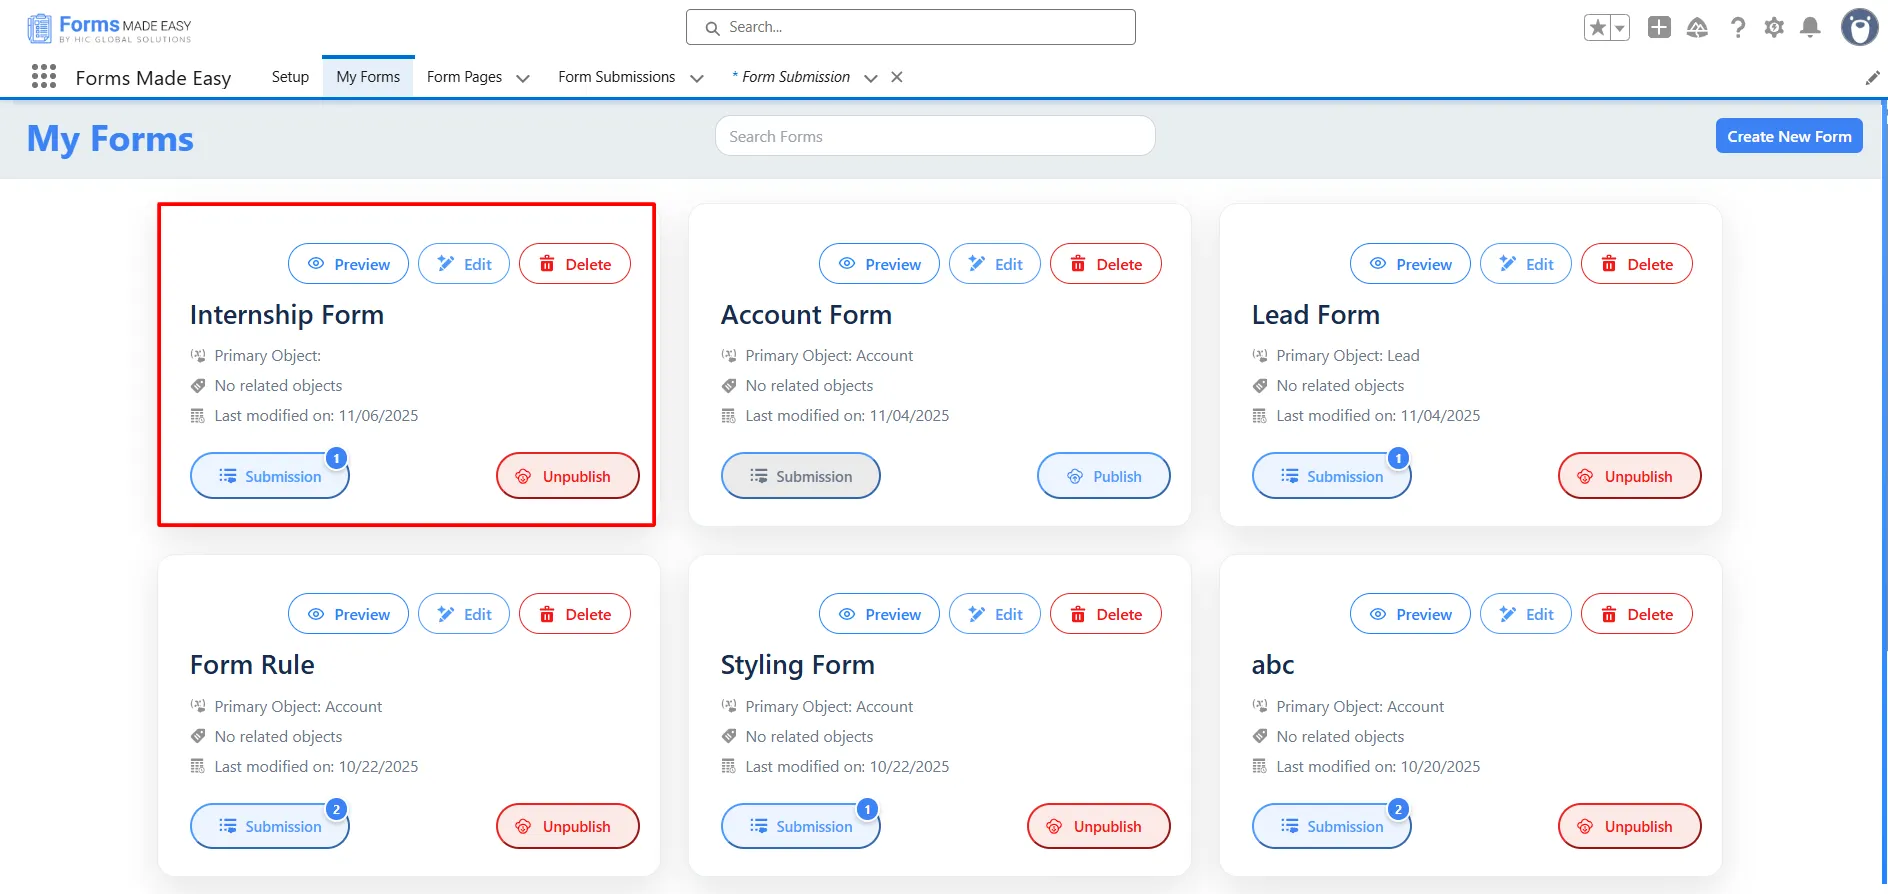
Step 23: Click on the Submission button of that form.
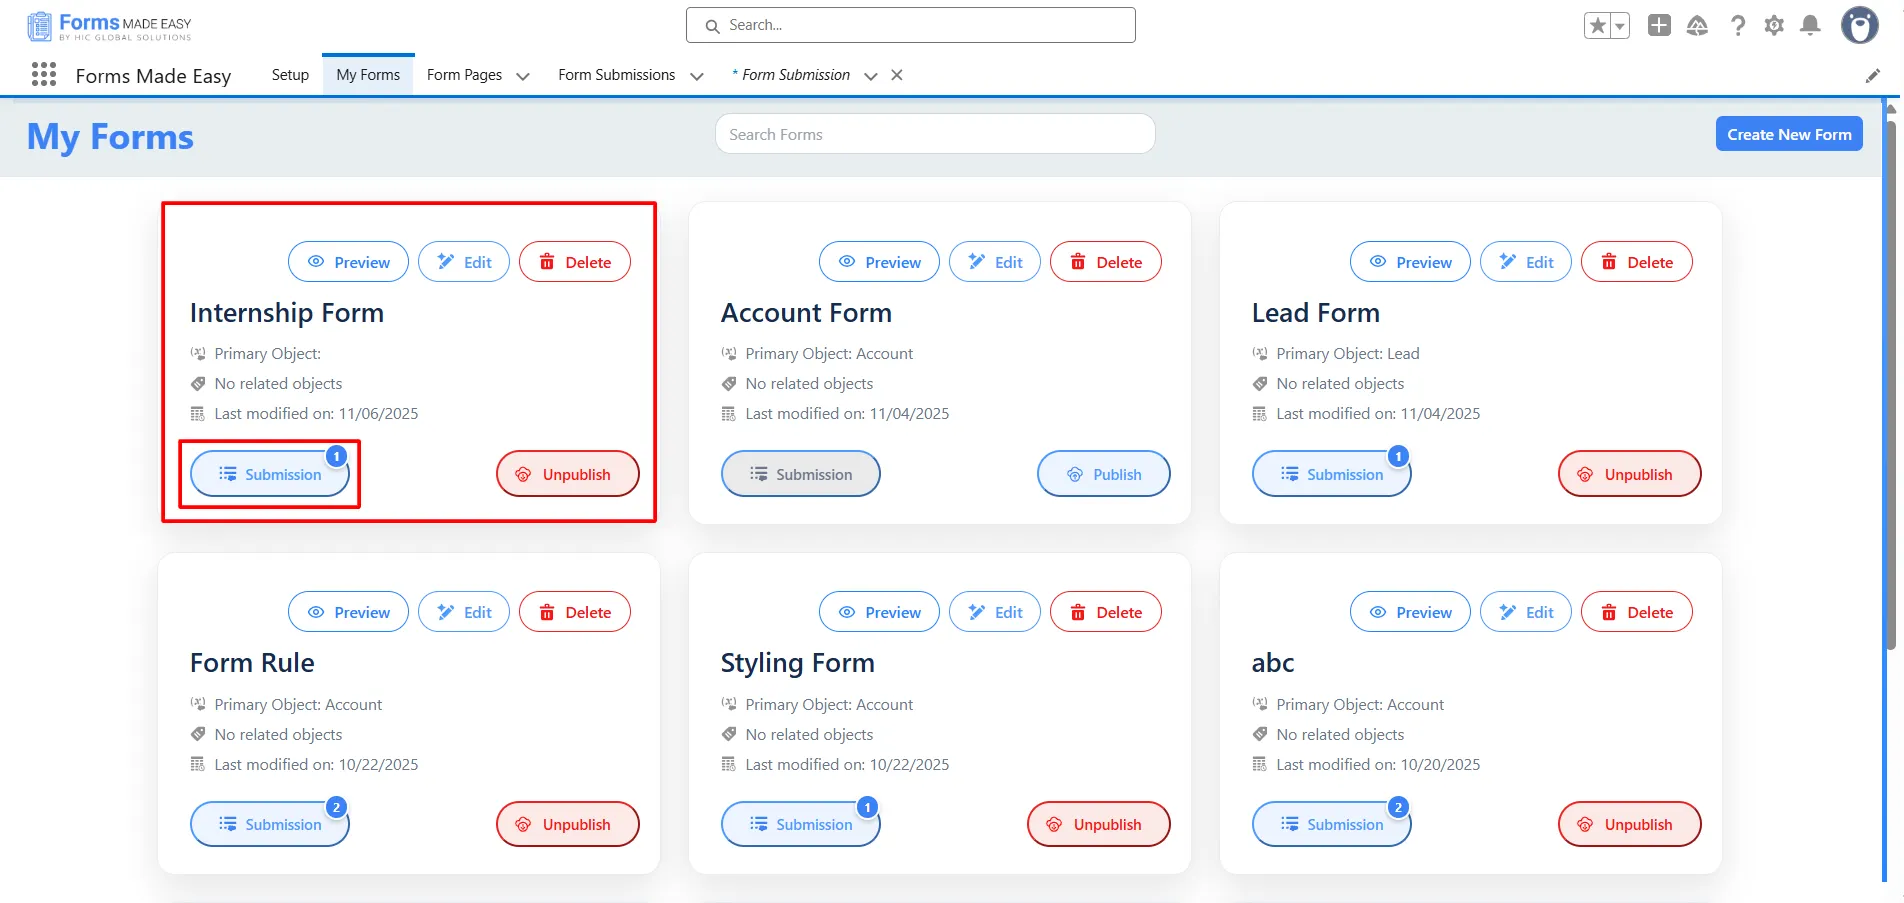
Step 24: Here, all submissions for that form will be displayed.

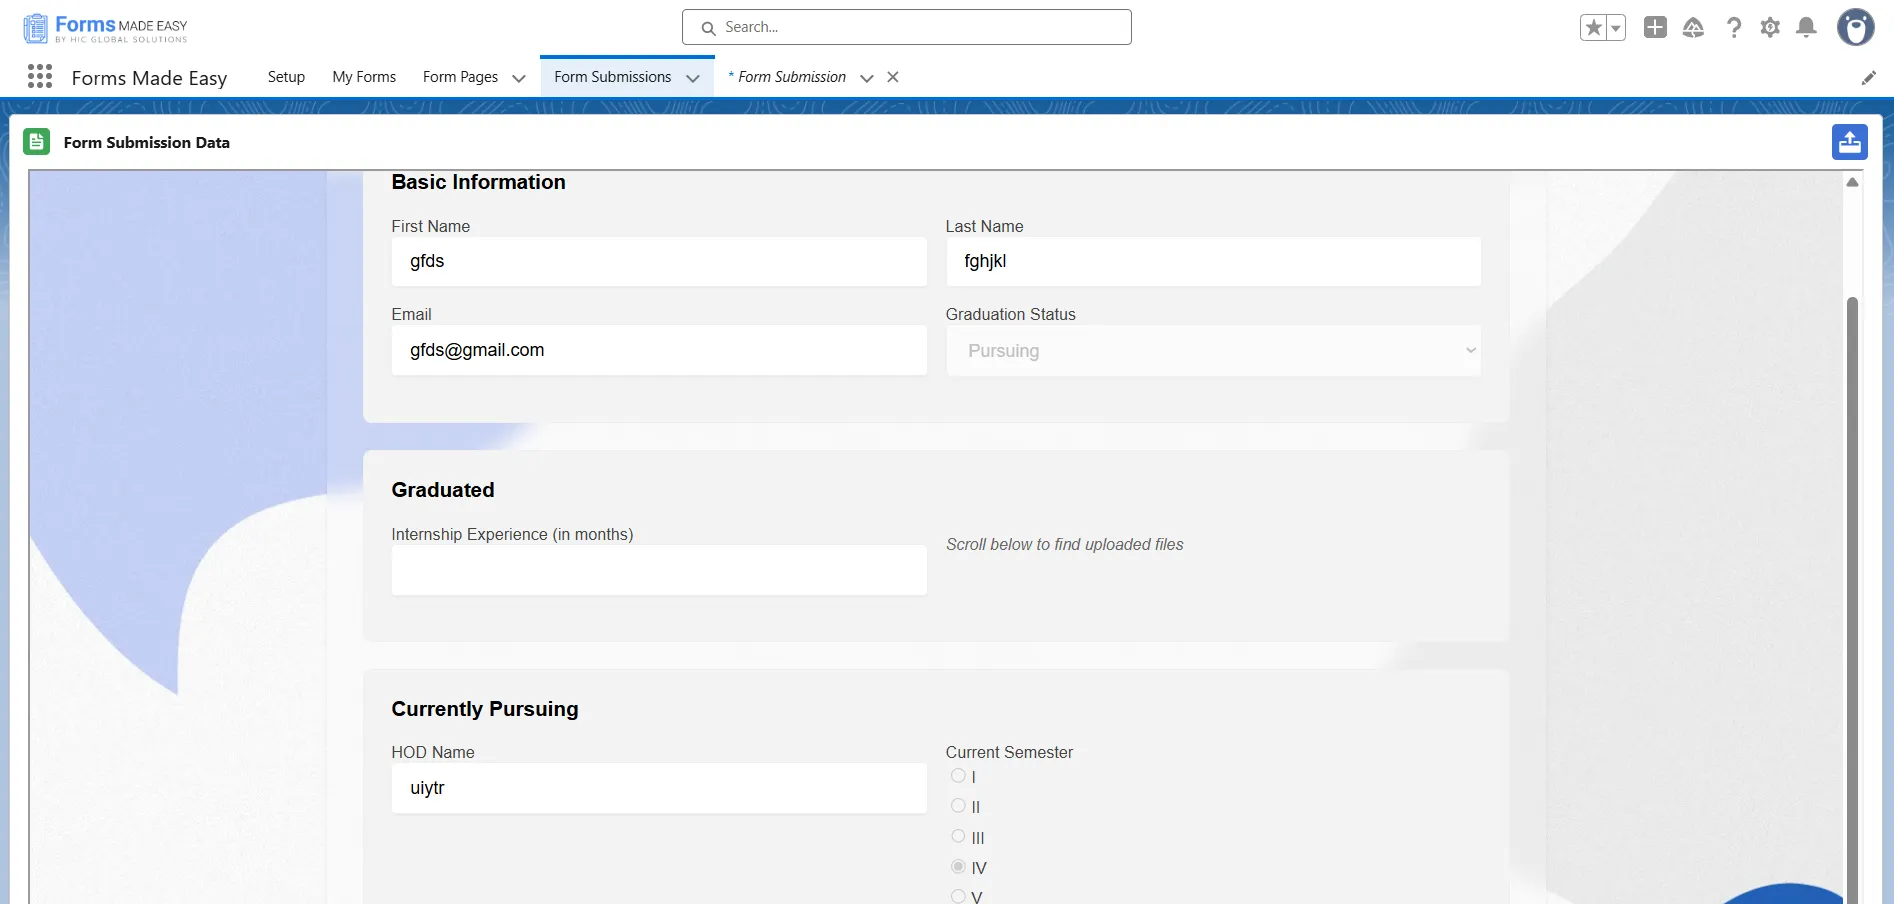
Step 25: Click on Open Record to view the submitted form data.
Step 26: The submitted records will appear as shown below.
Conclusion
By applying these steps and configuring multiple rules effectively, you can enhance your forms with powerful Salesforce online form builder features. This ensures your process remains streamlined, user-friendly, and optimized with advanced Salesforce form solutions.