

Turn Forms Into Automated Workflows
Design dynamic forms, streamline operations, and eliminate repetitive manual tasks — all without code.
Talk to Our ExpertsBuild Smarter Forms Faster
Create no-code forms inside Salesforce and automate data collection, approvals, and workflows without complexity.
Get StartedSimplify Your Form Workflows
Replace manual processes with intelligent forms that capture, route, and manage data seamlessly in Salesforce.
Book a DemoForm errors in Salesforce can disrupt your data capture process and prevent records from being created correctly. That’s why it’s important to know how to identify, review, and troubleshoot failed submissions in your form.
In this guide, we’ll walk you through how to publish Salesforce forms and validate form submissions. Whether you are building a simple data capture survey or advanced forms for Salesforce linked to specific objects, this guide will help you set everything up smoothly. Follow the instructions below to set up, publish, and manage your form submissions efficiently while keeping your data directly connected to Salesforce.
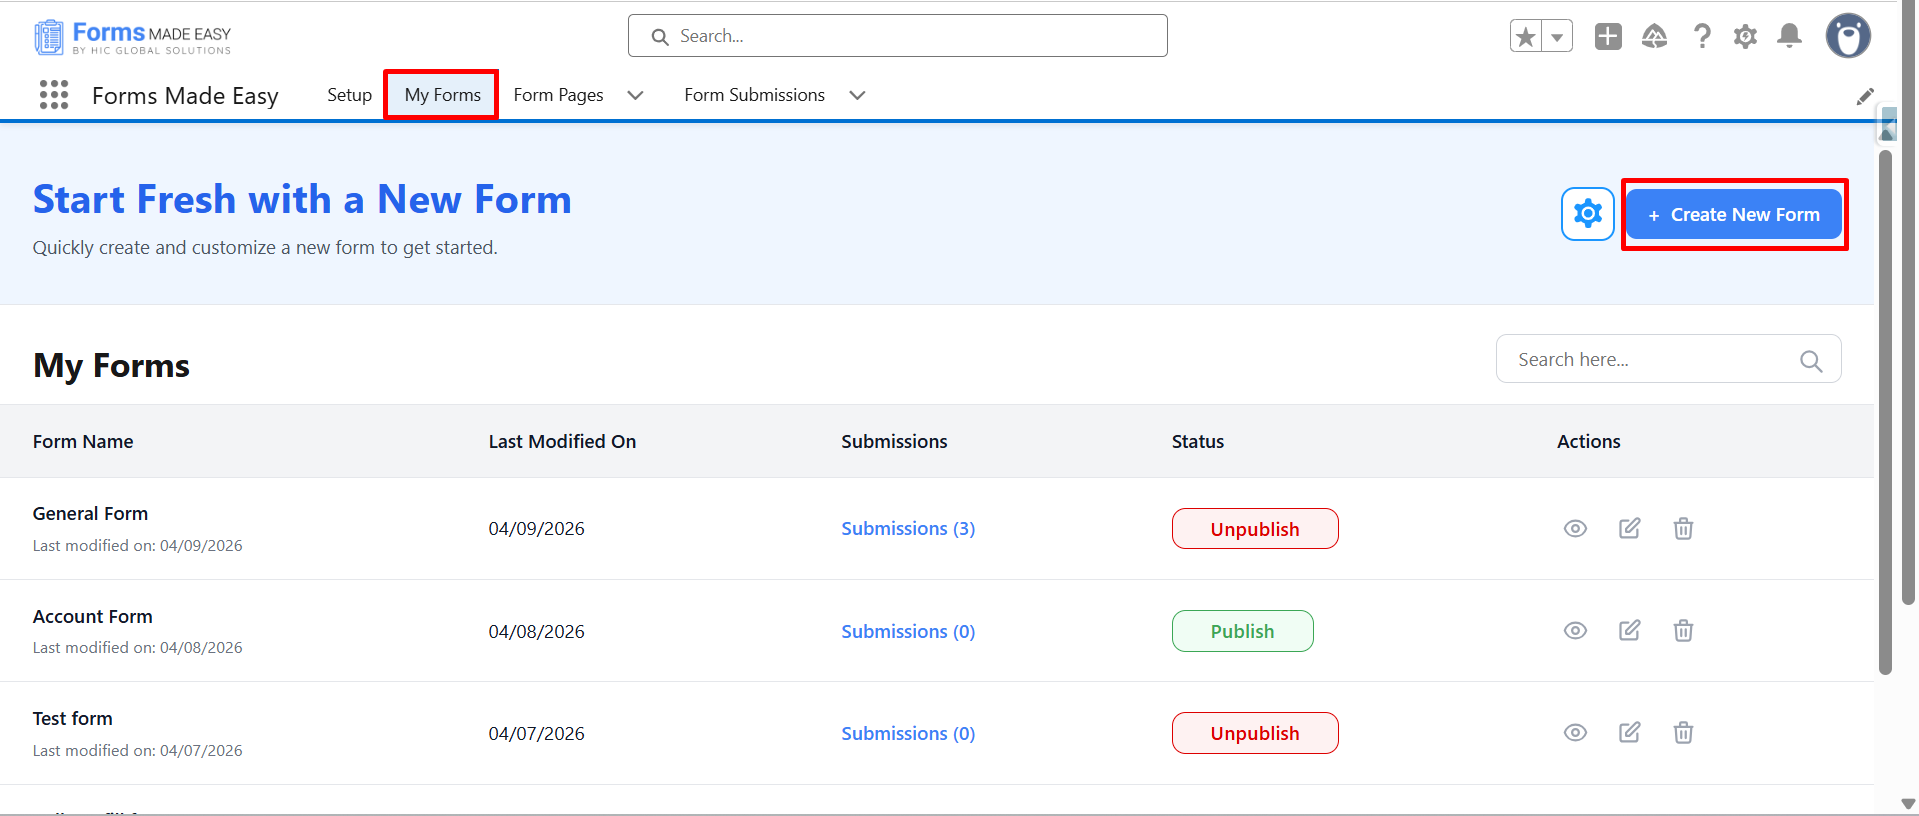
Step 1: Start the process by going to the My Forms tab and clicking on the “Create New Form” button.
Step 2: Enter the Form Name and select the Form Type (Salesforce Objects / General Fields).
- Currently, I have chosen the Salesforce Objects option.
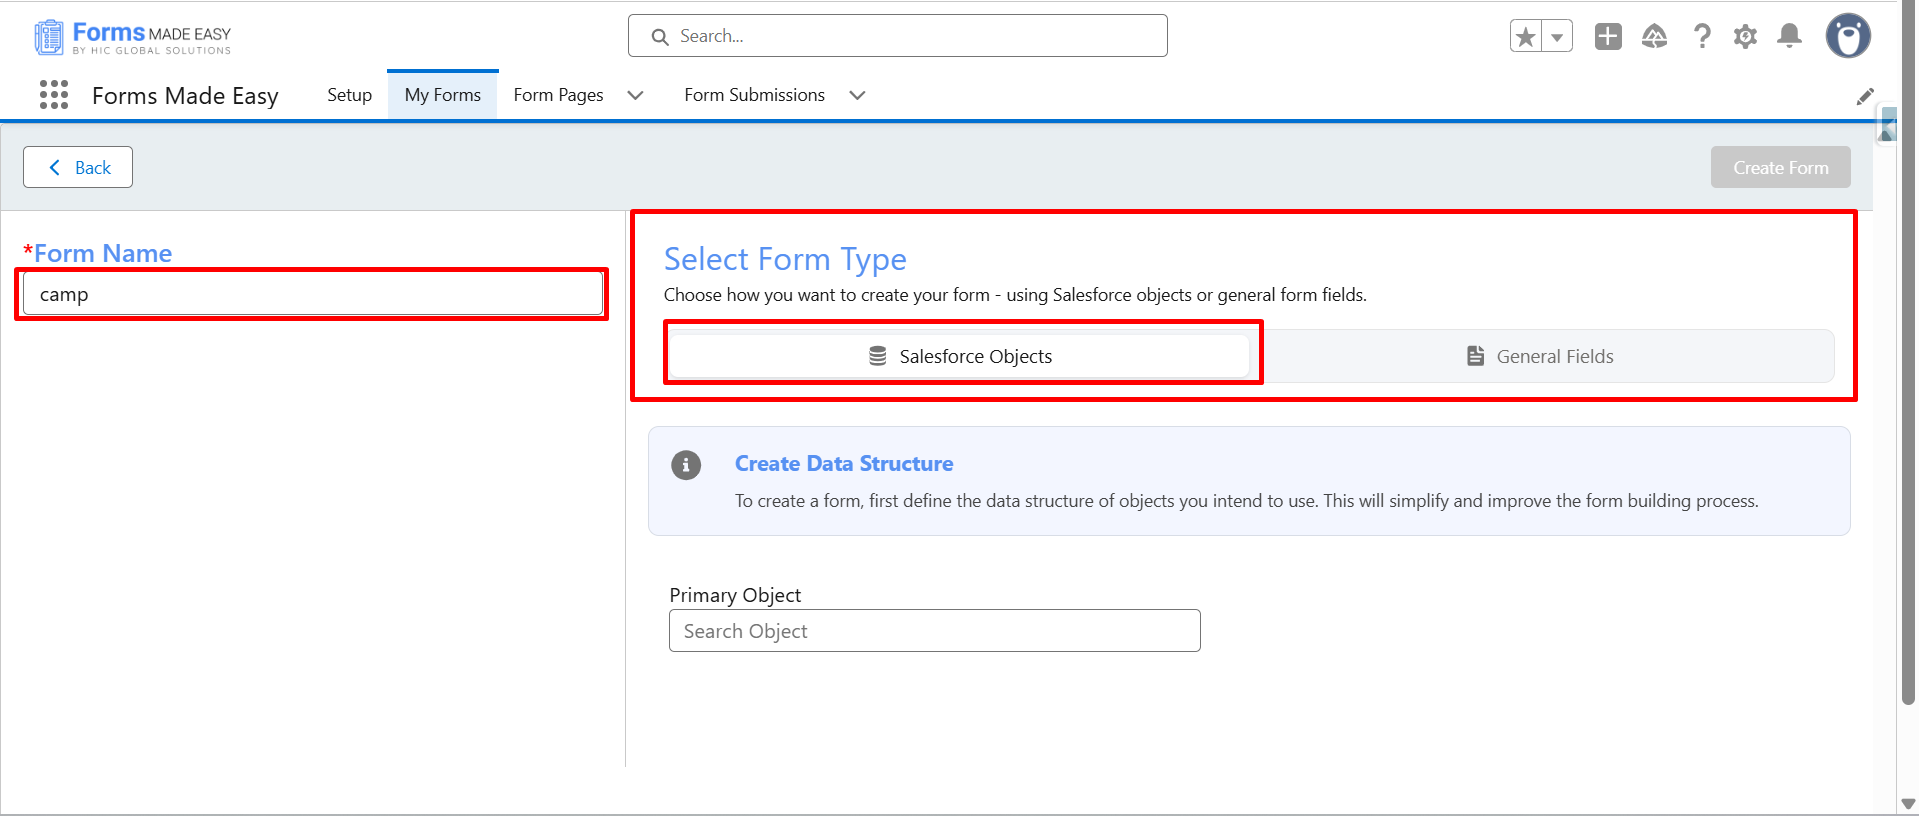
Step 3: Select the required Salesforce object.
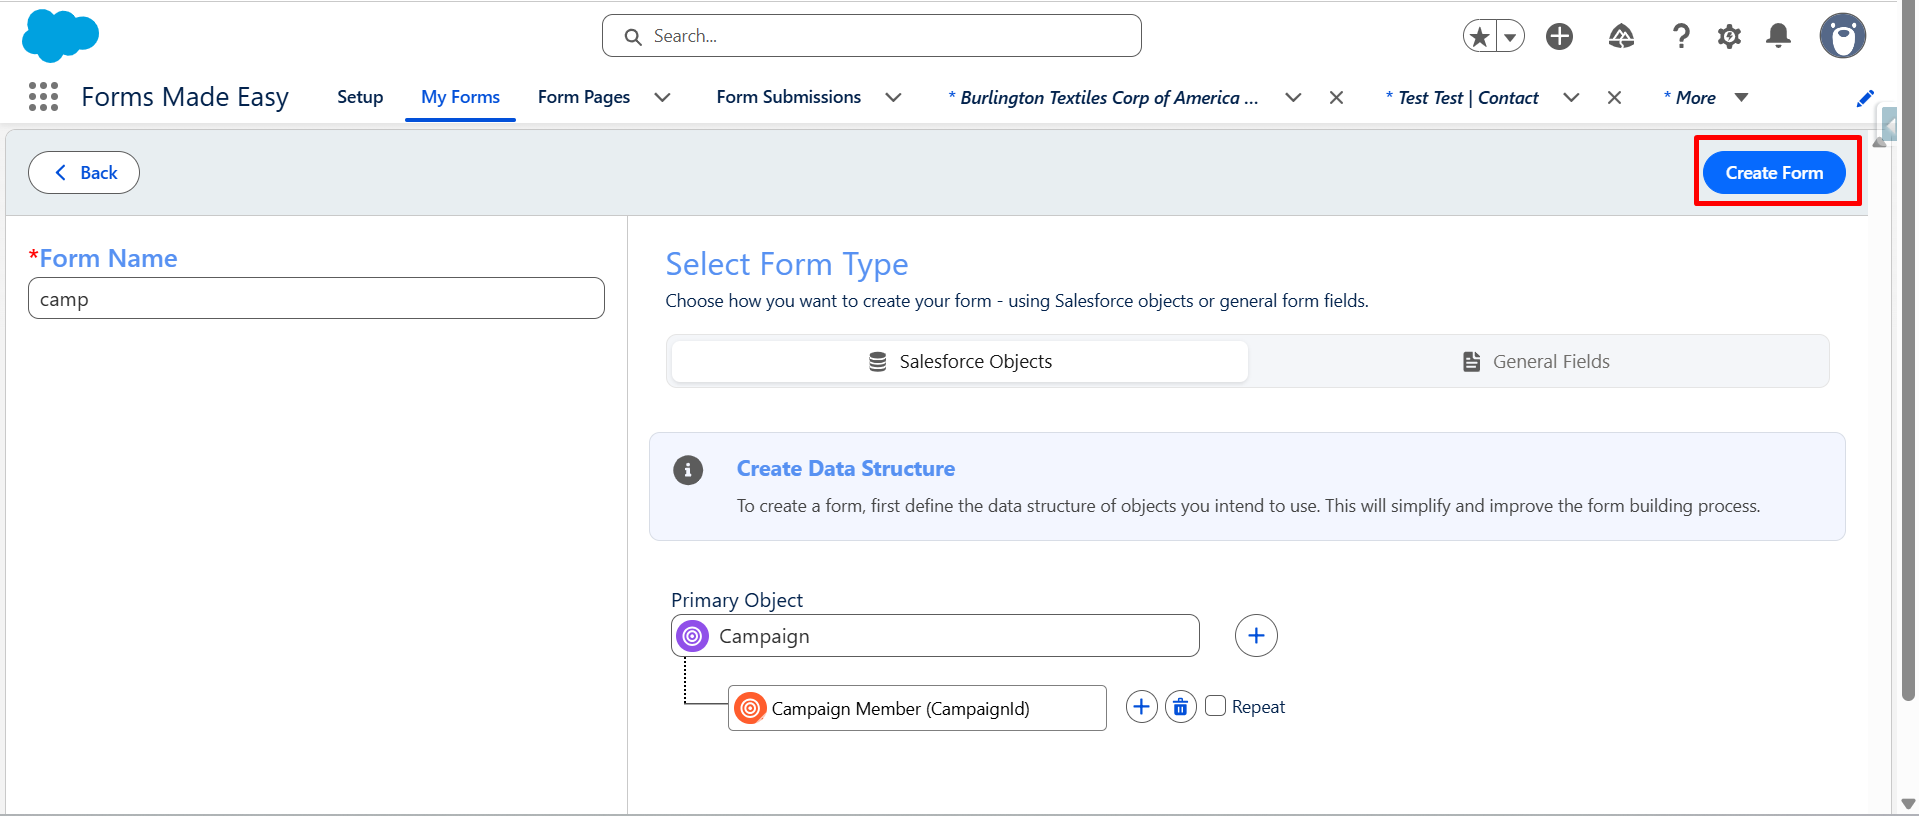
I have selected “Campaign” as the primary object and selected “Campaign Member” as the child object.

Step 4: Click on the “Create Form” button.
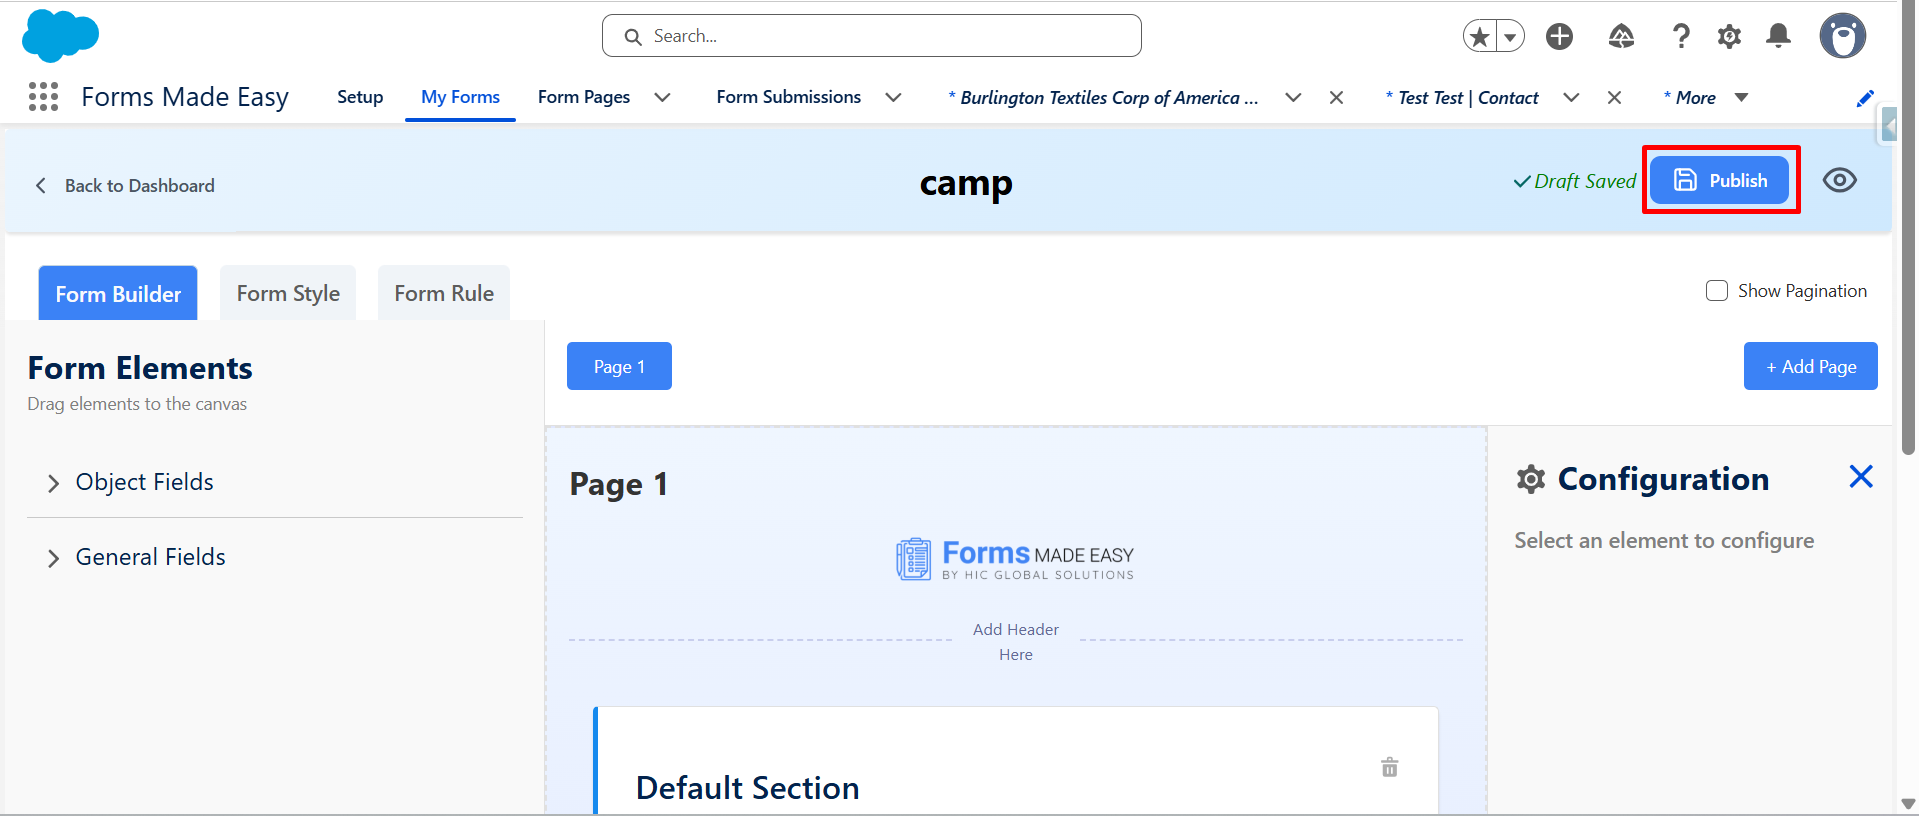
Step 5: Drag and drop your required fields on the form. After all of that, you can publish the form by clicking the “Publish” button.
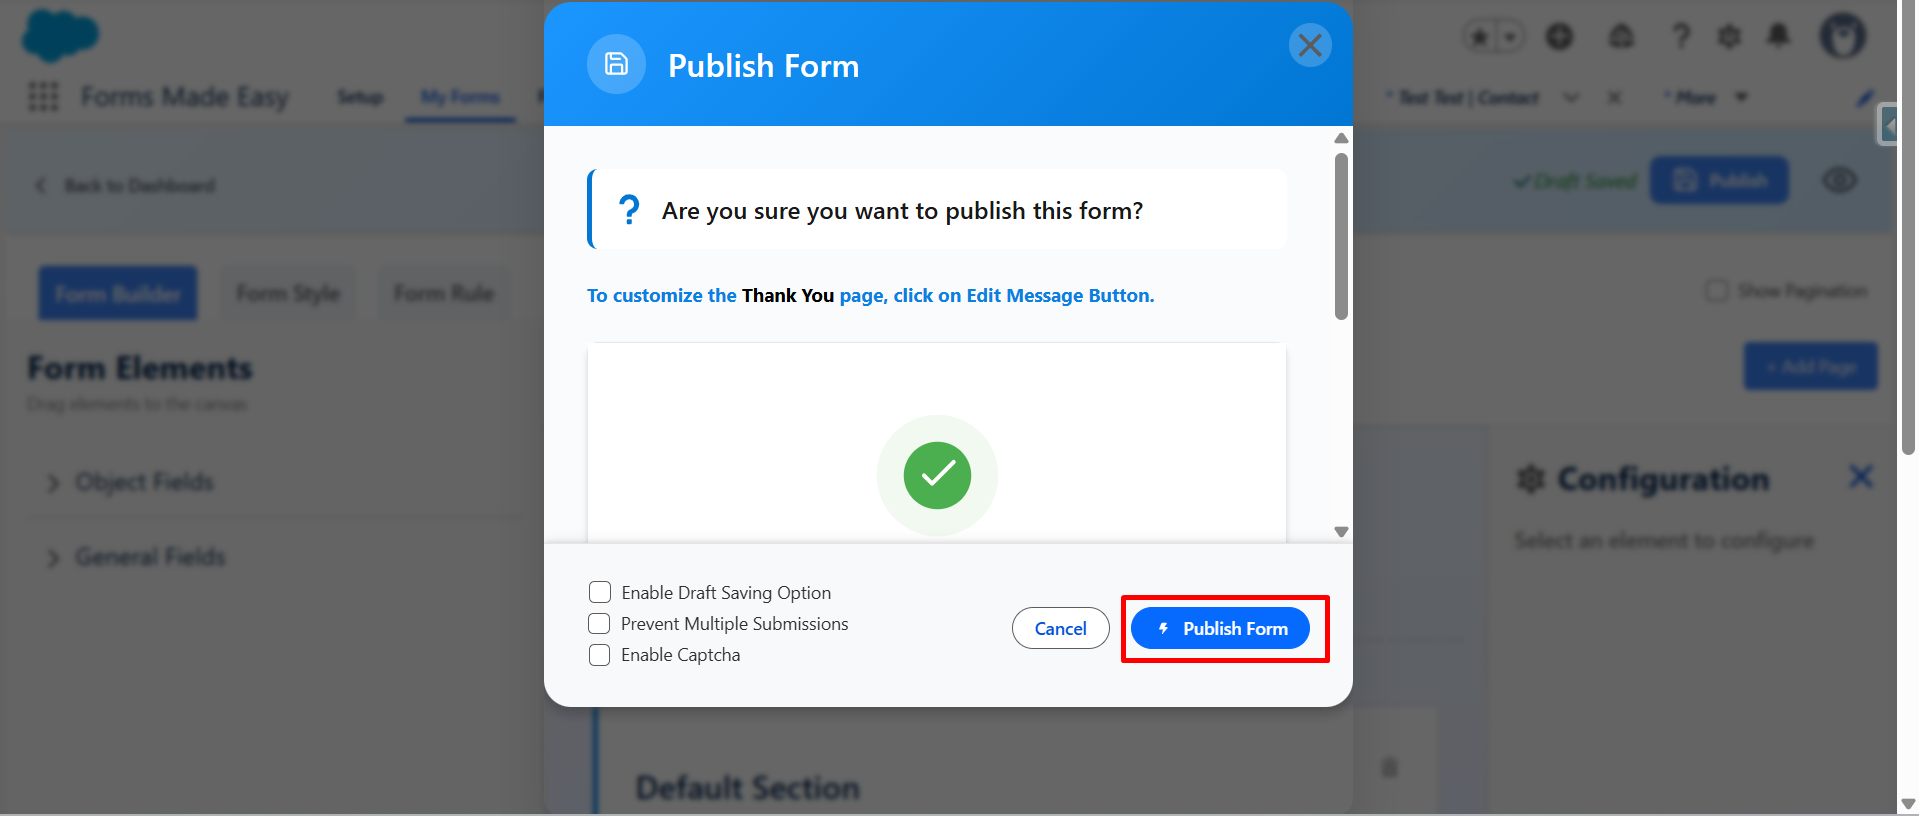
Step 6: Click on the “Publish form” button.
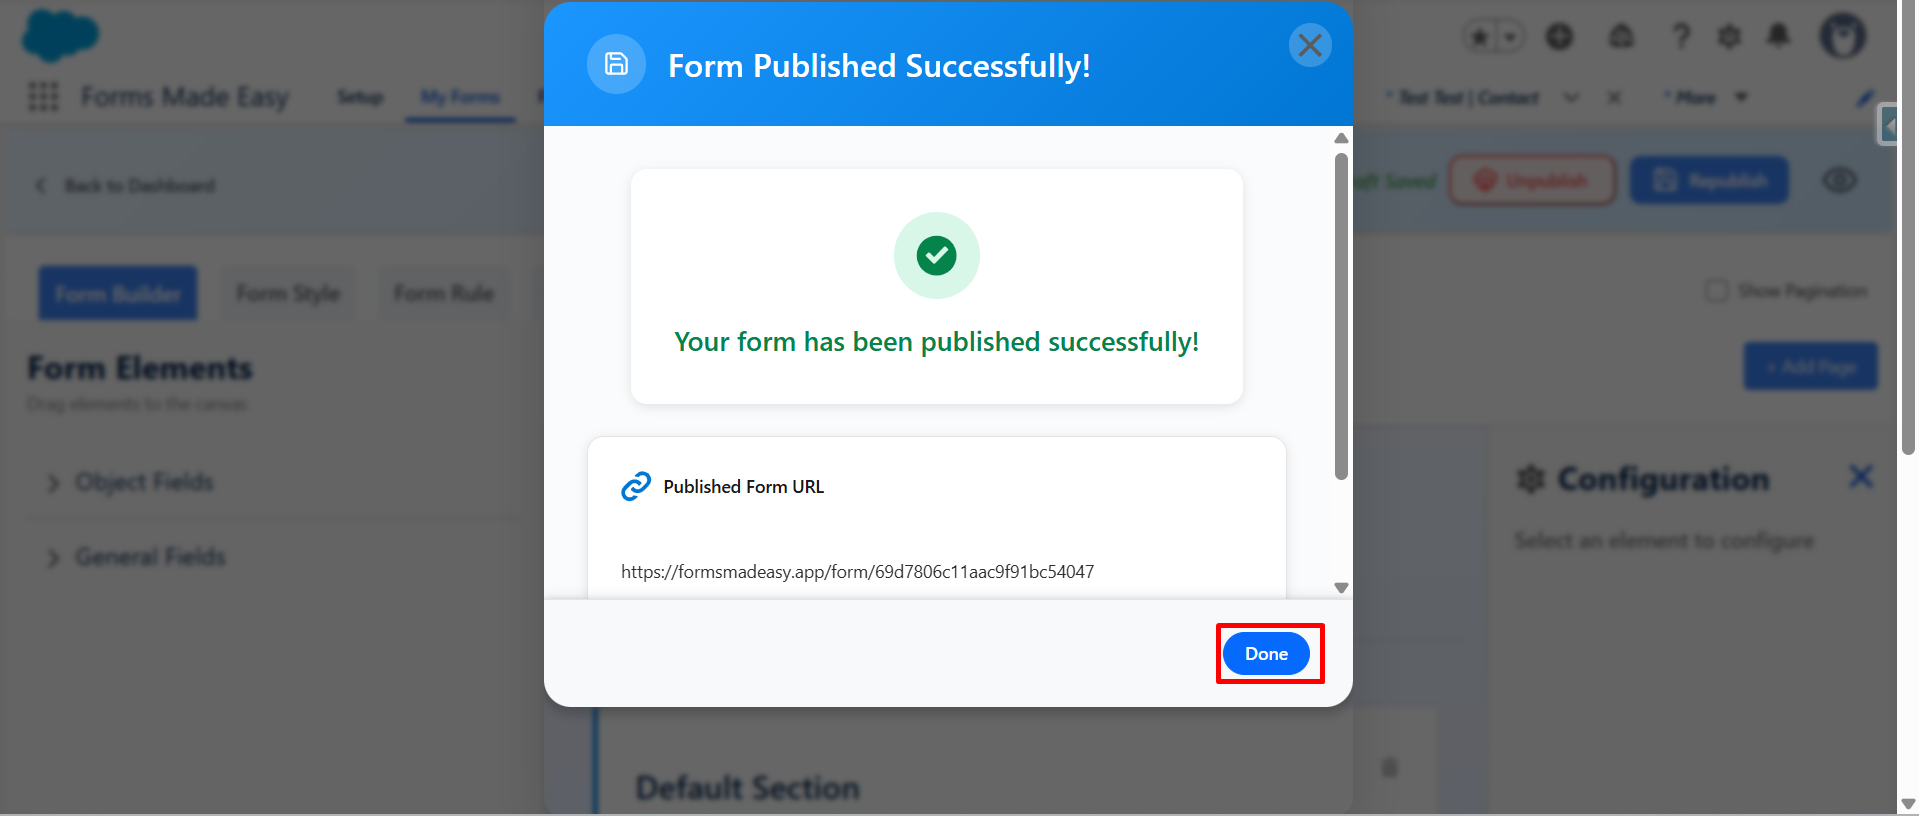
Step 7: Then, click on “Done” to close the modal.
Step 8: Now, click on “Publish Options”.

Step 9: Here, click on the “Copy Link” or “Open” buttons to open the forms directly on the web.

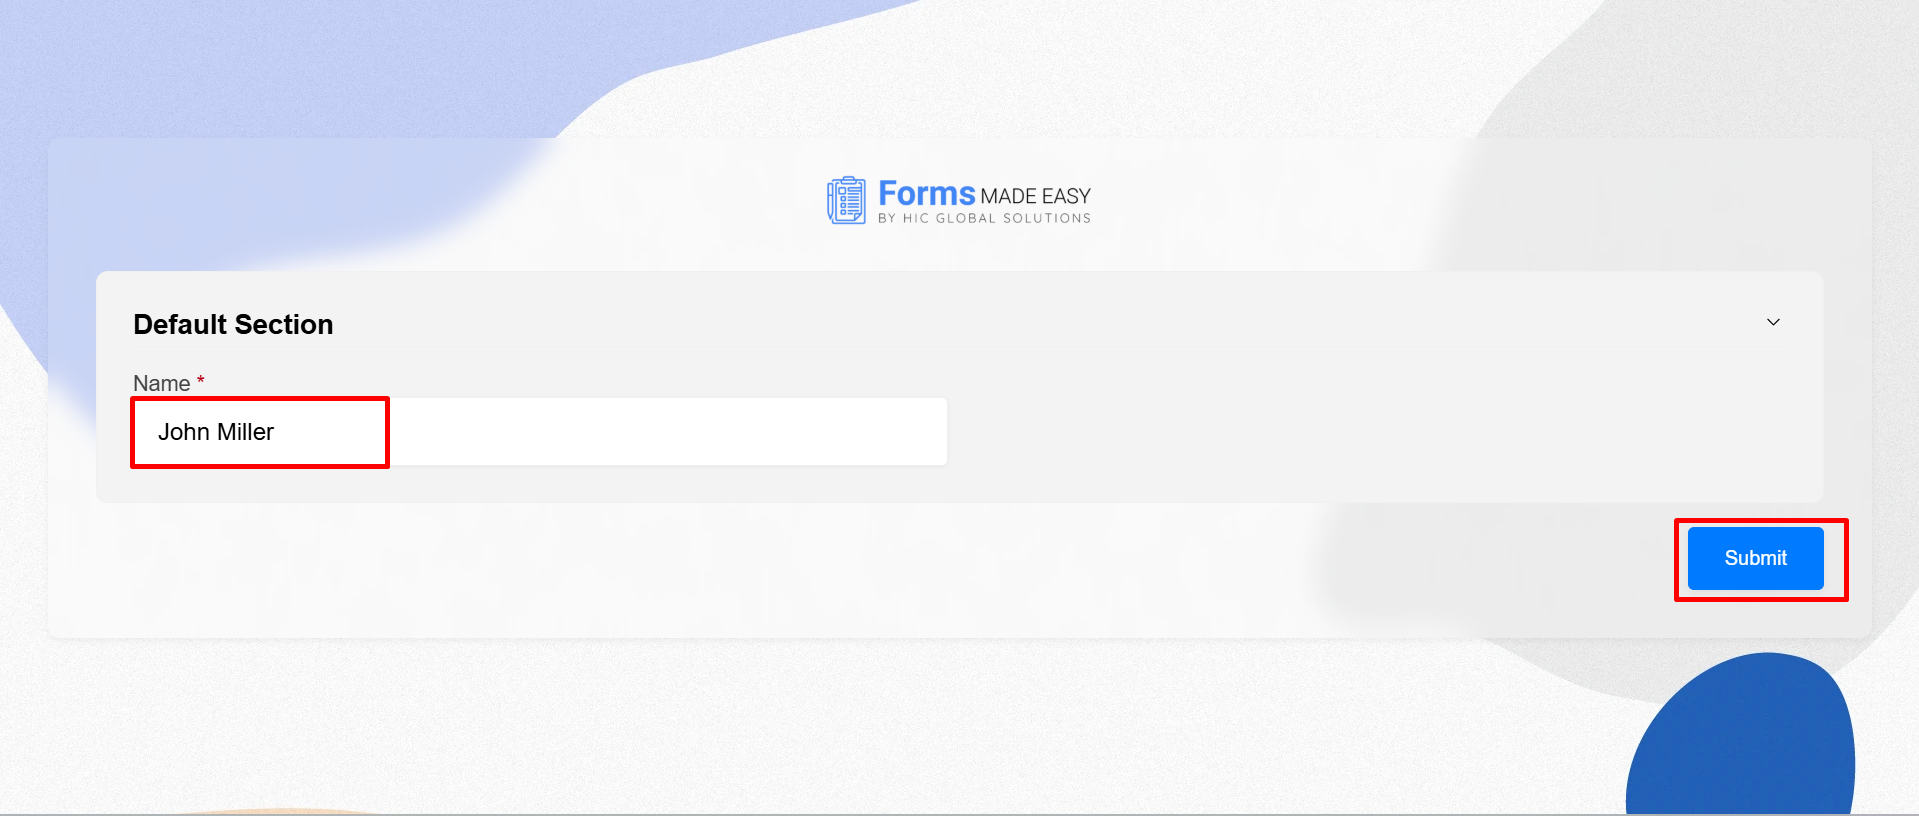
Step 10: Enter the required “Name” in the designated field, then click on the “Submit” button to proceed with the form.
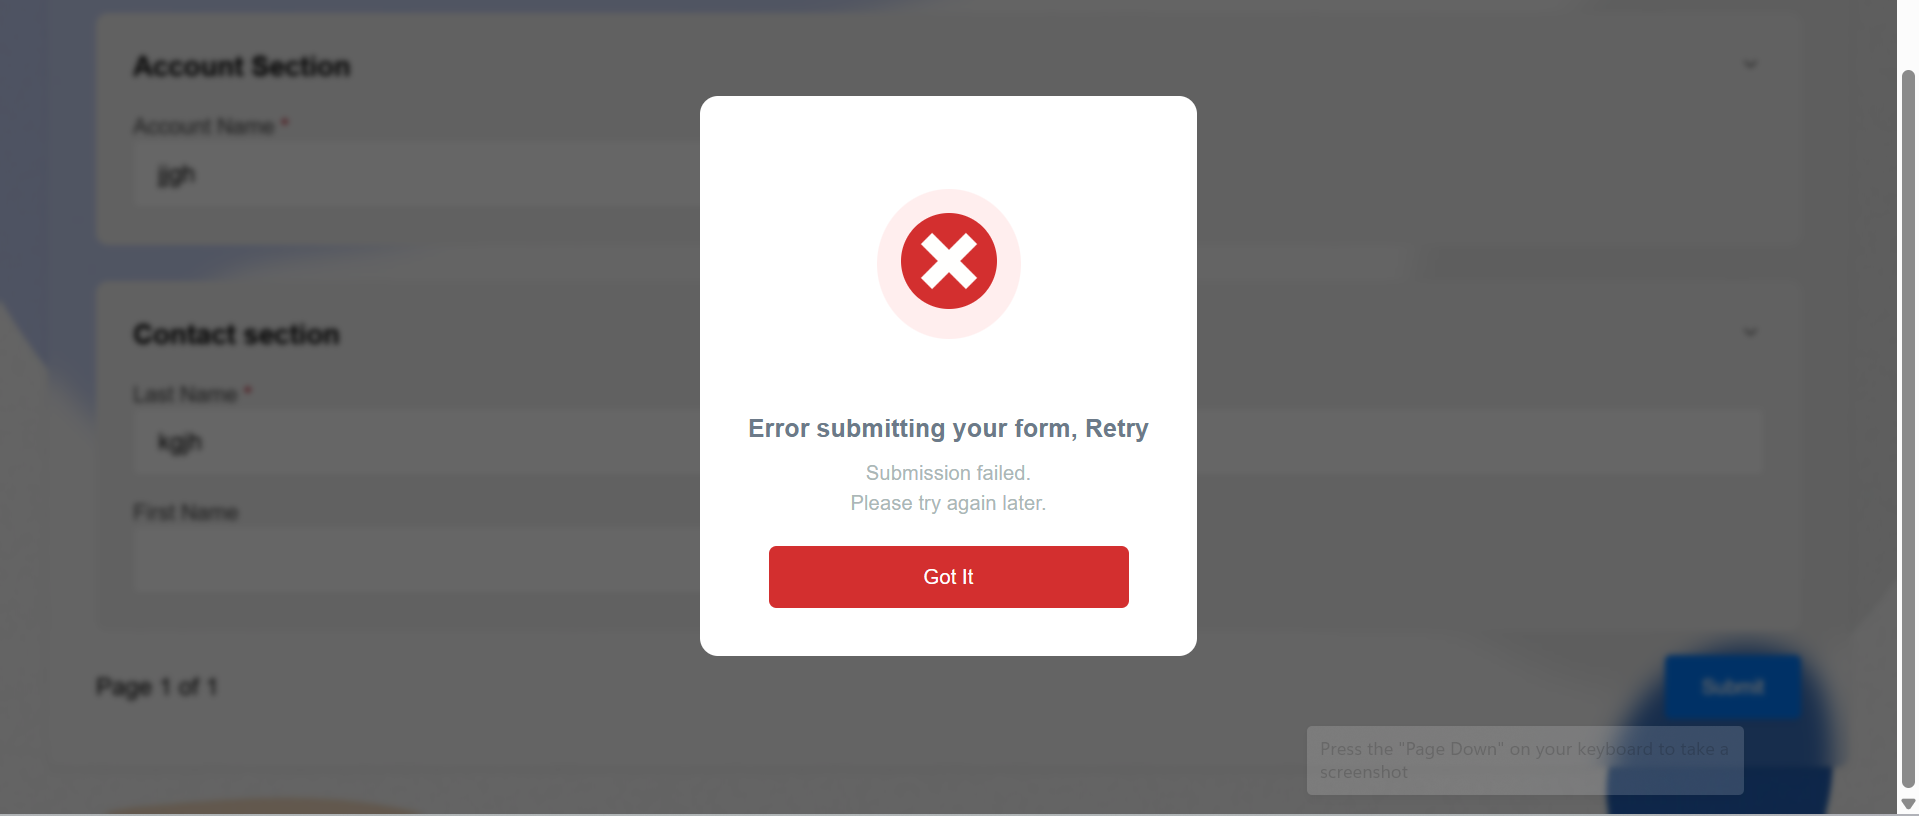
Step 11: If an error occurs, an error message pop-up will appear on the screen.
Note: The message will indicate that the submission has failed.
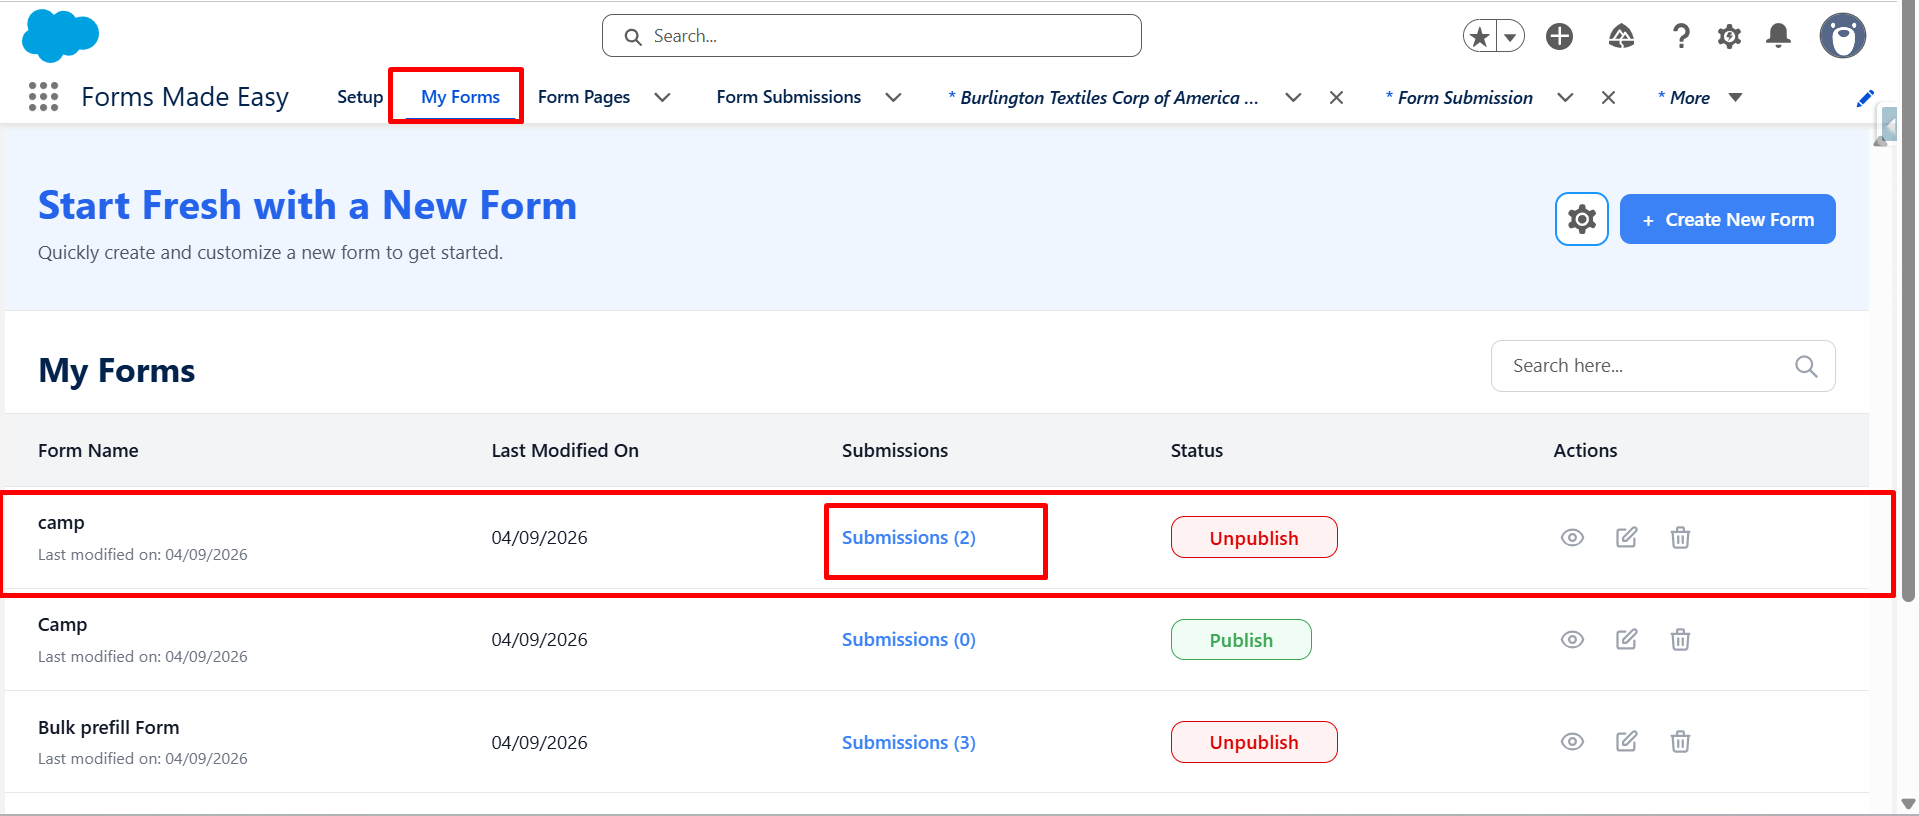
Step 12: Navigate to the Forms Made Easy application and click on the “My Forms” tab.
In the “Submissions” column of that form, click on the “Submissions” To open the submissions record page.
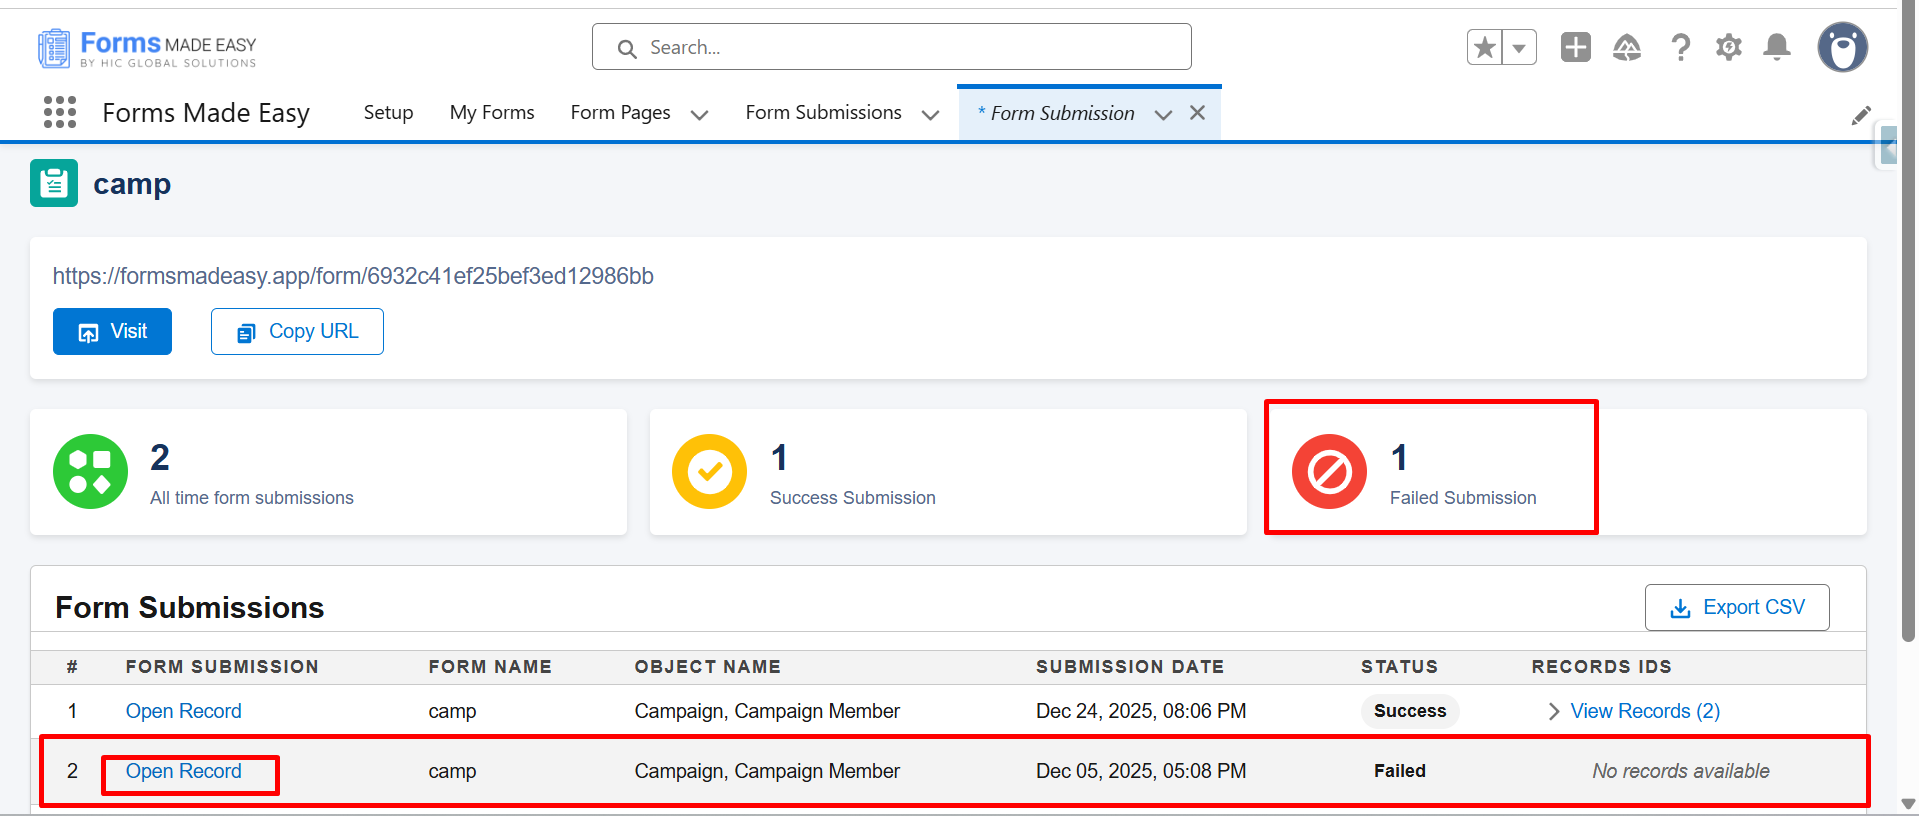
Step 13: Now, the Form Submissions page will be open.
You can see that the “1” submission has failed in the failed Submission section, then click on “Open Record” to open the submission record.
Step 14: On the Form Submission Data page, click on the Salesforce Inspector Reloaded extension.
From the extension options, click on “Show All Data”.
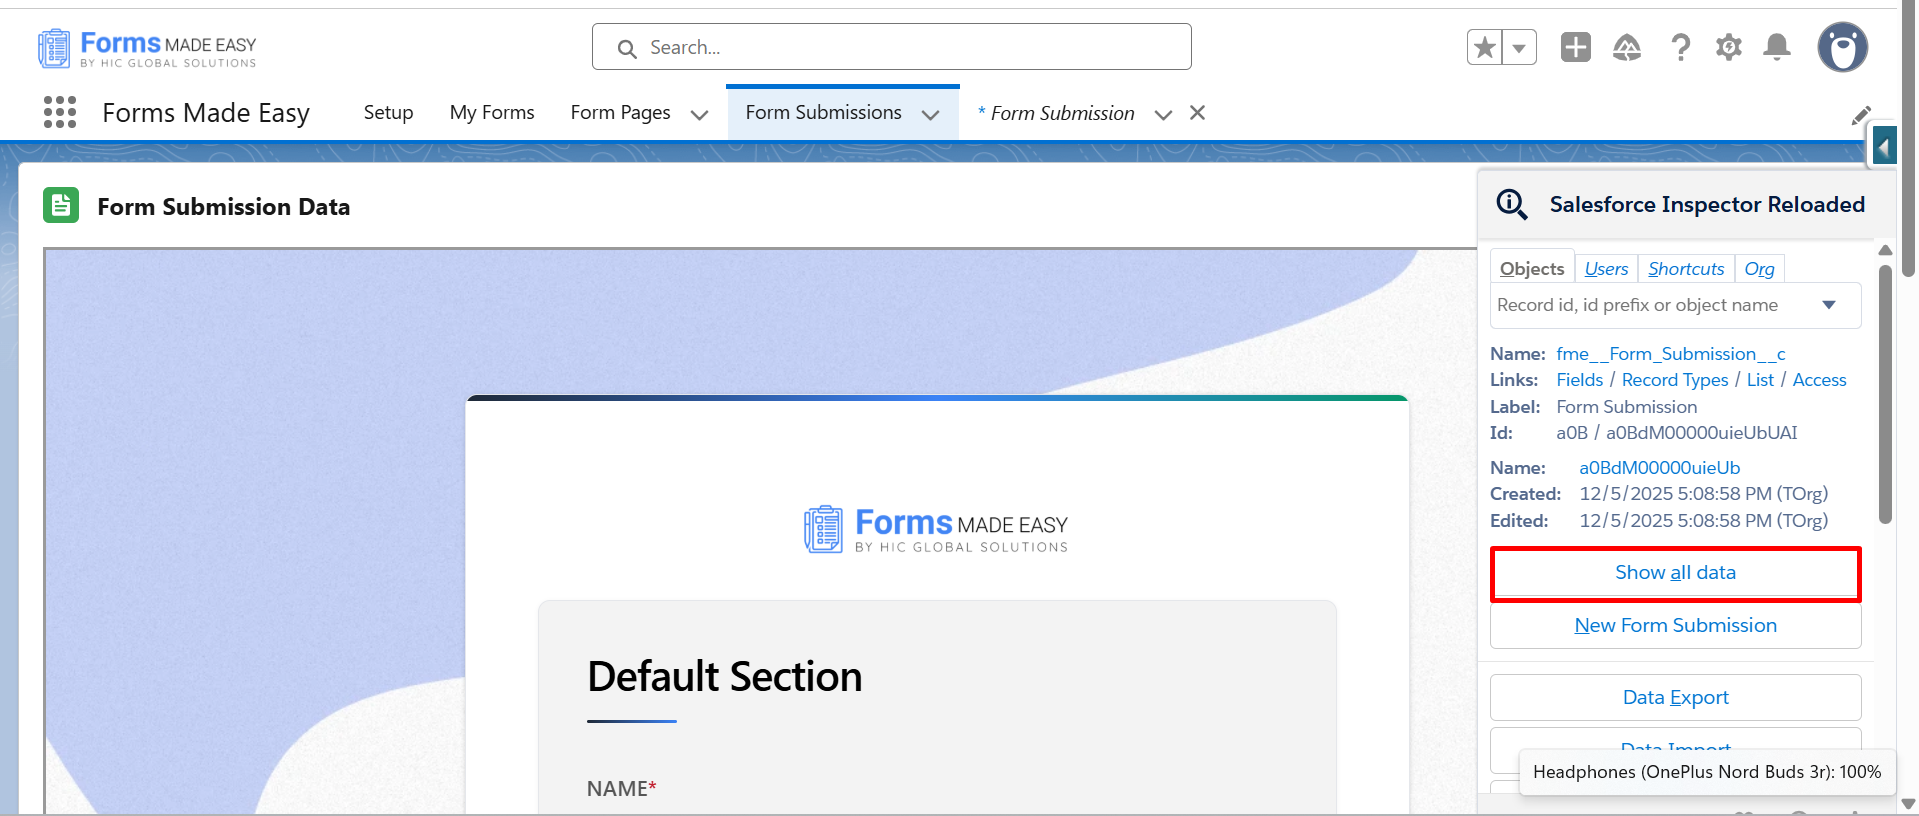
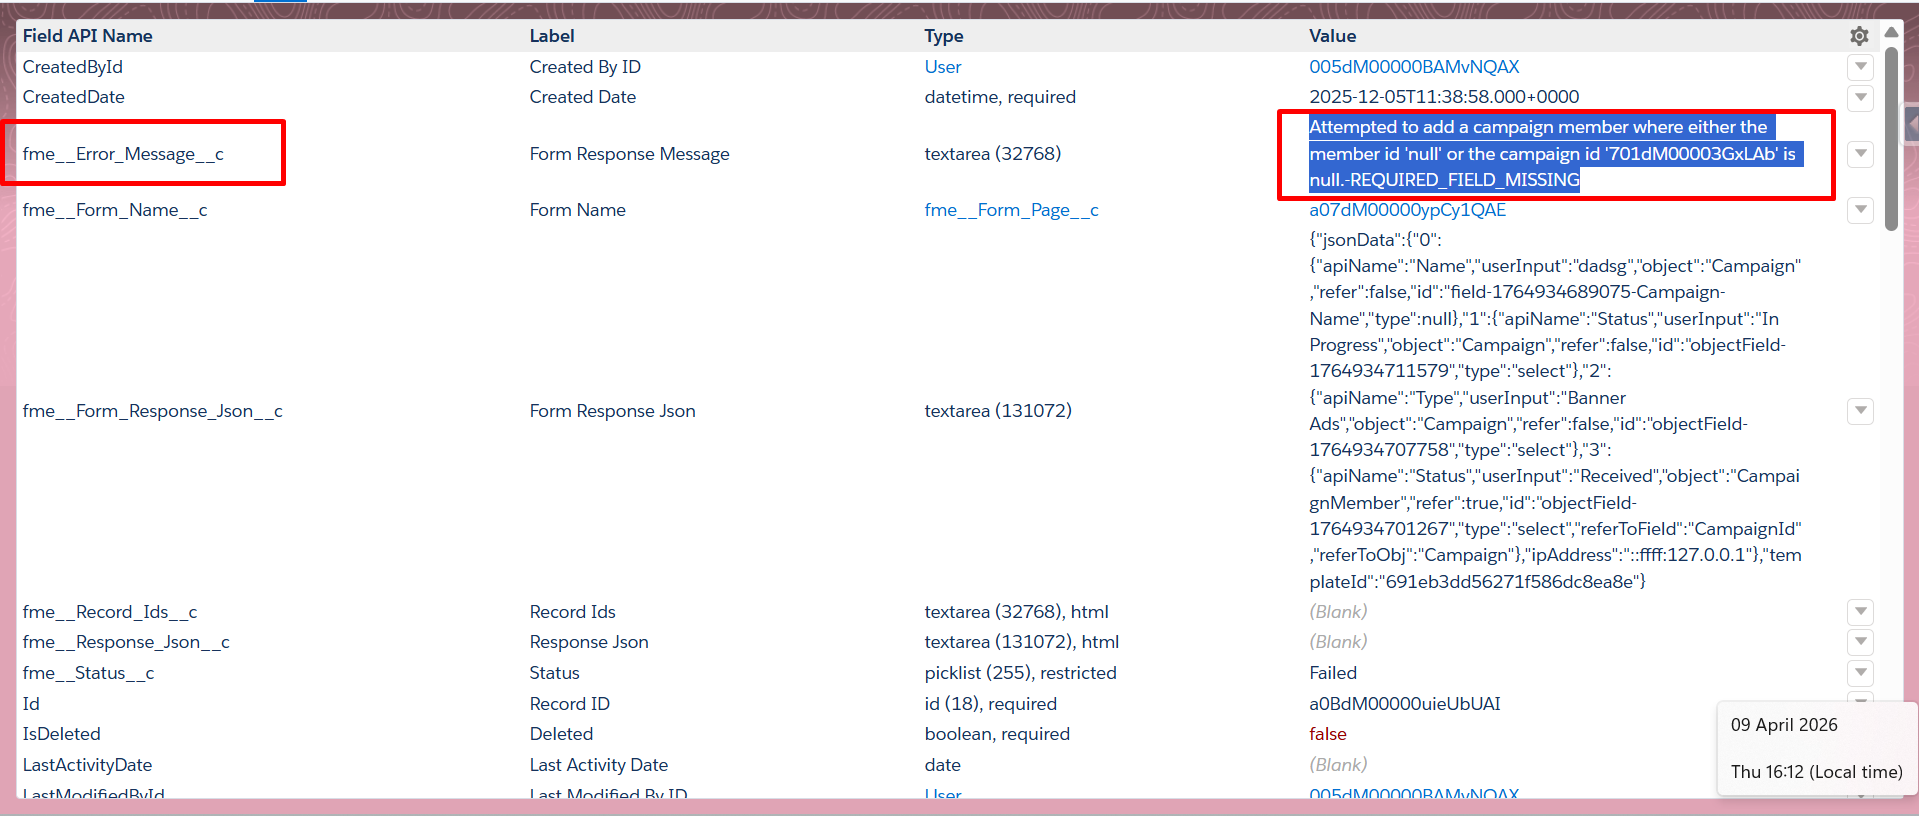
Step 15: All available data related to the submission will be displayed.
Now check the Value of the Form Response Message, which comes from the Field API Name (fme_Error_Message_c) in the value section.
Conclusion
Creating and managing Salesforce forms becomes simple when you follow the right steps and understand how submissions are handled. With the right setup, forms for Salesforce allow you to capture data, track errors, and review submission details easily within your system. By following the mentioned steps, you can easily publish forms, monitor responses, and ensure everything works correctly from submission to Salesforce record creation.