


Turn Forms Into Automated Workflows
Design dynamic forms, streamline operations, and eliminate repetitive manual tasks — all without code.
Talk to Our ExpertsBuild Smarter Forms Faster
Create no-code forms inside Salesforce and automate data collection, approvals, and workflows without complexity.
Get StartedSimplify Your Form Workflows
Replace manual processes with intelligent forms that capture, route, and manage data seamlessly in Salesforce.
Book a DemoWhen you’re collecting feedback, sharing a product demo, or asking users to agree to policies, basic fields are not always enough. In real business scenarios, you often need interactive elements like star ratings, embedded videos, or a Terms & Conditions link directly inside your form.
If you’re using Salesforce form templates, working inside a Salesforce form builder, or planning to create a form in Salesforce for customer onboarding or surveys, adding these fields can significantly improve the experience. A well-designed Salesforce form should not only collect data but also guide and inform users clearly.
So follow these steps carefully to set everything up properly.
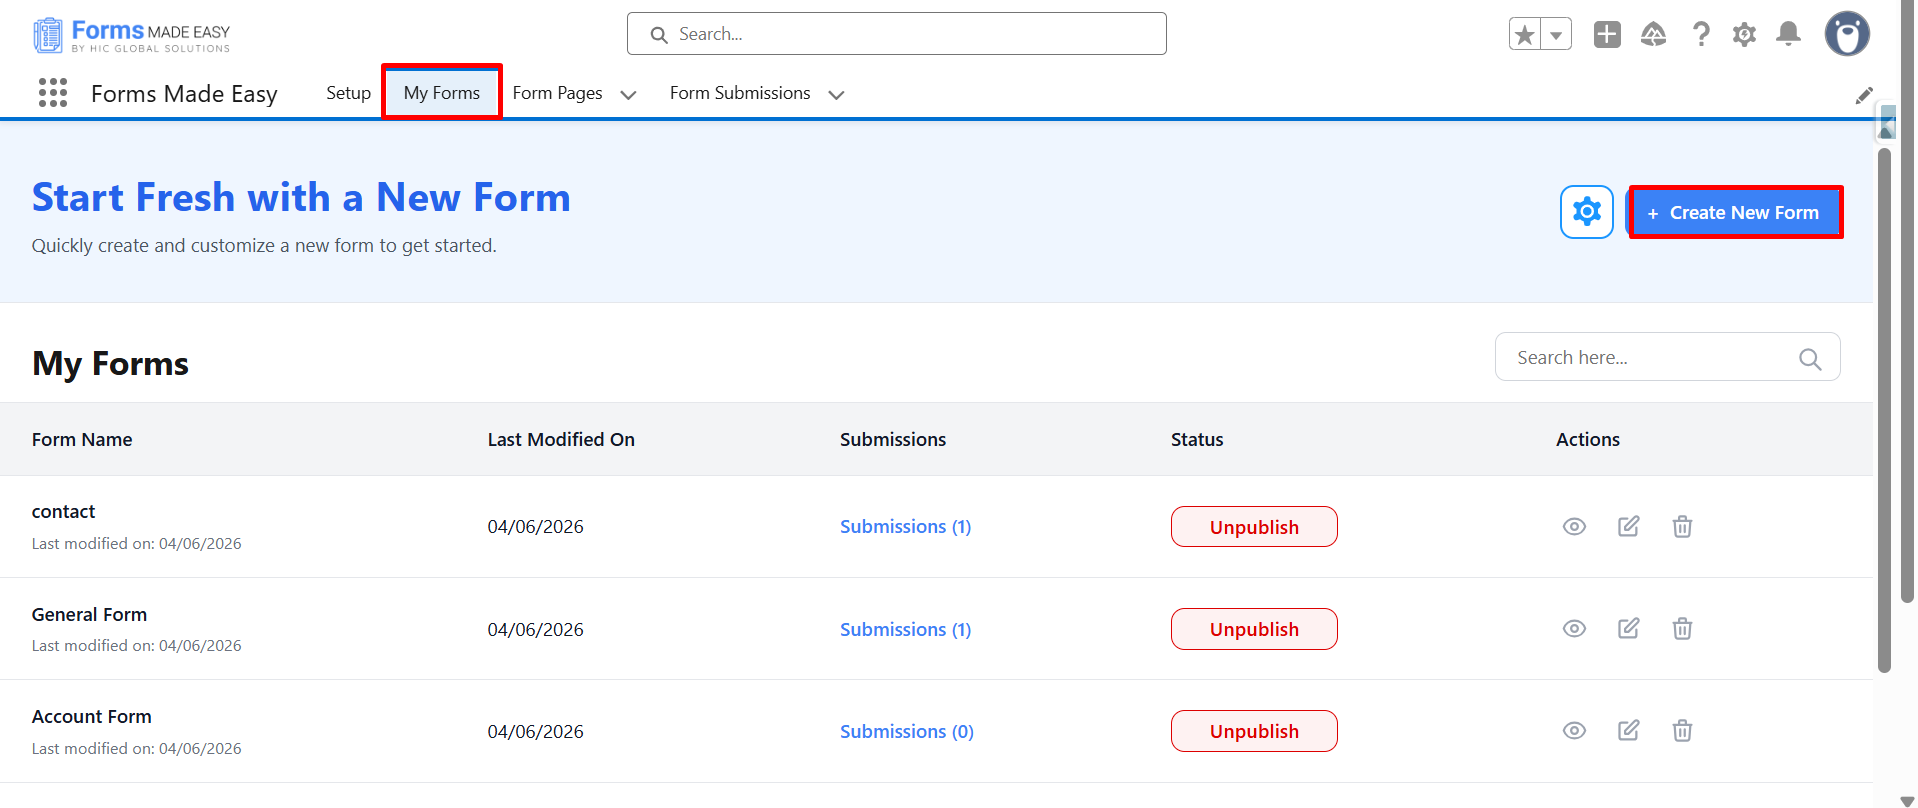
Step 1: Start by navigating to the My Forms tab and selecting Create New Form to begin.
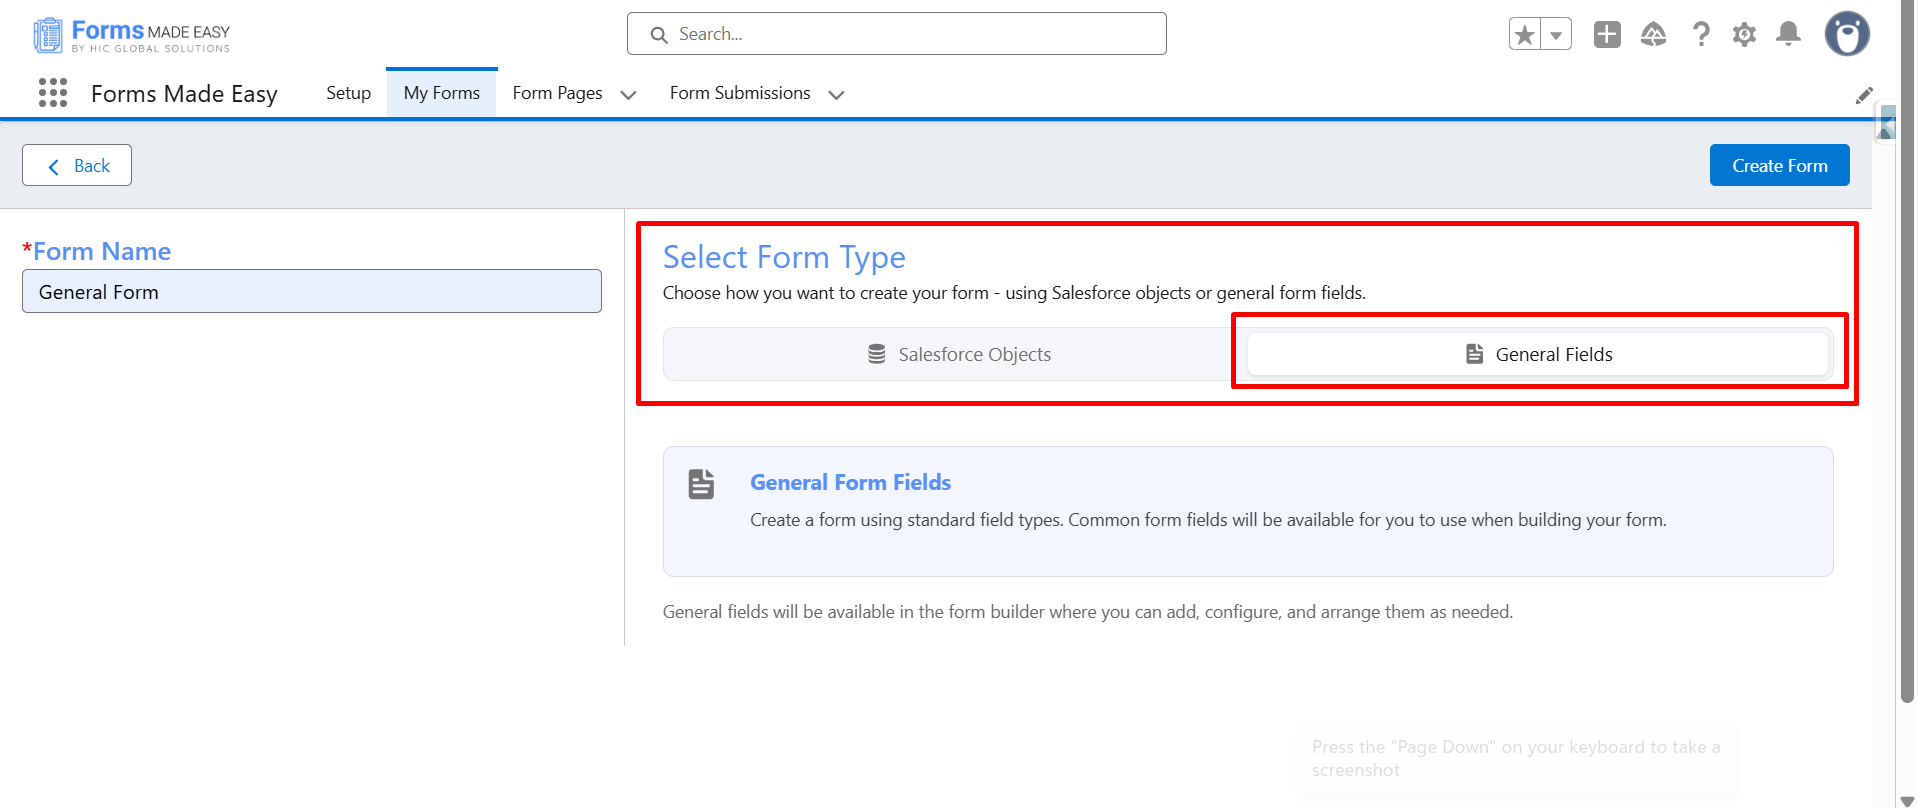
Step 2: From the “Select Form Type” screen, choose General Fields as your form type.
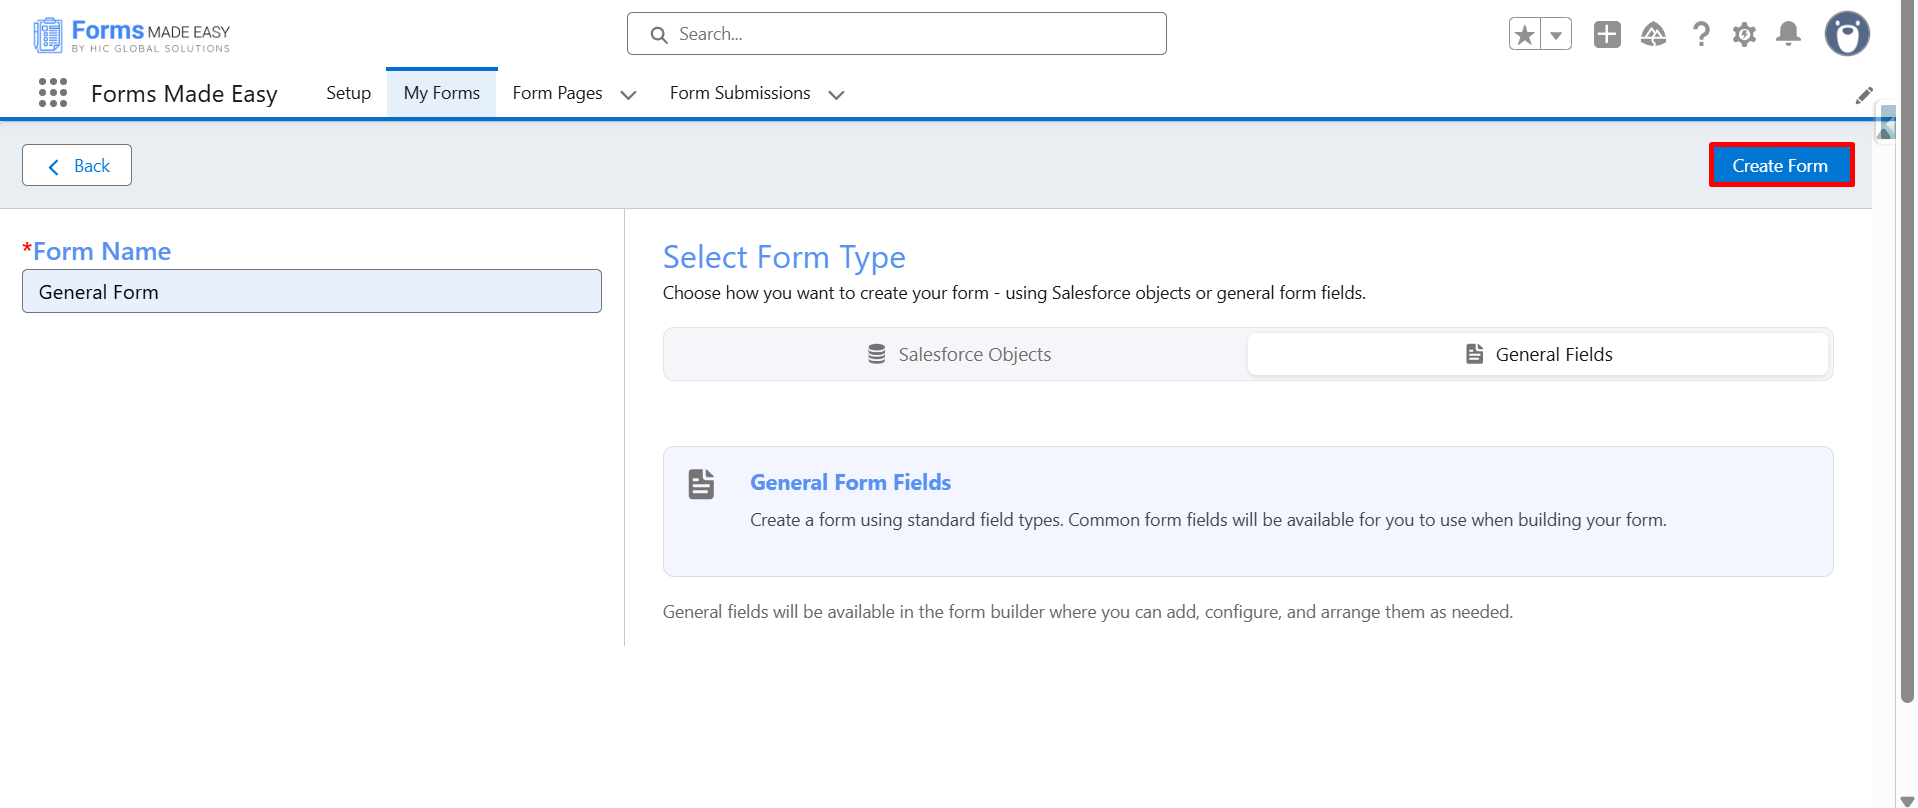
Step 3: After selecting the form type, proceed by selecting Create Form to open the form editor.
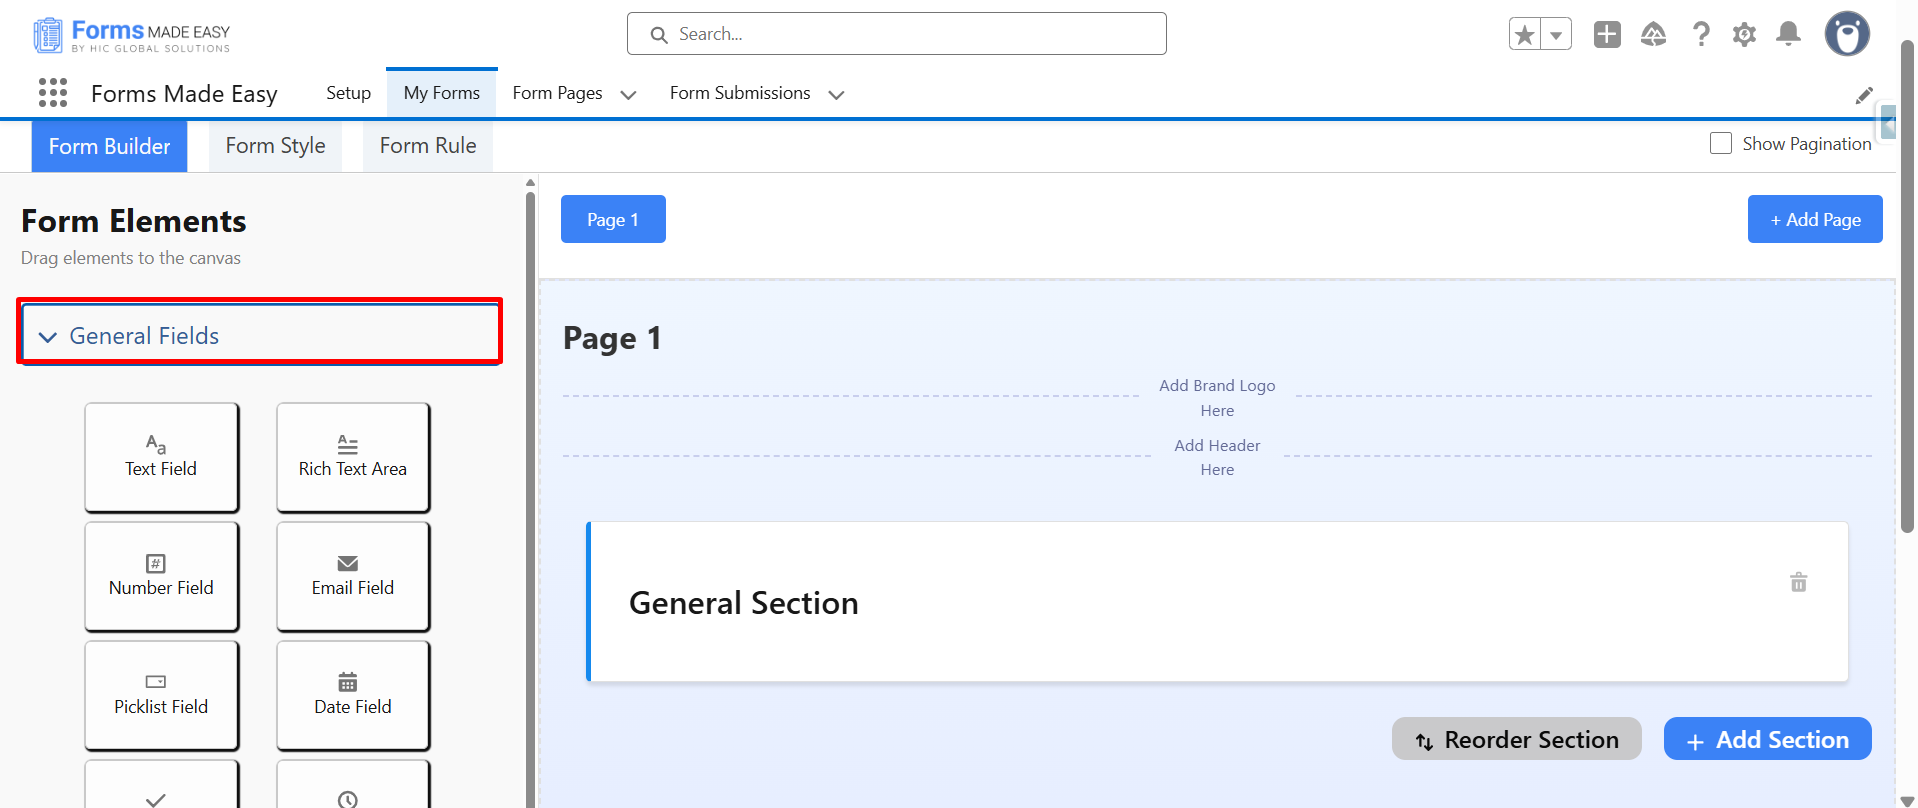
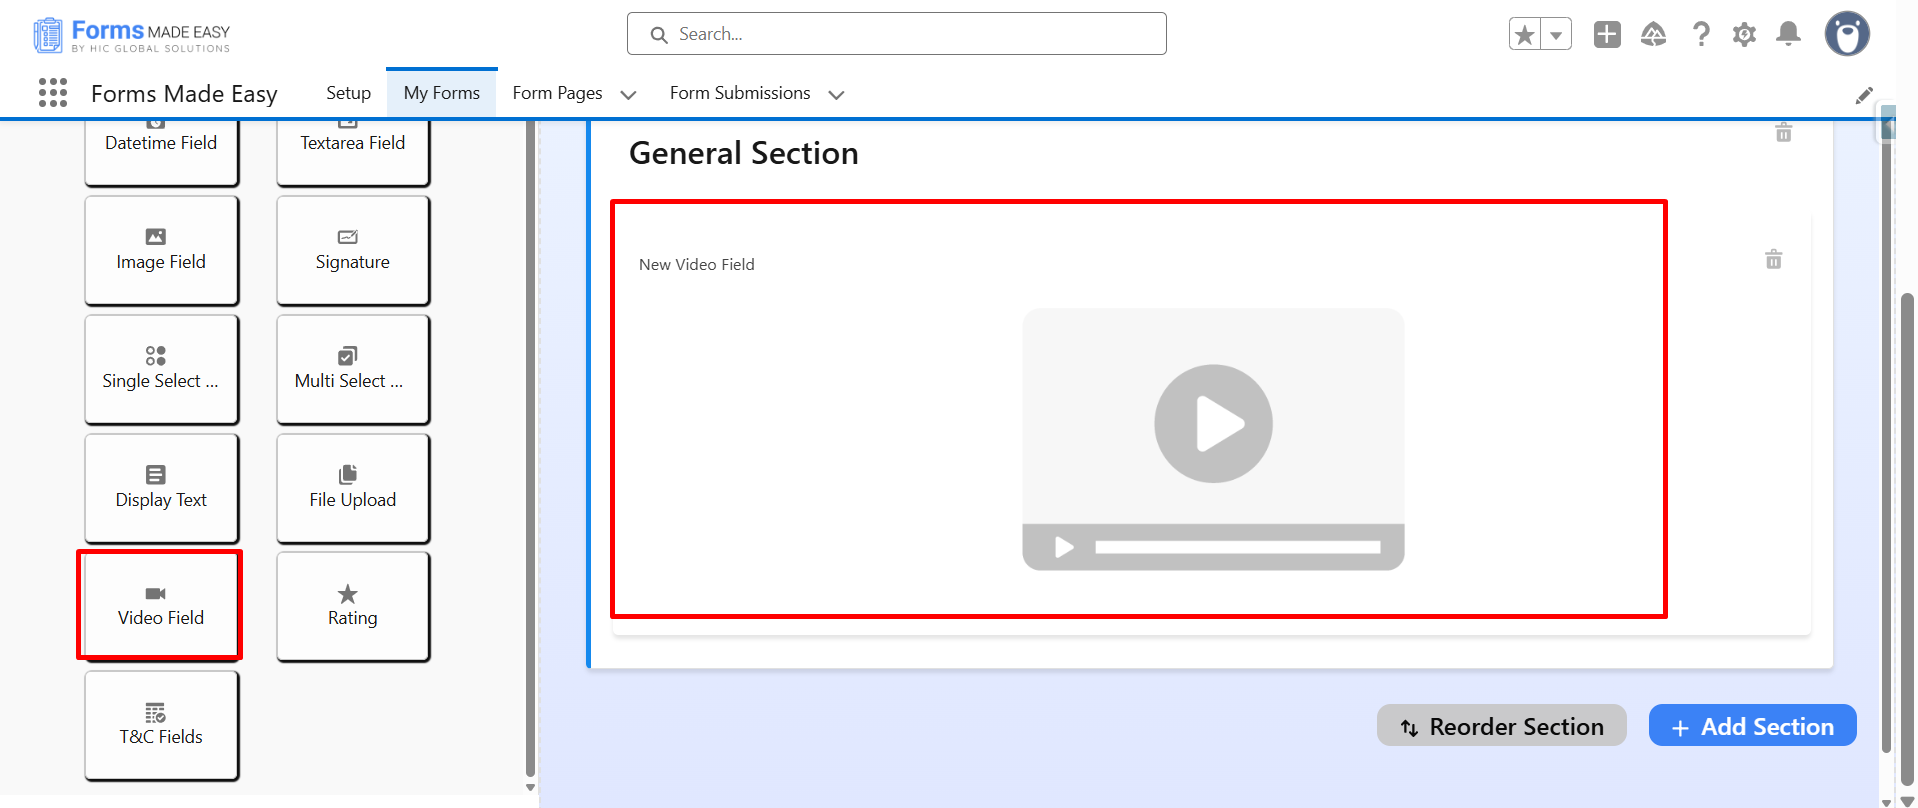
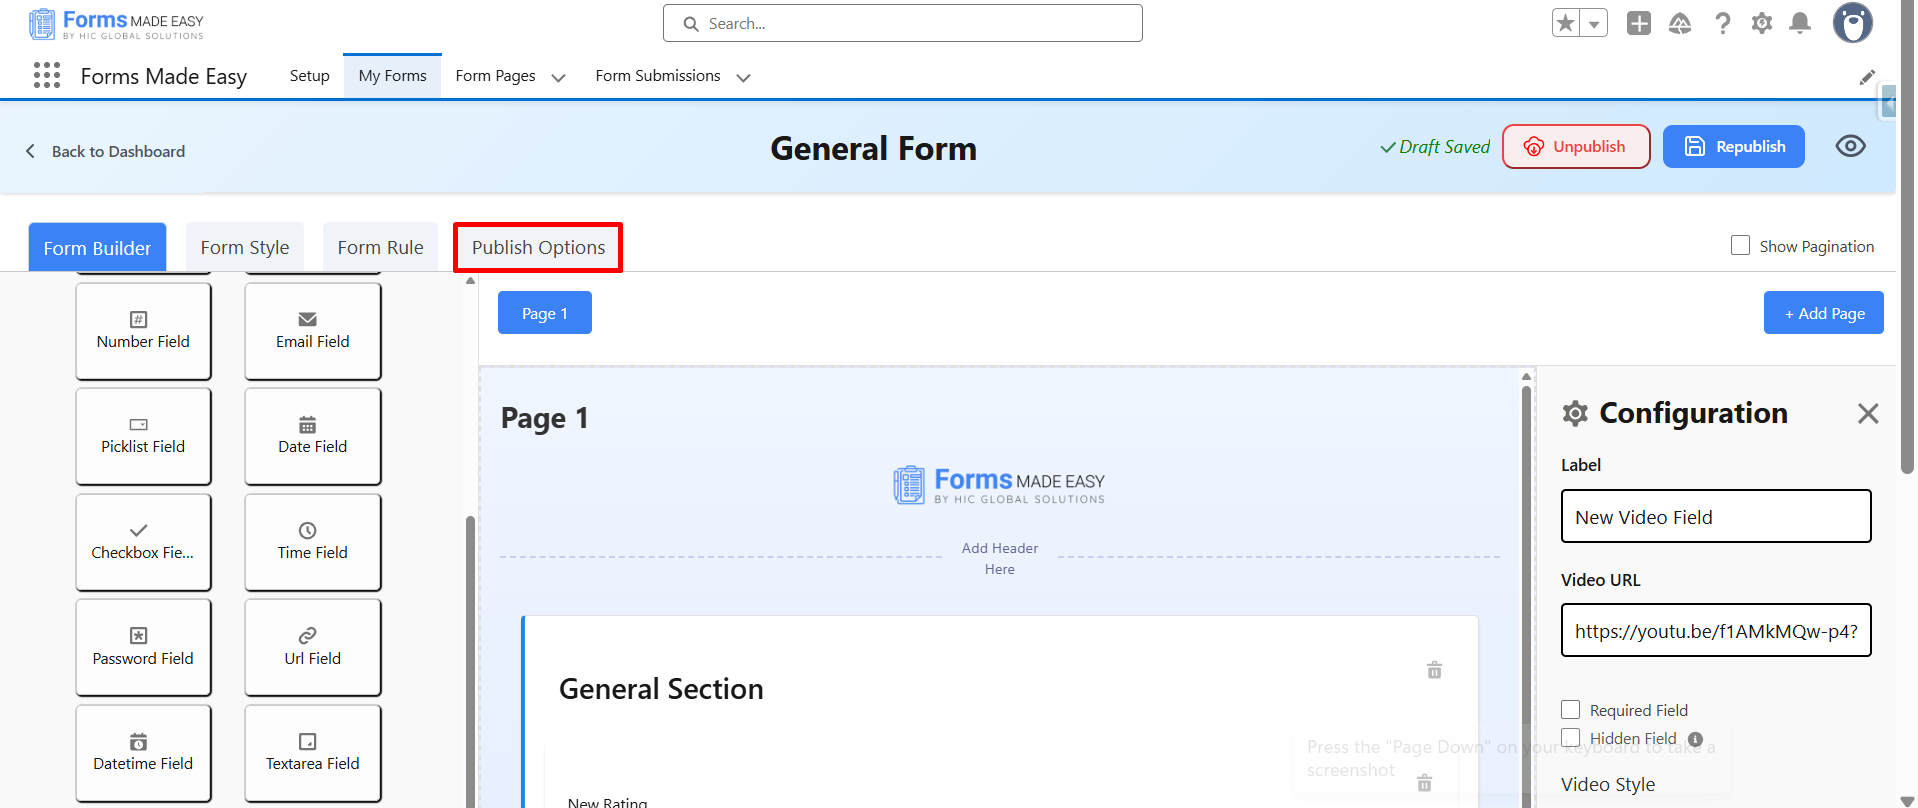
Step 4: Once the editor loads, expand the General Field section to see the available field options.
Step 5: From the list, drag and drop the Video Field.
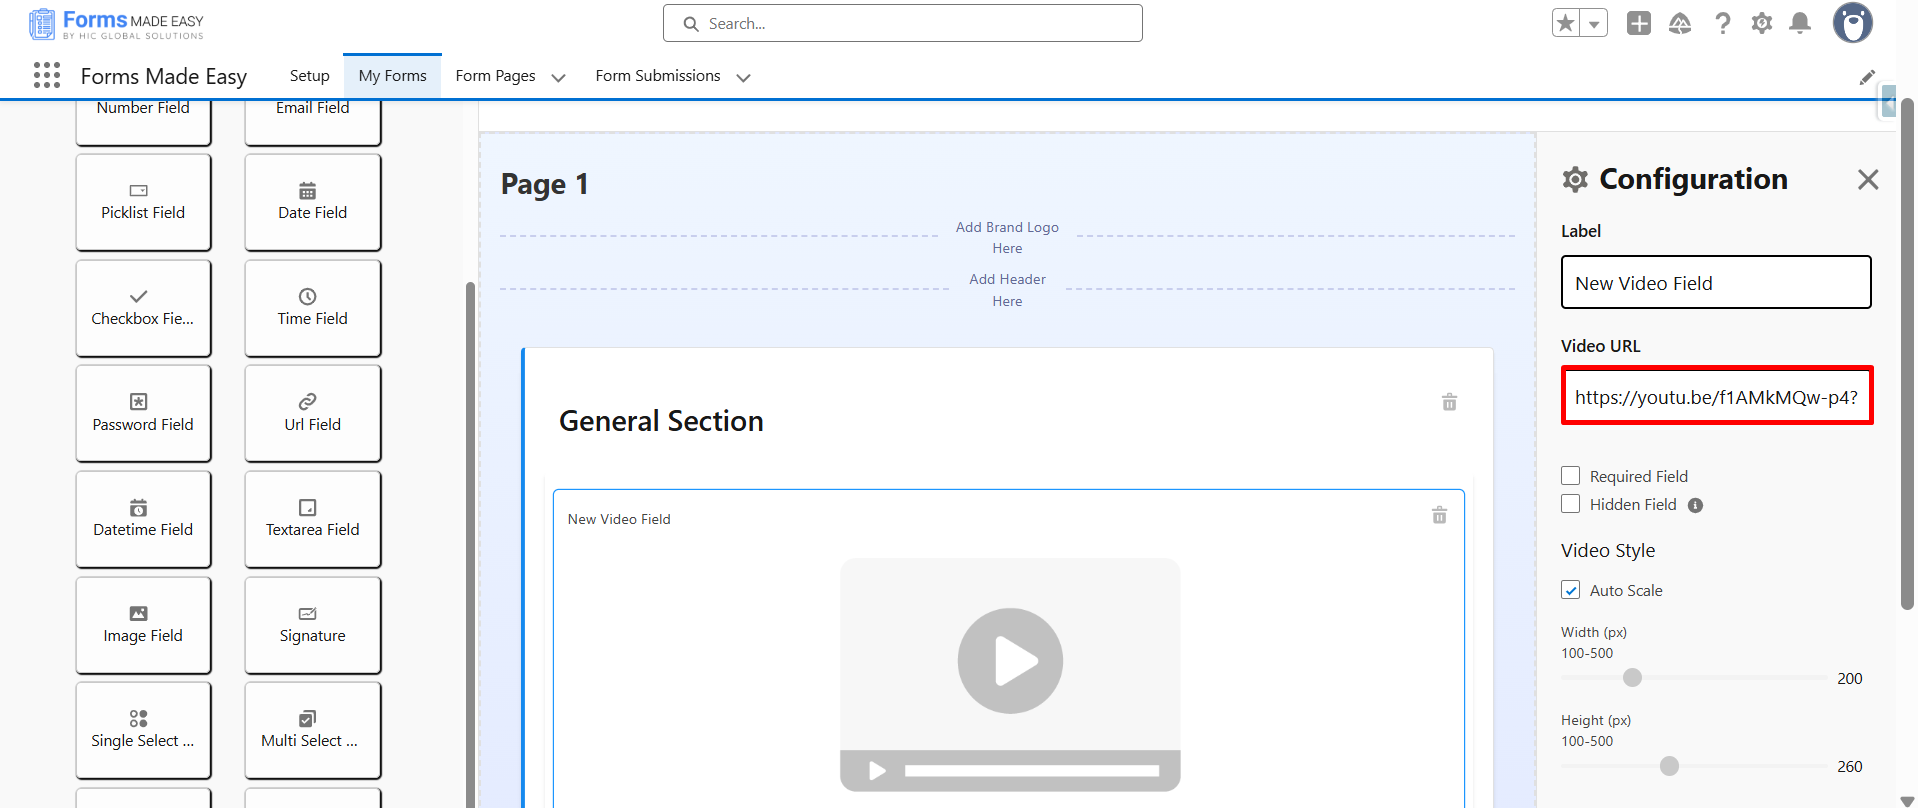
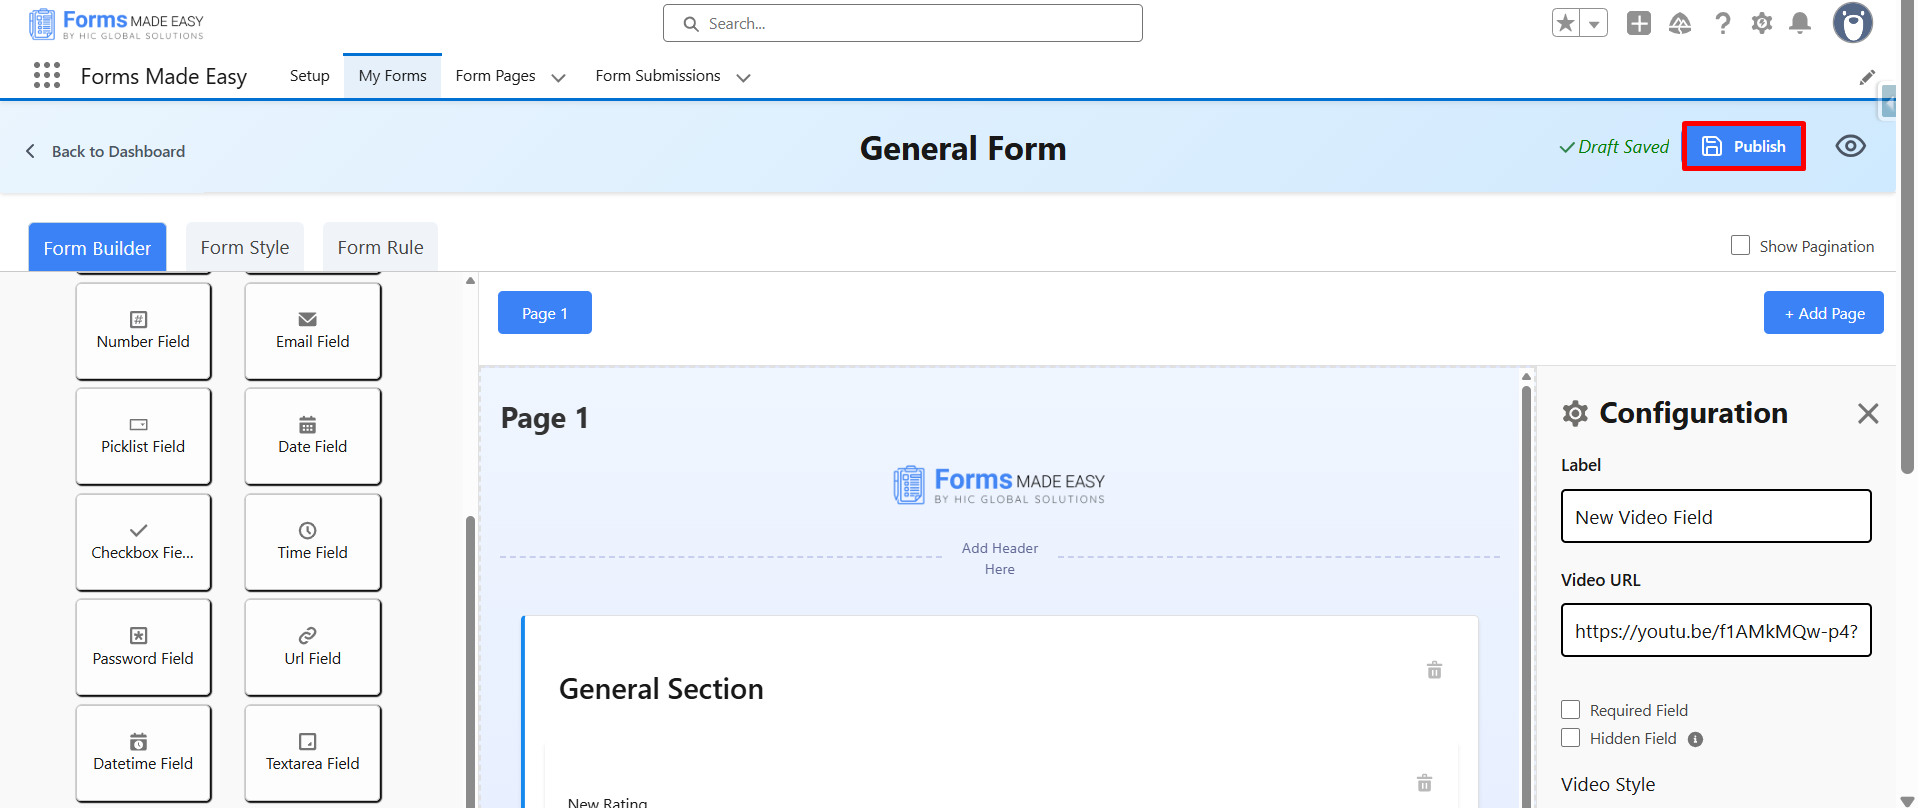
Step 6: After placing the Video field, select it to open the Configuration Panel. Inside the panel, enter the required link in the Video URL Field.
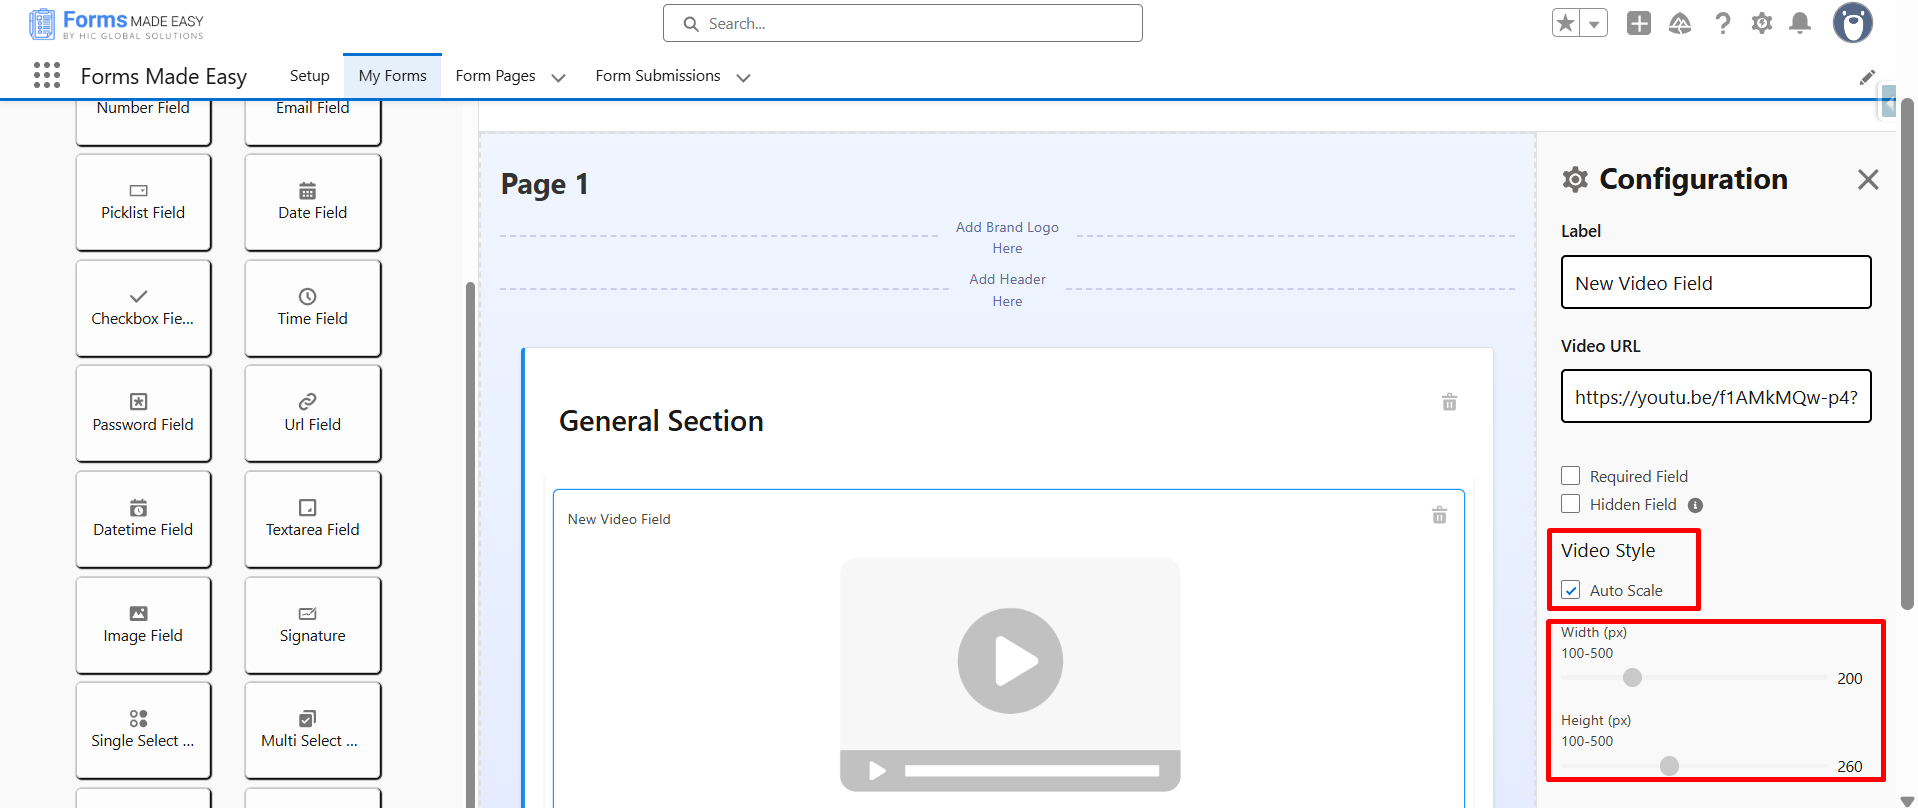
Step 7: In the configuration panel, locate the Auto Scale option. Enable Auto Scale toggle (if needed).
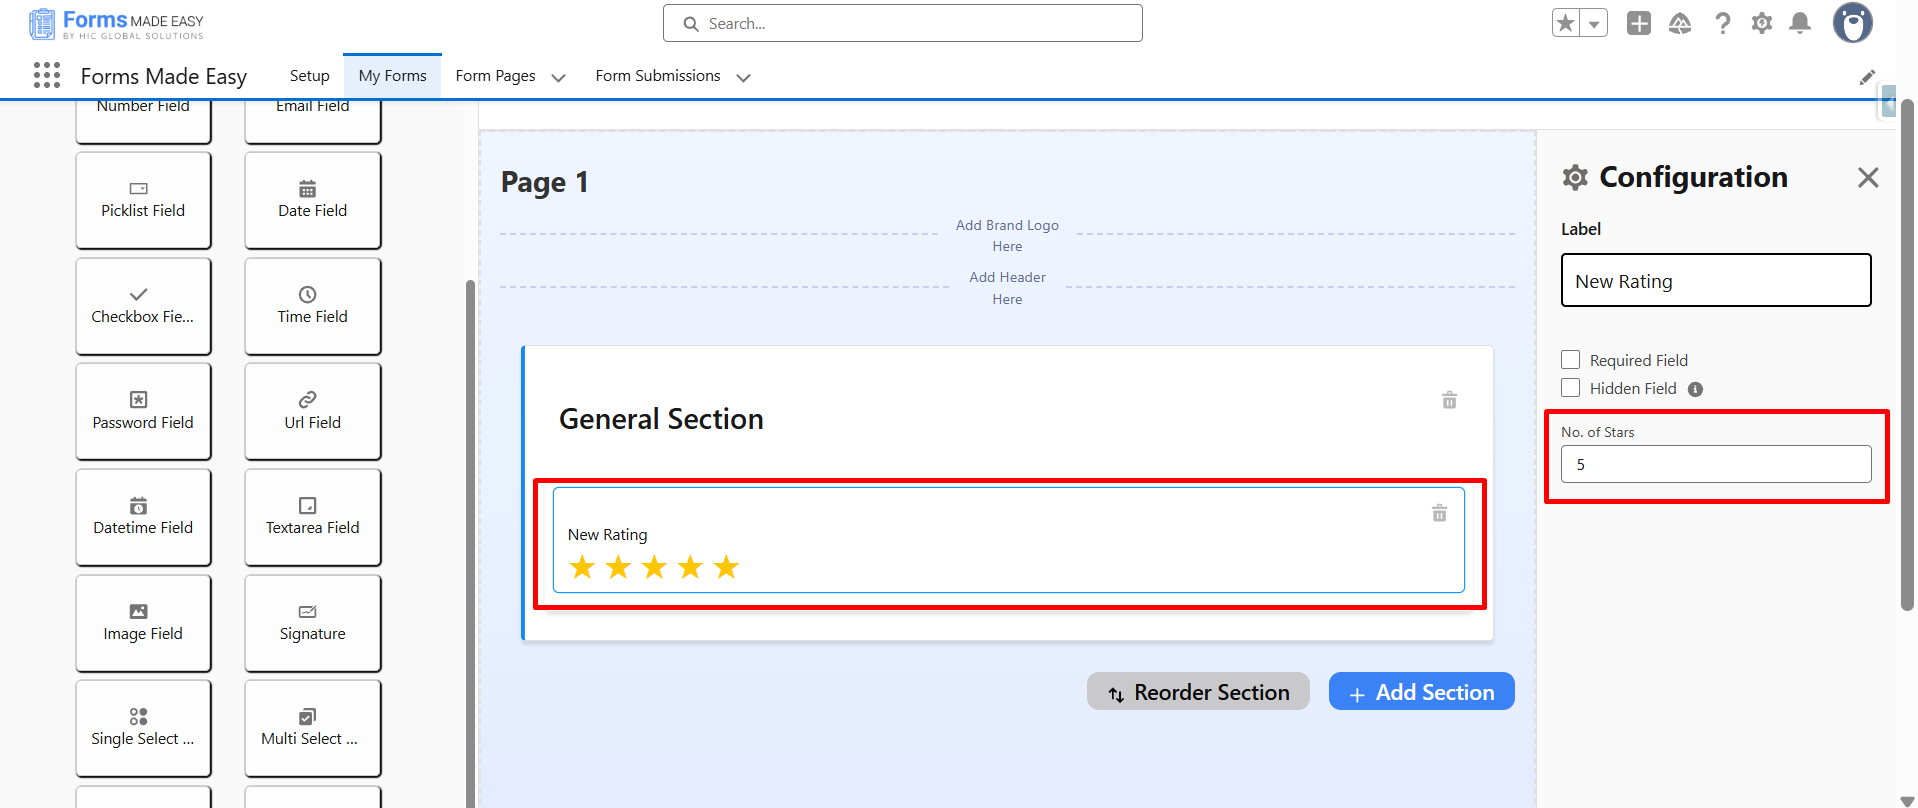
Step 8: Next, drag the Rating Field into your form.
Select the field to open its Configuration Panel, then enter the required value in the Number of Stars field (for example, 3 or 5 stars).
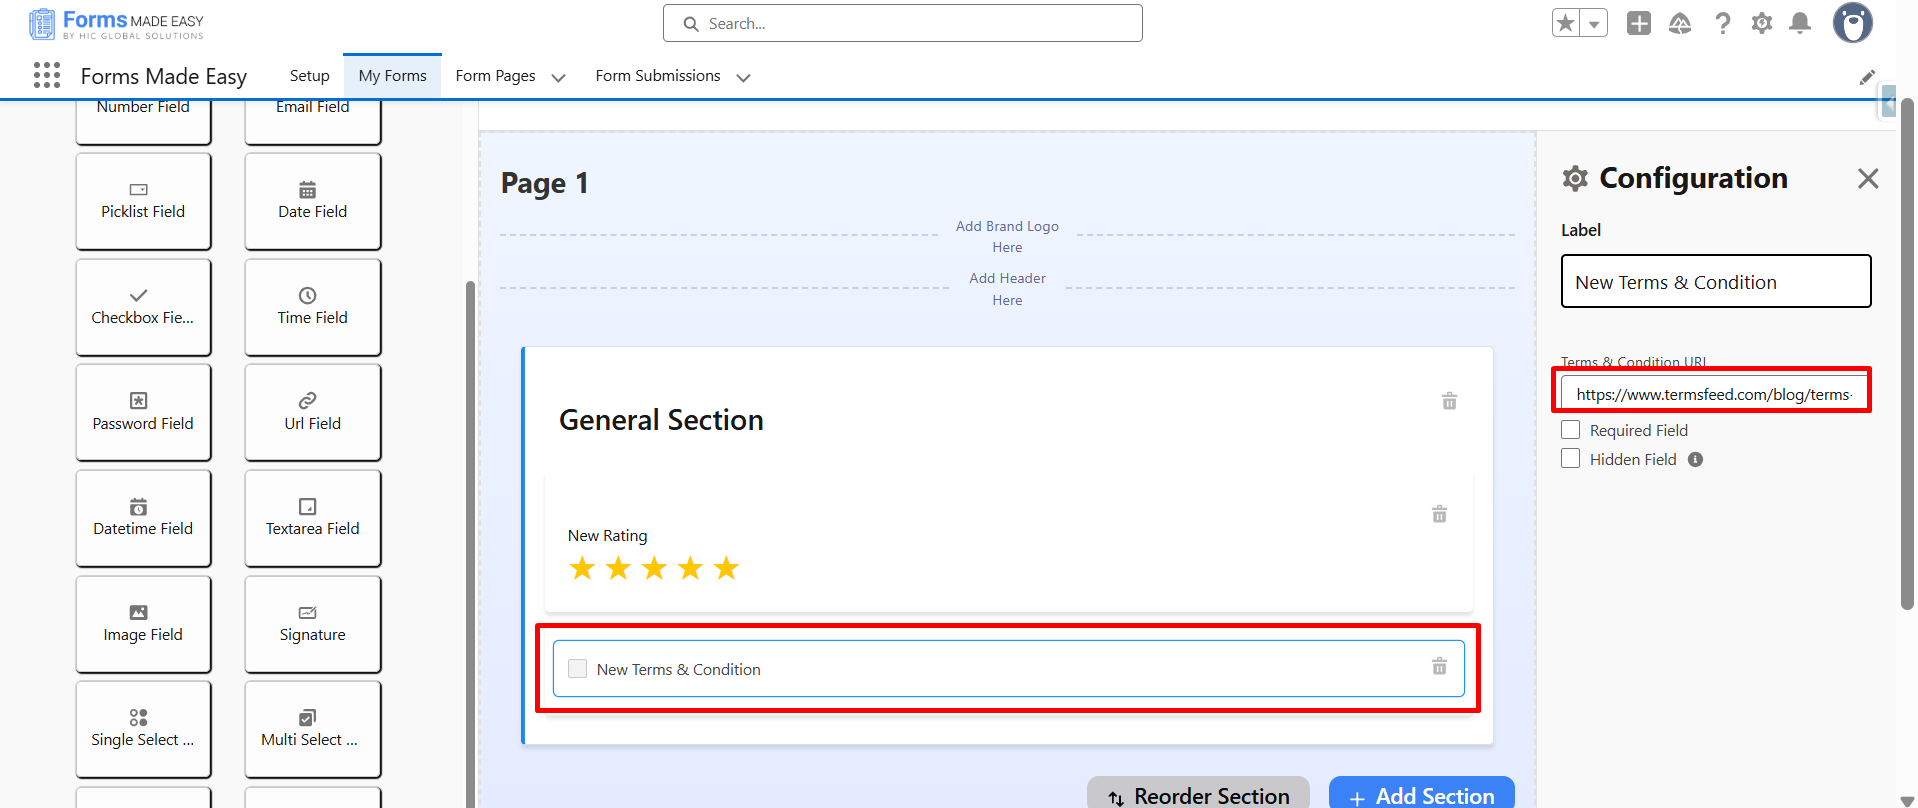
Step 9: Continue by dragging the Terms & Conditions Field into the form layout.
Select it to open the Configuration Panel, then add the required Terms & Conditions URL.
Close the panel once the link is added.
Step 10: Now, click on the Publish button.
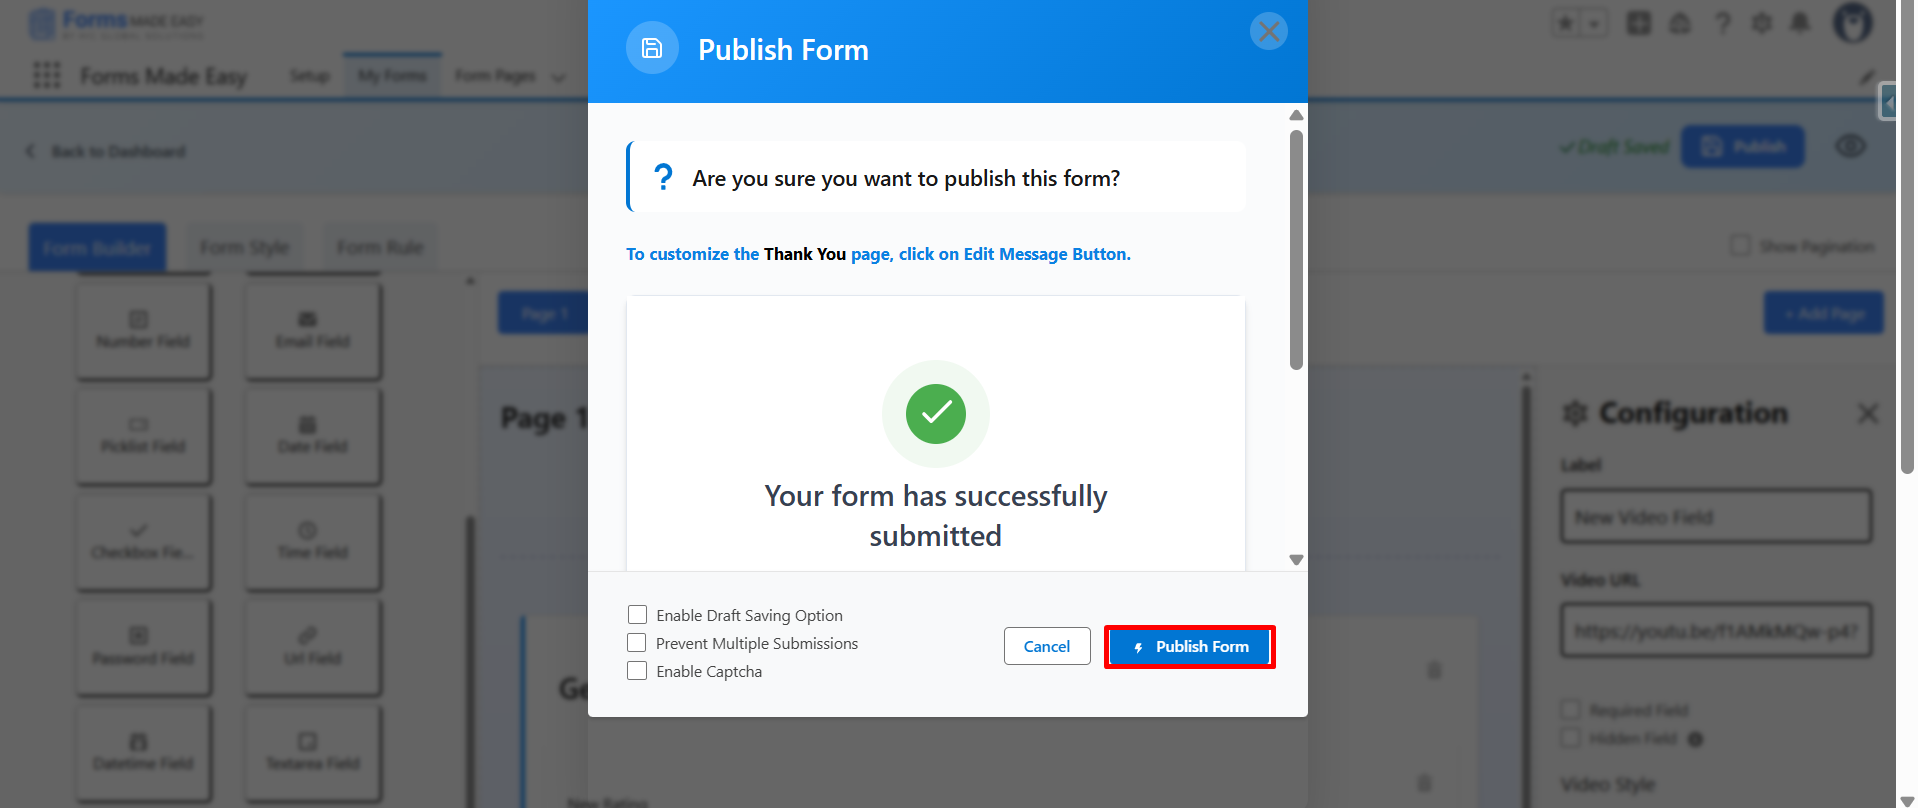
Step 11: Then, click on the Publish Form button.
Step 12: Click on Done to close the modal.
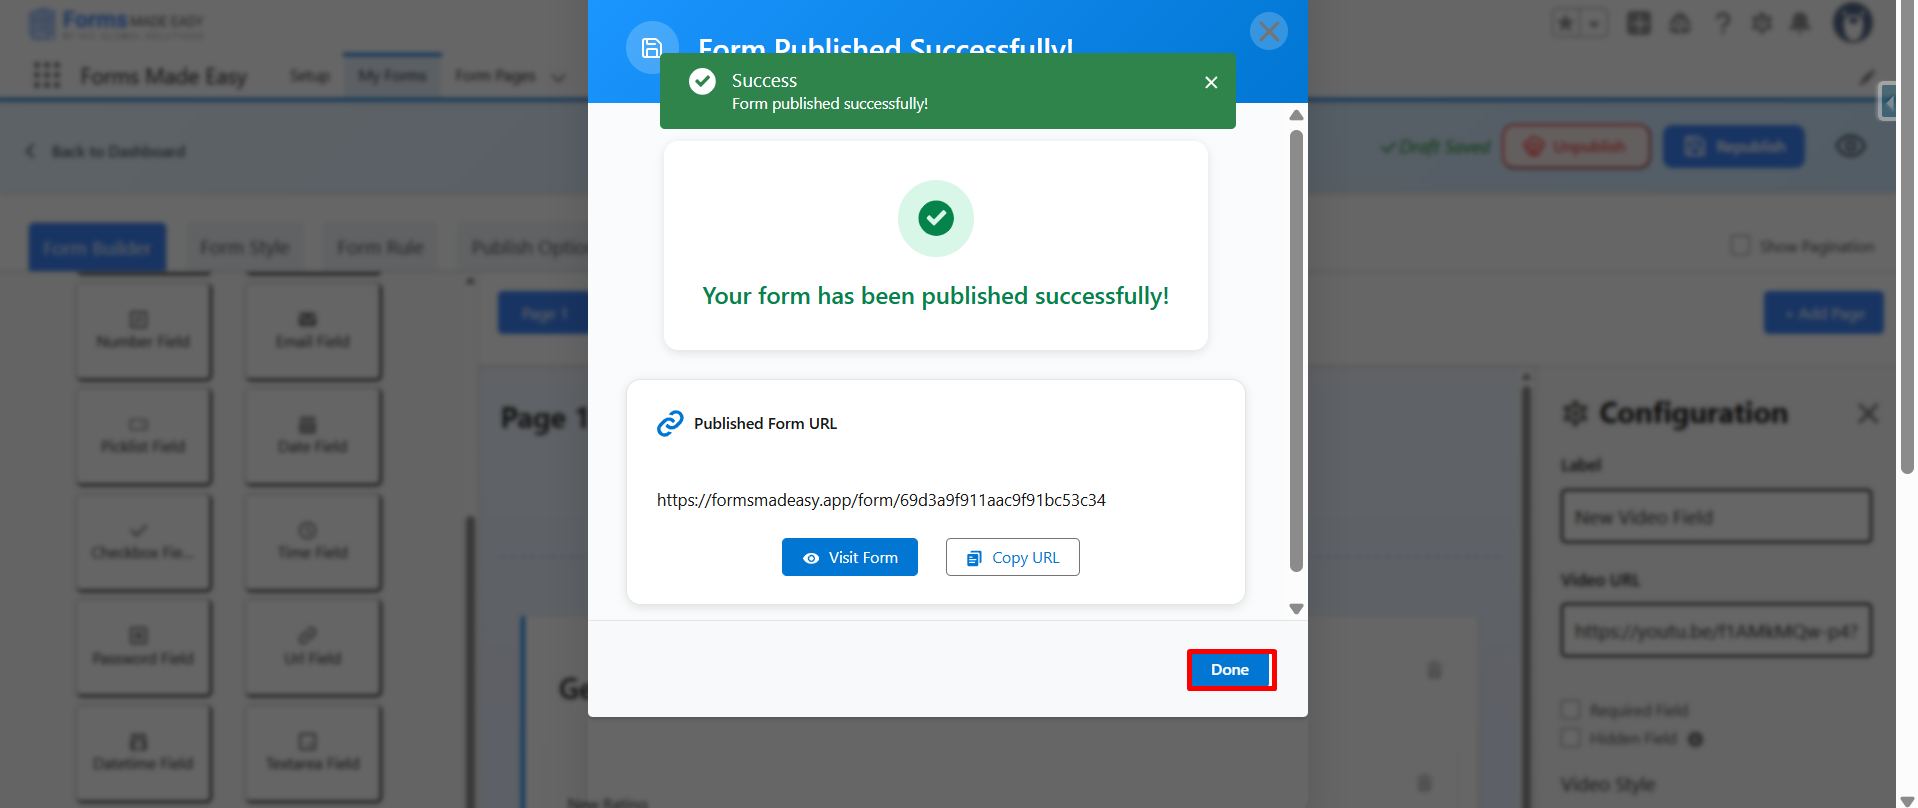
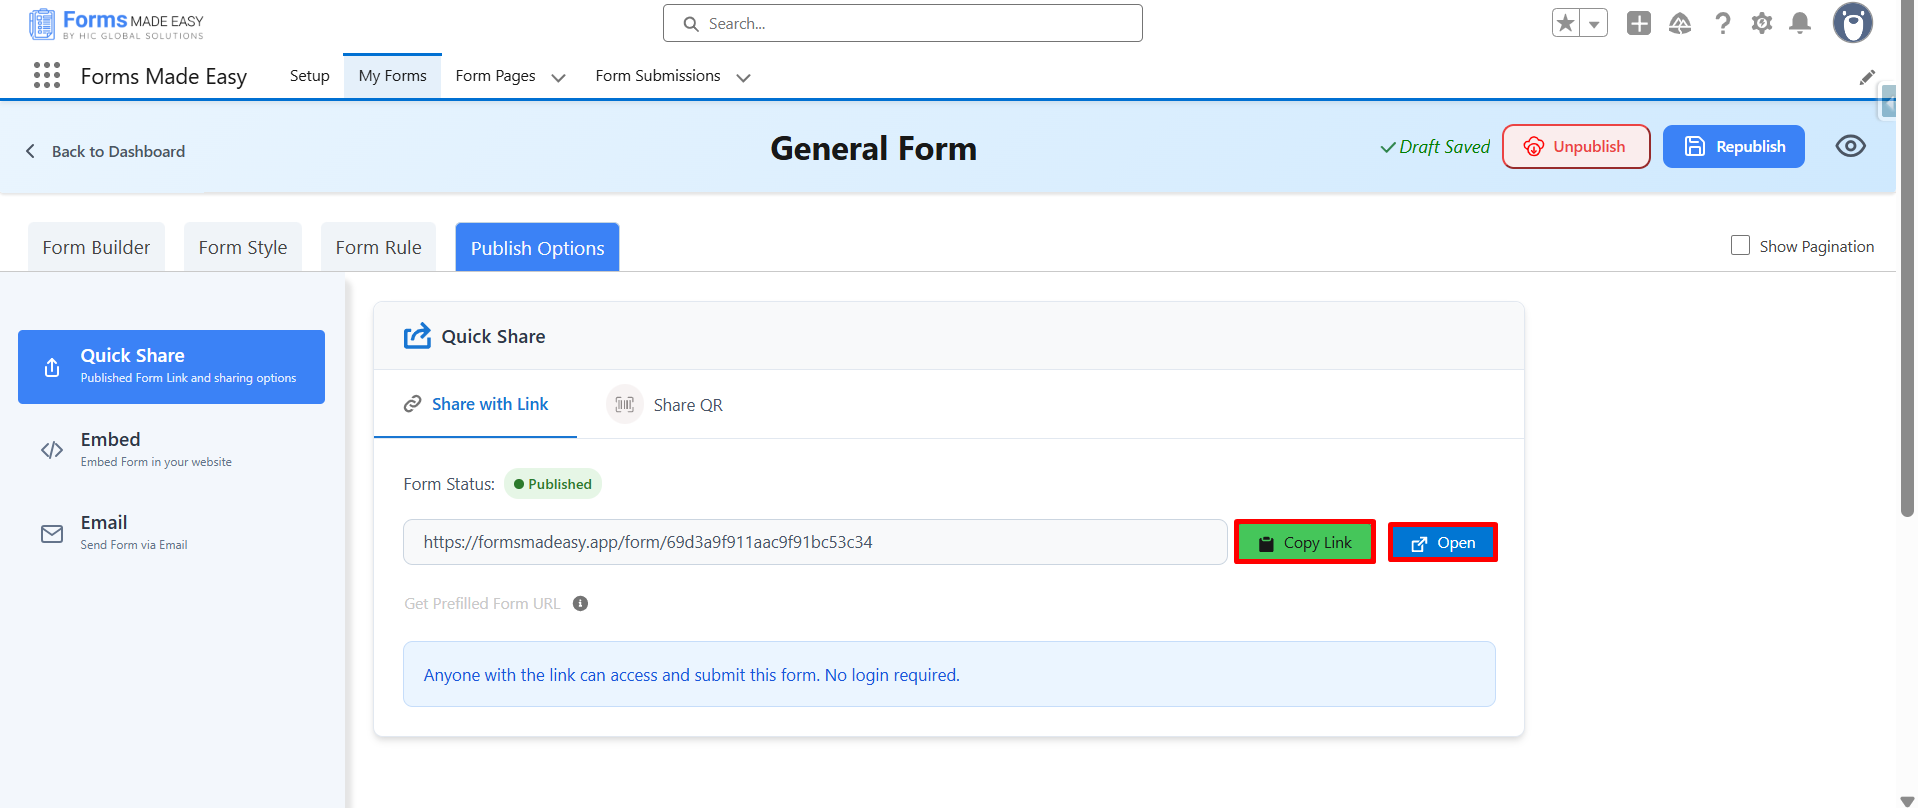
Step 13: Navigate to Publish Options to access sharing settings.
Step 14: From there, choose Copy Link to share the form URL or select Open to preview it directly on the web.
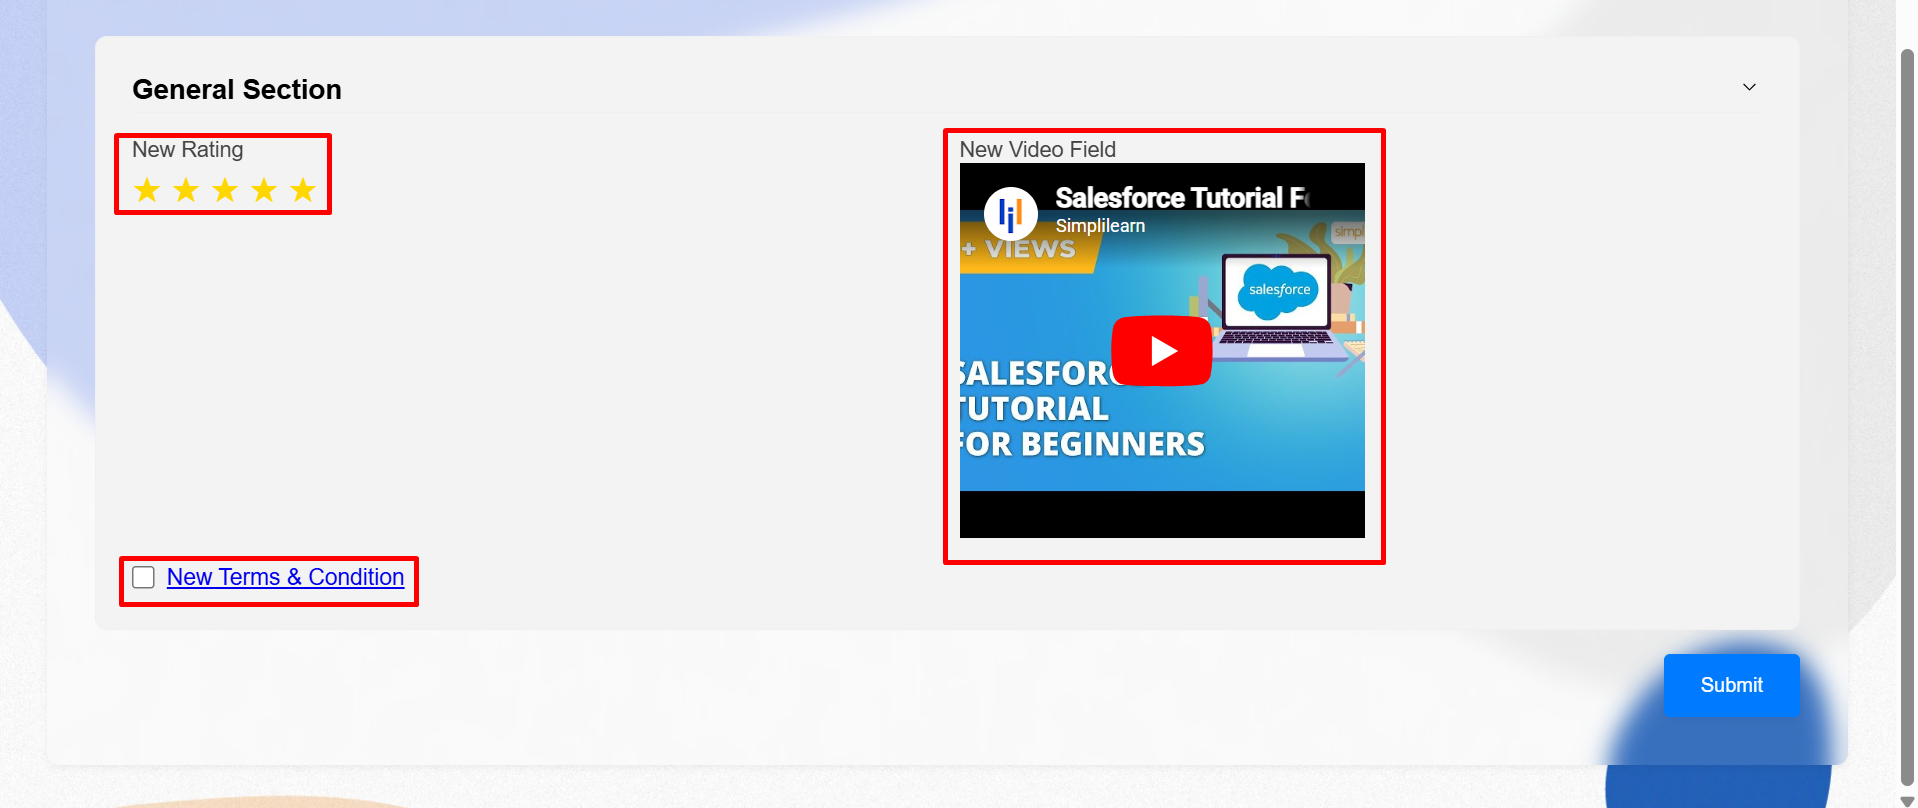
Step 15: Finally, the Video, Rating, and Terms & Conditions fields appear and function correctly.
Conclusion
These are the steps to create a form with video support, rating options, and Terms & Conditions. You can easily update or adjust fields anytime based on your needs without any complexity. Even if you start with popular Salesforce form builder like Forms Made Easy, adding small elements can make your form more interactive and professional as shown in the provided screenshots for better understanding. We hope this article has helped you. If you are still confused, feel free to reach out to support for further assistance.