

Turn Forms Into Automated Workflows
Design dynamic forms, streamline operations, and eliminate repetitive manual tasks — all without code.
Talk to Our ExpertsBuild Smarter Forms Faster
Create no-code forms inside Salesforce and automate data collection, approvals, and workflows without complexity.
Get StartedSimplify Your Form Workflows
Replace manual processes with intelligent forms that capture, route, and manage data seamlessly in Salesforce.
Book a DemoCreating efficient Salesforce forms is essential for managing customer data seamlessly. For organizations using Salesforce Person Accounts, having forms that capture both Account and Contact information in a single place can simplify data entry and improve accuracy. In this blog, we will show you how to create Salesforce forms with Person Account fields to streamline your processes.
A Person Account in Salesforce is a unique object that combines fields from the standard Account and Contact objects. When you create a Person Account record, the data is still stored in separate Account and Contact records behind the scenes of the Salesforce platform. However, in the user interface, it appears as a single, unified record for easier management.
With Salesforce Person Accounts, whenever an Account is created, the related Contacts are automatically created as well, ensuring consistent and reliable data management.
Let’s create the form step by step:
Steps to Create Forms in Forms Made Easy
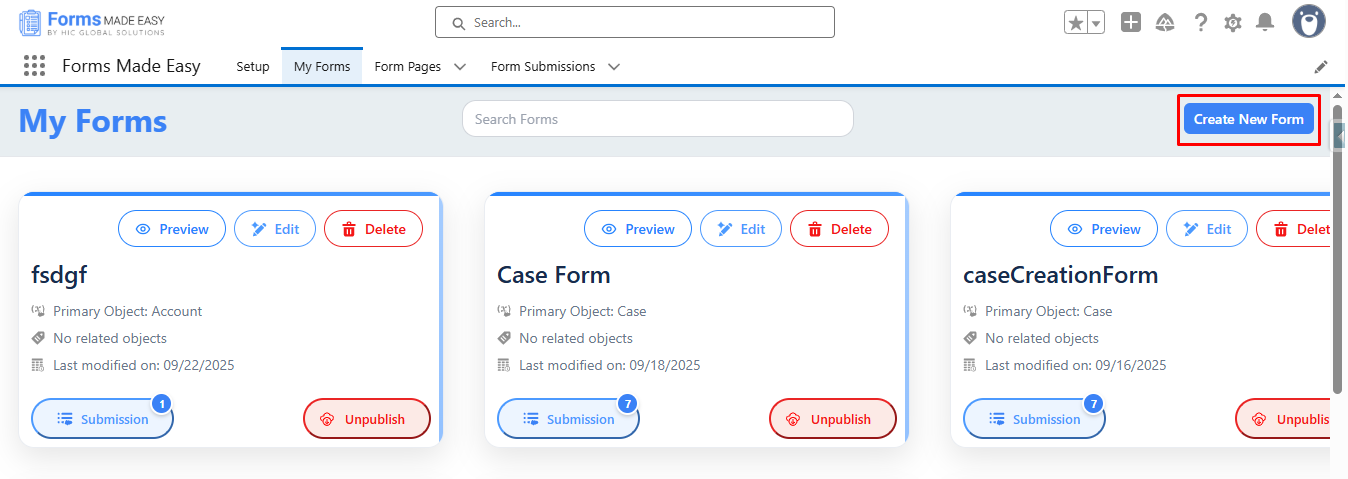
Step 1: Go to the My Forms tab and click on the Create New Form button.
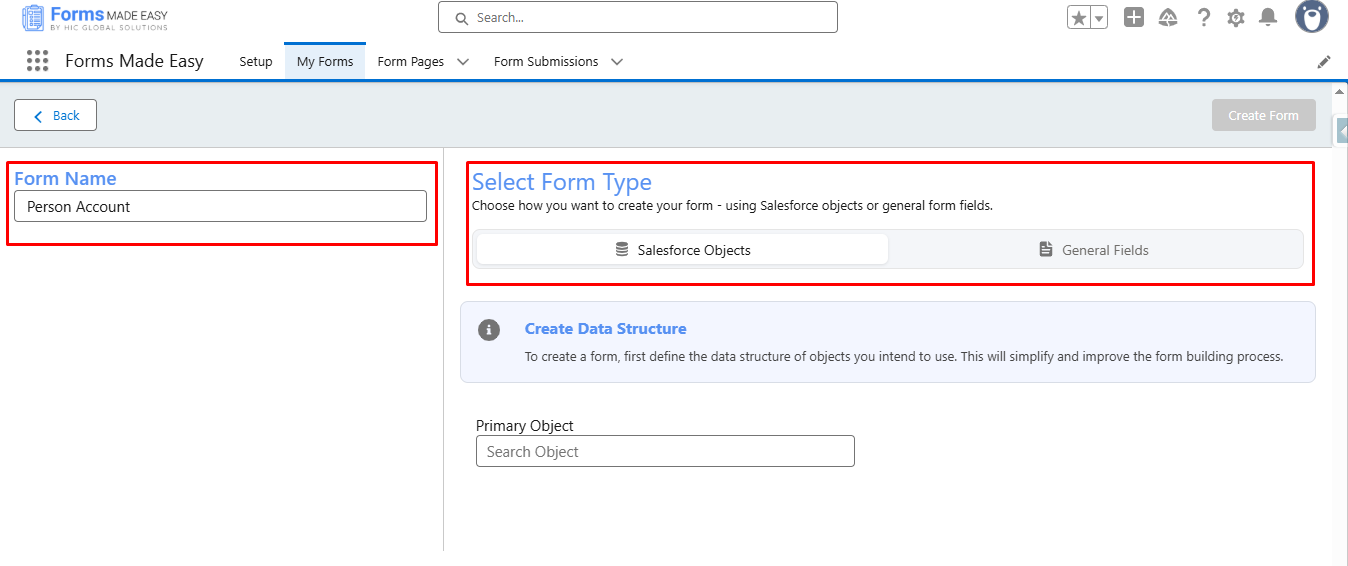
Step 2: Enter the Form Name and Select Form Type.
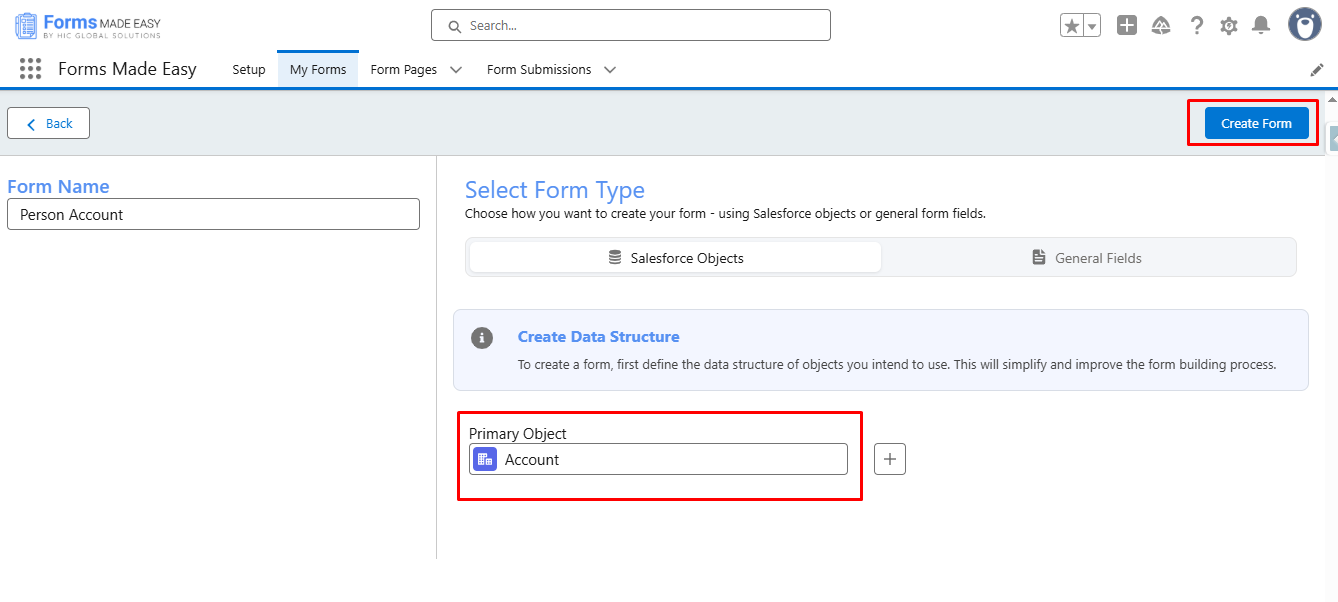
Step 3: Select Account as a Primary Object and Click on Create Form Buttons.
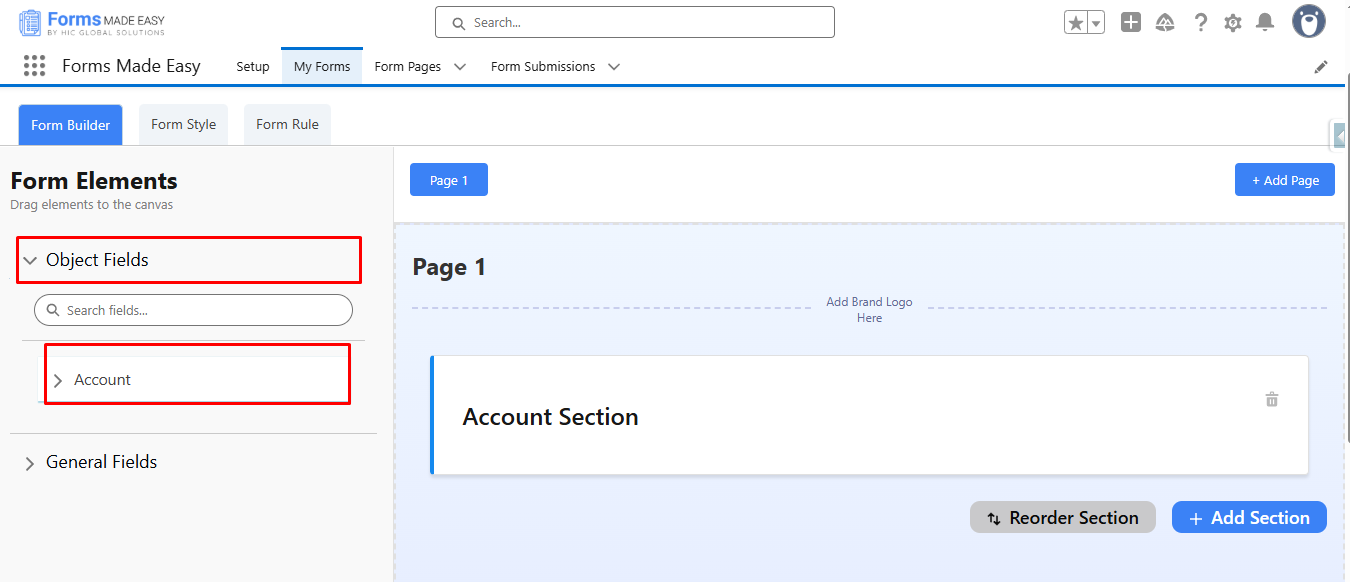
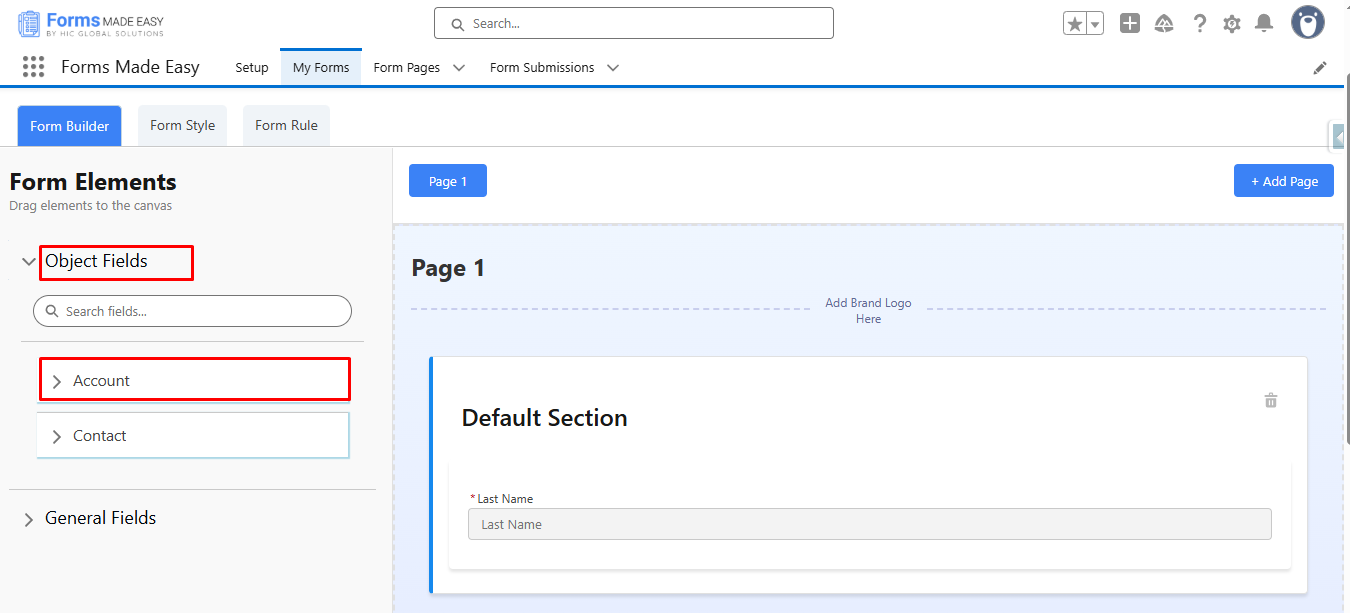
Step 4: Go to the Object Fields and Click on Account.
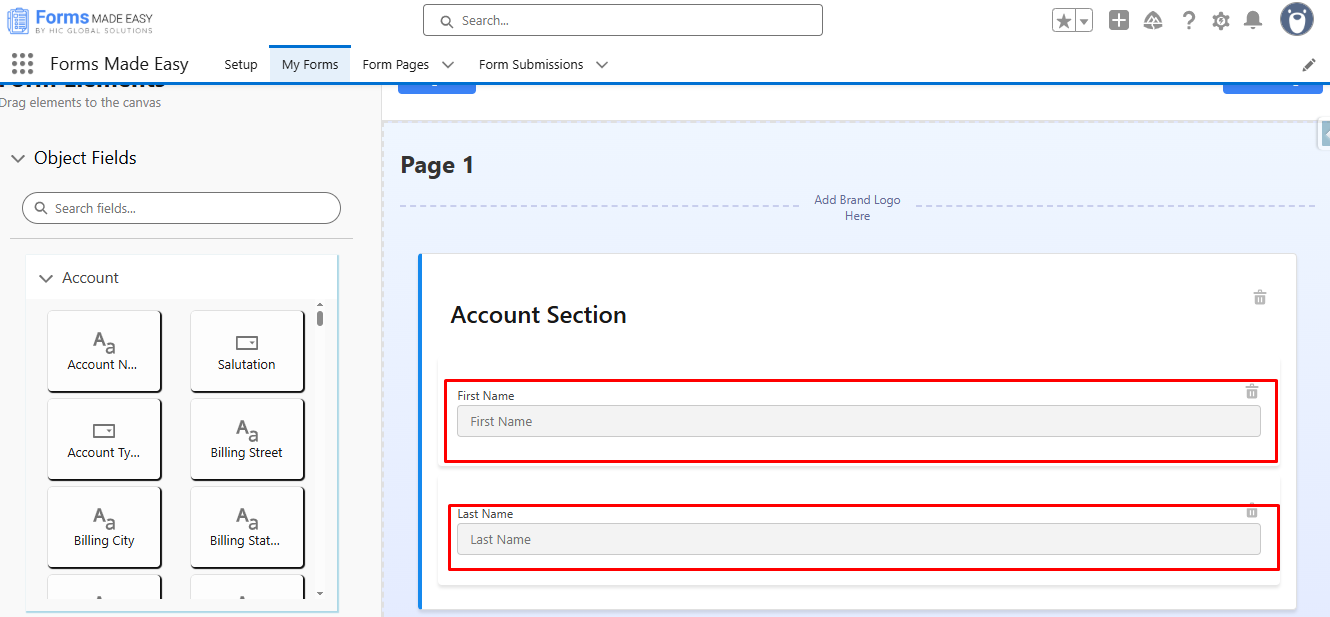
Step 5: Drag & Drop First Name and Last Name Fields From Account.
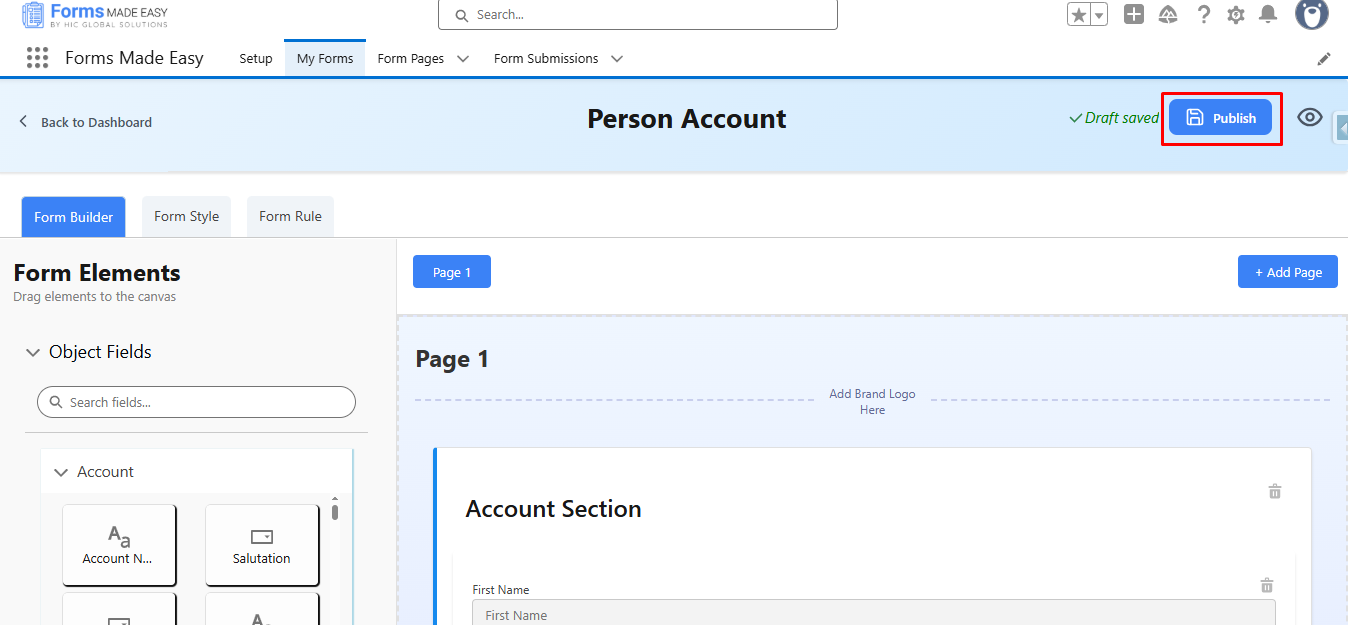
Step 6: Click on the Publish button.
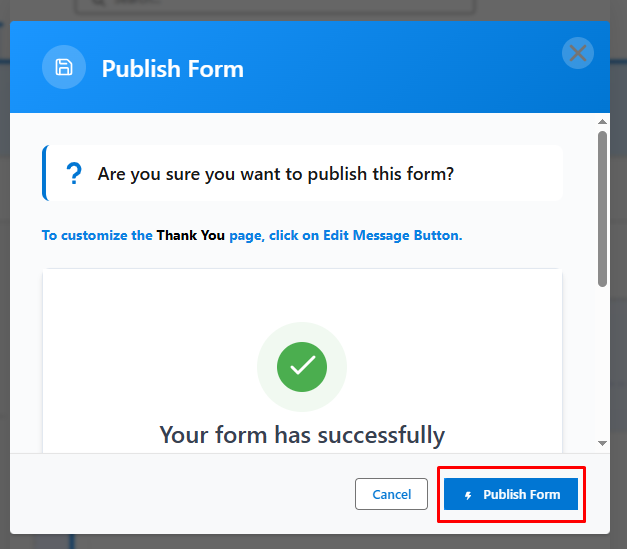
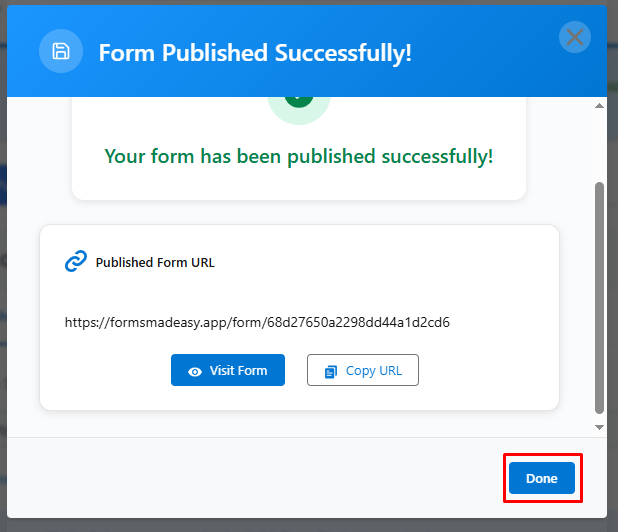
Step 7: Click on the Publish Form button.
Step 8: Click on Done.
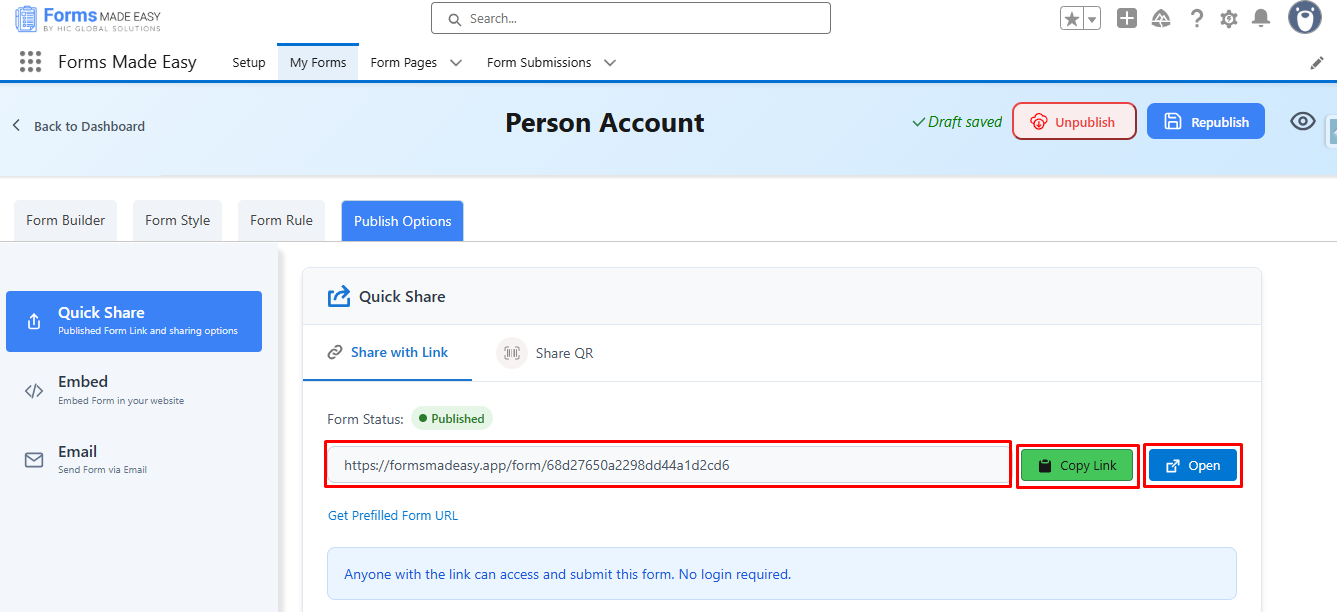
Step 9: Click on Copy Link to copy the form link or click on Open Buttons to open the forms.
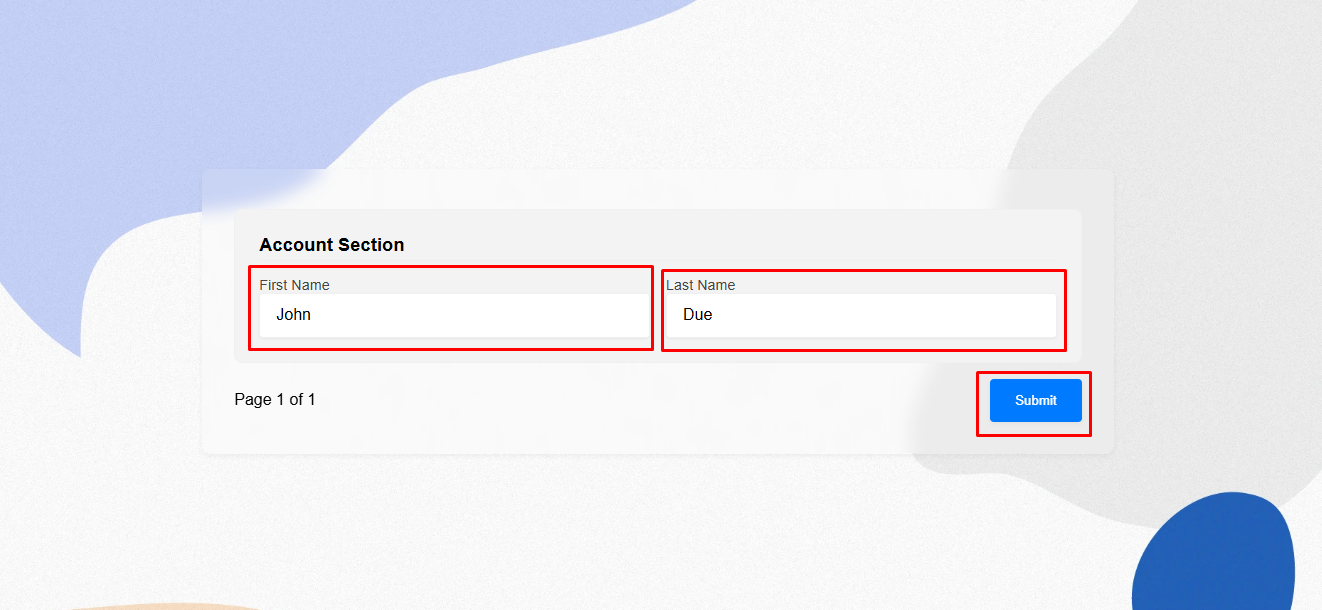
Step 10: Fill in the Details in the Person Account Form and Click on Submit.
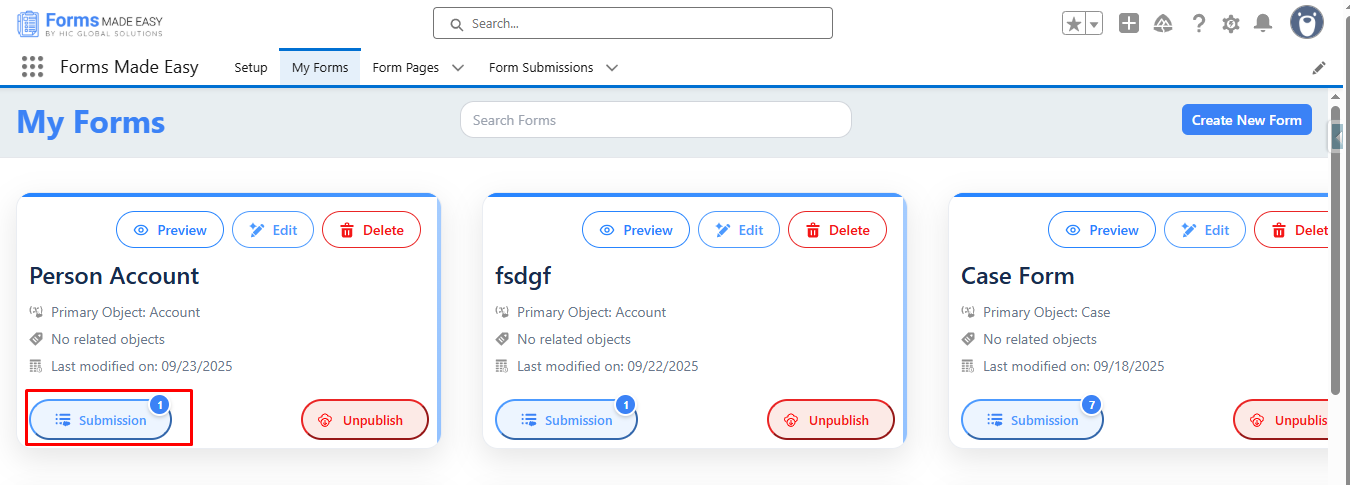
Step 11: Go to the My Forms tab and refresh the page.
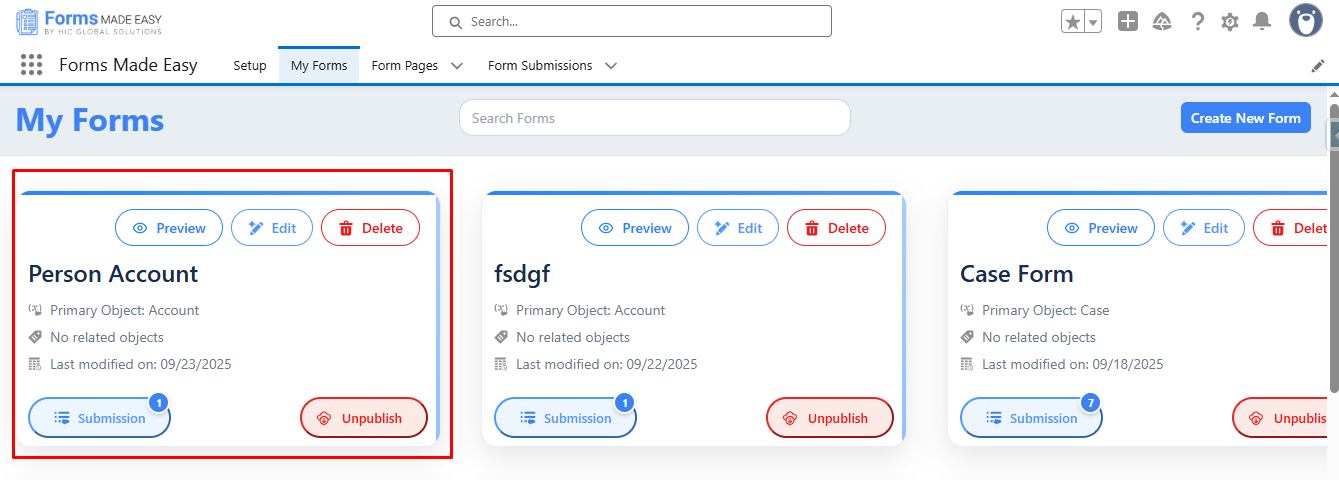
Step 12: Click on Submission Buttons to view the total Submissions.
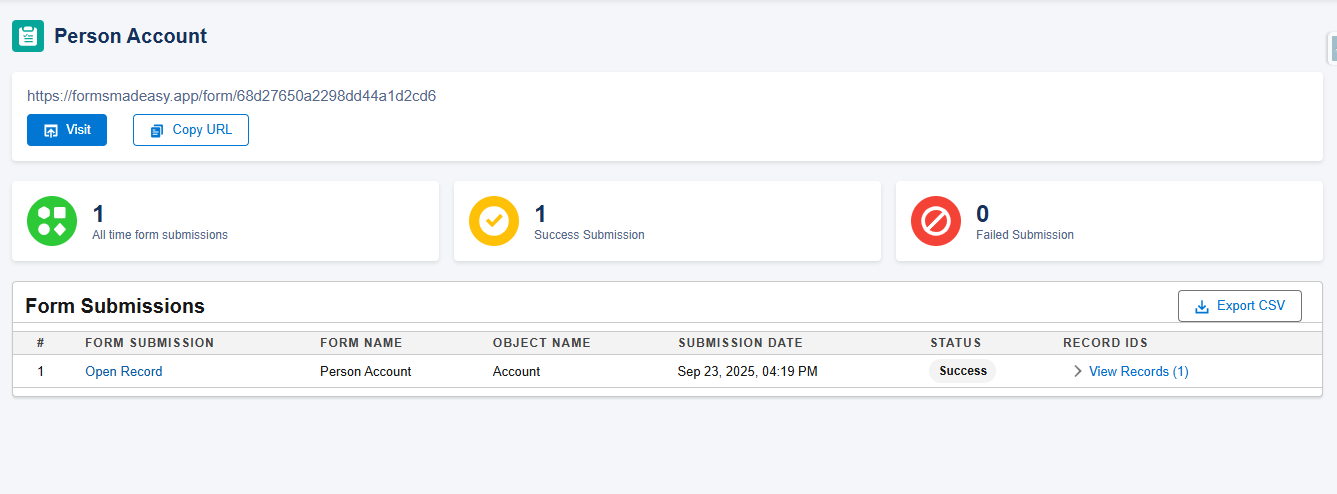
Step 13: Here, all submissions for that form will be displayed.
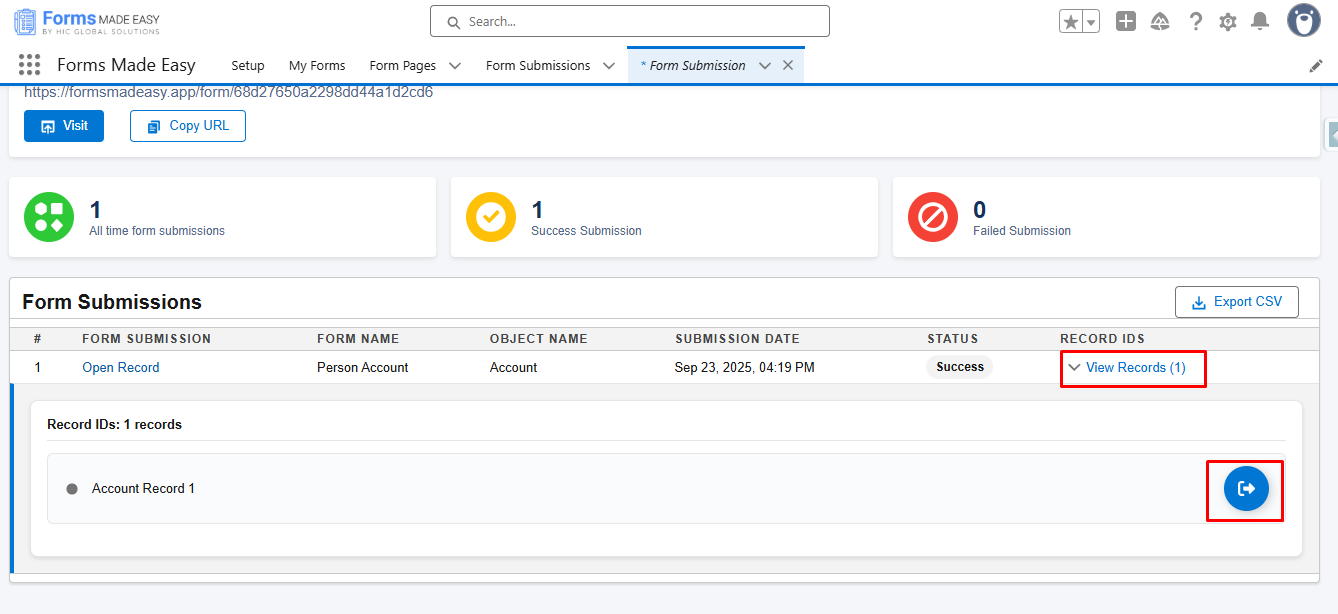
Step 14: Click on View Records and then click on Preview Buttons to view the created record.
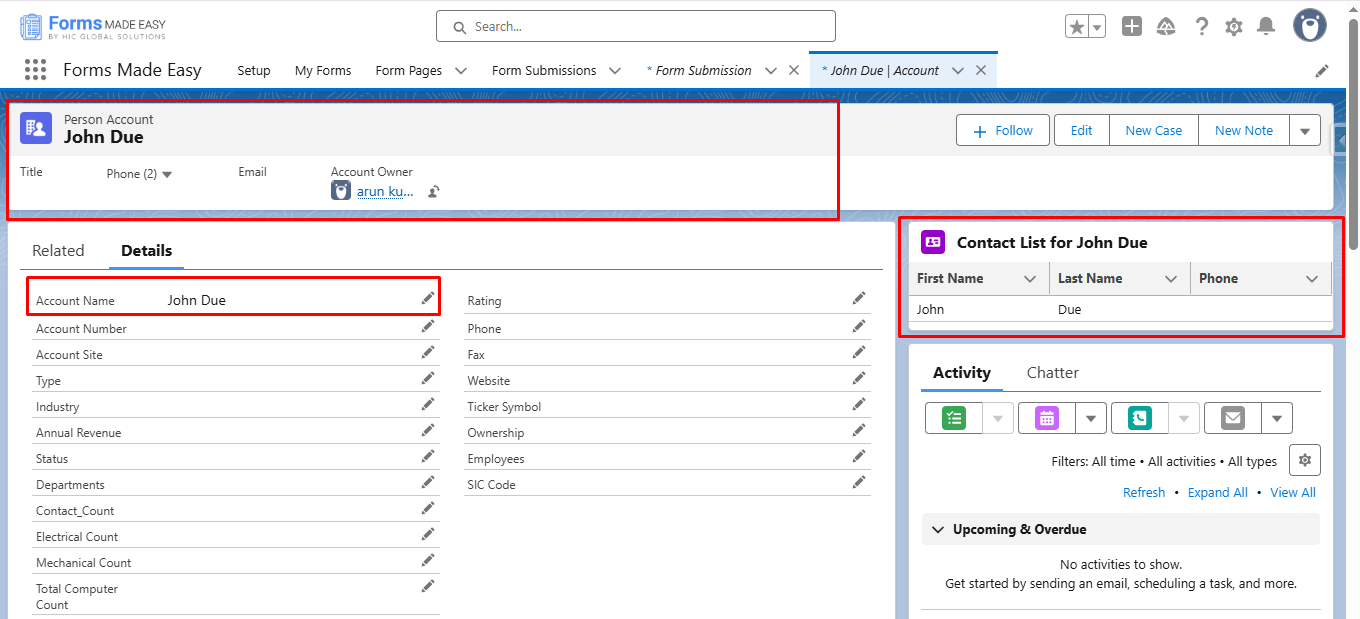
Step 15: Accounts and Related Contacts Are Created Successfully.
Business Accounts :
Steps to create Business Accounts Forms in Forms Made Easy :
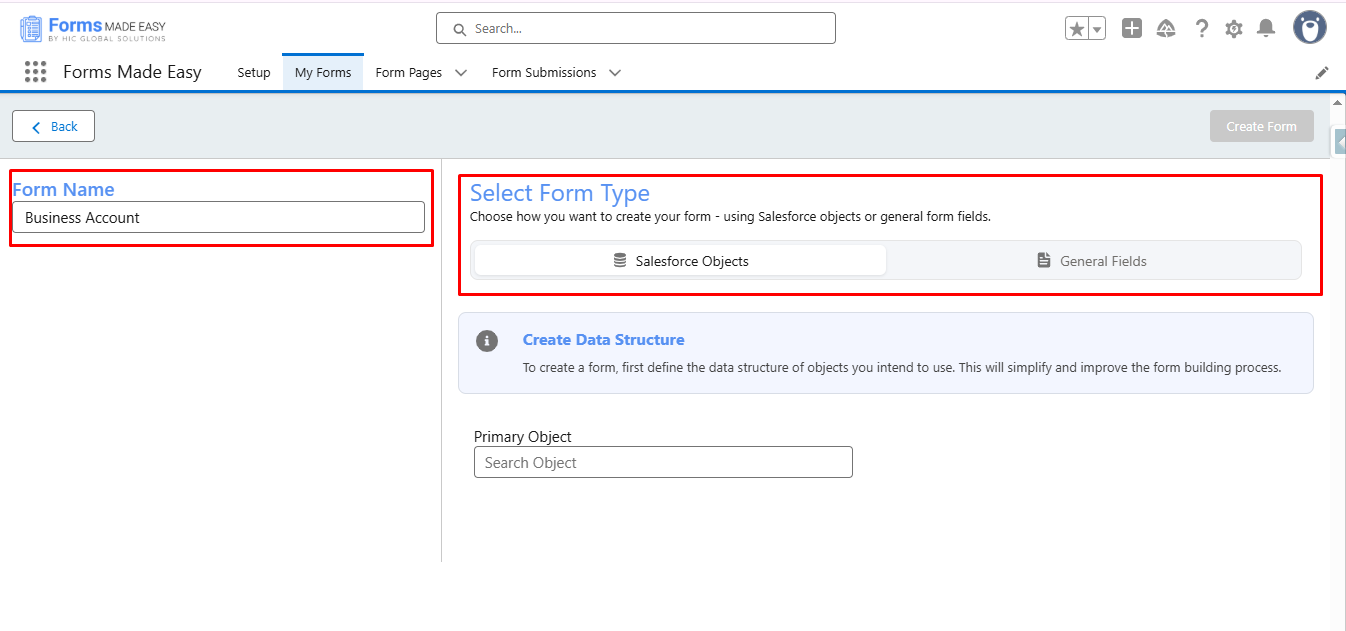
Step 1: Go to the My Forms tab and click on the Create New Form button.

Step 2: Enter the Form Name and Select Form Type.
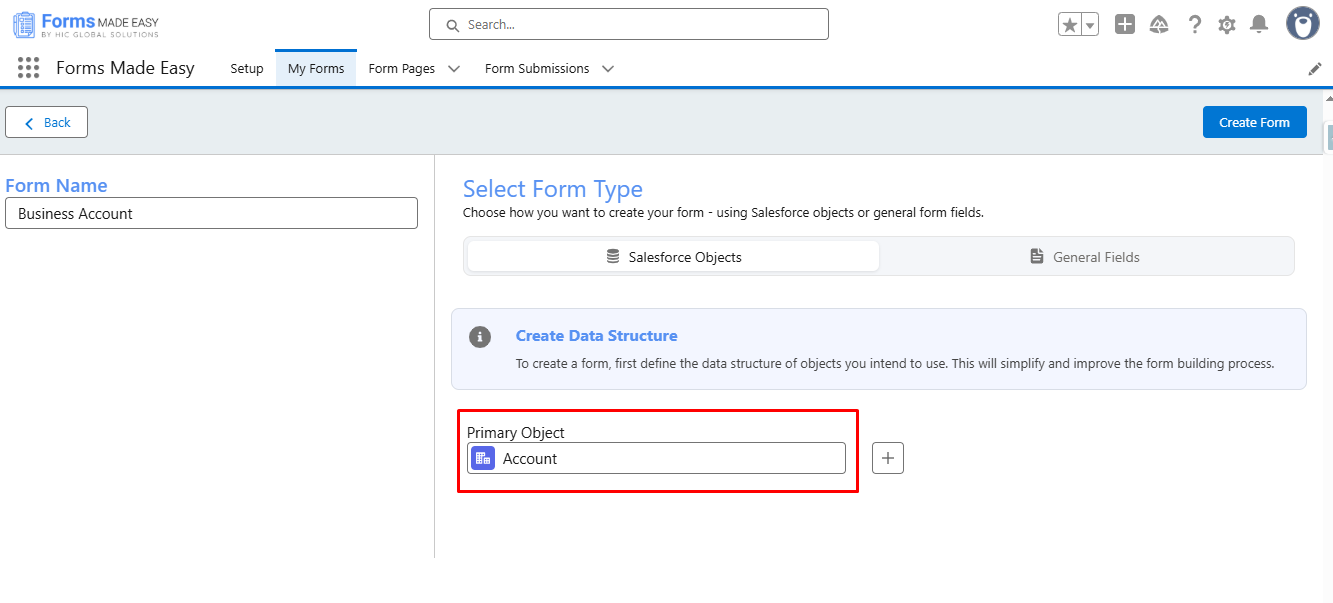
Step 3: Select Account as a Primary Object.
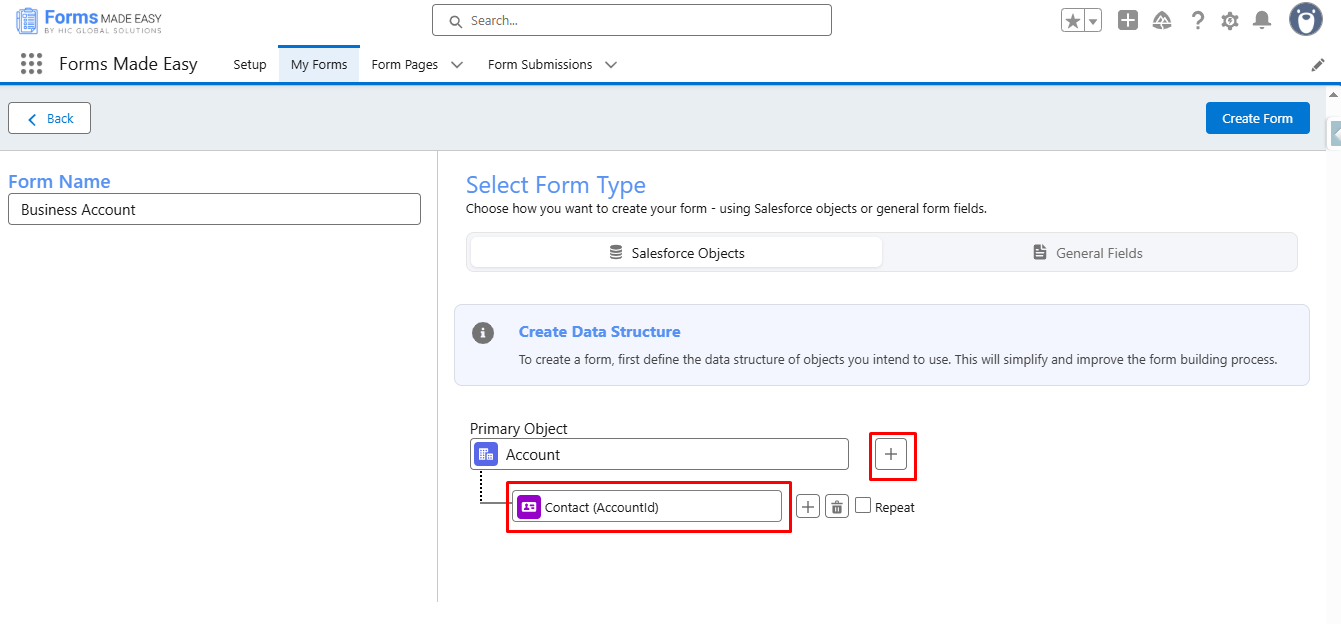
Step 4: Click on the + icons and Select Contact (AccountId) as a Child Object.
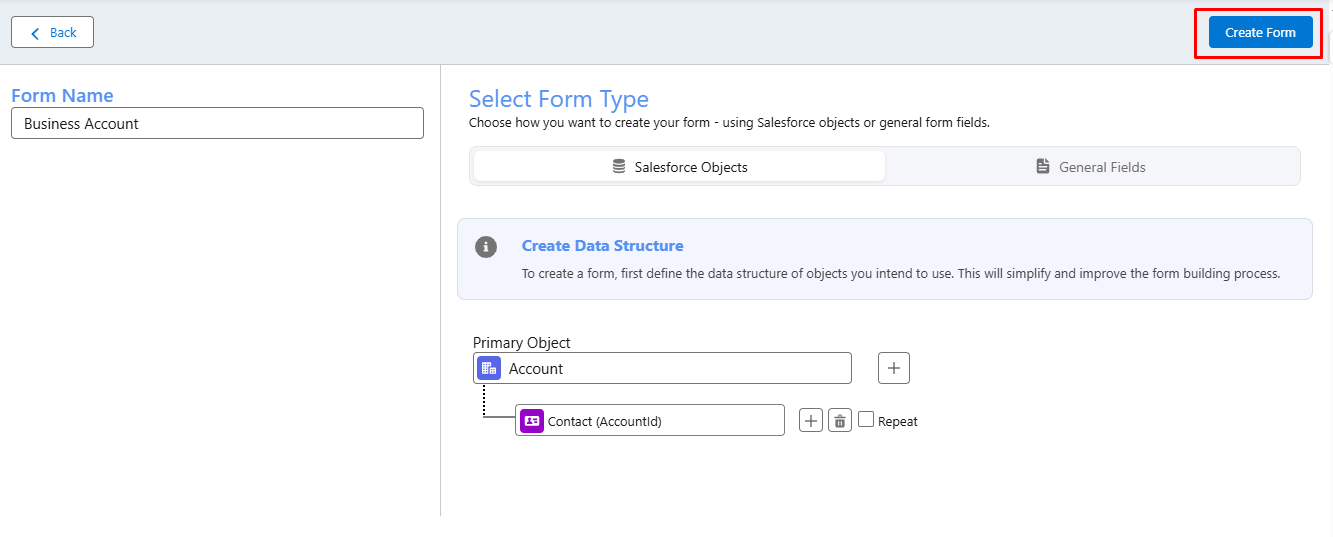
Step 5: Click on Create Form Buttons.
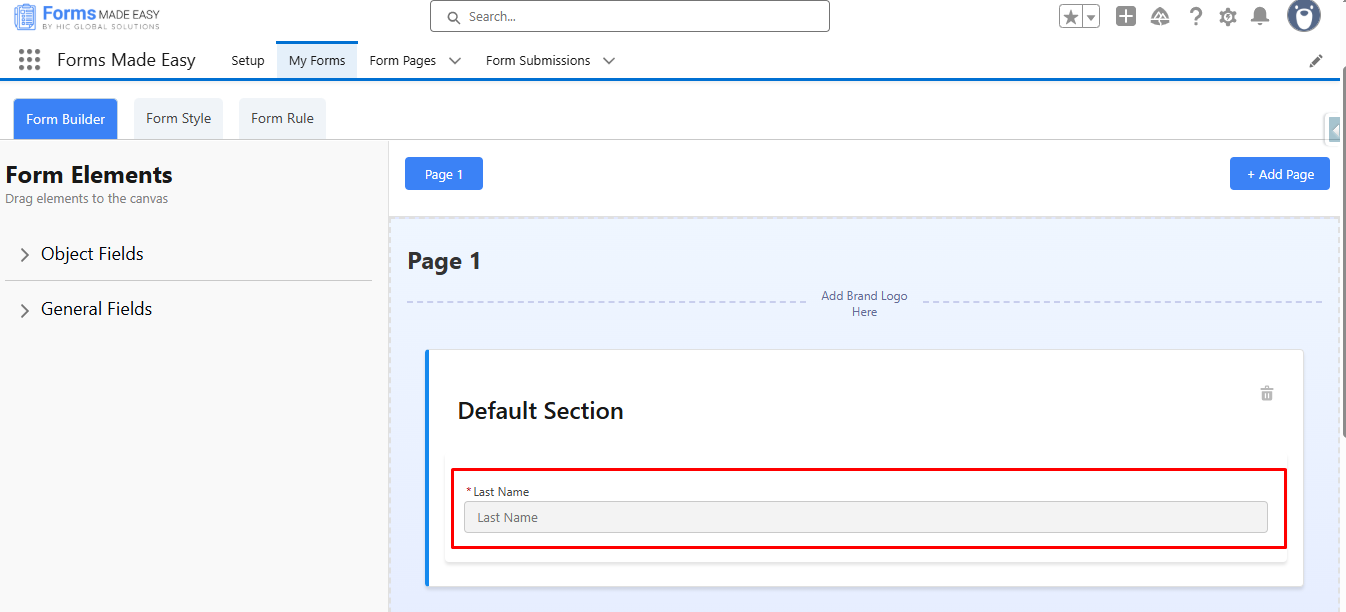
Step 6: Contact Last Name is automatically populated on the forms. Because it is a mandatory field in Contact Creation.
Step 7: Go to the Object Fields and Click on Account.
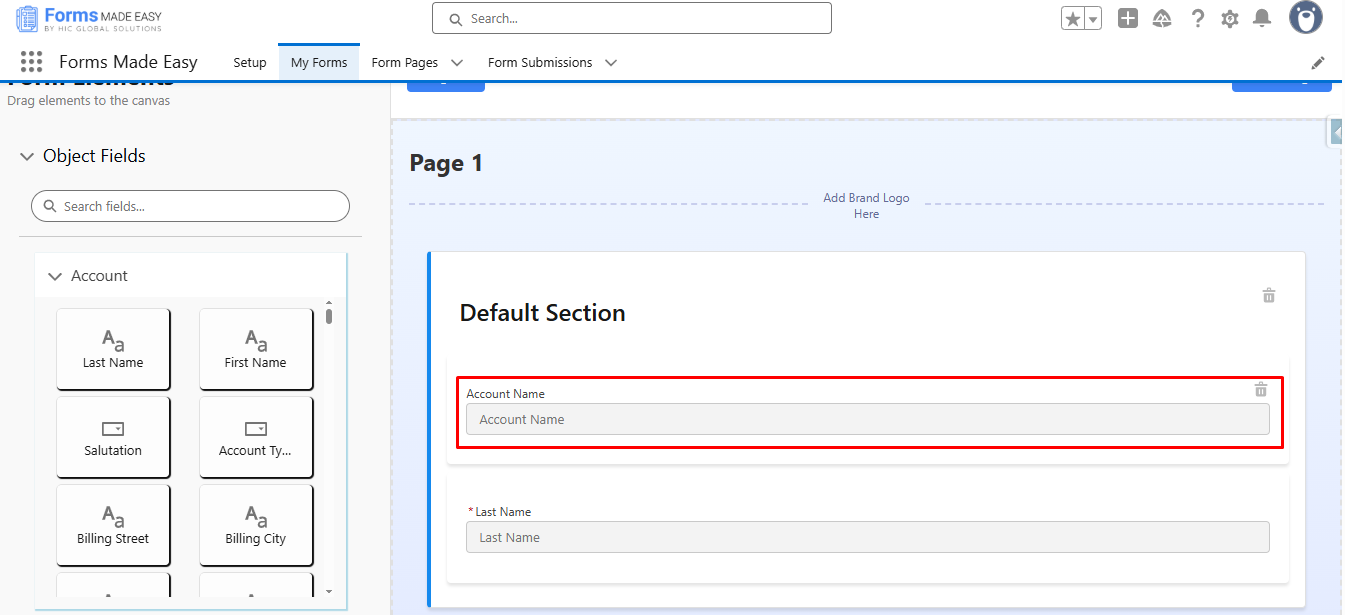
Step 8: Drag & Drop Account Name Fields From Account.
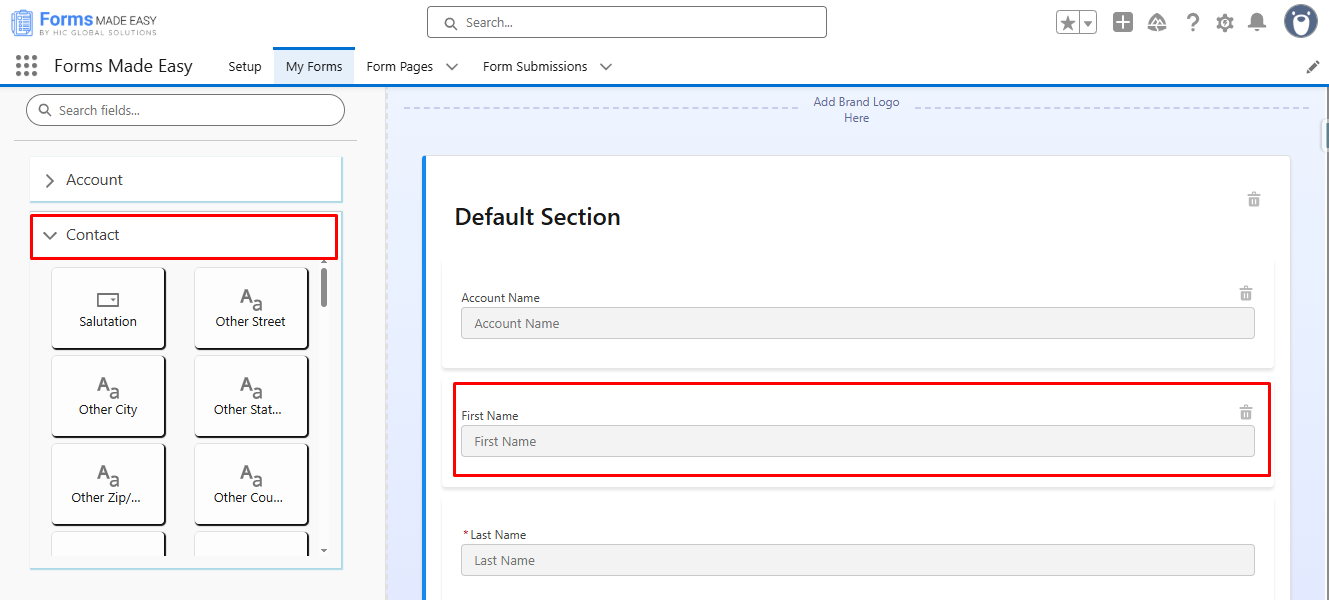
Step 9: Click on Contact and drag & drop the First Name fields.
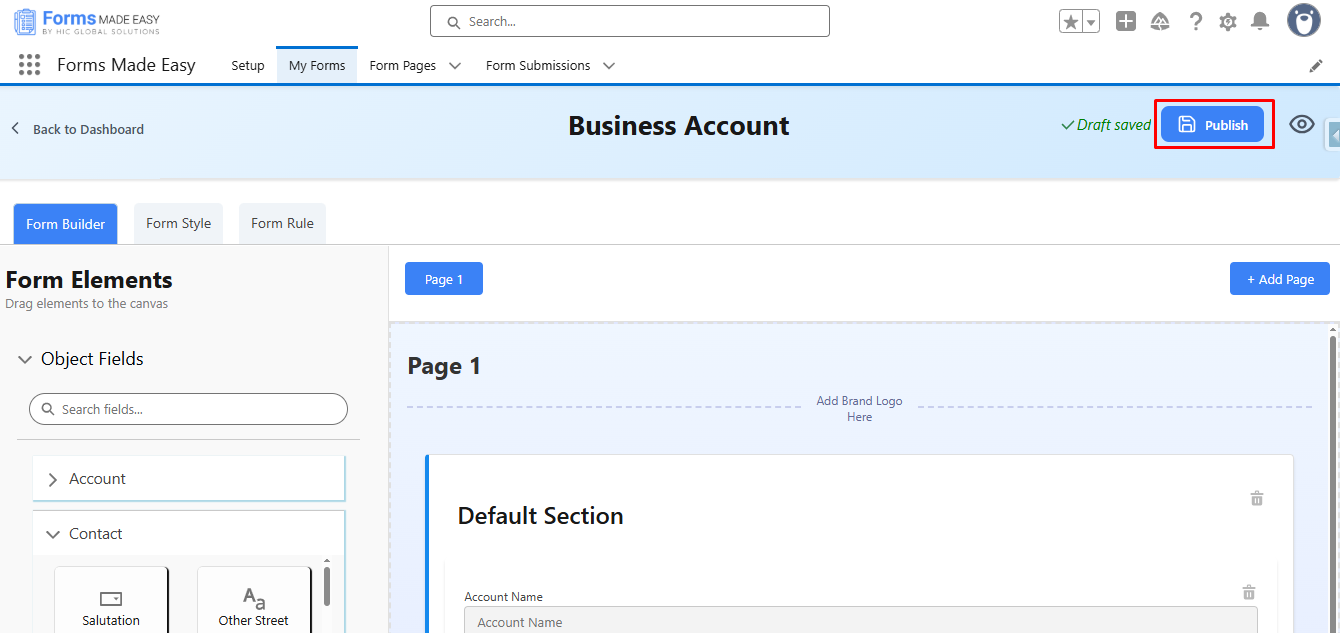
Step 10: Click on the Publish button.
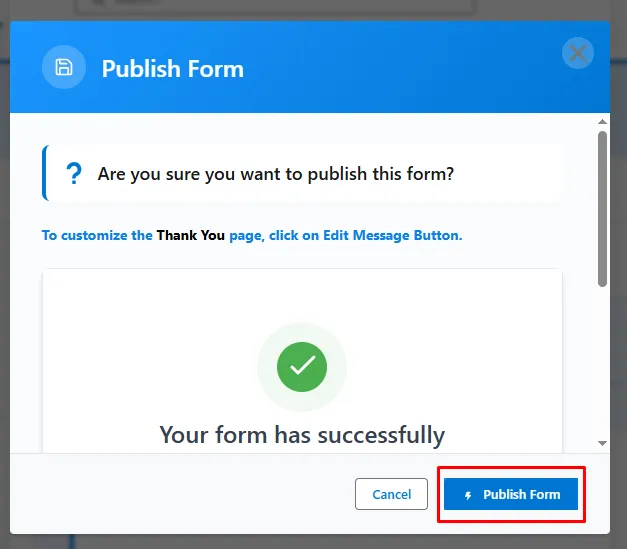
Step 11: Click on the Publish Form button.
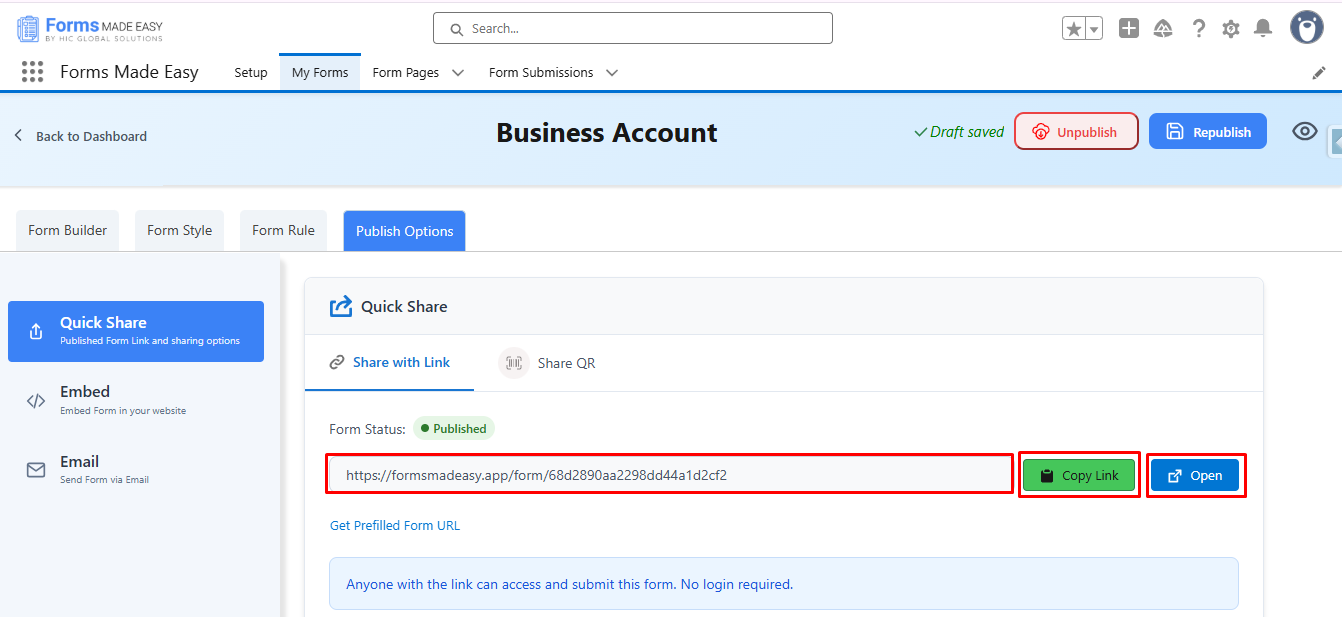
Step 12: Click on Copy Link to copy the form URL, or click on the Open Buttons to open the form.
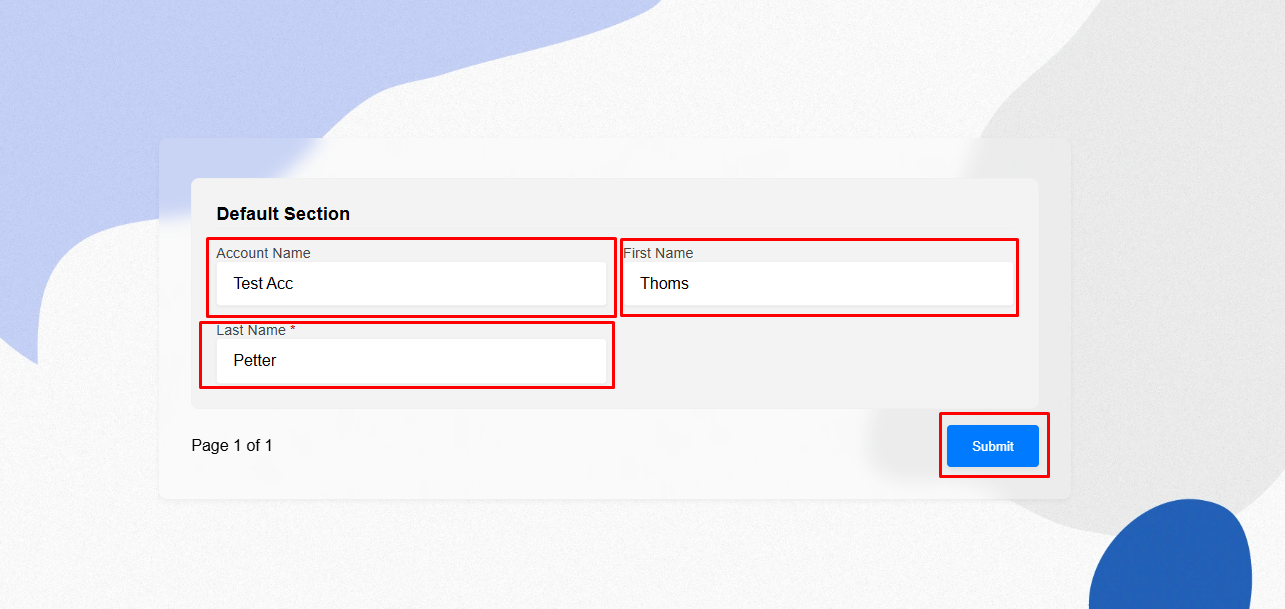
Step 13: Fill in the Details in the Business Account Form and Click on Submit.
Step 14: Go to the My Forms tab and refresh the page.
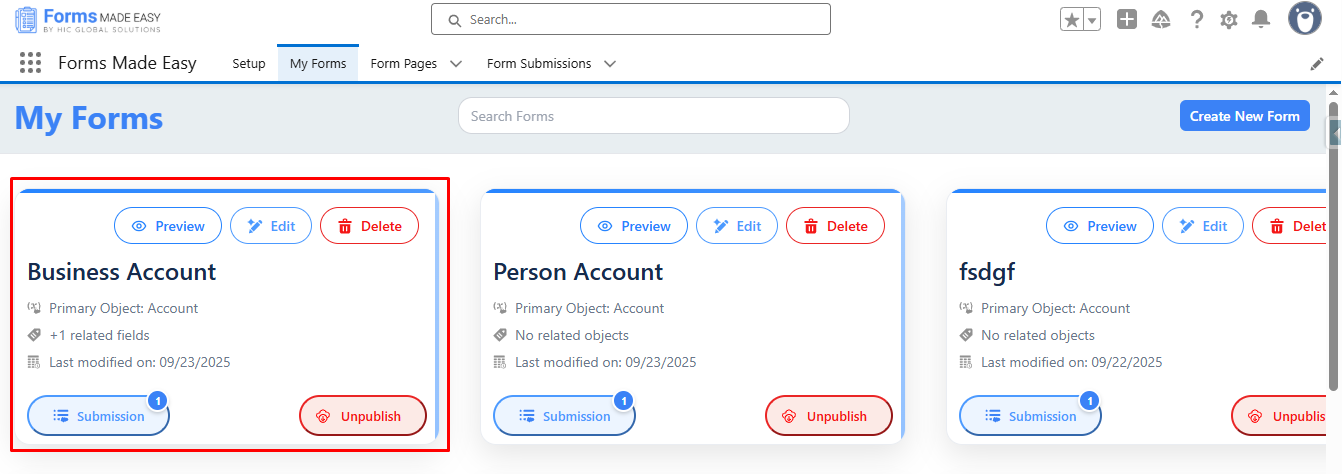
Step 15: Click on Submission Buttons to view the total Submissions.
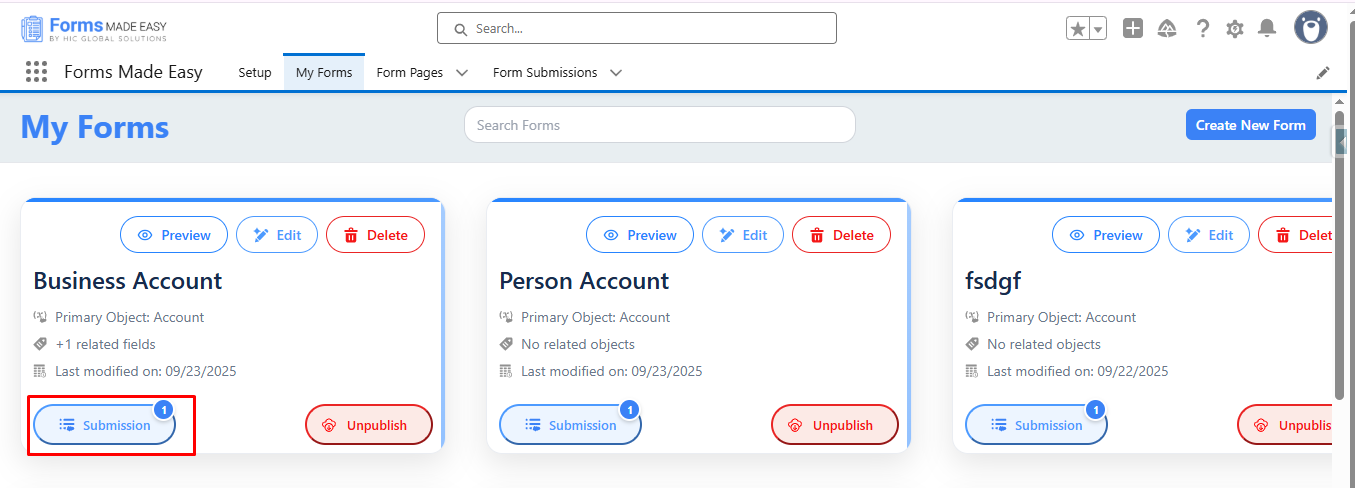
Step 16: Here, you will see all the submissions of the form.
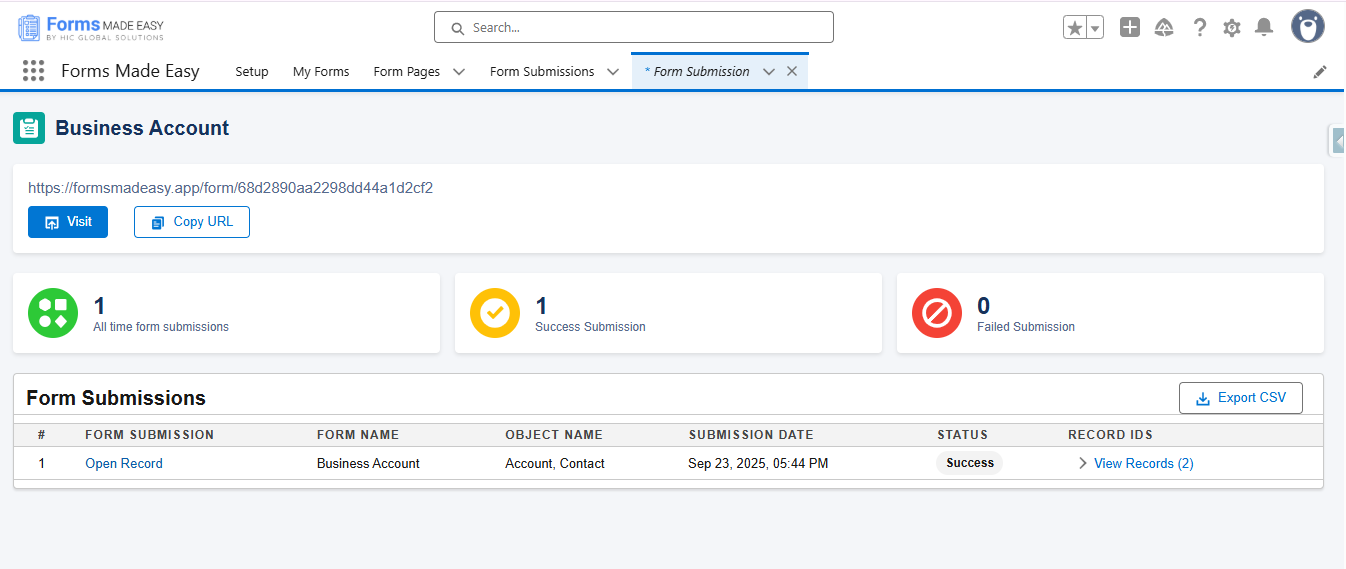
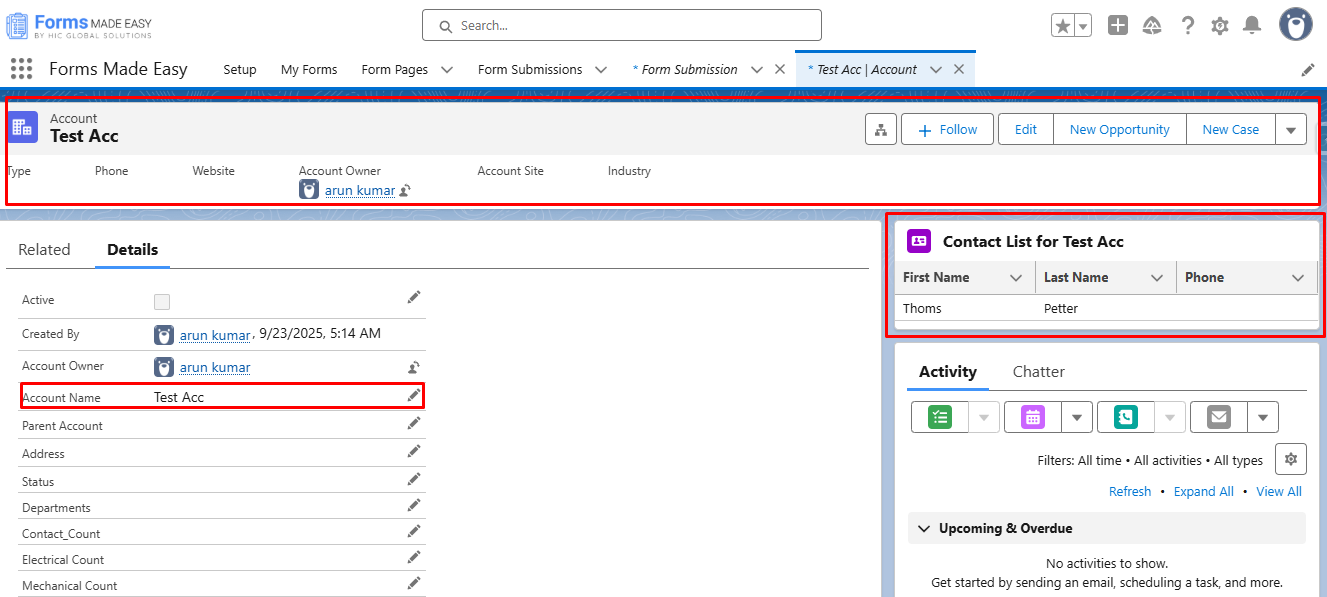
Step 17: Click on View Records and then click on Preview Buttons to view the created record.
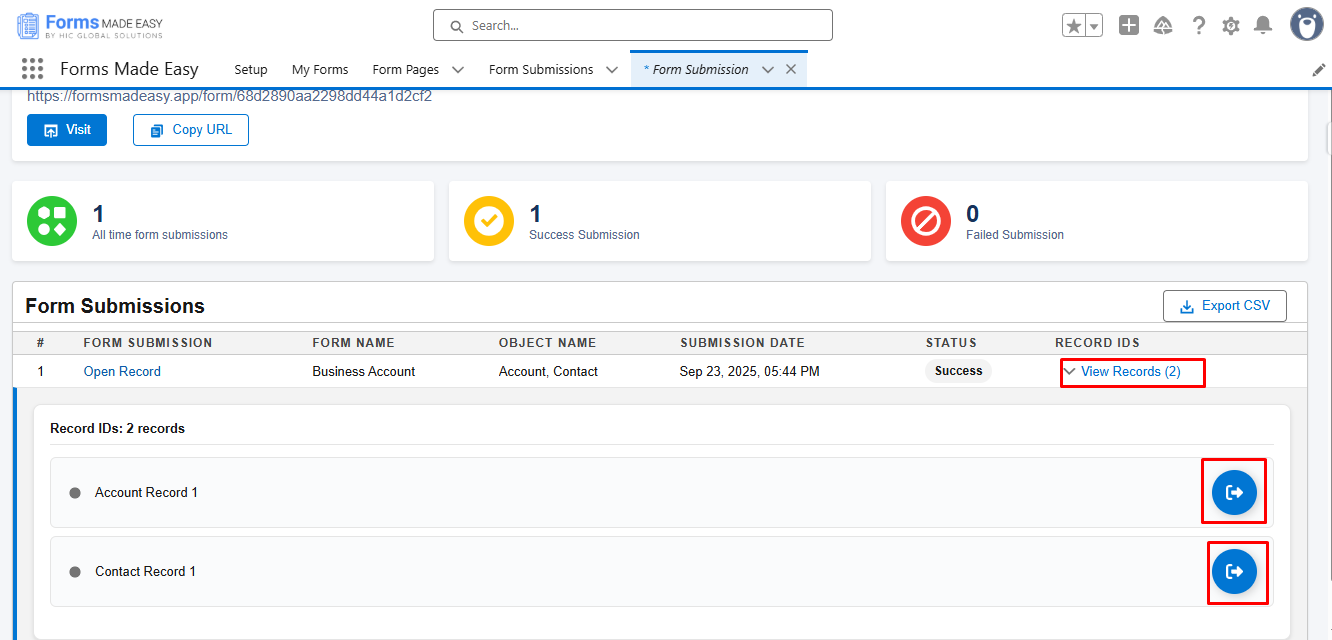
Step 18: Accounts and Related Contacts are Created Successfully.
Conclusion
Creating Salesforce forms with Person Account fields simplifies the way organizations manage both individual and business customer data. By following the step-by-step guide outlined above, users can efficiently capture Account and Contact information in a single form, ensuring accurate and consistent data entry. Whether you are creating forms for Person Accounts or Business Accounts, Salesforce’s Form Builder tool, “Forms Made Easy,” allows for streamlined form creation, easy submission tracking, and seamless record management. Implementing these forms not only saves time but also enhances the overall efficiency of your Salesforce CRM processes.