
Turn Forms Into Automated Workflows
Design dynamic forms, streamline operations, and eliminate repetitive manual tasks — all without code.
Talk to Our ExpertsBuild Smarter Forms Faster
Create no-code forms inside Salesforce and automate data collection, approvals, and workflows without complexity.
Get StartedSimplify Your Form Workflows
Replace manual processes with intelligent forms that capture, route, and manage data seamlessly in Salesforce.
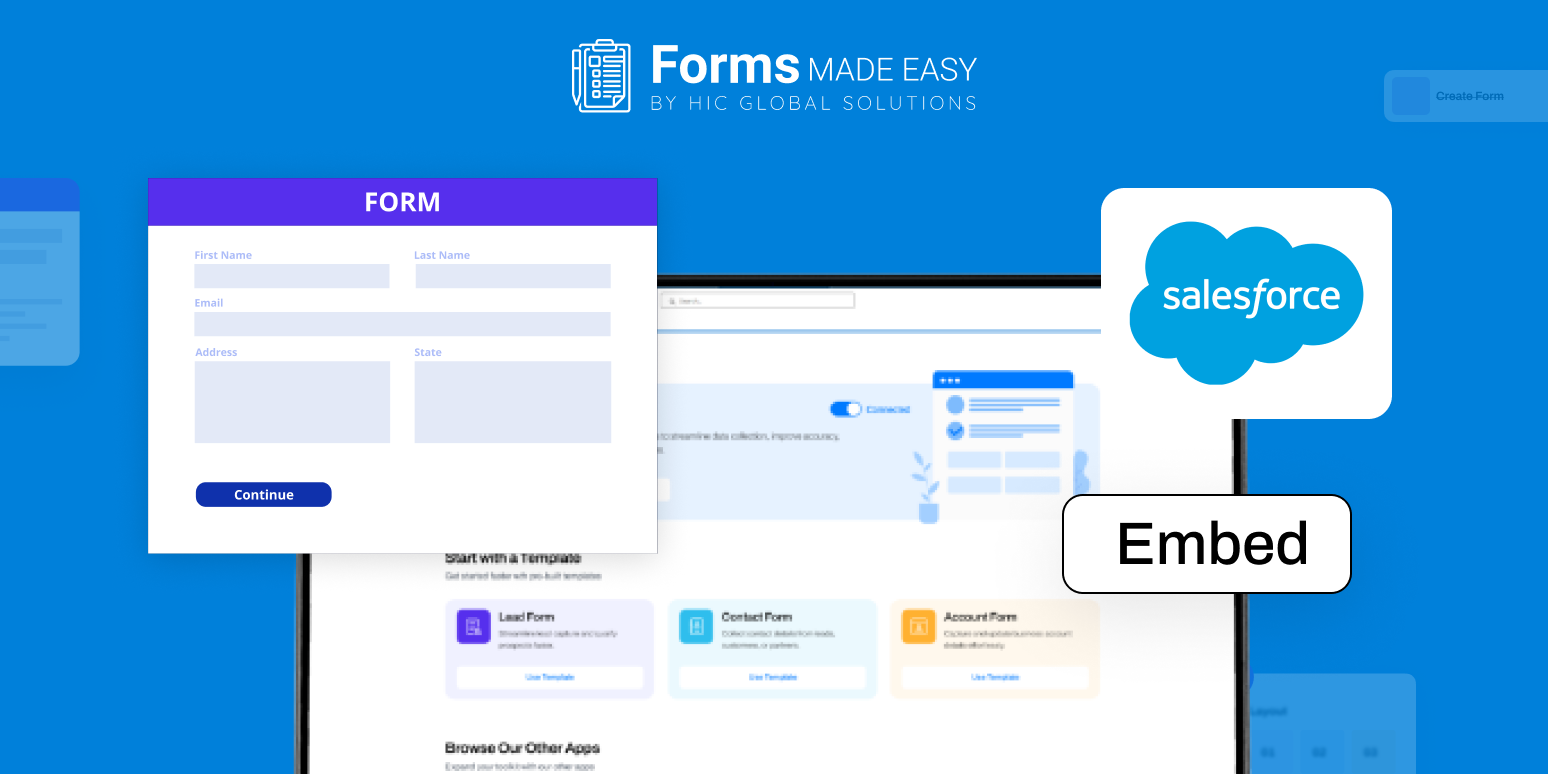
Book a DemoThis expert guide provides the complete process of embedding a Salesforce form into your website or application. After creating and publishing your form using a Salesforce form creation tool, the Publish tab gives you access to multiple Embed options. With Salesforce no-code form builder tool, you can integrate the form using Embed JS, Iframe, or Source Code, each offering different levels of customization and control within your Salesforce online form builder experience.
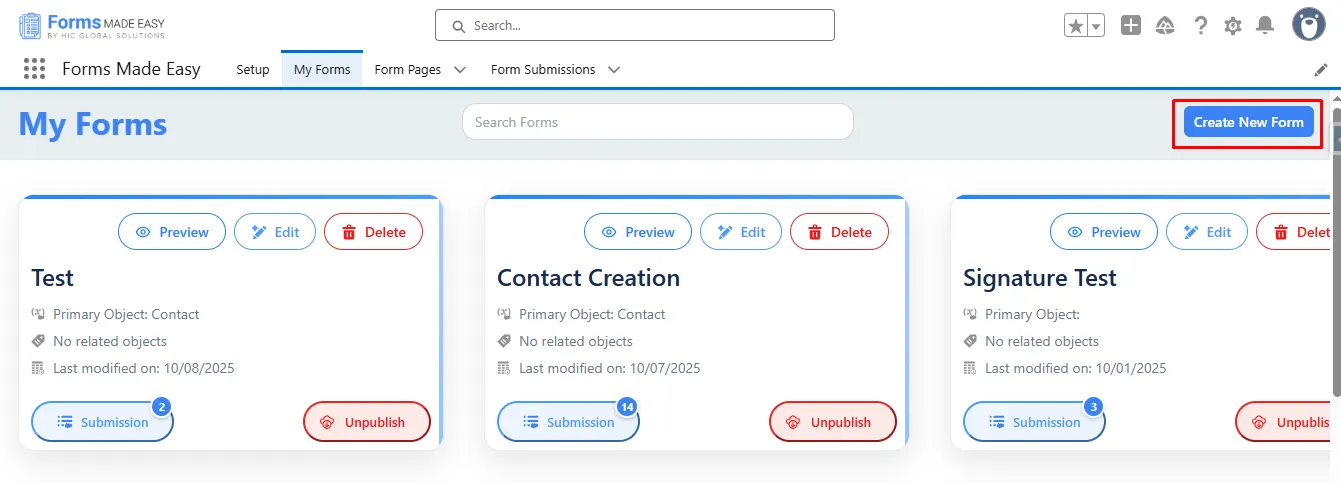
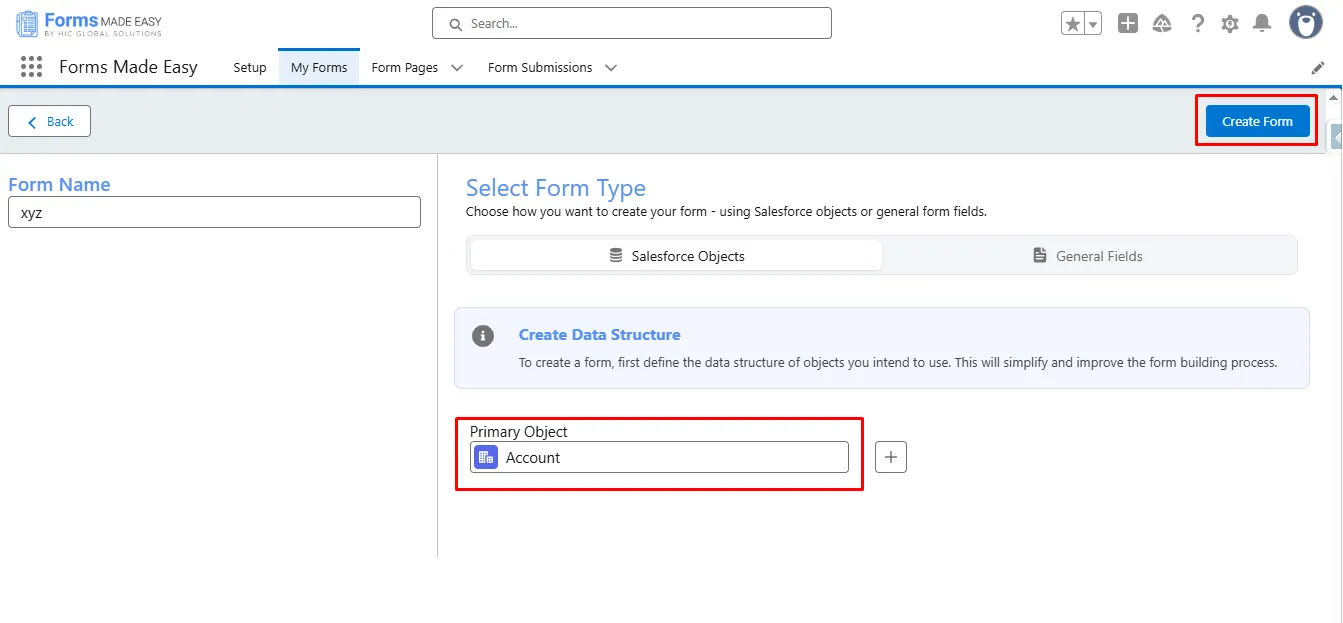
Step 1: Go to the My Forms tab and click on the “Create New Form” button.
Step 2: Enter the form name and select the form type (Salesforce Objects or General Fields).
- Currently, we have chosen the Salesforce Object option.
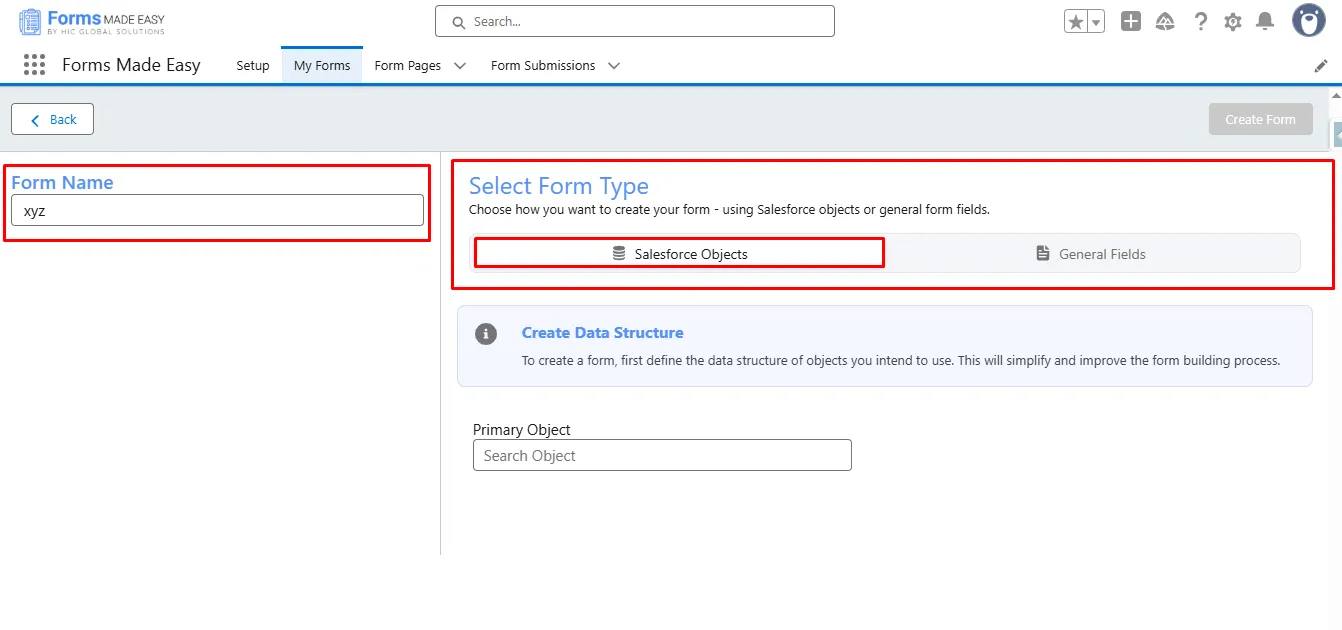
Step 3: Select “Account” as the Primary Object and click the “Create Form“ button.
Step 4: Go to the Object Fields section and click on “Account.”
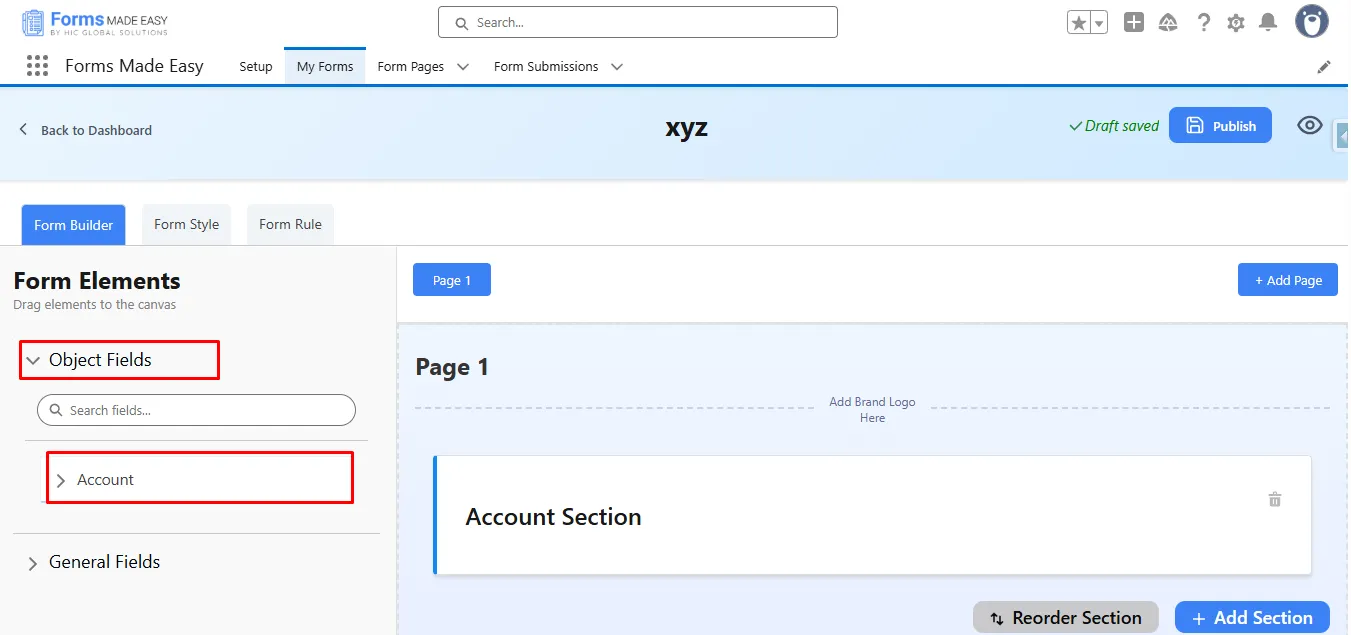
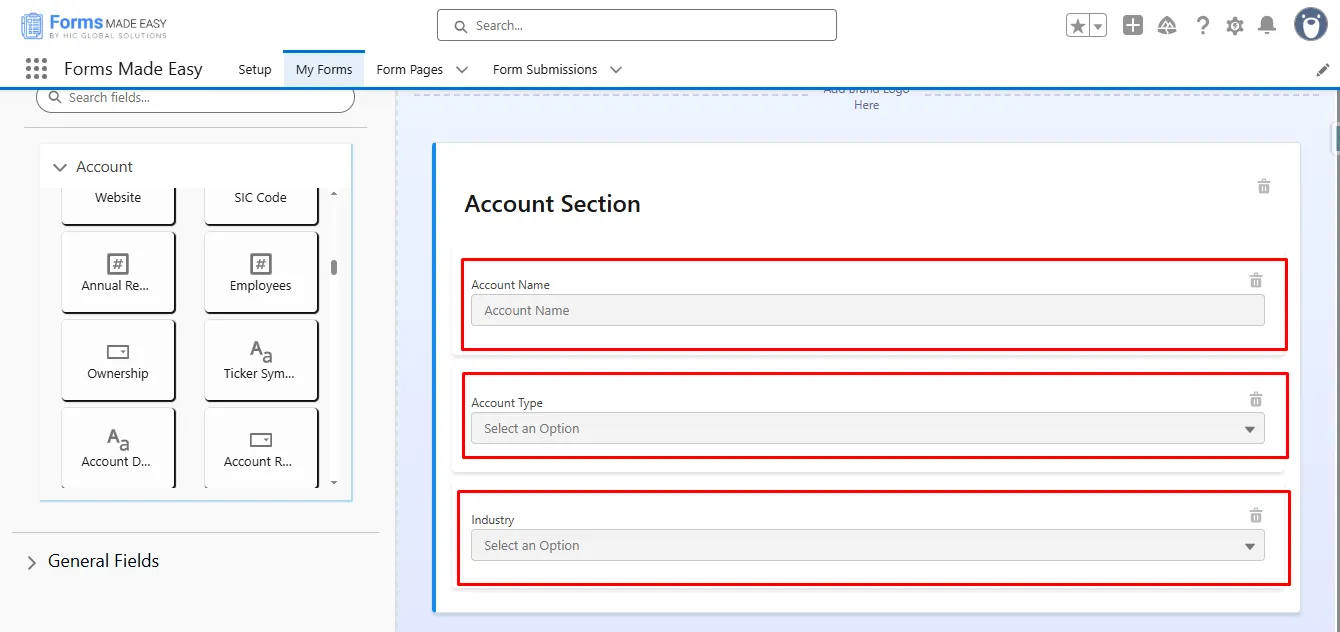
Step 5: Drag and drop your required fields onto the form.
Note: The Account Name field is a mandatory field on the Account Object in Salesforce.
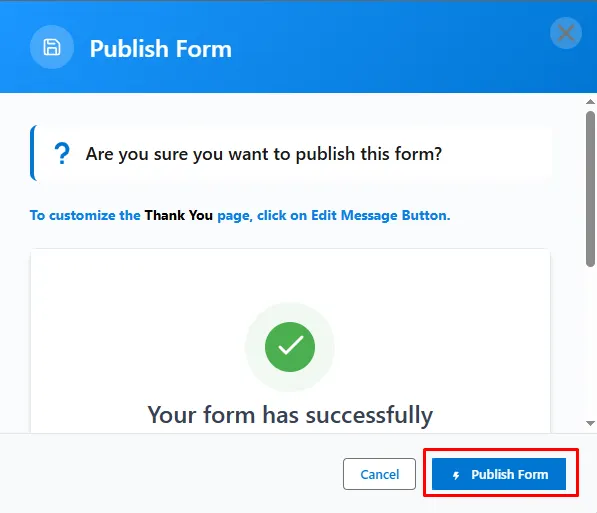
Step 6: After all of that, you can publish the form by clicking the “Publish” button.
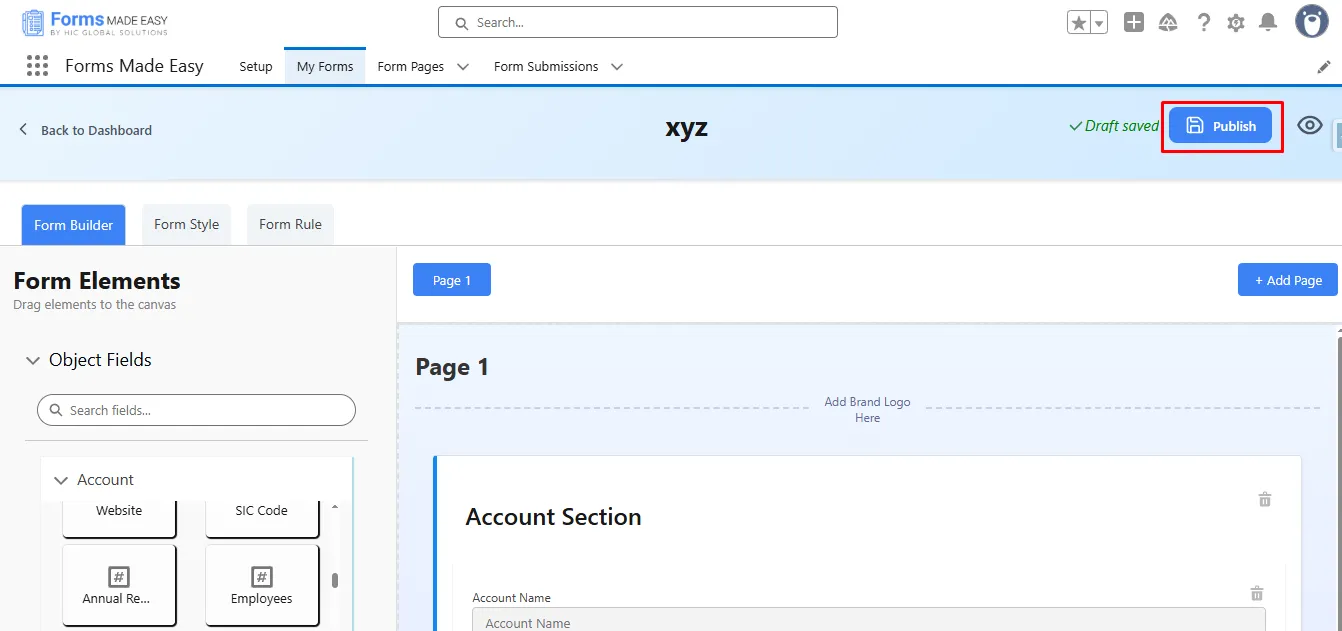
Step 7: Click the “Publish Form” button.
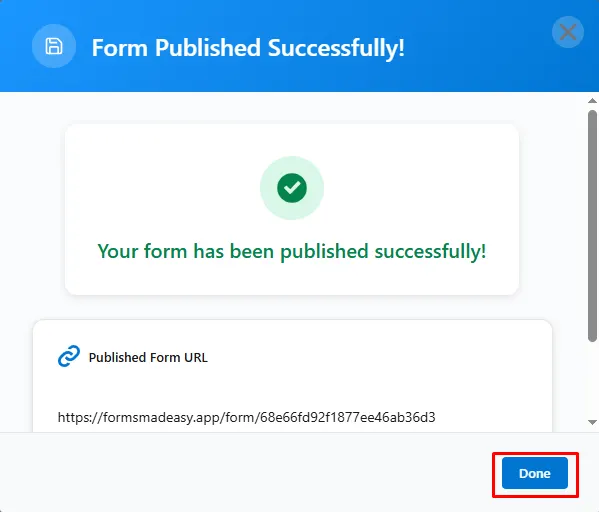
Step 8: Then, click on “Done” to close the modal.
Step 9: Once the form is published, an additional Publish Options tab becomes available. Under this tab, there is a sub-option called Embed. Click on “Embed.”
Note: If the form is already created, click “Edit”, go to Publish Options, and click “Embed.”
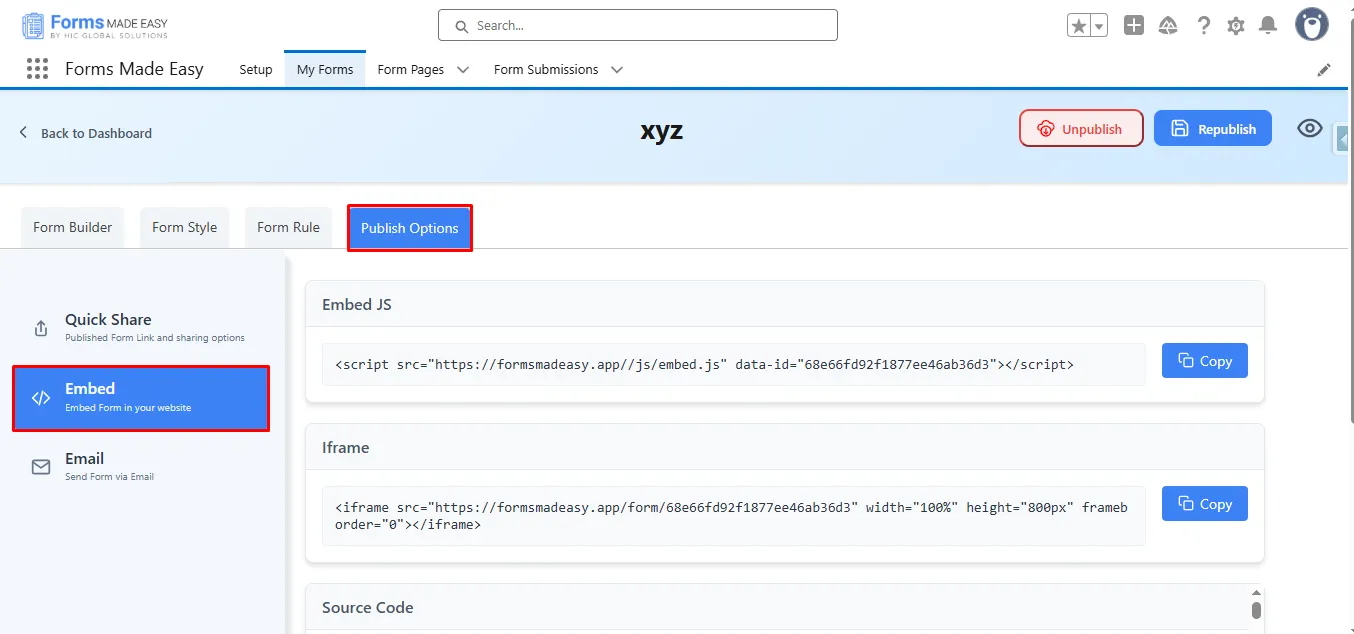
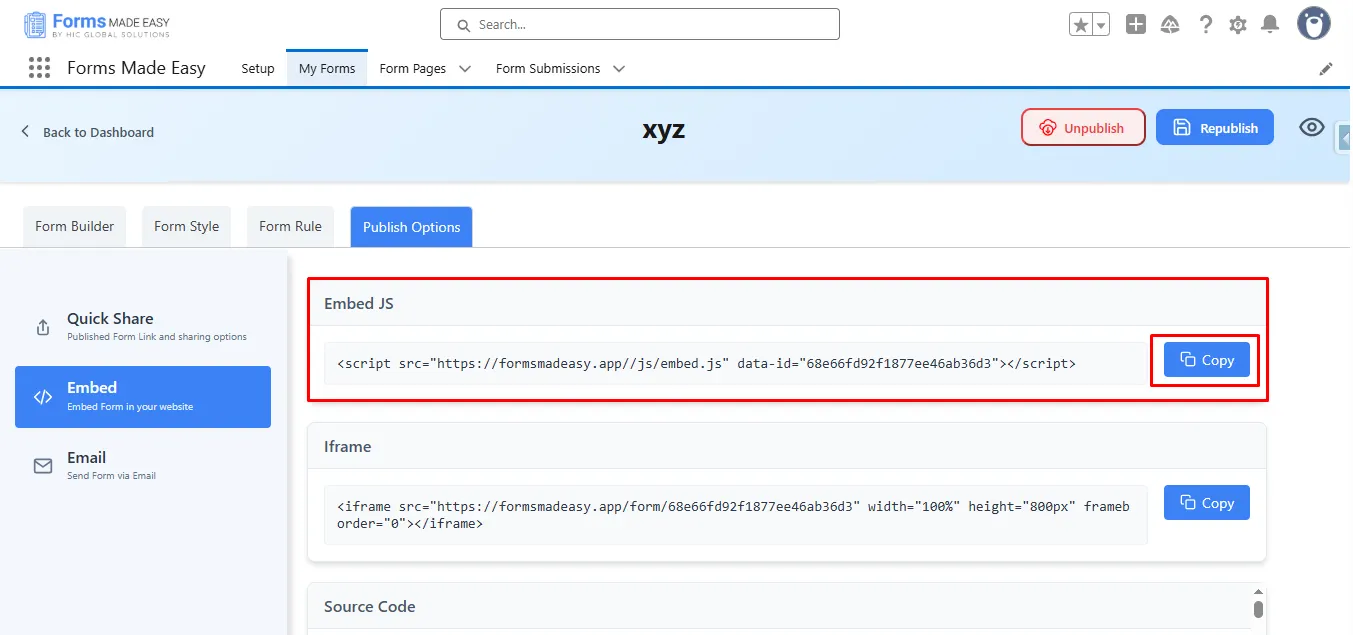
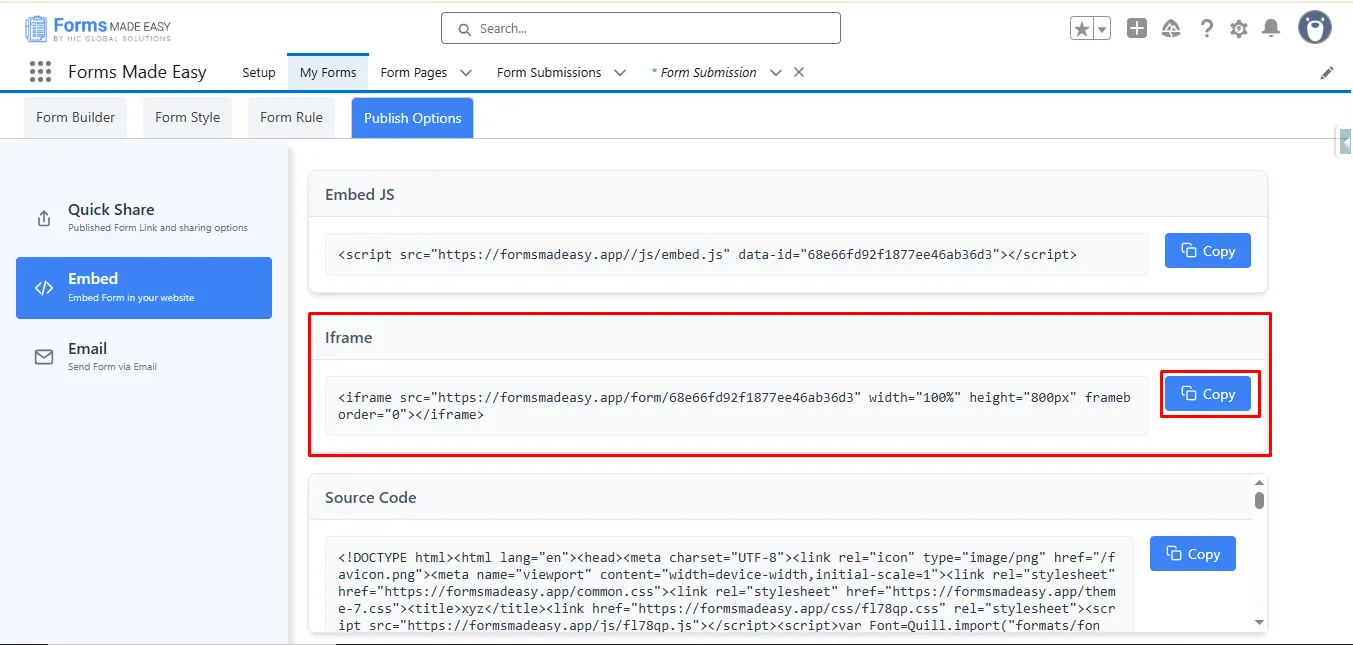
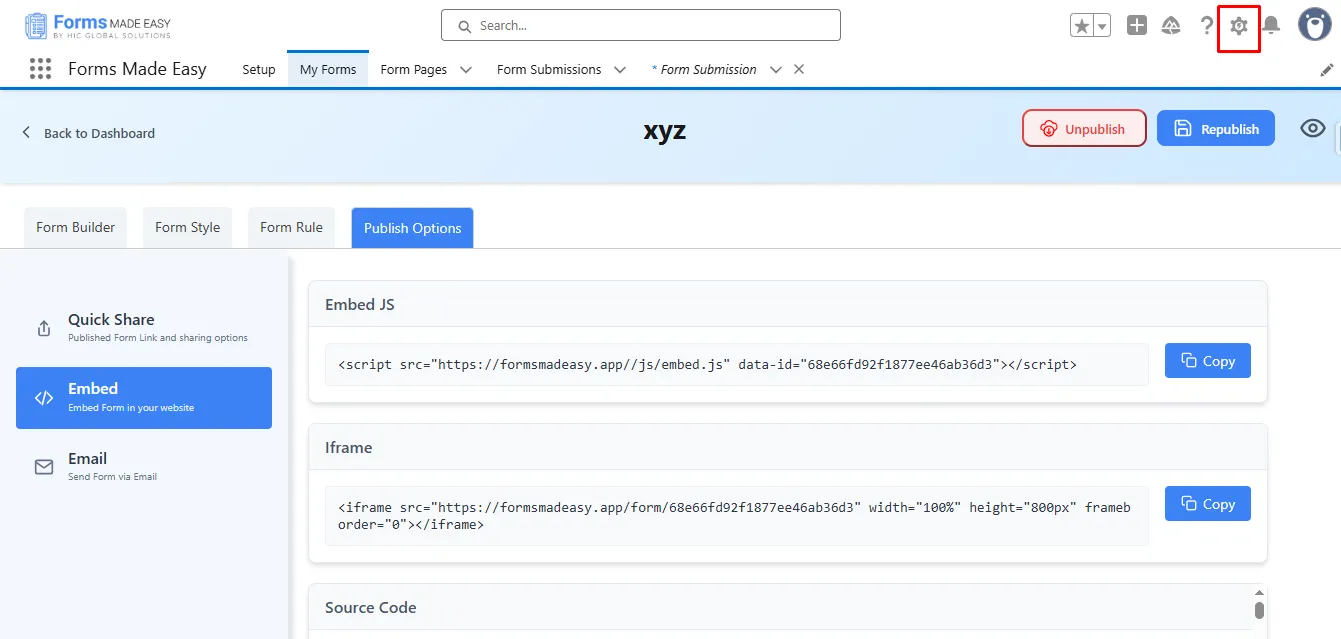
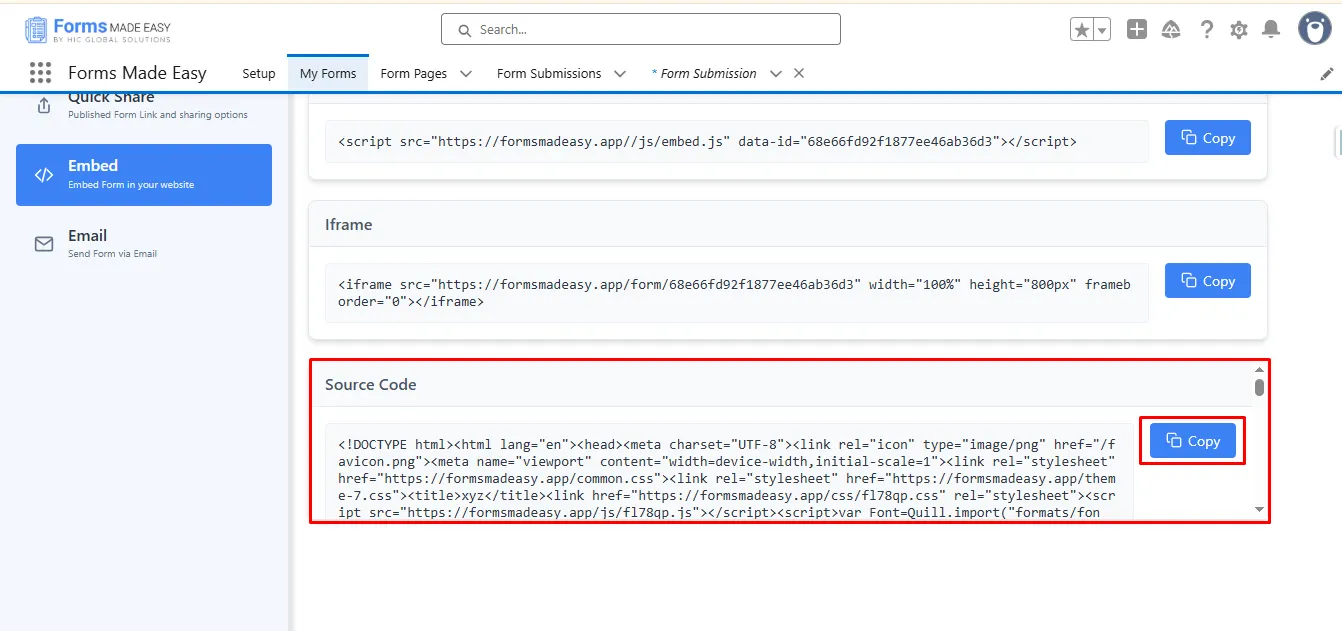
Step 10: Inside the Embed section, you will see three options: Embed JS, Iframe, and Source Code.
- Currently, we have chosen the Embed JS.
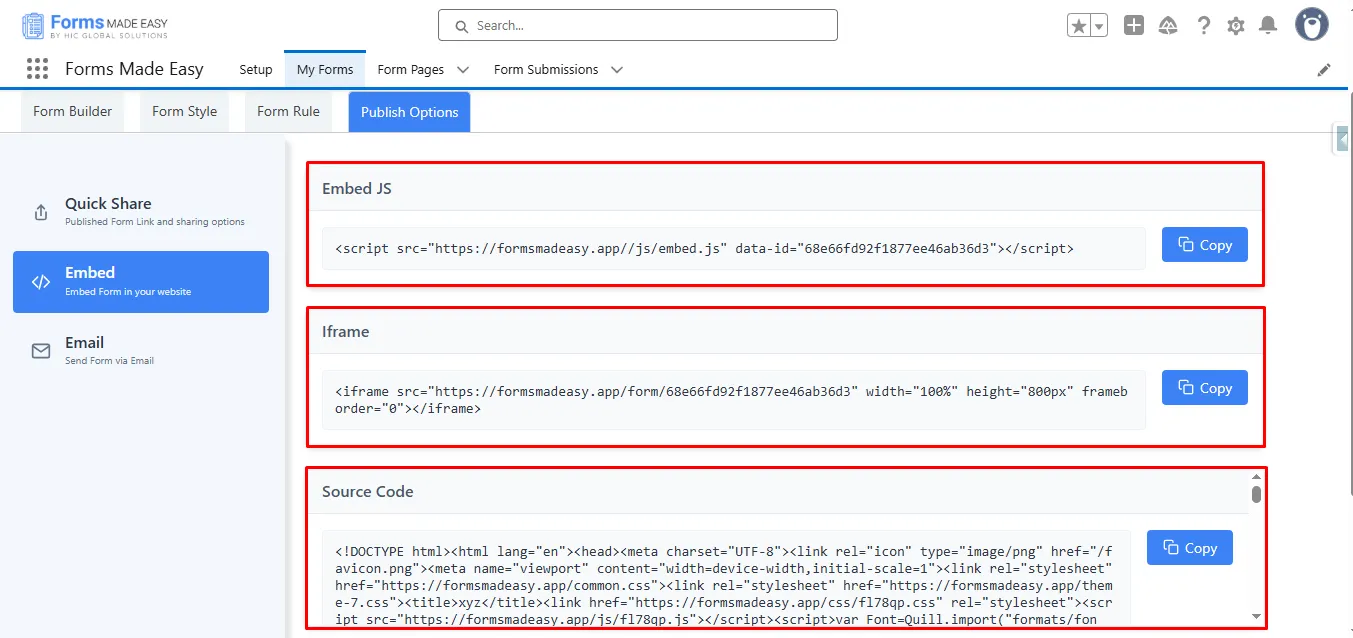
Step 11: For Embed JS, simply click the “Copy” button to copy the embed code.
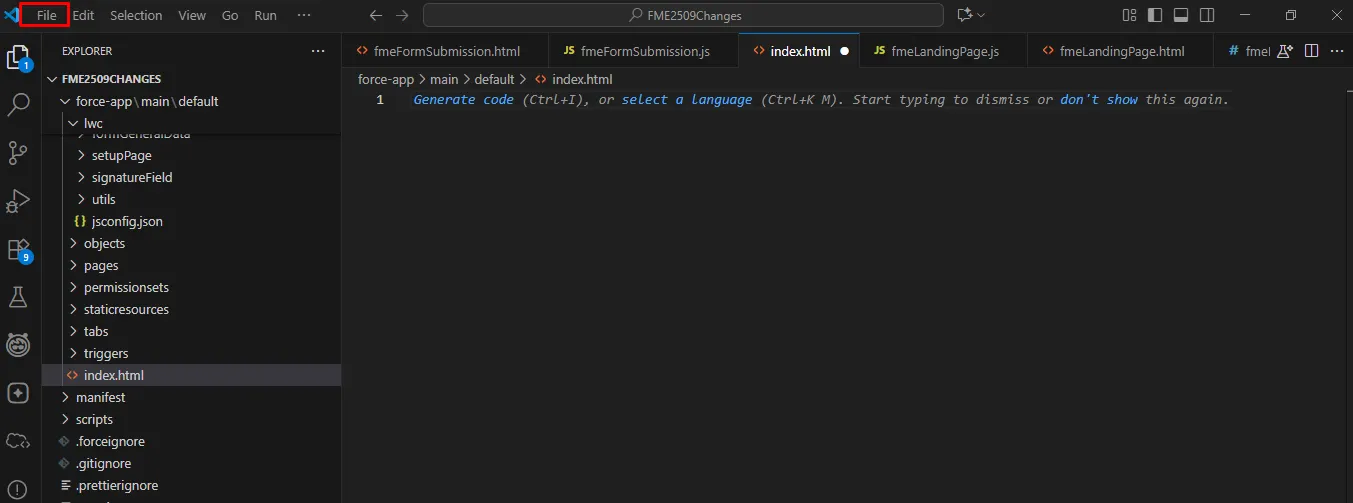
Step 12: Now, open your preferred HTML editor to begin the embedding process. You can choose any online HTML editor that suits your needs, but in my case, we’ll be using VS Code. To get started, open VS Code and click on File in the top menu.
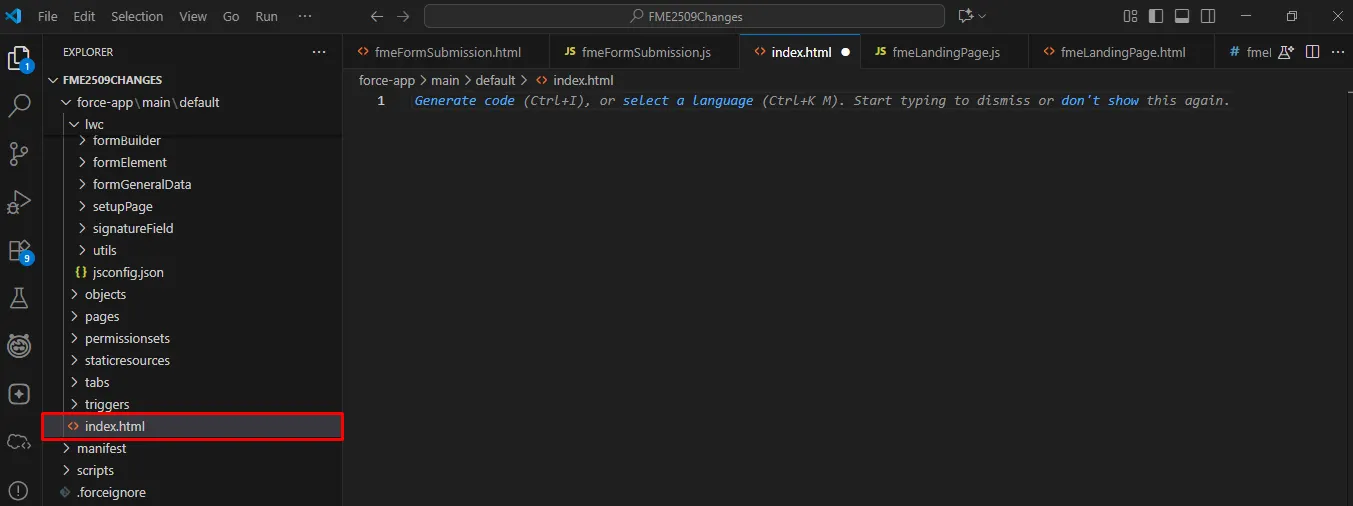
Step 13: Next, click on New File, give it a name, and save it with the .html extension. (E.g., index.html).
Step 14: Inside the newly created .html file, type “!” and press Tab (or Enter) to generate a basic HTML boilerplate template automatically.
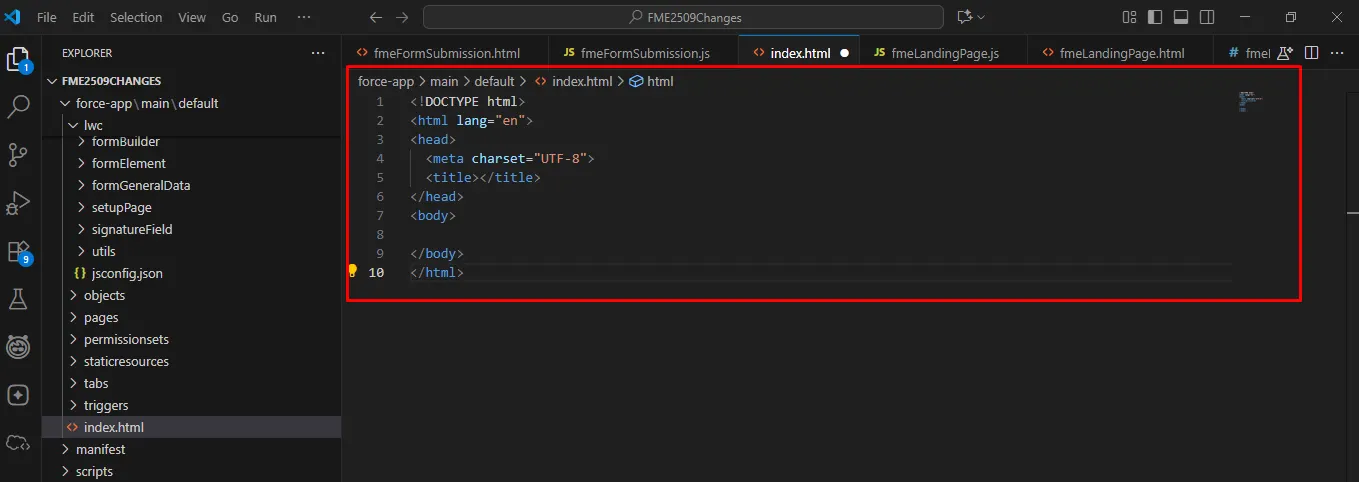
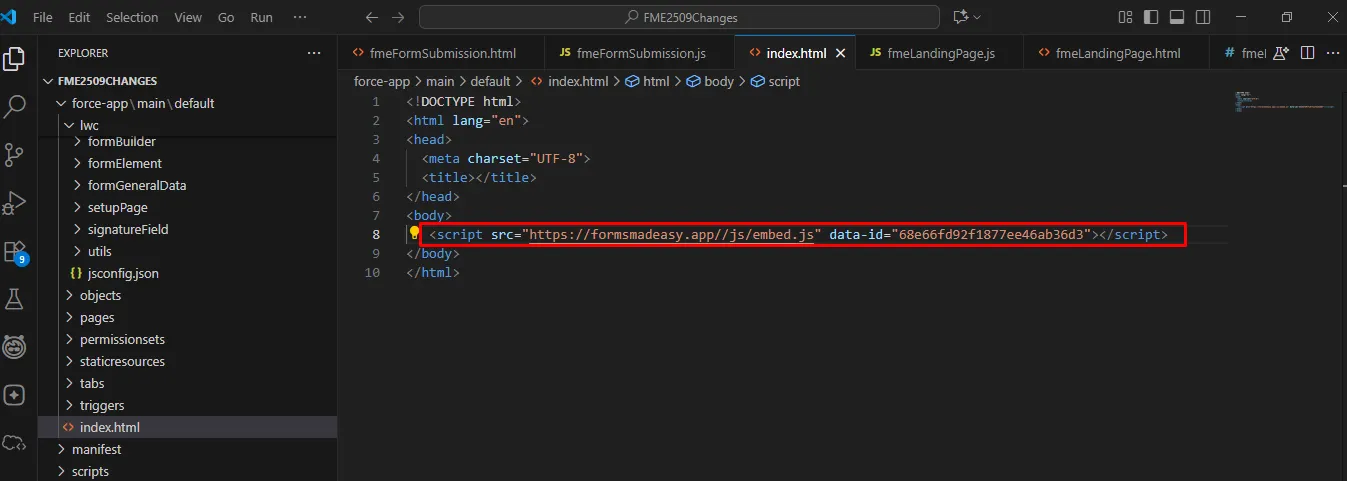
Step 15: Paste the copied Embed JS code inside the <body> tag of your HTML file. Then, save the file to keep your changes. Then, right-click the file in VS Code and choose Open with Live Server to run it in your browser.
Note: Make sure the Live Server extension is installed in VS Code.
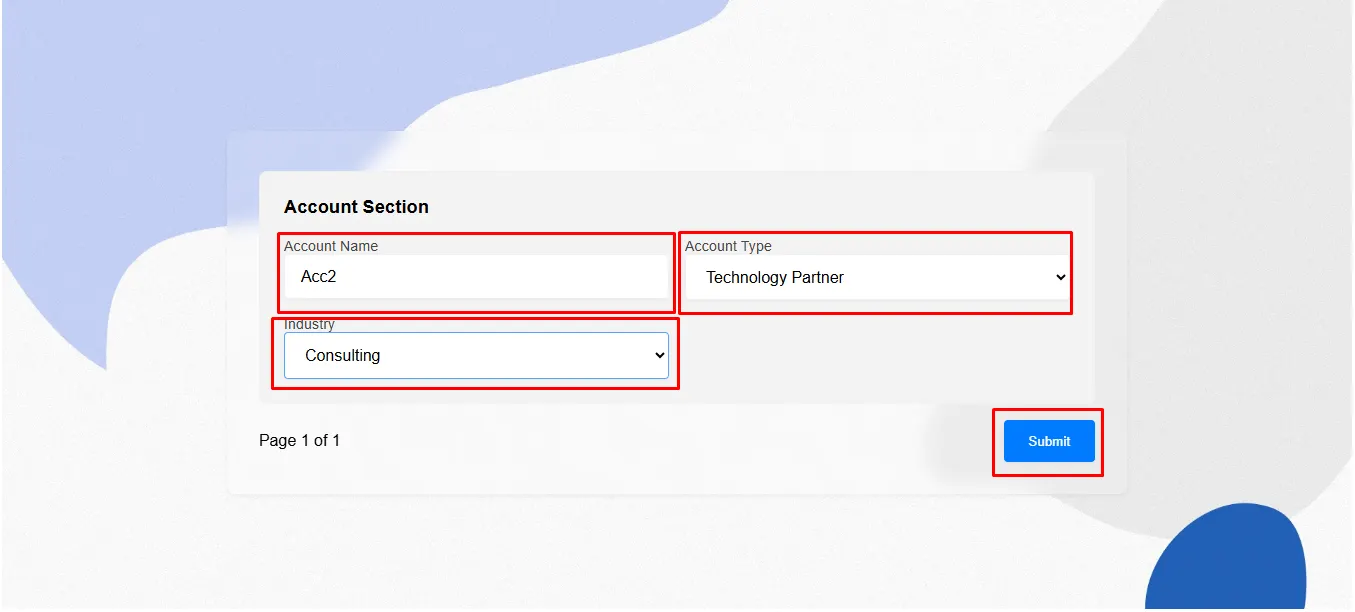
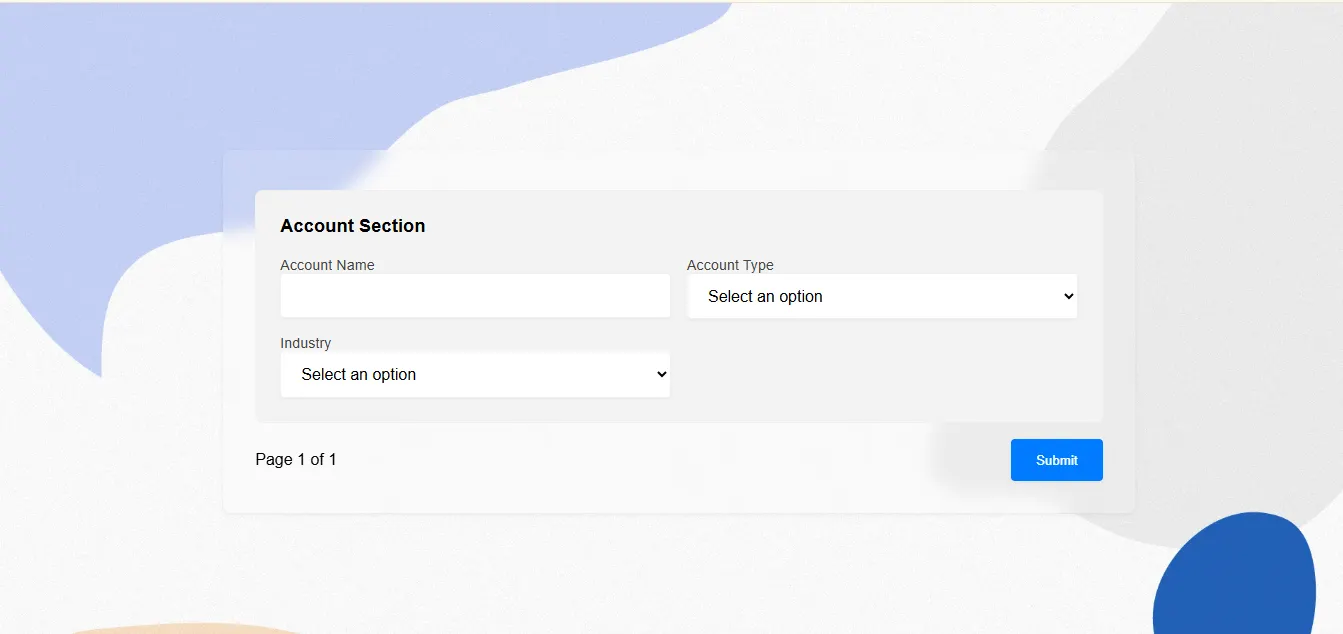
Step 16: Now, the form will open in your browser. Fill in all the details and click the Submit button.
Step 17: Go to the “My Forms” tab and refresh the page.
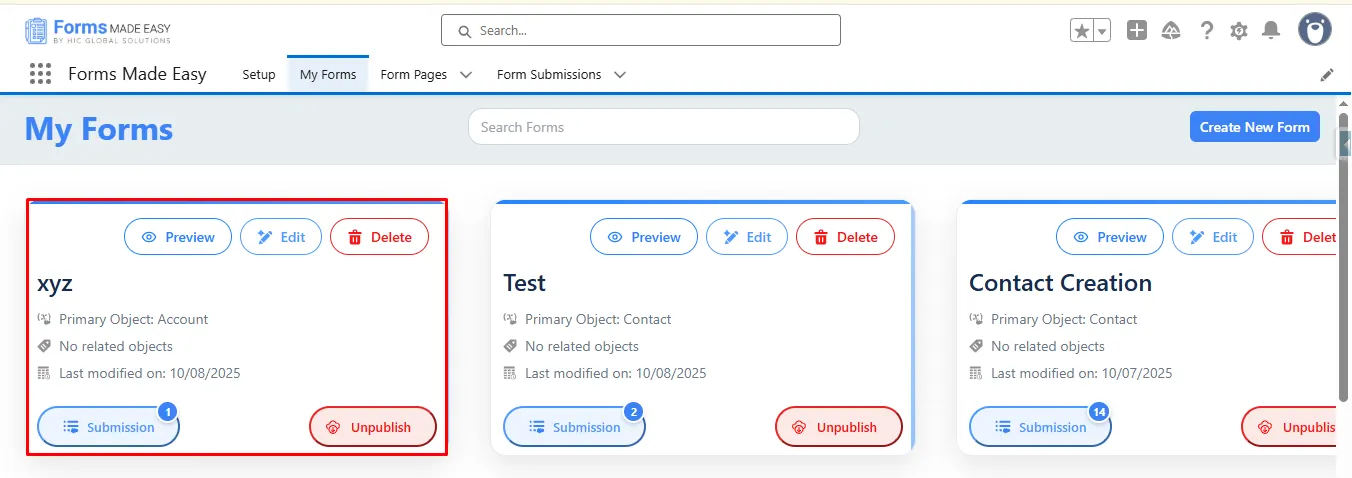
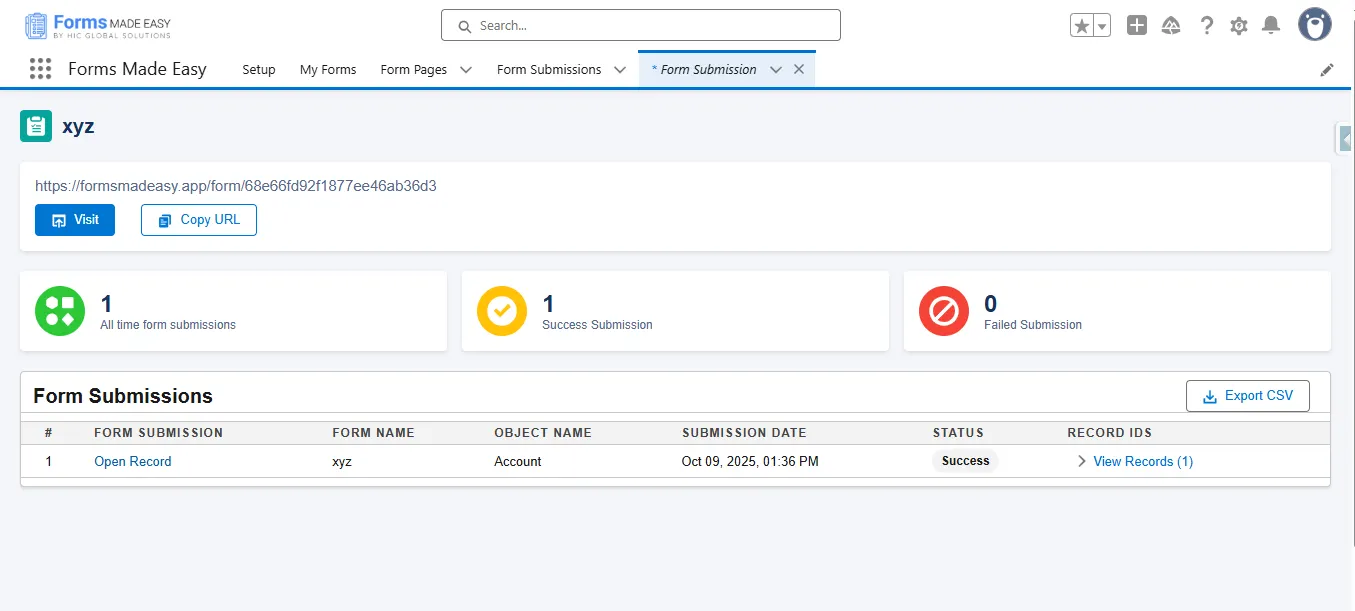
Step 18: Click on the “Submission” button to see the submissions.
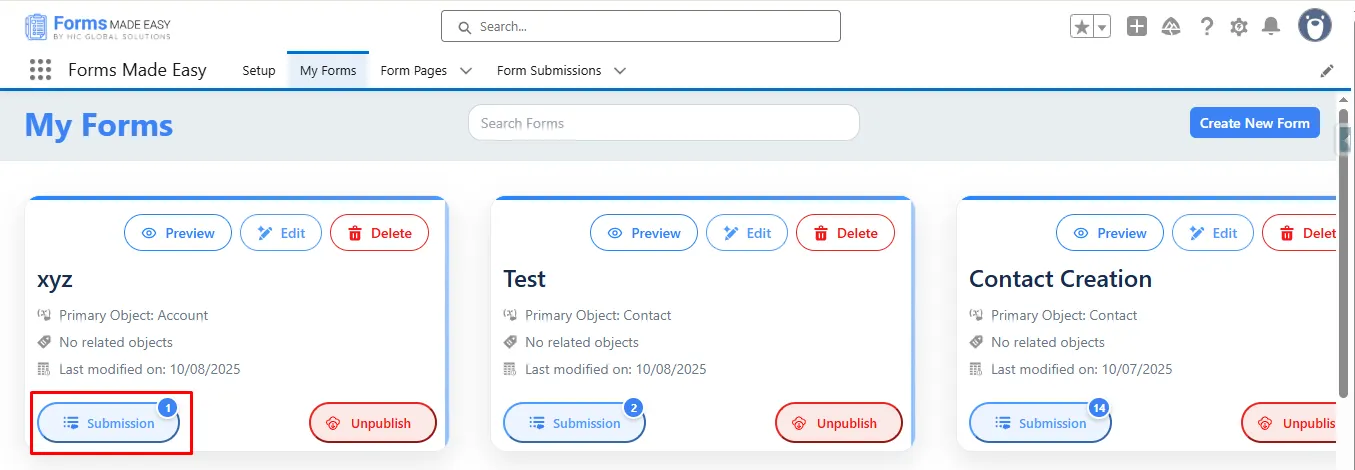
Step 19: Here, all submissions for that form will be displayed.
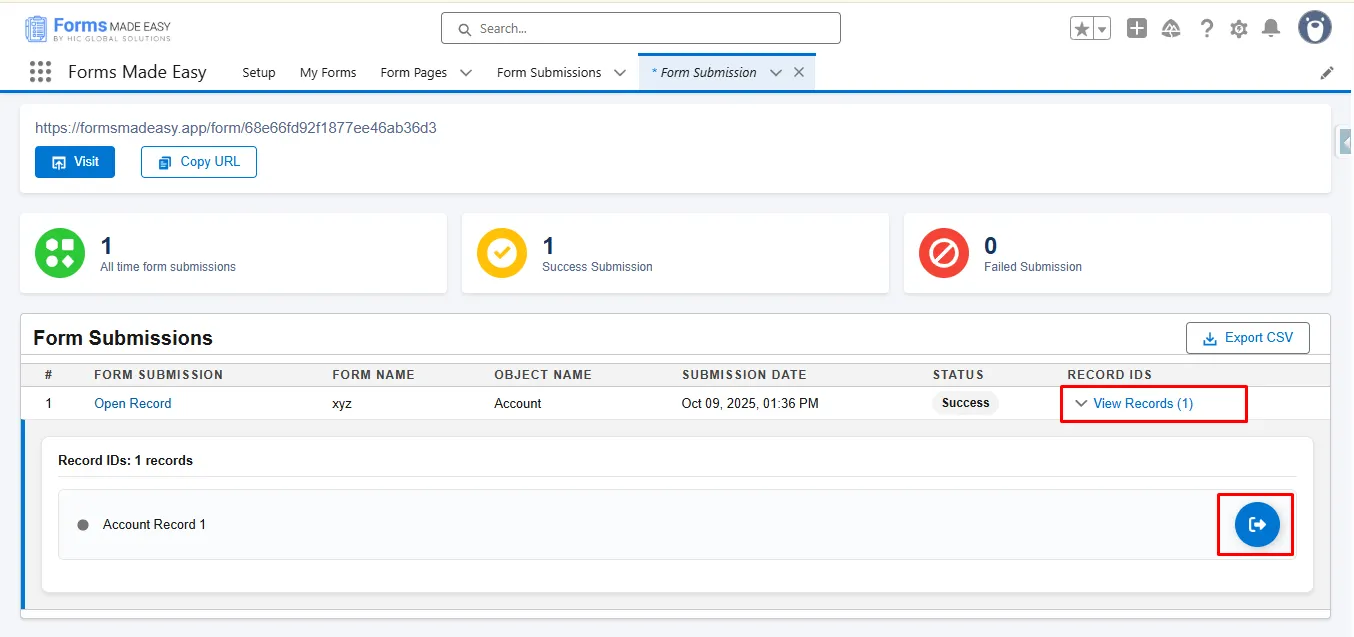
Step 20: Click on View Records, then click the Preview button to see the submitted form data.
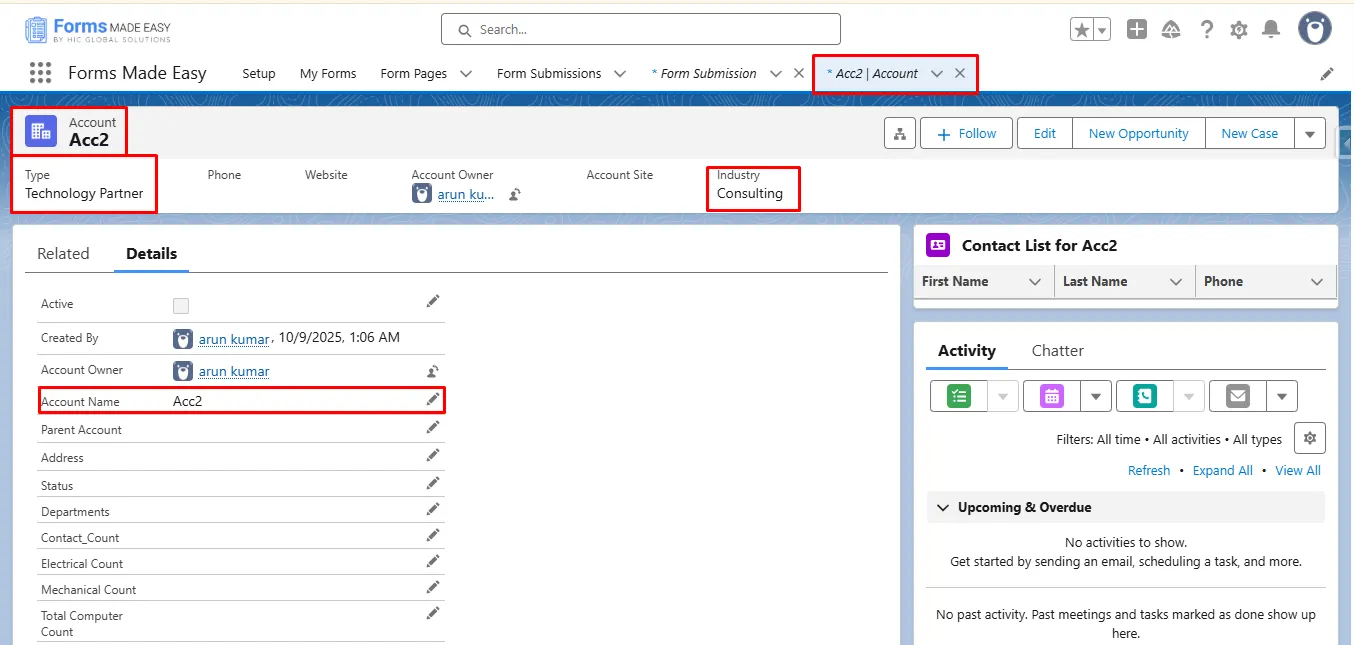
Step 21: The submitted records will now appear under the Account object in Salesforce.
Step 22: Now, for the second (Iframe) option, click the “Copy” button to copy the frame code.
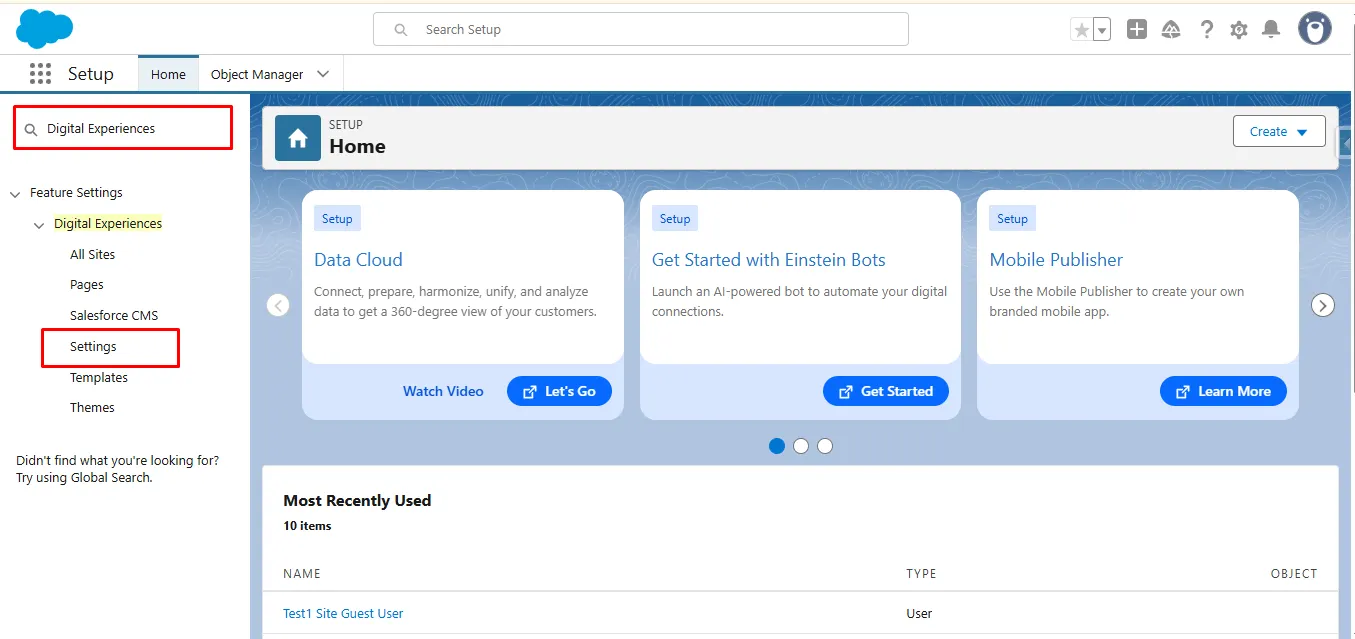
Step 23: For accessing the Iframe code, enable Digital Experiences: First, click on the Setup gear icon in the top right corner.
Step 24: In the Quick Find box, type “Digital Experiences” and select Settings.
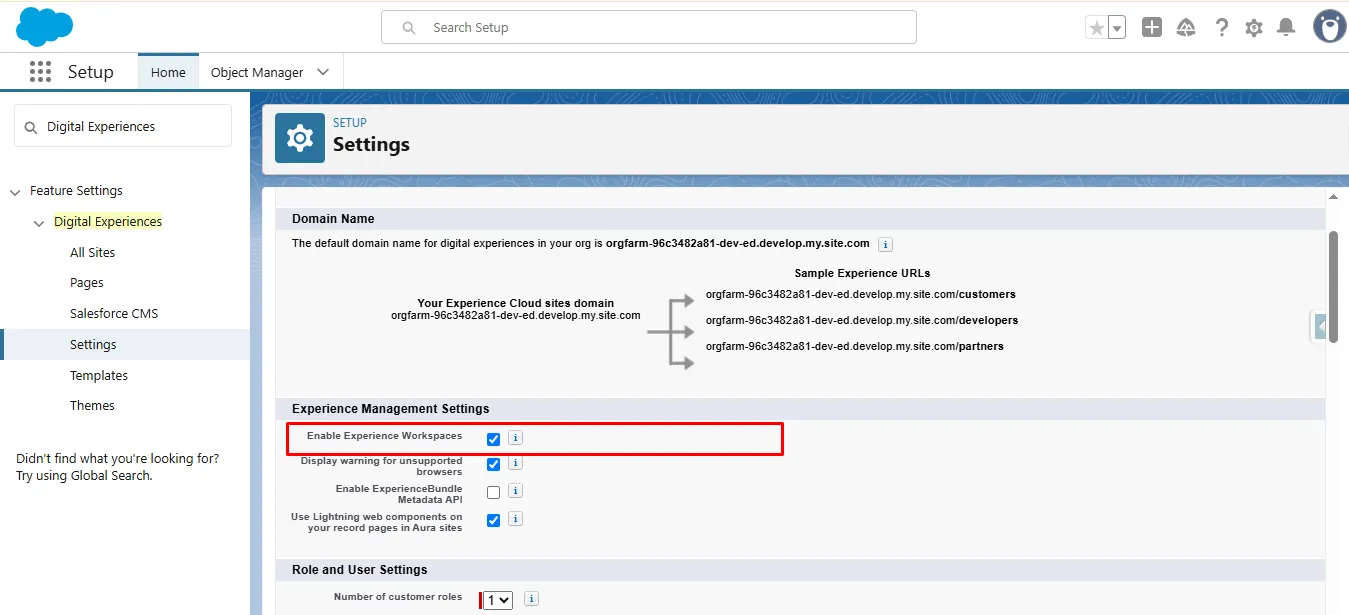
Step 25: Now, click on the Enable Experience Workspaces.
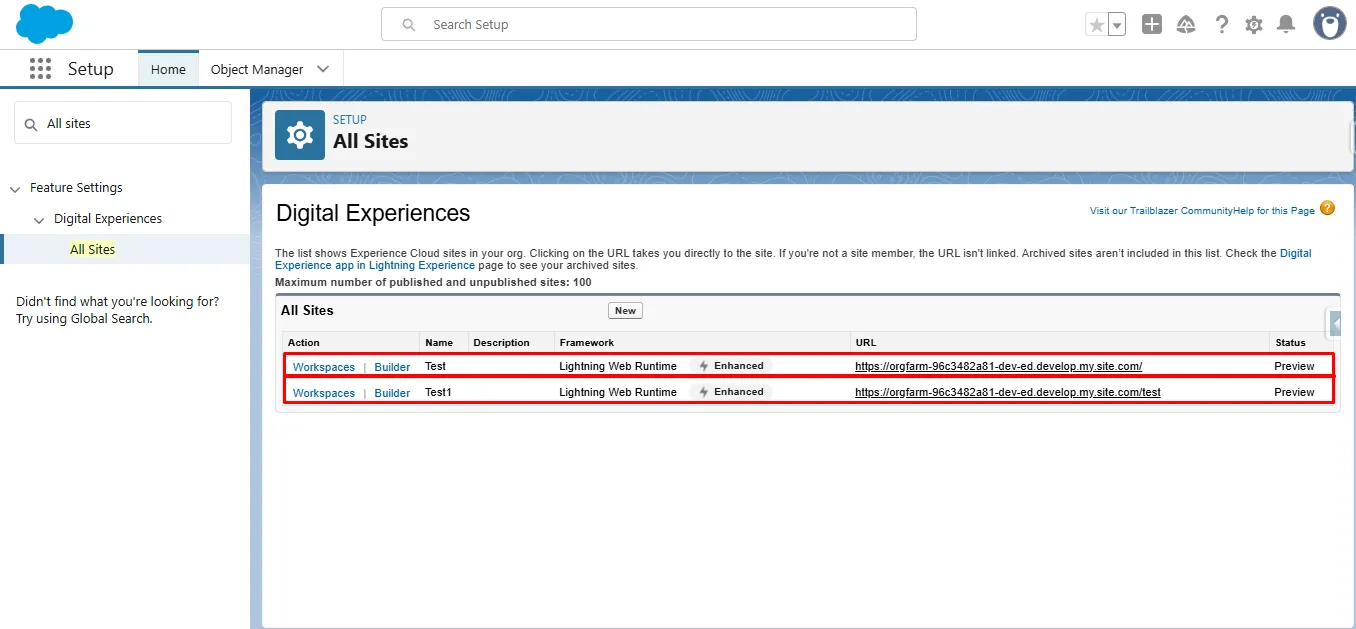
Step 26: After Enabling Experience Workspaces, search for “All Sites” in the Quick Find box. Select it to open the All sites page, where you can manage your sites.
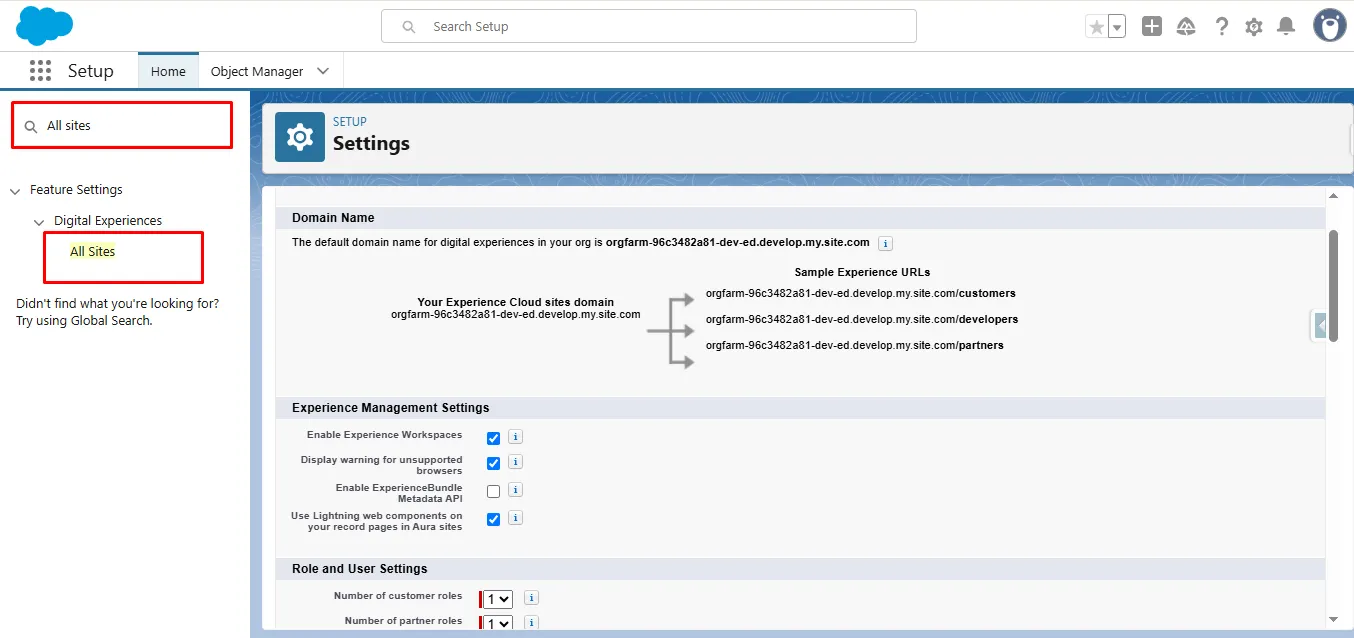
Step 27: On the All Sites page, you’ll see a list of your existing sites. Click on any site to open its builder and manage settings.
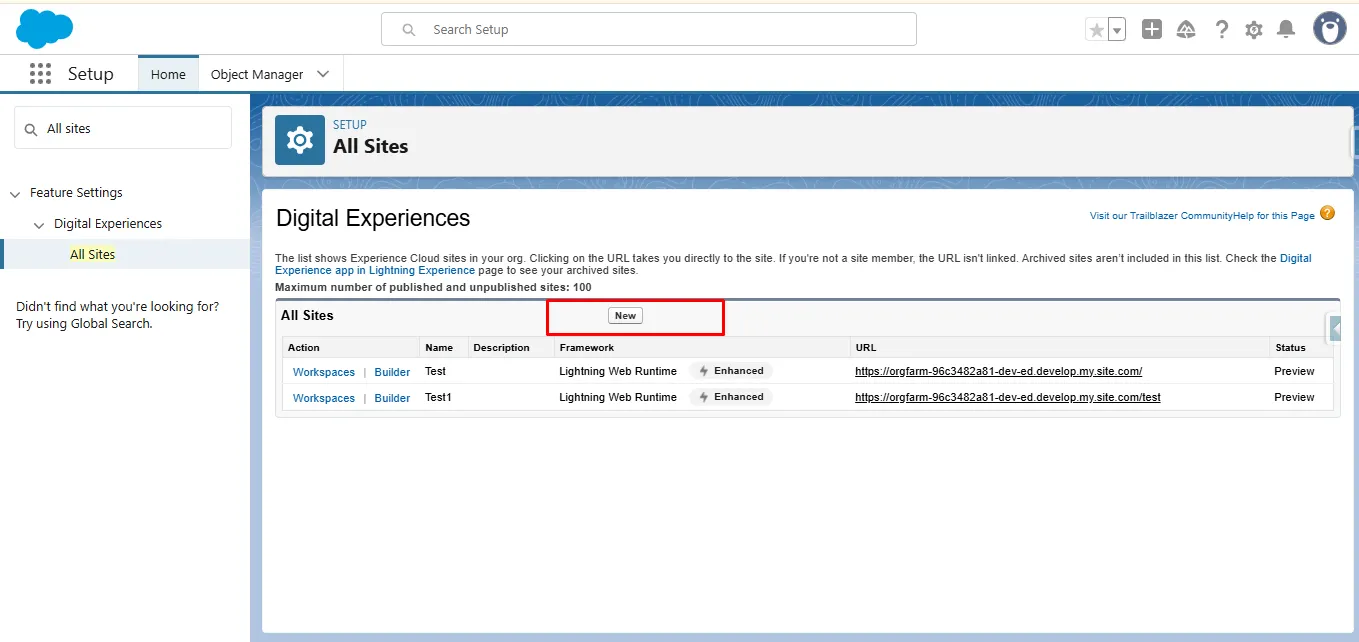
Step 28: To create a new site, simply click the “New” button.
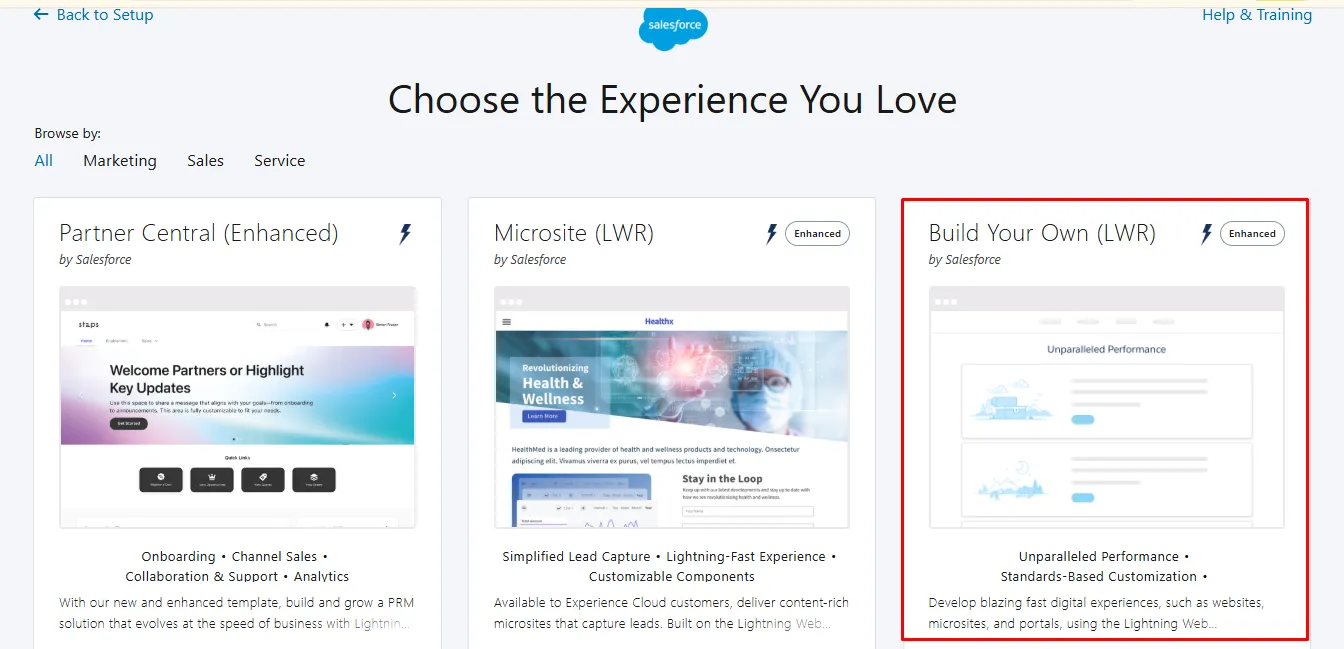
Step 29: Select a template to get started.
Note: In this scenario, we’ll use the ‘Build Your Own (LWR)’ template.
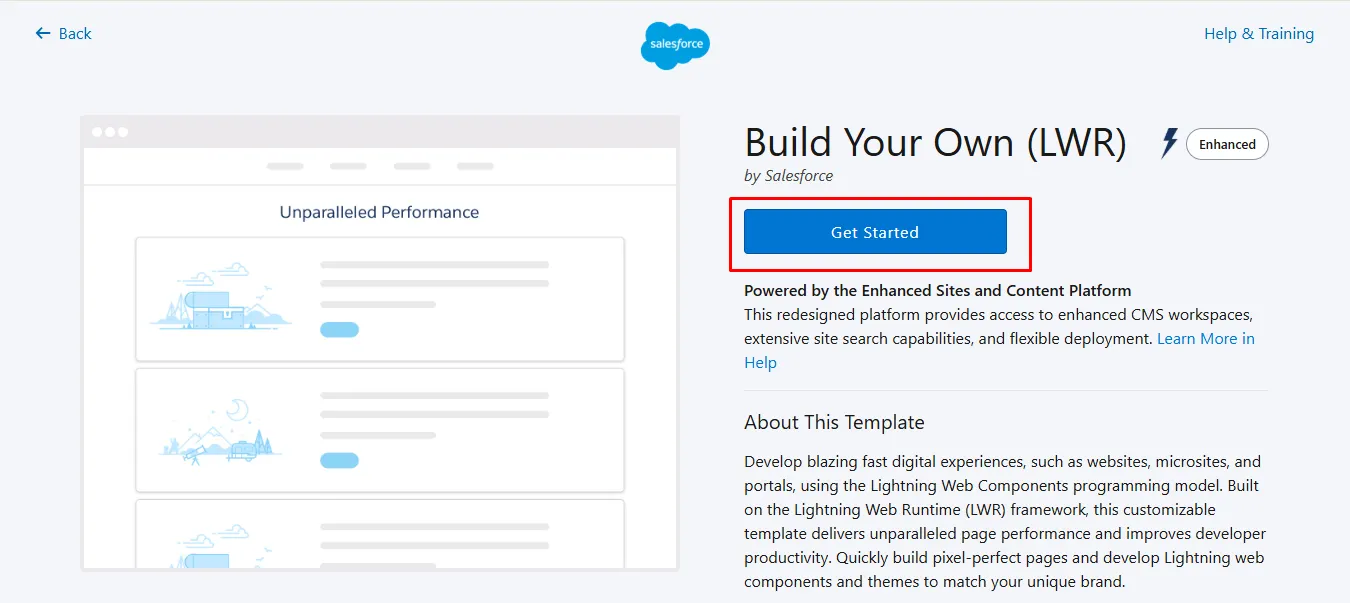
Step 30: Click on the Get Started button.
Step 31: Enter the site Name and URL, then click the Create button.

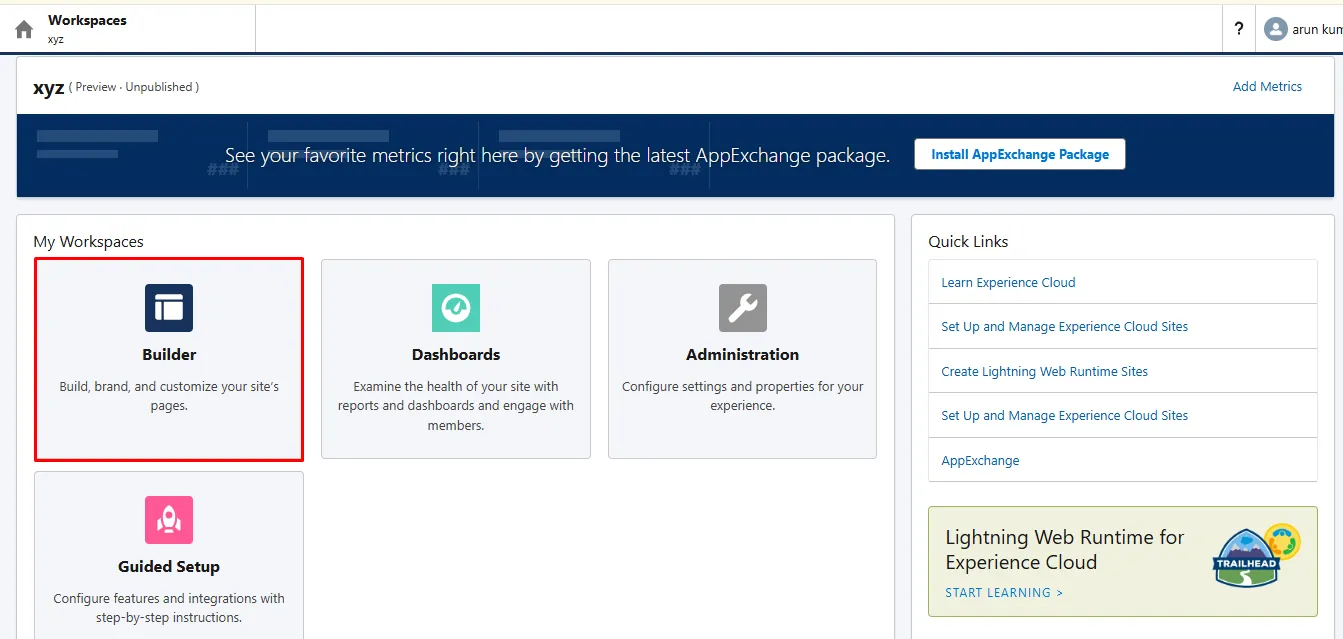
Step 32: Now, click on Builder to start customizing your site.
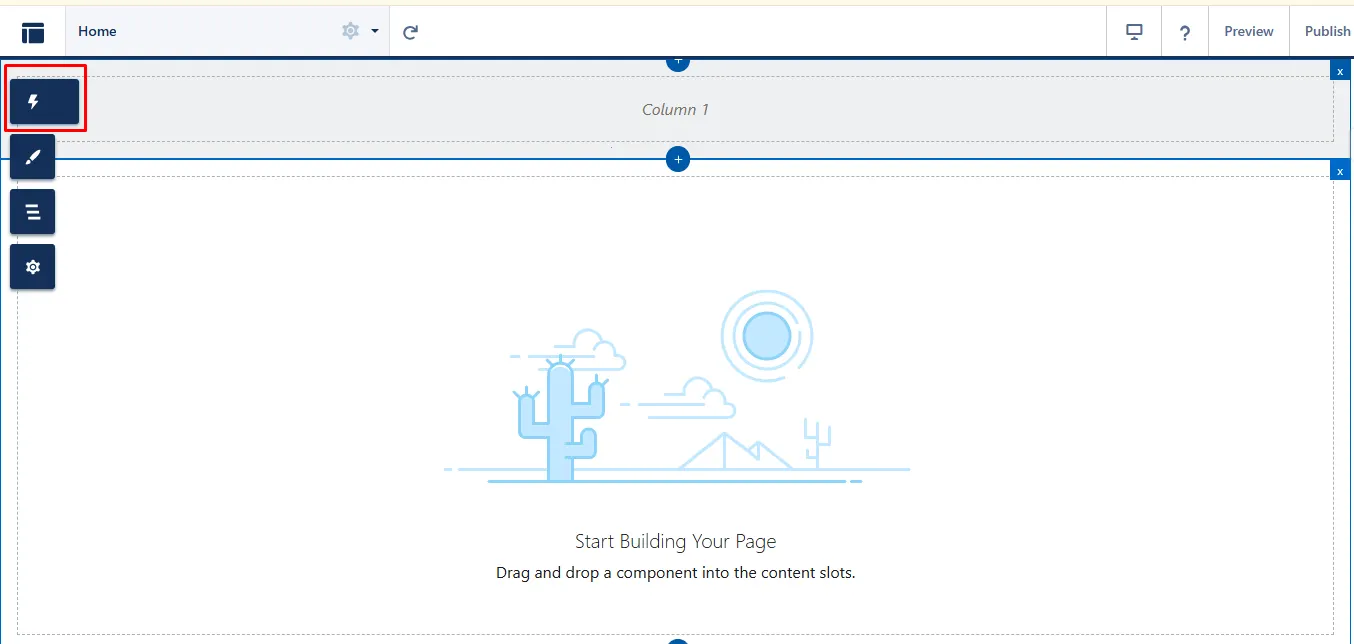
Step 33: Next, click on the Component icon to access the available elements you can add to your site.
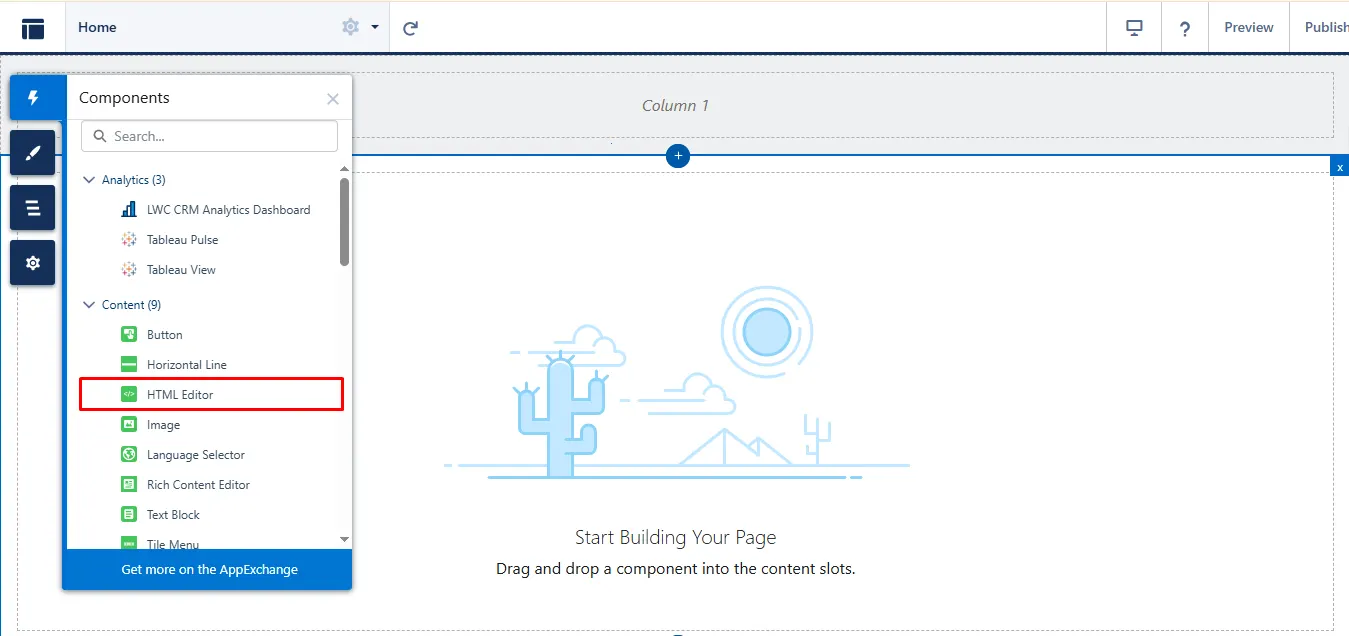
Step 34: Click on the HTML Editor component, then drag and drop it onto your page where you want to add custom code.
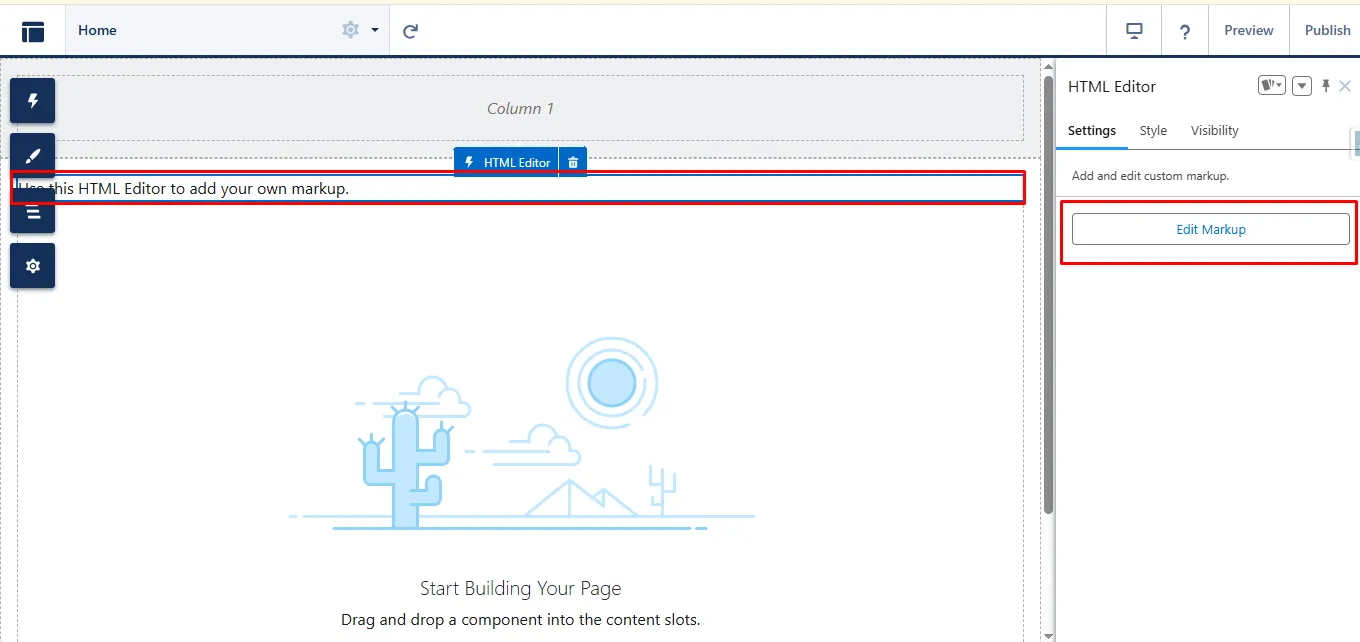
Step 35: Click on Use this HTML Editor to add your own markup, then click Edit Markup to open the editor.
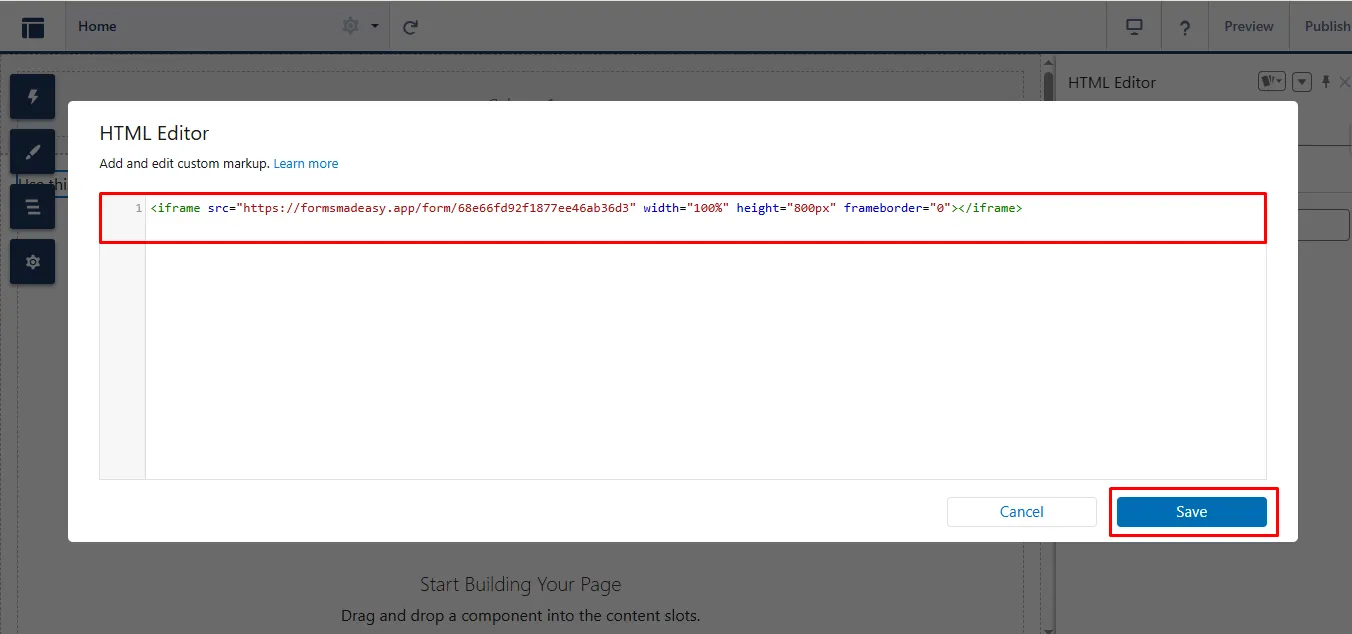
Step 36: Paste the copied Iframe code inside the HTML Editor, then click on the Save button.
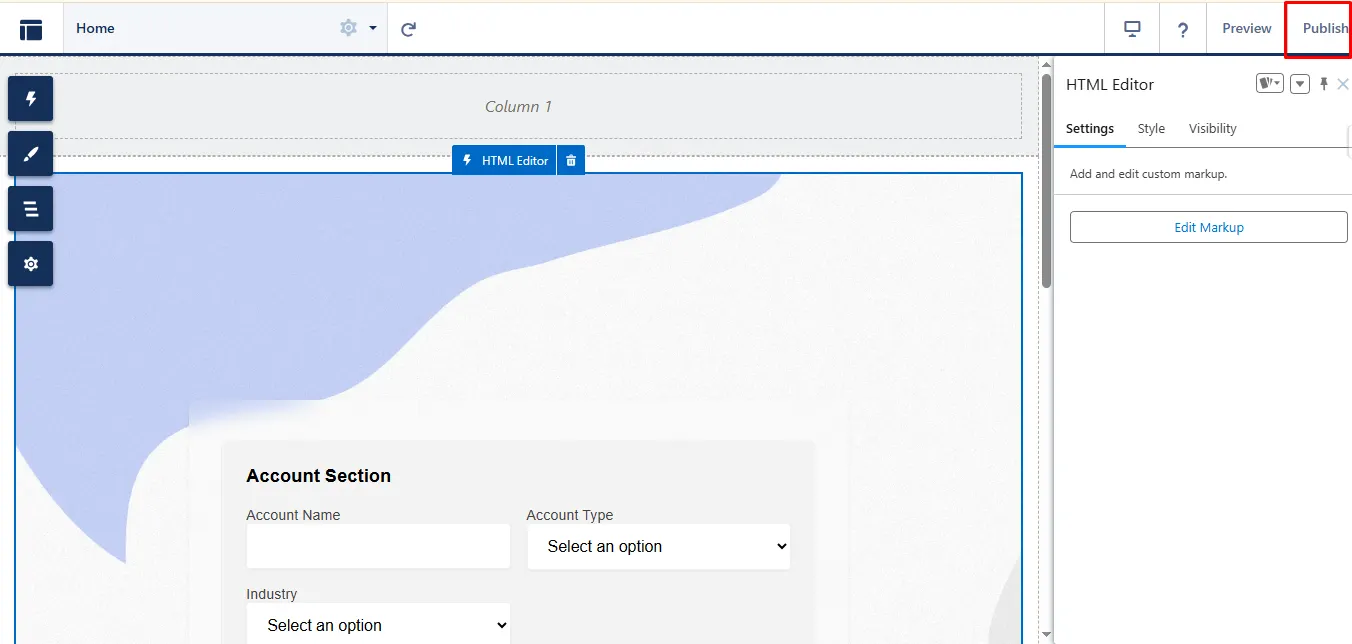
Step 37: Click the Publish button to make your form live.
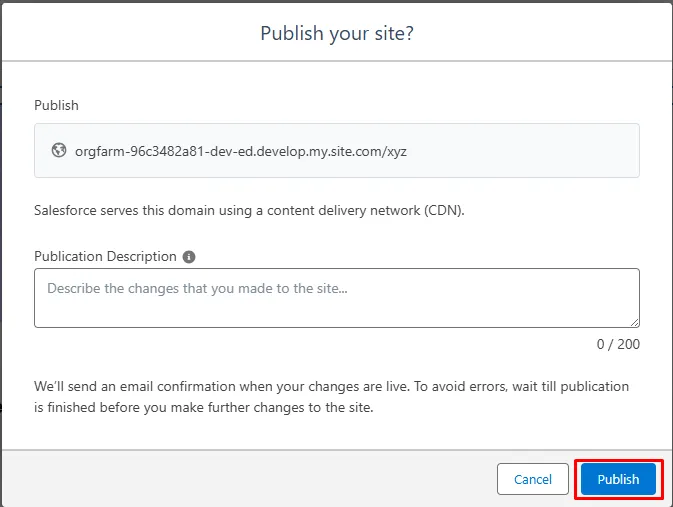
Step 38: Again, click on the Publish button.
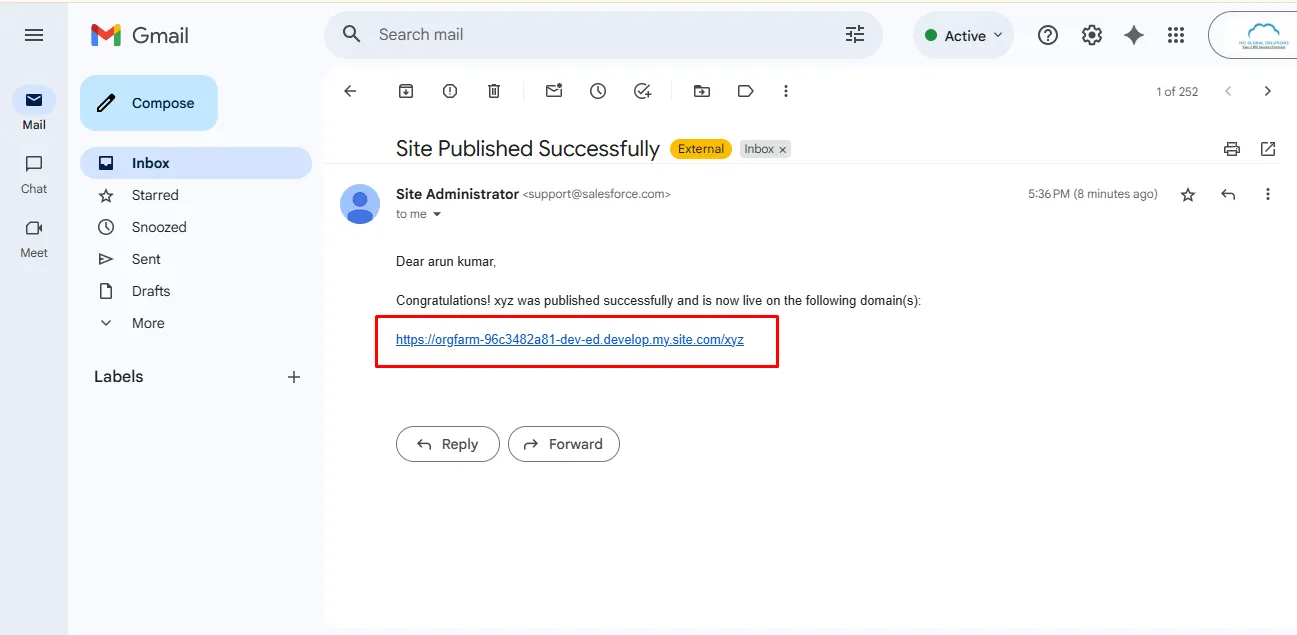
Step 39: After publishing, you will receive an email with the subject ‘Site Published Successfully’. The email will also include the URL to access your live form.
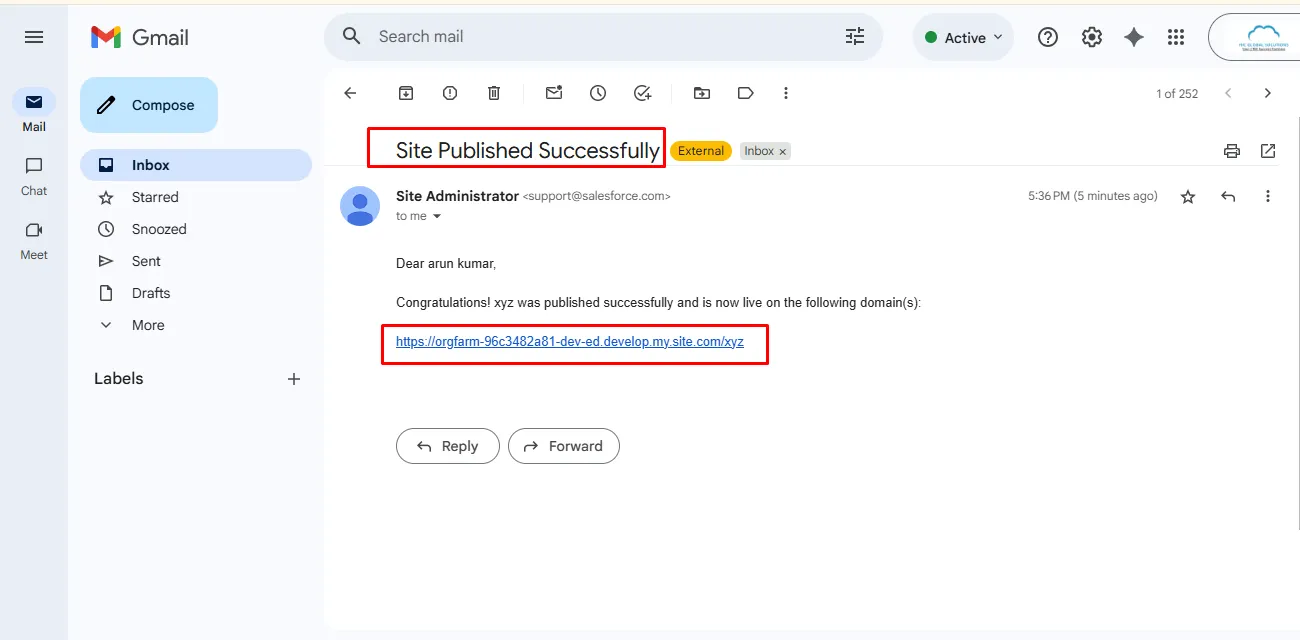
Step 40: Click on the live URL in the email to open and view your published form.
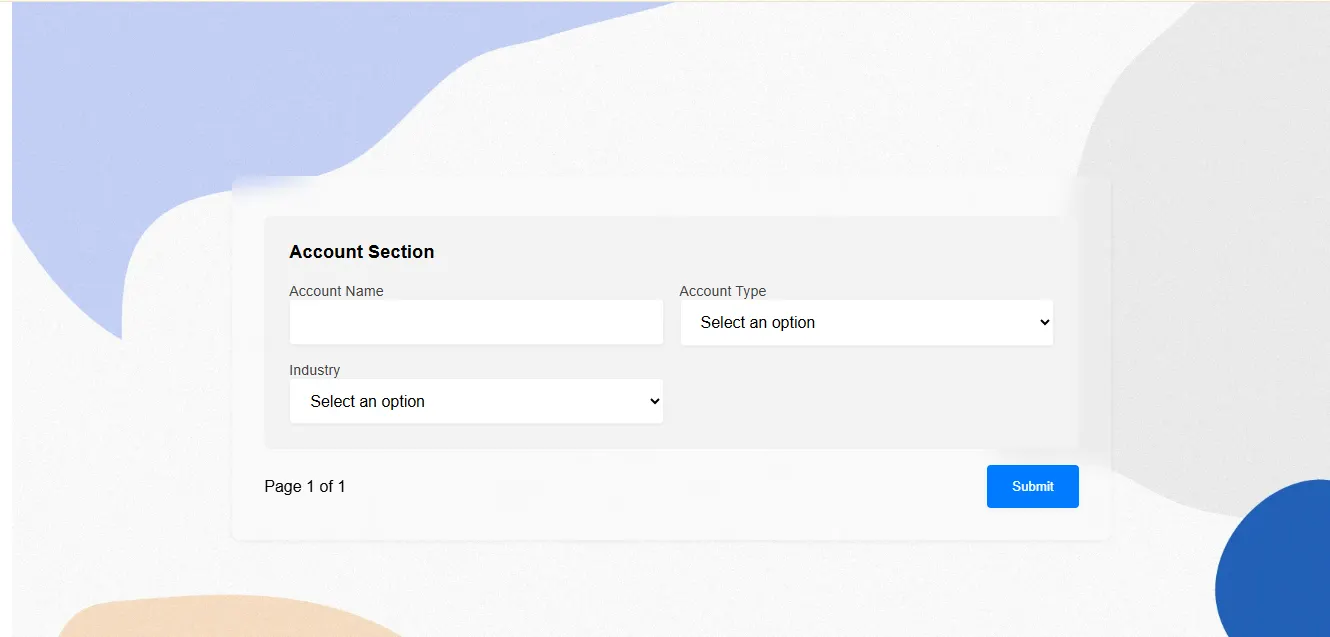
Step 41: The form will now open in your browser, ready for use.
Step 42: Now, for the third (Source Code) option, click the “Copy” button to copy the Source Code.
Step 43: Now, open VS Code and navigate to your HTML file. Paste the copied Source Code into the file, save it, and then open the HTML file using Live Server to preview it in your browser.
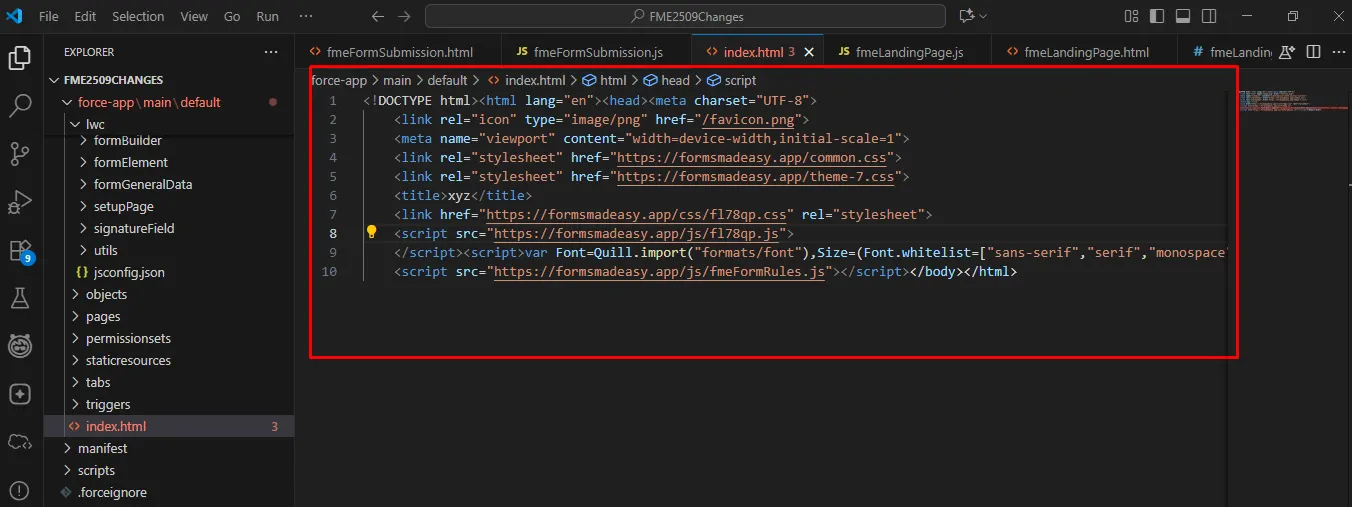
Step 44: The form will now be displayed in your browser.
Conclusion
Embedding forms becomes straightforward with Salesforce form solutions, giving you flexible options for any implementation need. The no-code form builder flow helps you integrate forms quickly, while developers can take advantage of customizable embed scripts or source code. No matter which approach you choose, these Salesforce form builder solutions ensure a smooth, efficient way to display your form on external sites or applications.