

Turn Forms Into Automated Workflows
Design dynamic forms, streamline operations, and eliminate repetitive manual tasks — all without code.
Talk to Our ExpertsBuild Smarter Forms Faster
Create no-code forms inside Salesforce and automate data collection, approvals, and workflows without complexity.
Get StartedSimplify Your Form Workflows
Replace manual processes with intelligent forms that capture, route, and manage data seamlessly in Salesforce.
Book a DemoIf you regularly work with Salesforce forms, you probably know how helpful it is when a form is already filled with existing data. A prefill form saves time, avoids manual entry mistakes, and makes updates much easier, especially when working with related records like parent and child objects.
In this step-by-step guide, we’ll walk through how to create a parent–child prefill form in Salesforce using Forms Made Easy, and how you can update a child record while keeping the parent record visible.
For this example:
- Account → Parent Object
- Contact → Child Object
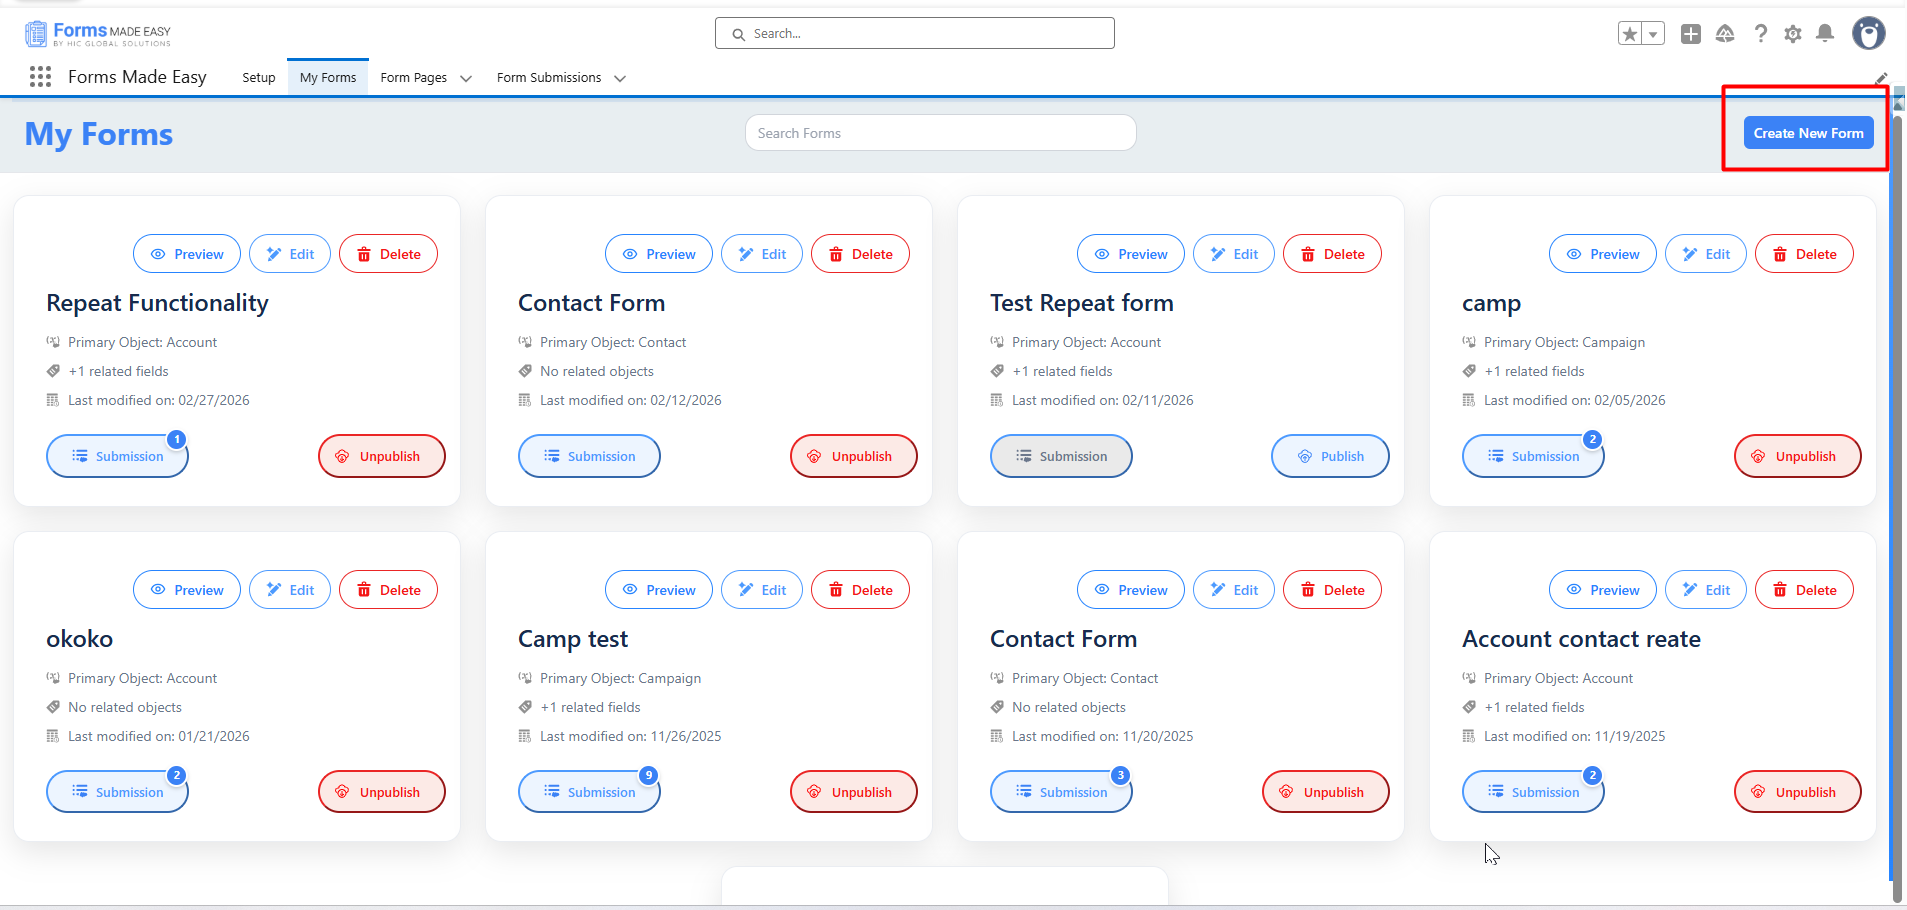
Step 1: Click on the My Forms tab, then click on Create New Form in the top right corner.
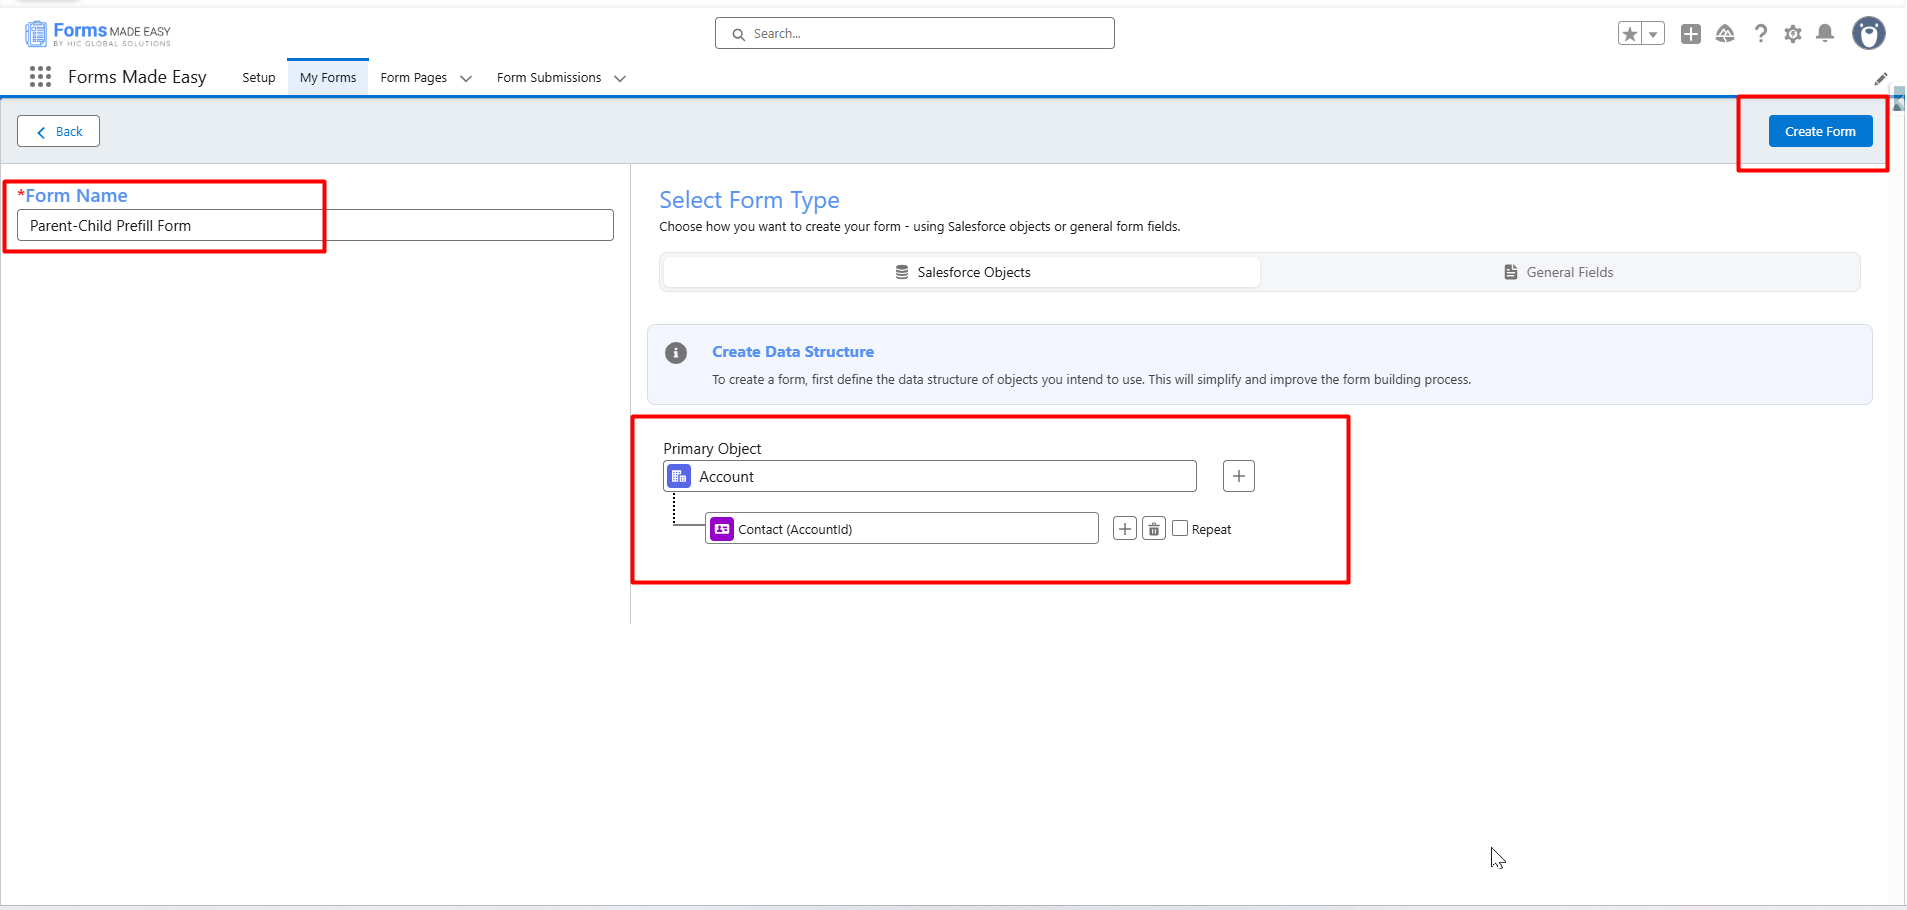
Step 2: Enter the Form Name, select Account as the Primary Object and Contact as the Secondary Object, and click on Create Form.
Step 3: Next, drag and drop the fields you want to display on the form. Add the required fields from both Account and Contact.
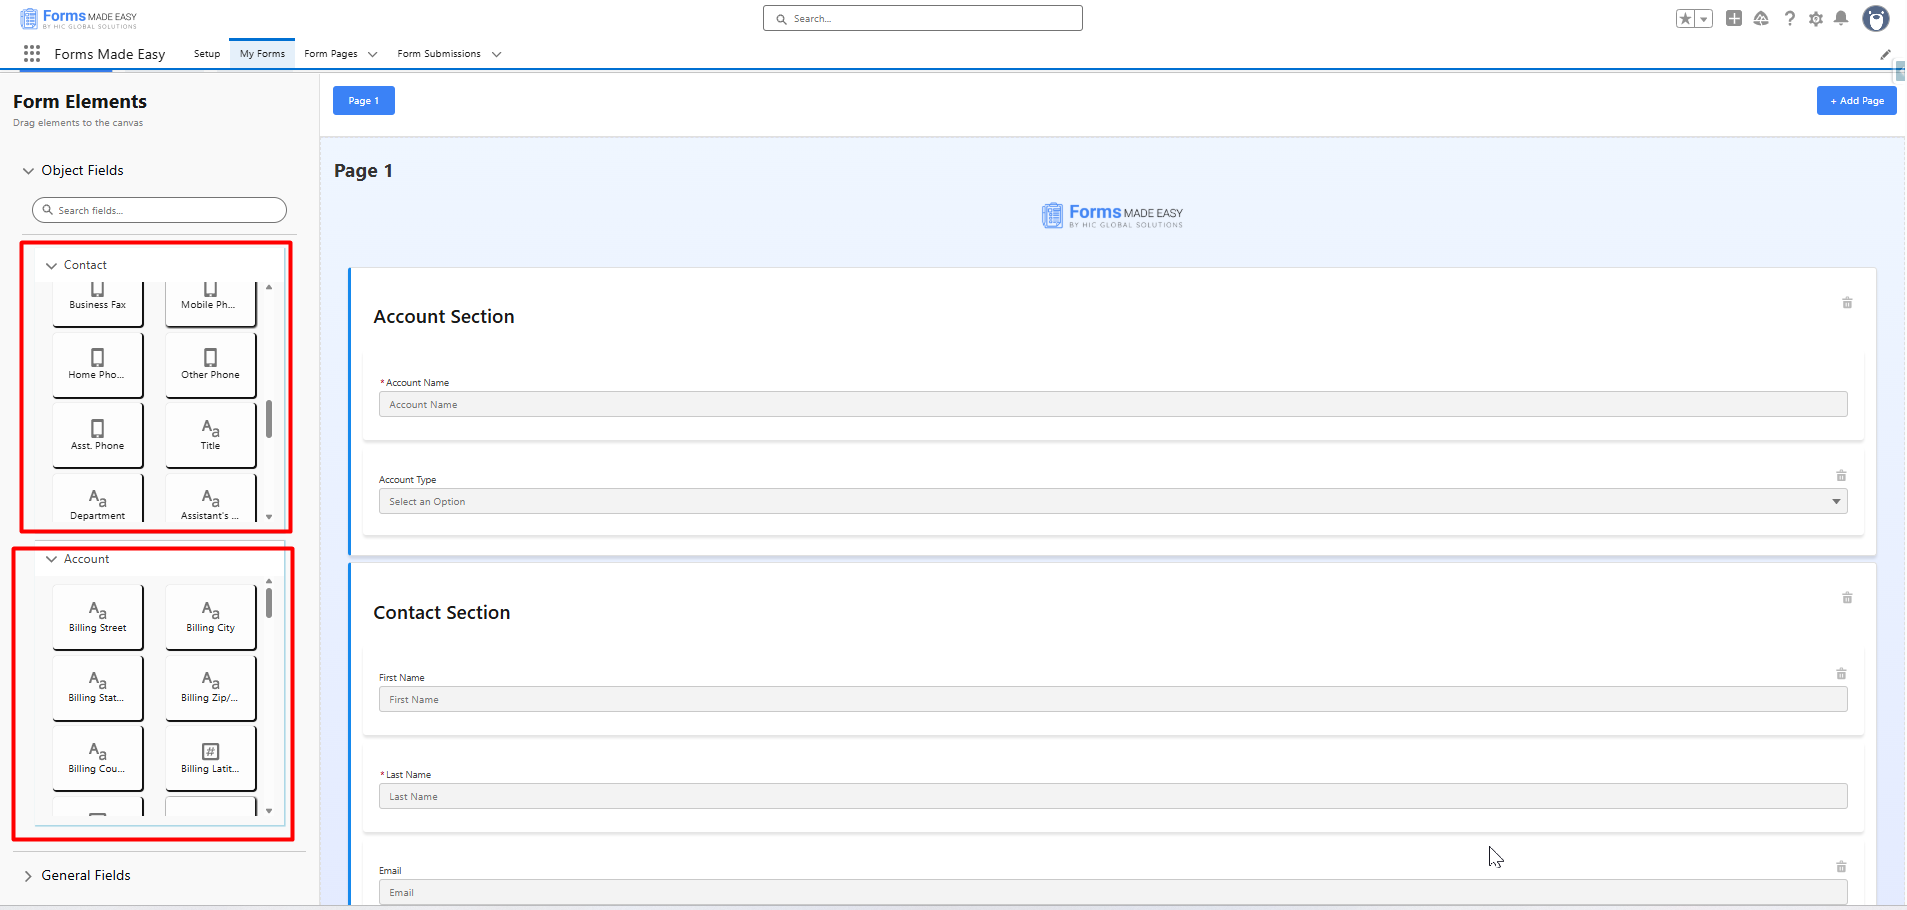
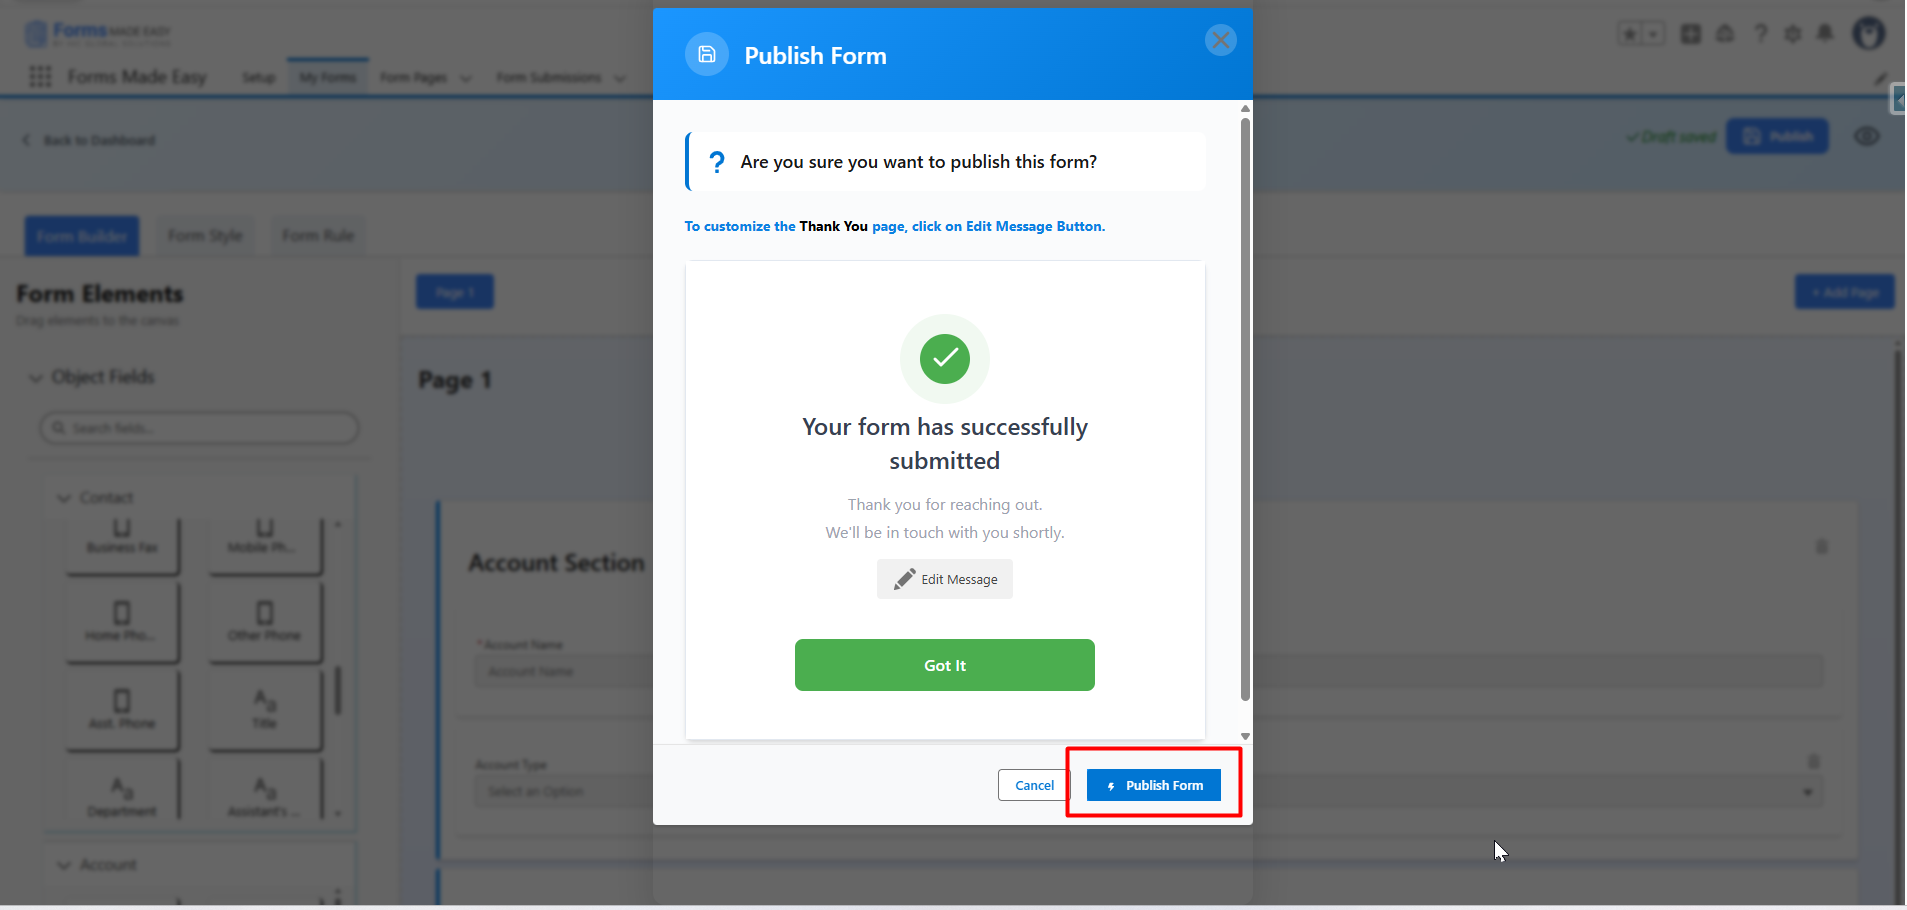
Step 4: Once all the fields are added, click on the Publish Form button.
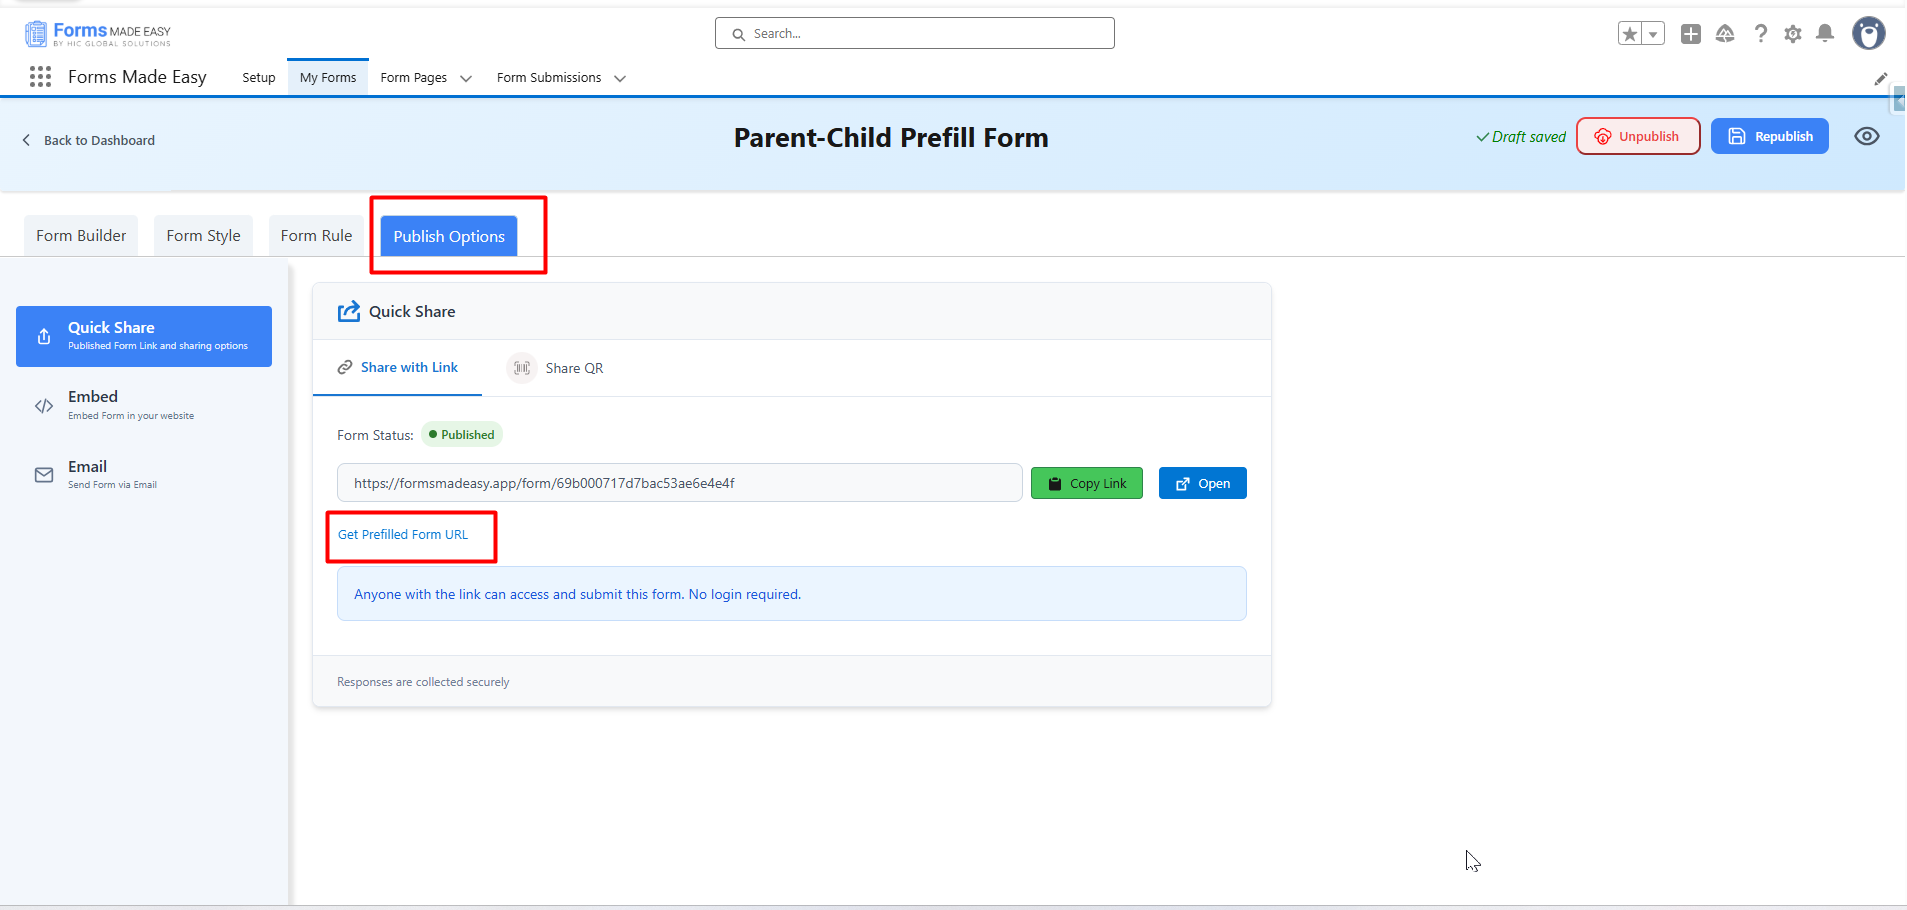
Step 5: Then go to the Publish Option tab, click on Quick Share, and select Get Prefilled Form URL.
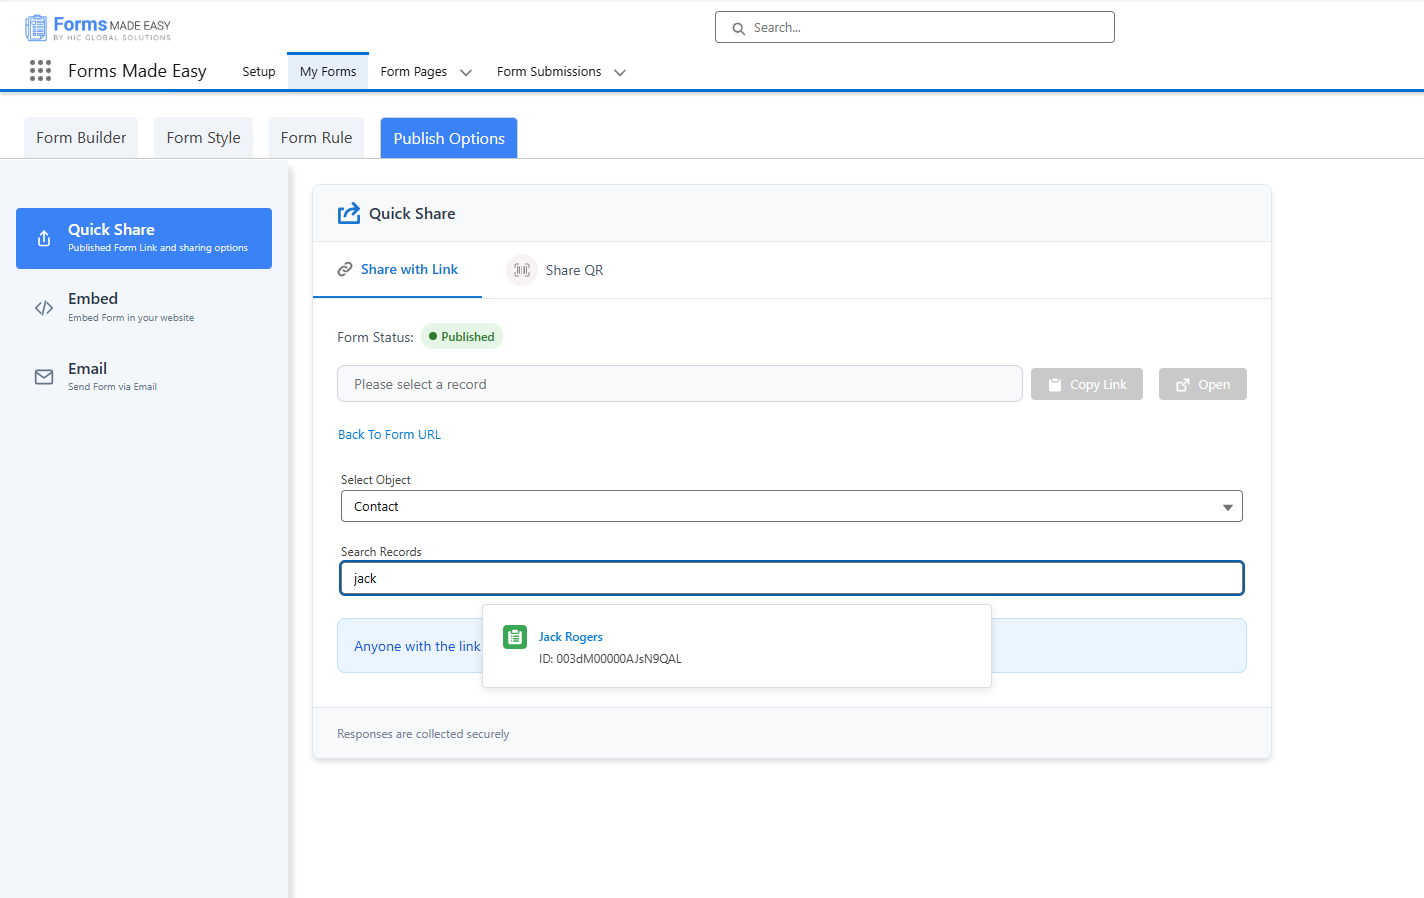
Step 6: After that, select your Child object here from the dropdown of Select Object.
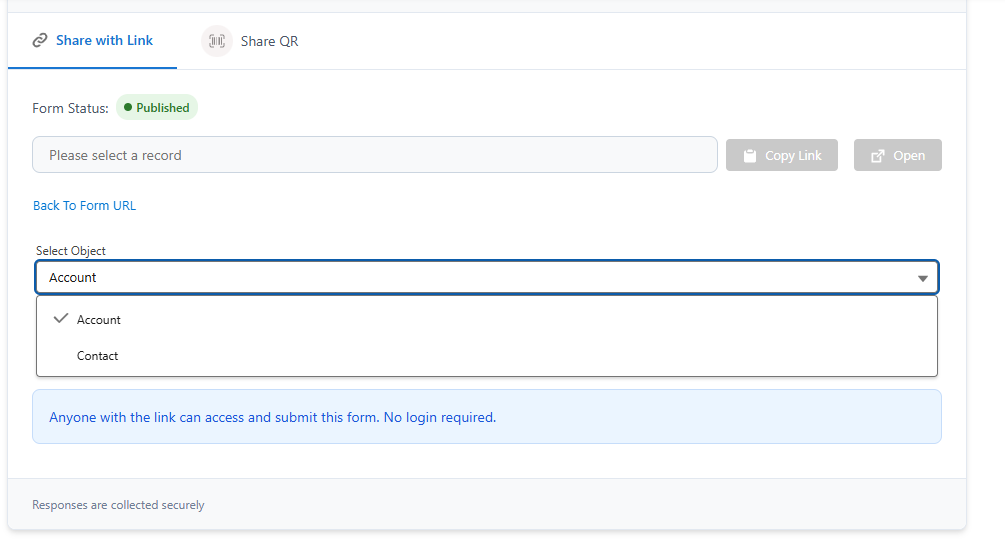
Step 7: Now search for the Contact record you want to use and select it.
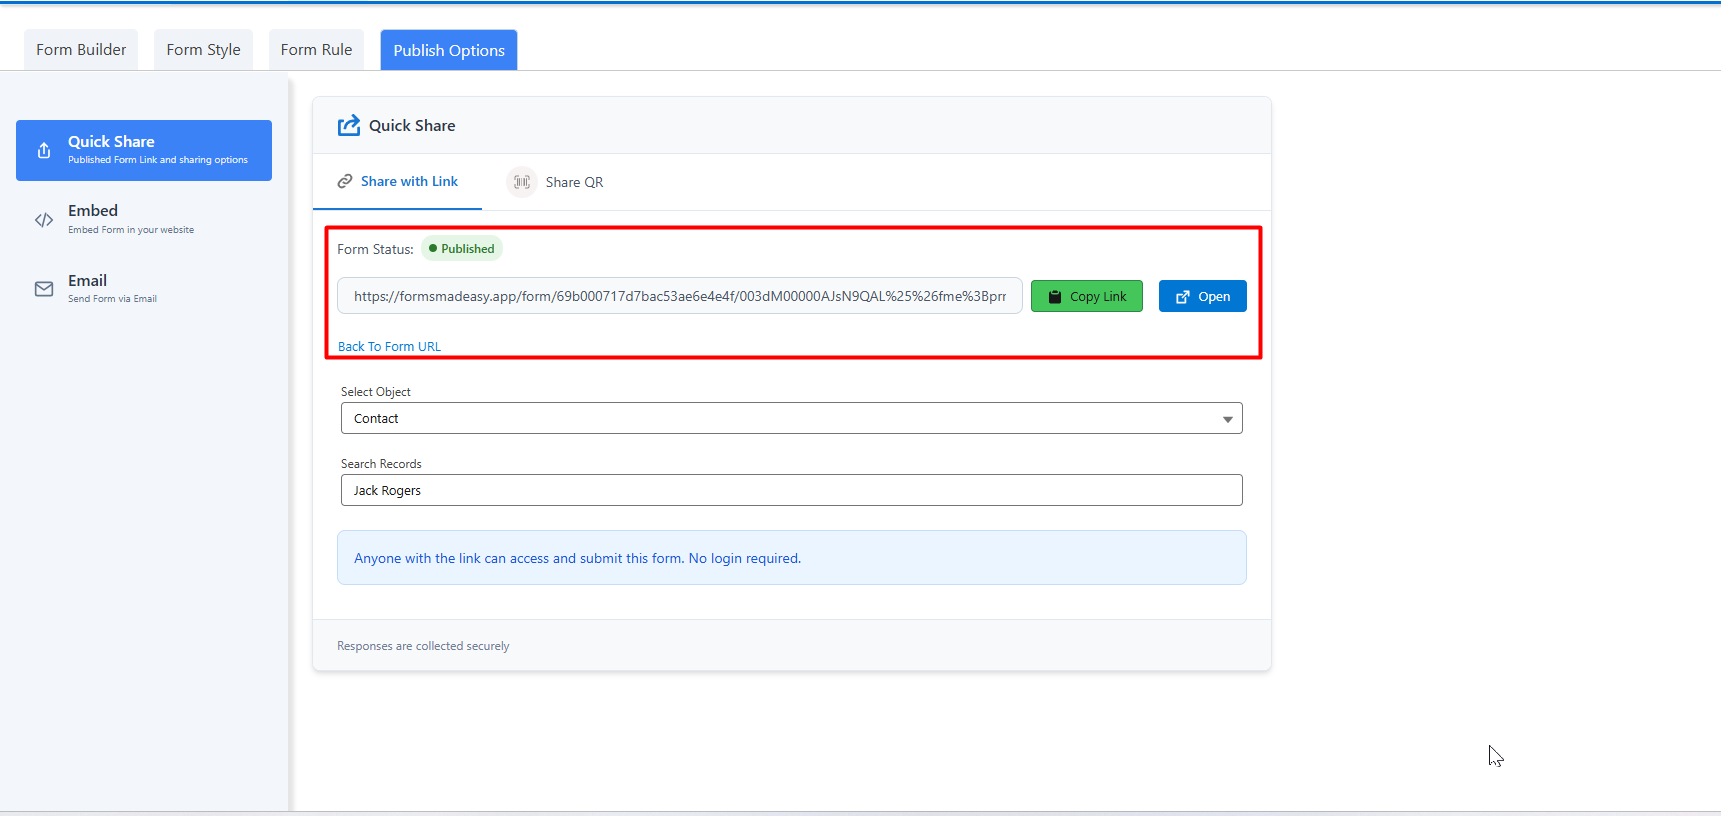
Step 8: Once selected, you’ll see a Prefilled Form URL. Click on Open to view the form or click on Copy Link to copy the URL.
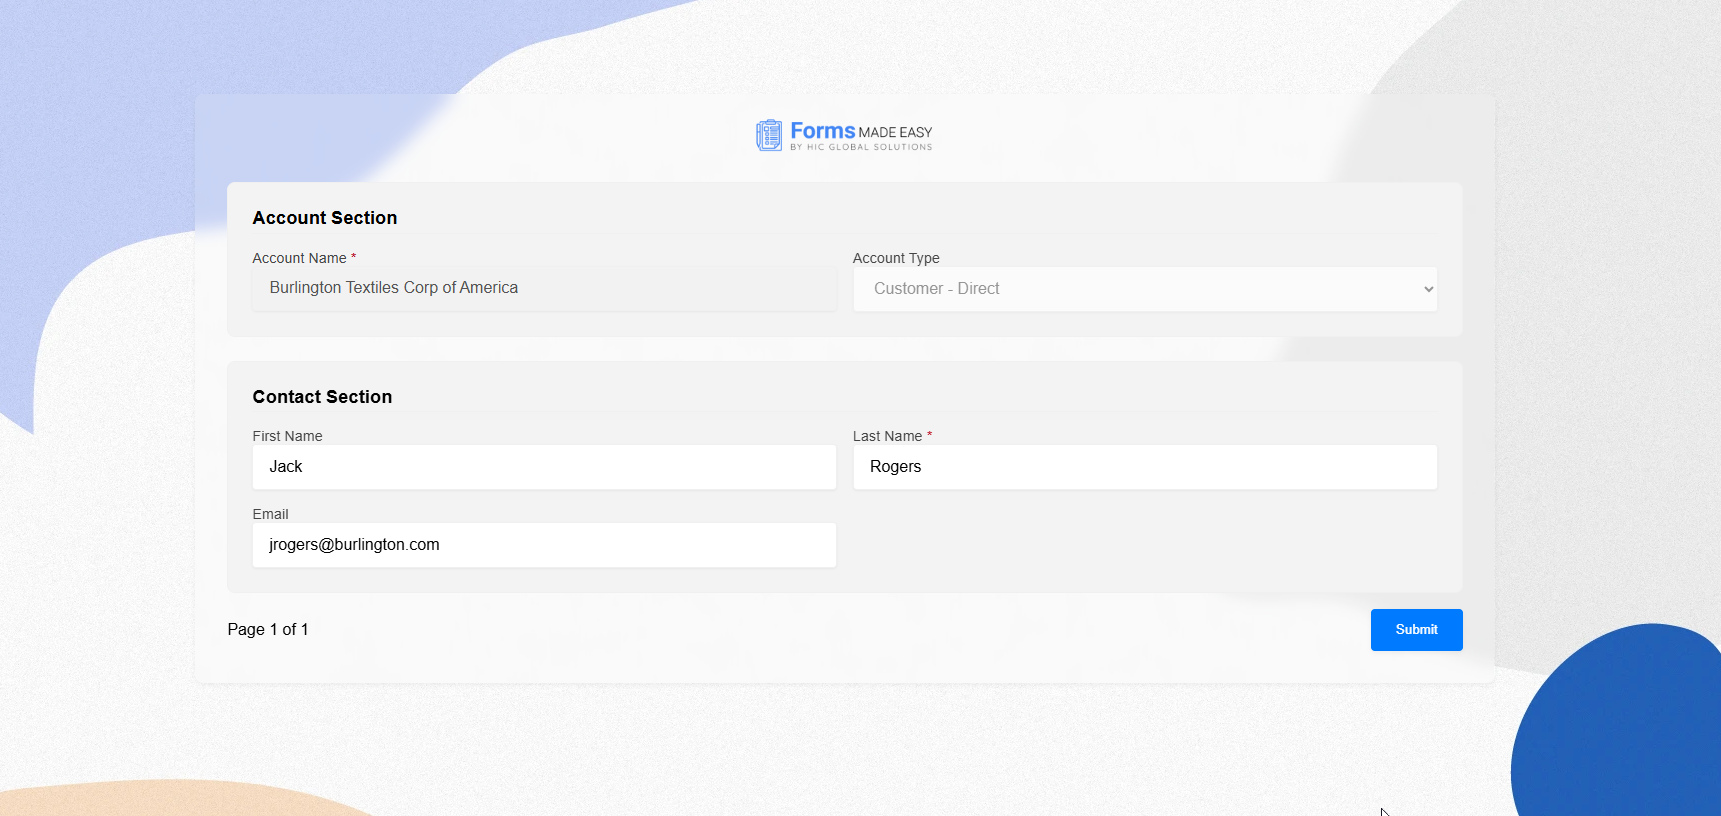
Step 9: When you open the form, you’ll notice the Account (parent) details are already filled and set as read-only. The Contact (child) details are also prefilled but editable. Update any field you need (for example, change the First Name) and click on Submit.
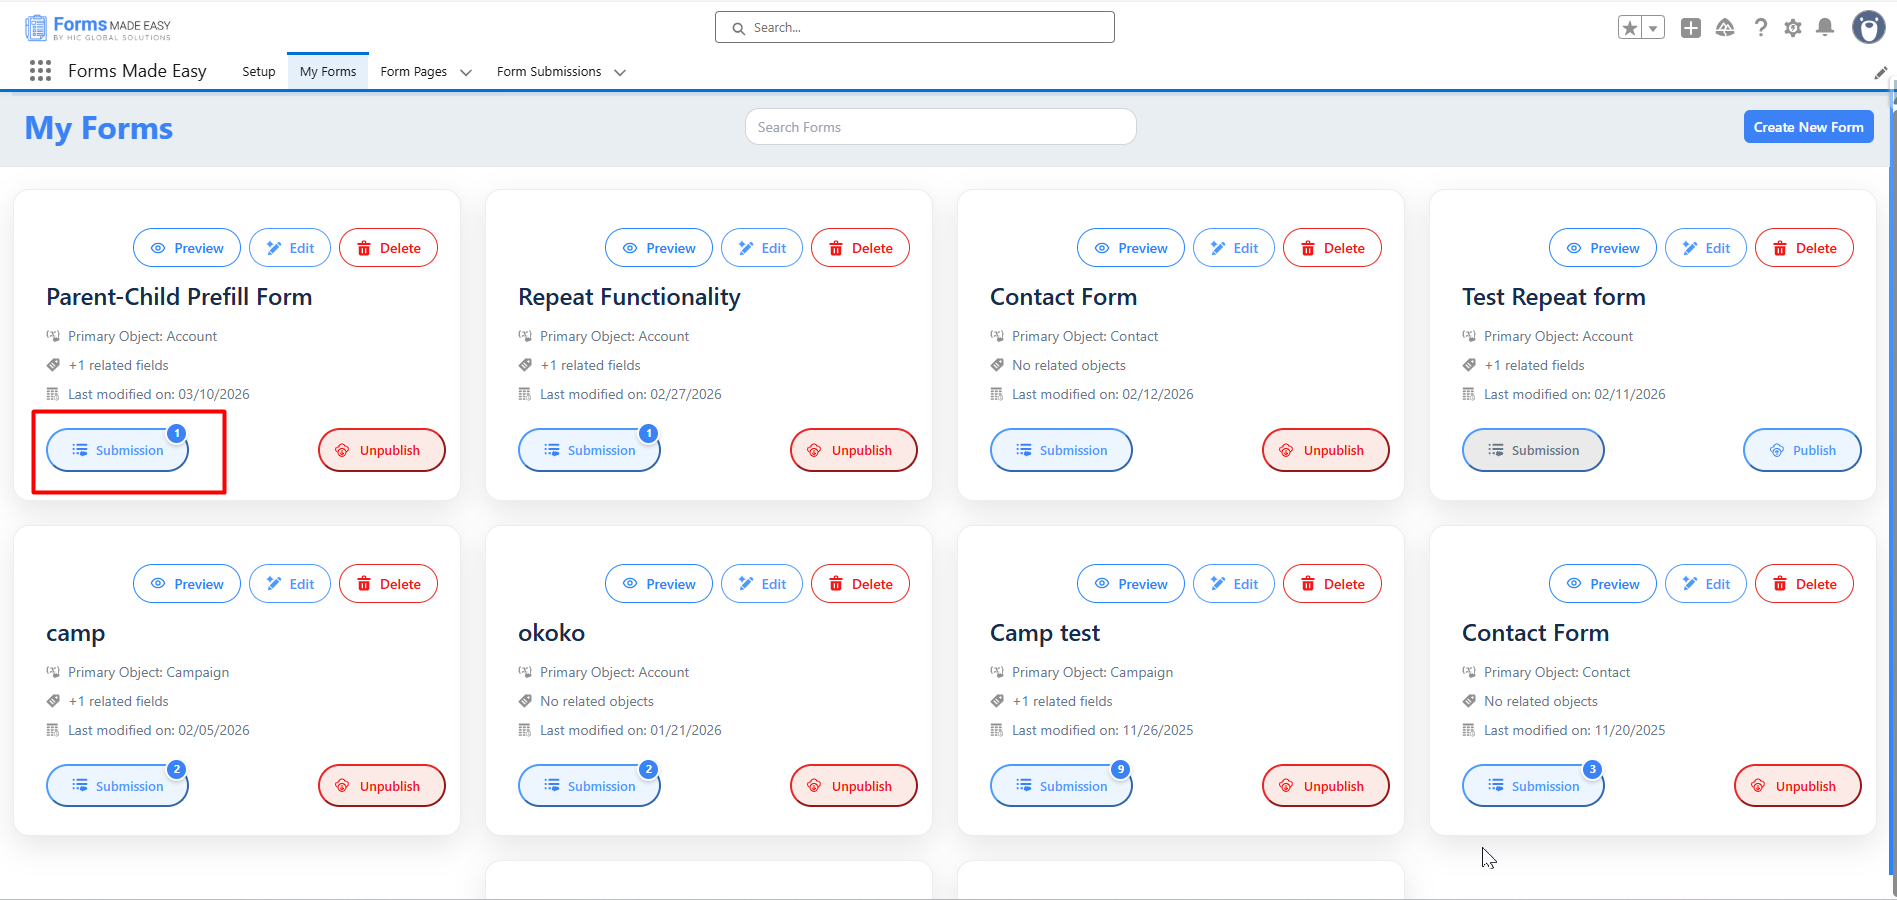
Step 10: After submitting the form, go back to My Forms and click on Submission for that form.
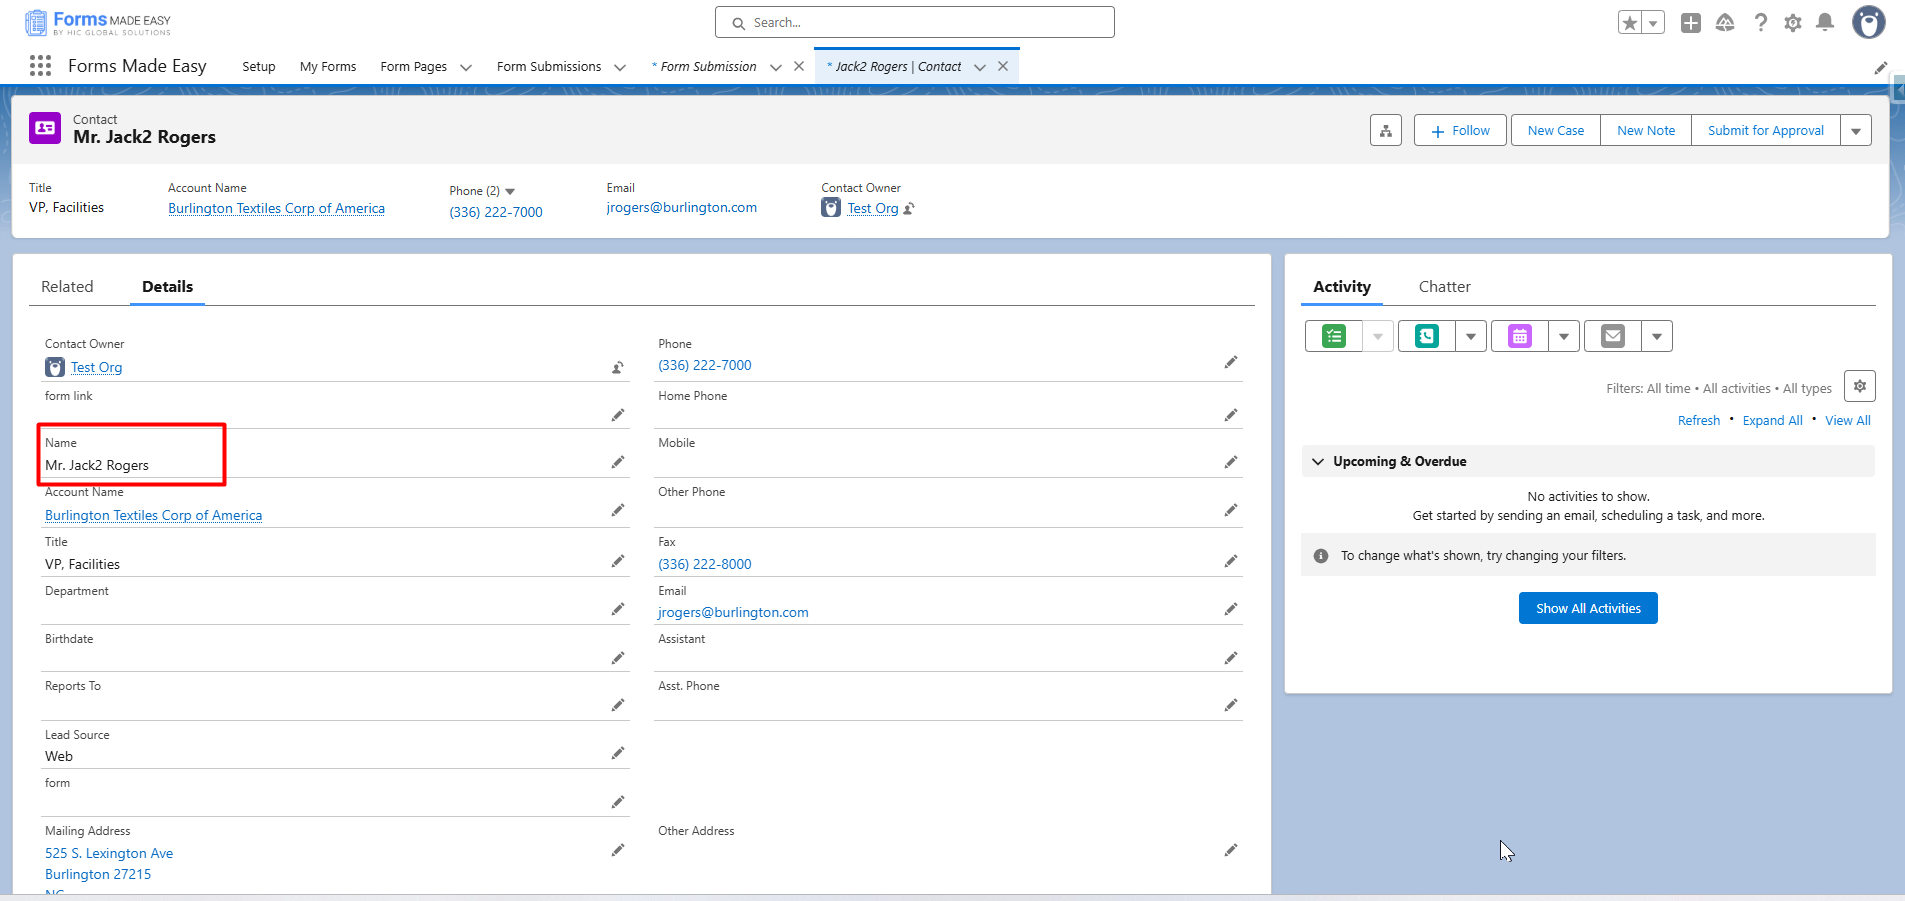
Step 11: Finally, click on View Records, open the Contact record you updated, and you’ll see the changes reflected there.
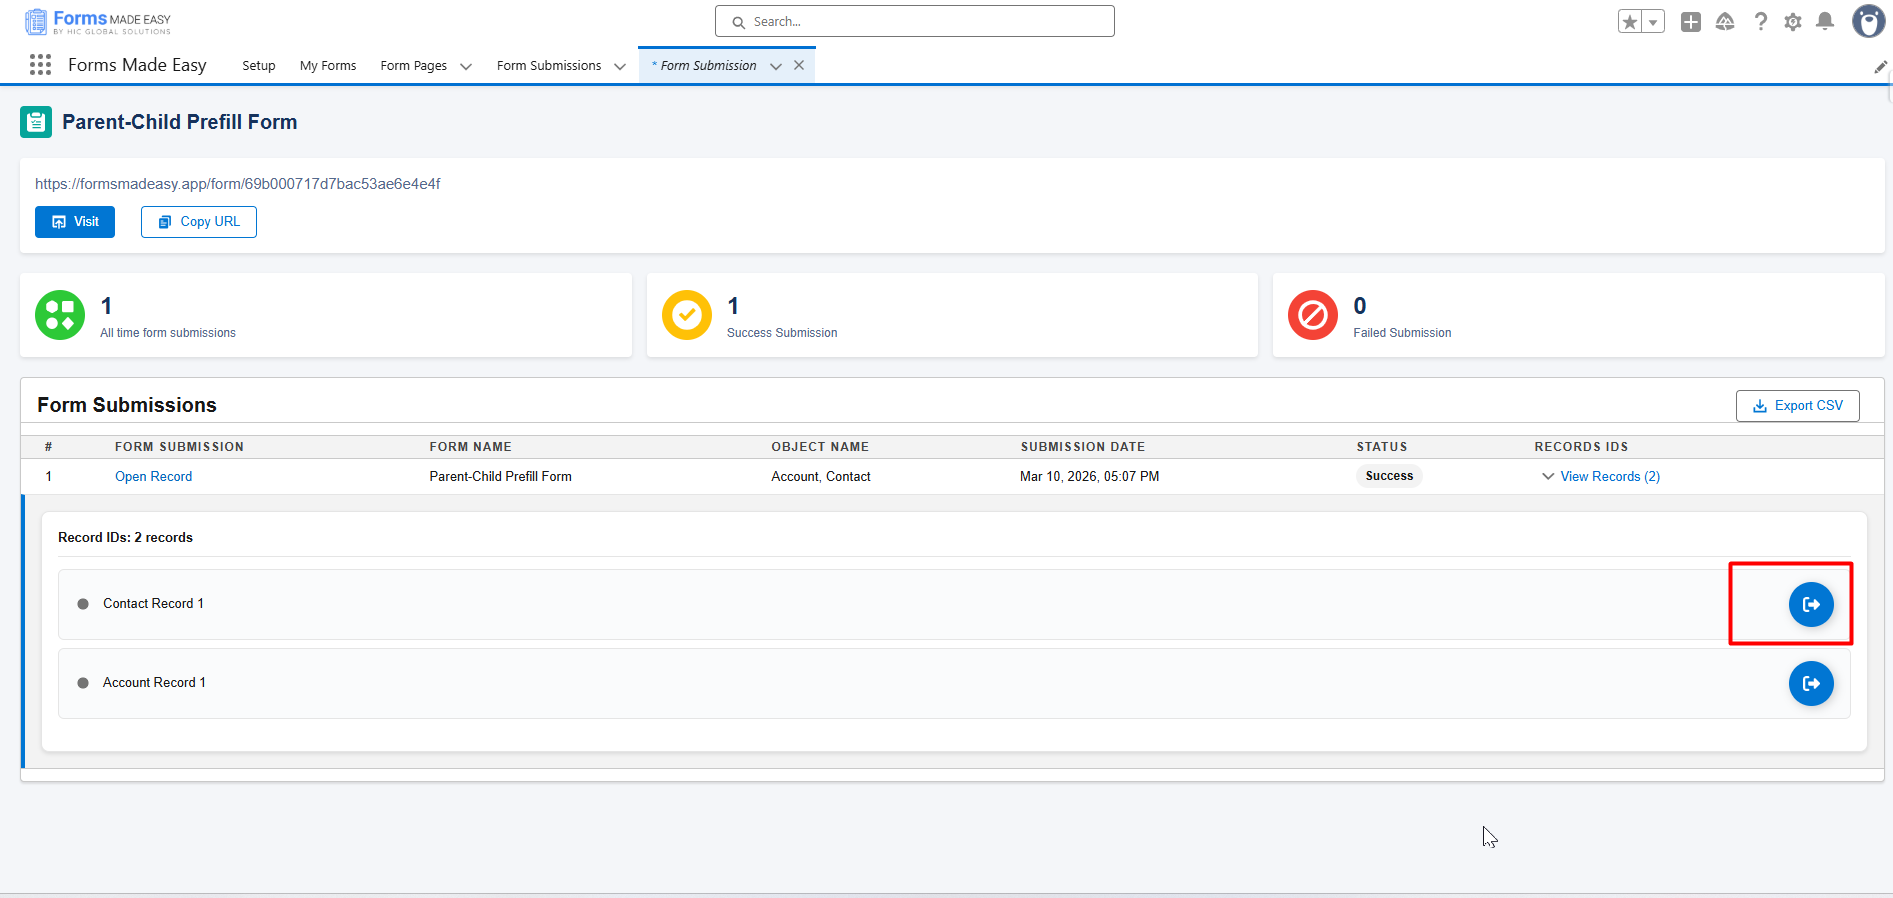
Here you can see that in the contact record, the name is updated.
Conclusion
That’s how you create and use a parent–child prefill form in forms for Salesforce using Forms Made Easy.
Instead of manually searching and updating records, the Salesforce form automatically brings the right data for you. The parent record stays visible for reference, and the child record can be updated easily in one go.
With Forms Made Easy, managing related records feels much more straightforward and less time-consuming, especially when you’re working with connected objects like Account and Contact.