
Turn Forms Into Automated Workflows
Design dynamic forms, streamline operations, and eliminate repetitive manual tasks — all without code.
Talk to Our ExpertsBuild Smarter Forms Faster
Create no-code forms inside Salesforce and automate data collection, approvals, and workflows without complexity.
Get StartedSimplify Your Form Workflows
Replace manual processes with intelligent forms that capture, route, and manage data seamlessly in Salesforce.
Book a DemoIn this guide, we will guide you through how the Salesforce form creation tool helps you seamlessly share prefilled forms for specific records. This simple process improves efficiency and delivers a smooth experience supported by Salesforce form builder solutions. As you follow the steps, you’ll also see how the flexibility of a Salesforce online form builder makes form sharing effortless and highly effective.
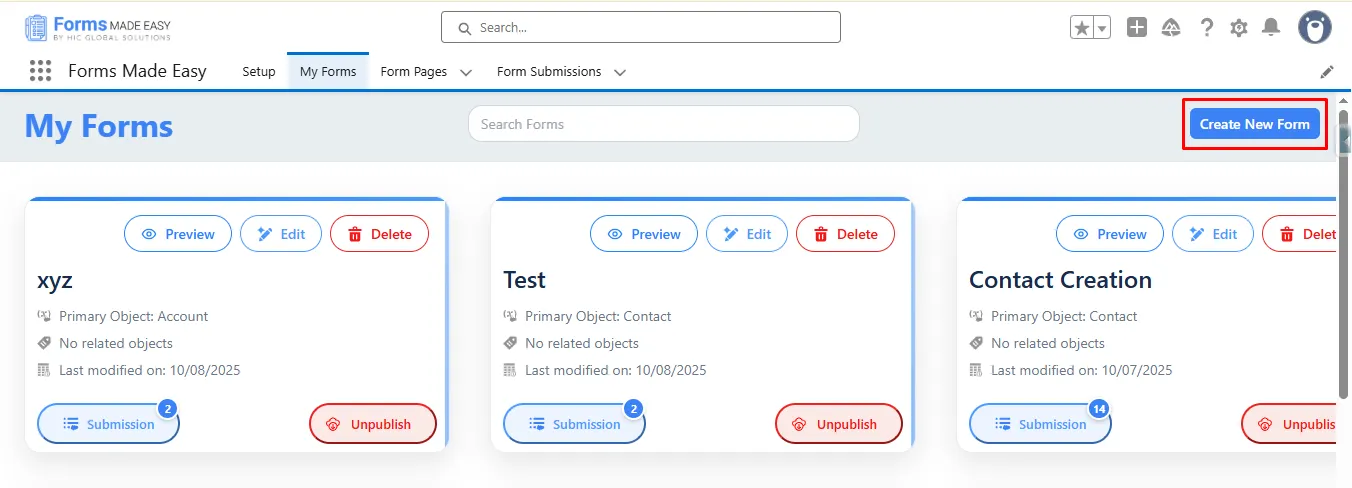
Step 1: Go to the My Forms tab and click on the “Create New Form” button.
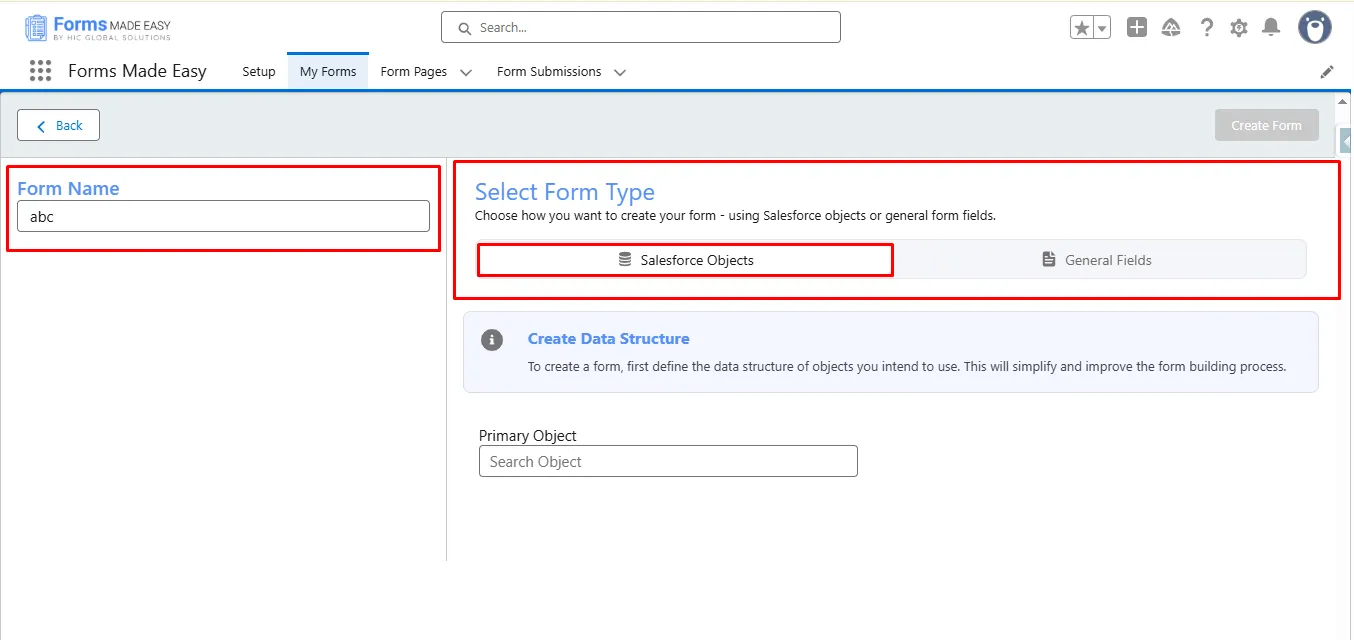
Step 2: Enter the form name and select the form type (Salesforce Objects or General Fields).
- Currently, we have chosen the Salesforce Object option.
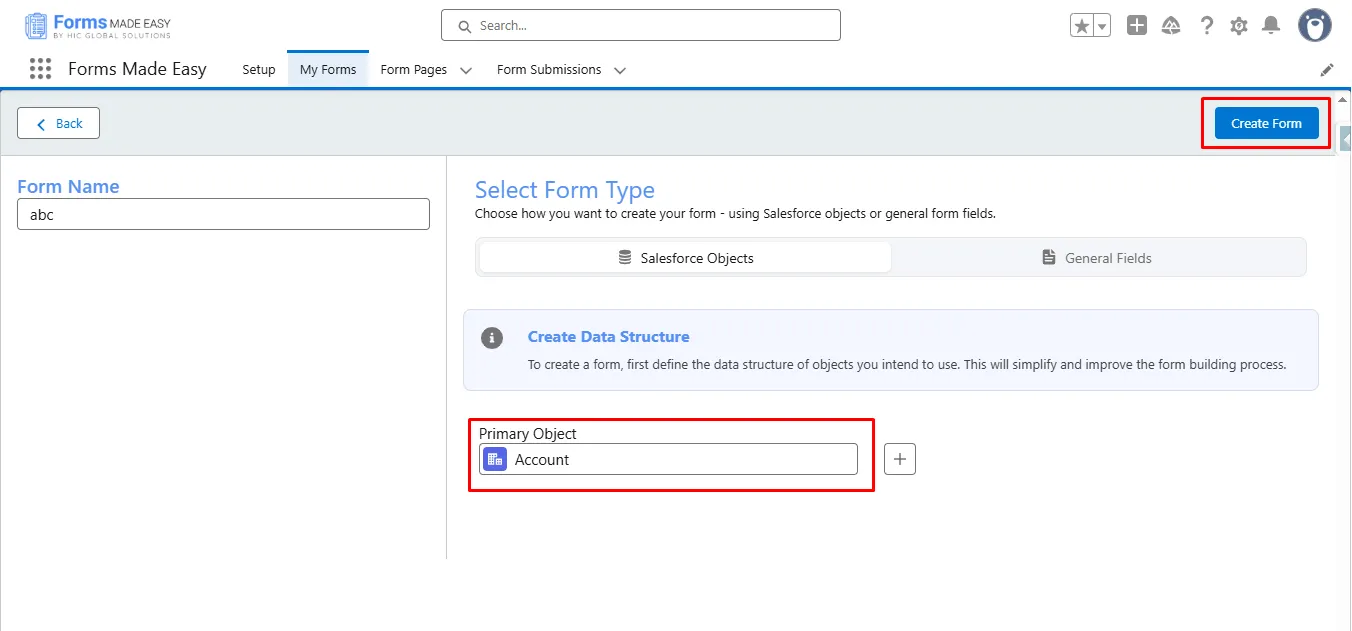
Step 3: Select “Account” as the Primary Object and click the “Create Form” button.
Step 4: Go to the Object Fields section and click on “Account.”
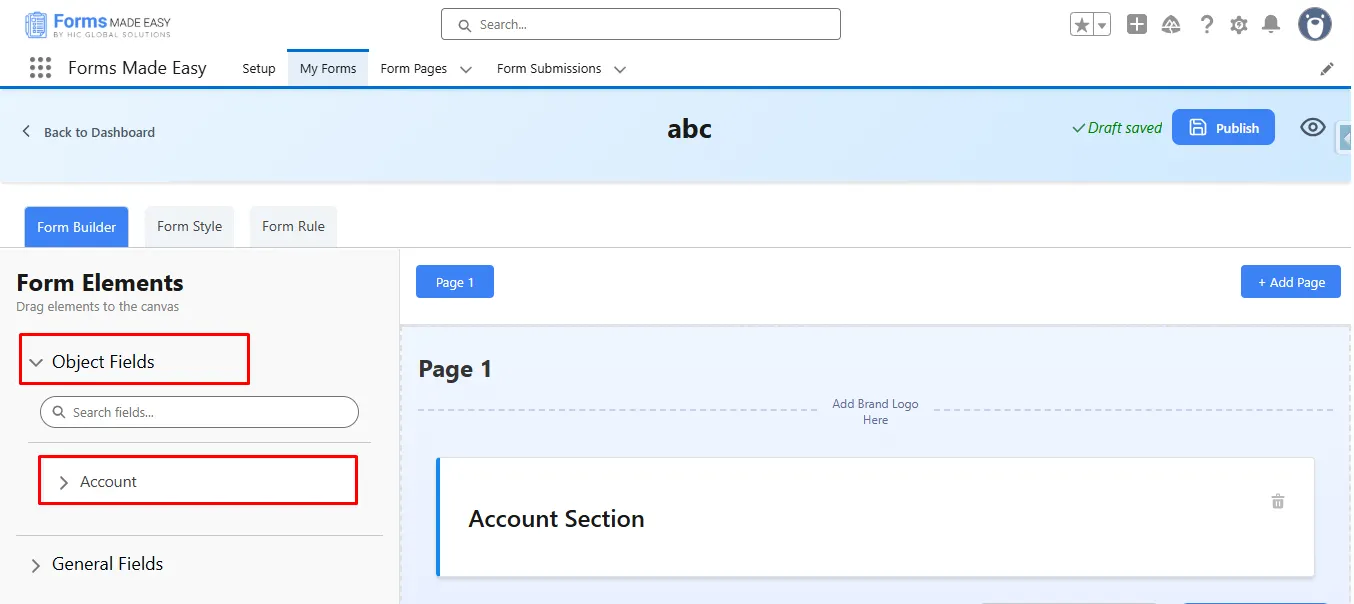
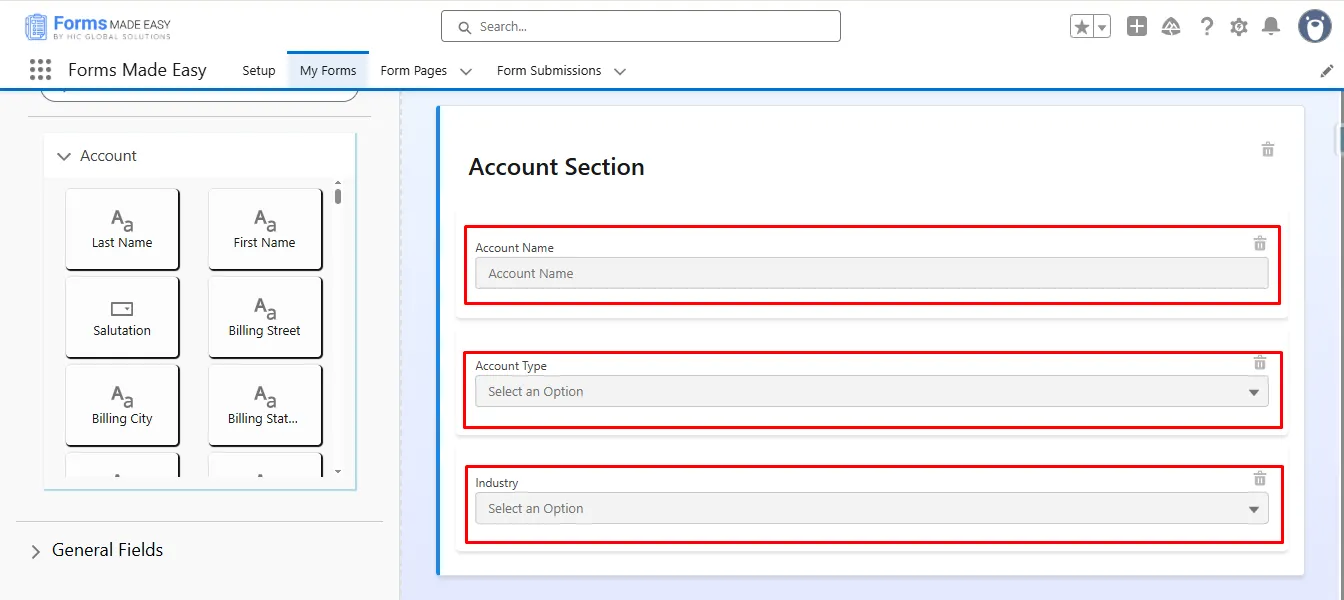
Step 5: Drag and drop your required fields onto the form.
(Note: The Account Name field is a mandatory field on the Account Object in Salesforce.)
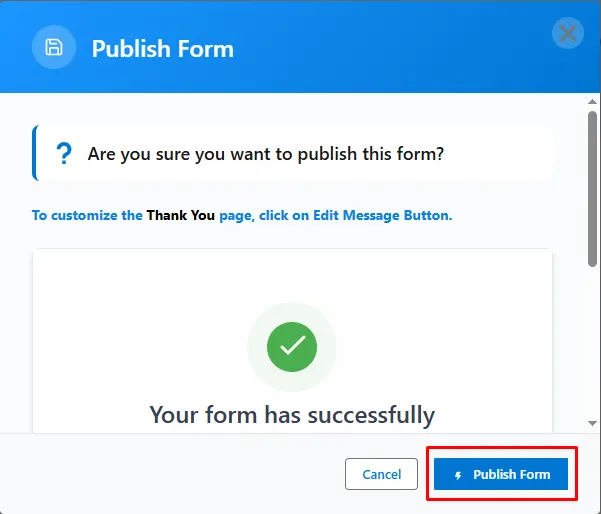
Step 6: After all of that, you can publish the form by clicking the “Publish” button.

Step 7: Click the “Publish Form” button.
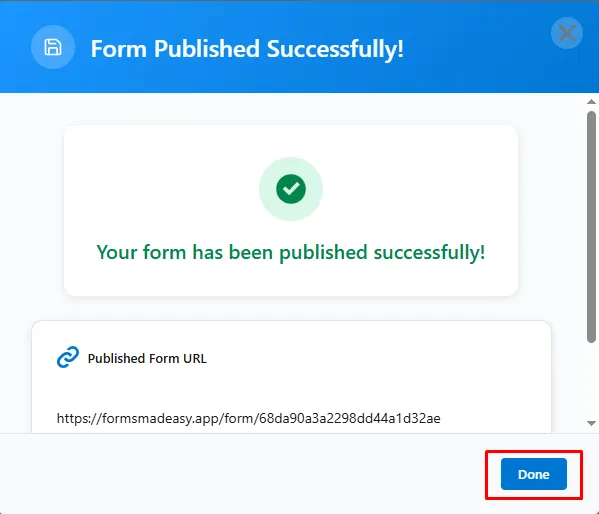
Step 8: Click on “Done” to close the modal.
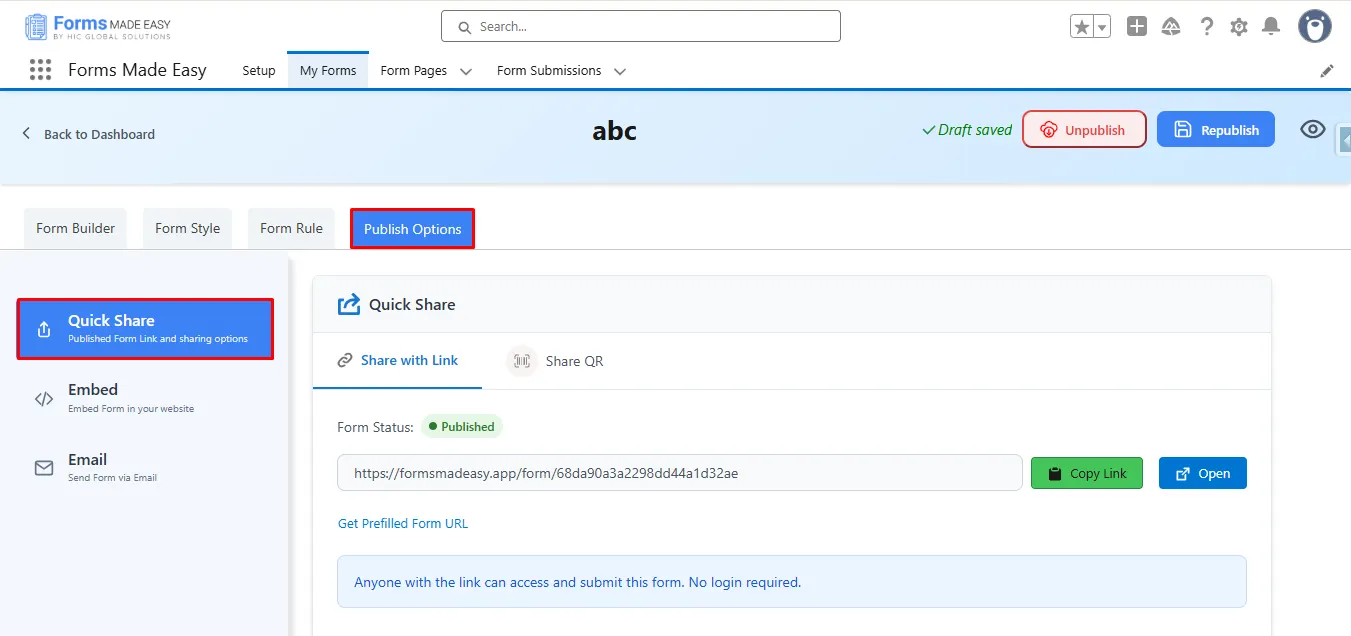
Step 9: Once the form is published, an additional Publish Options tab becomes available. Under this tab, there is a sub-option called Quick Share. Click on “Quick Share.”
Note: If the form is already created, click “Edit,” go to Publish Options, and click “Quick Share.”
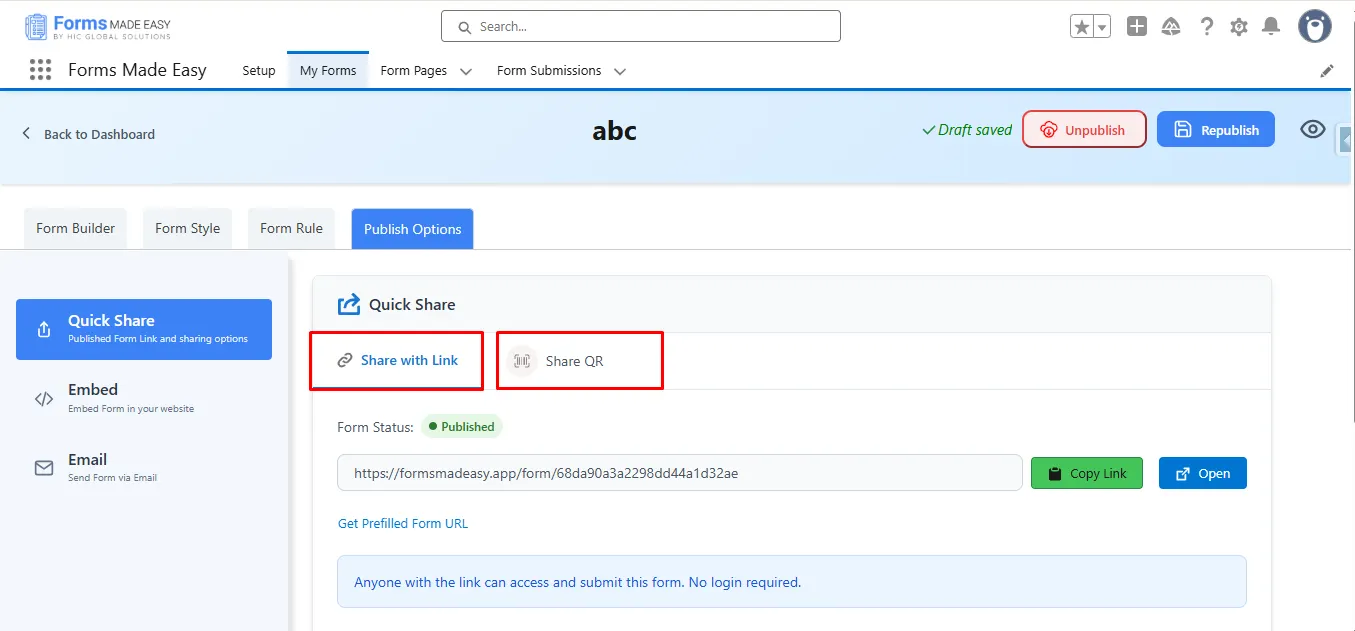
Step 10: Inside the Quick Share section, you will see two options: Share with Link and Share QR.
- Currently, we have chosen the Share with Link.
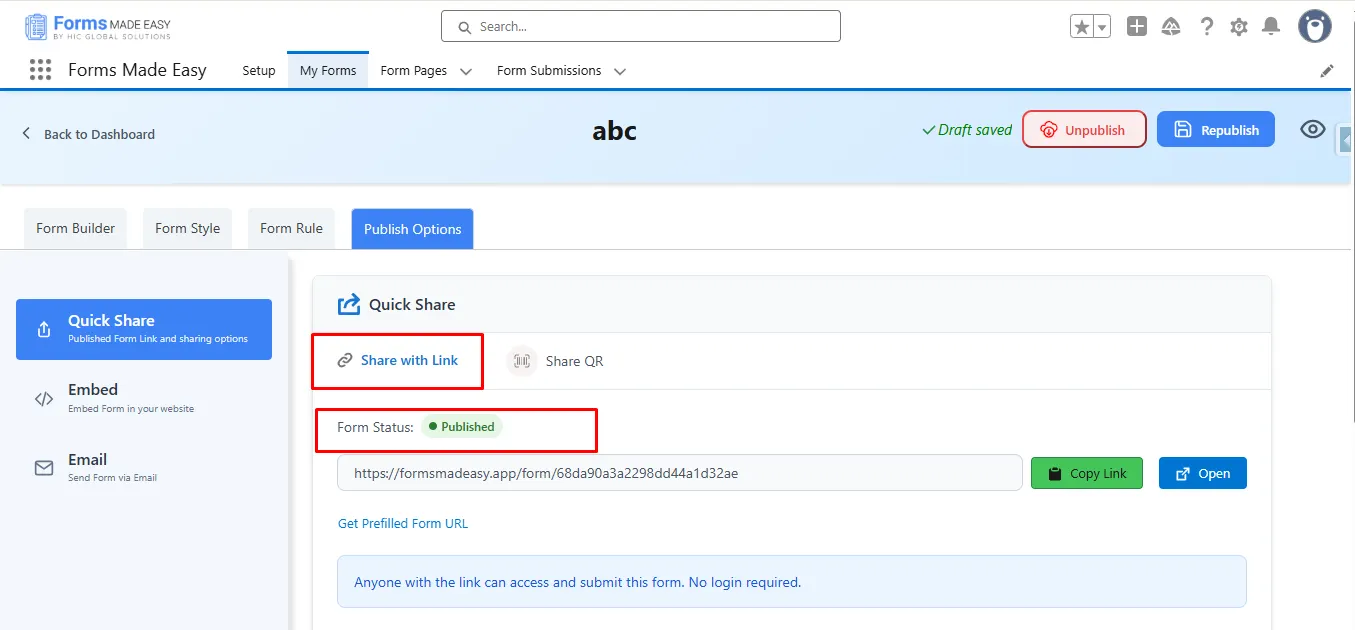
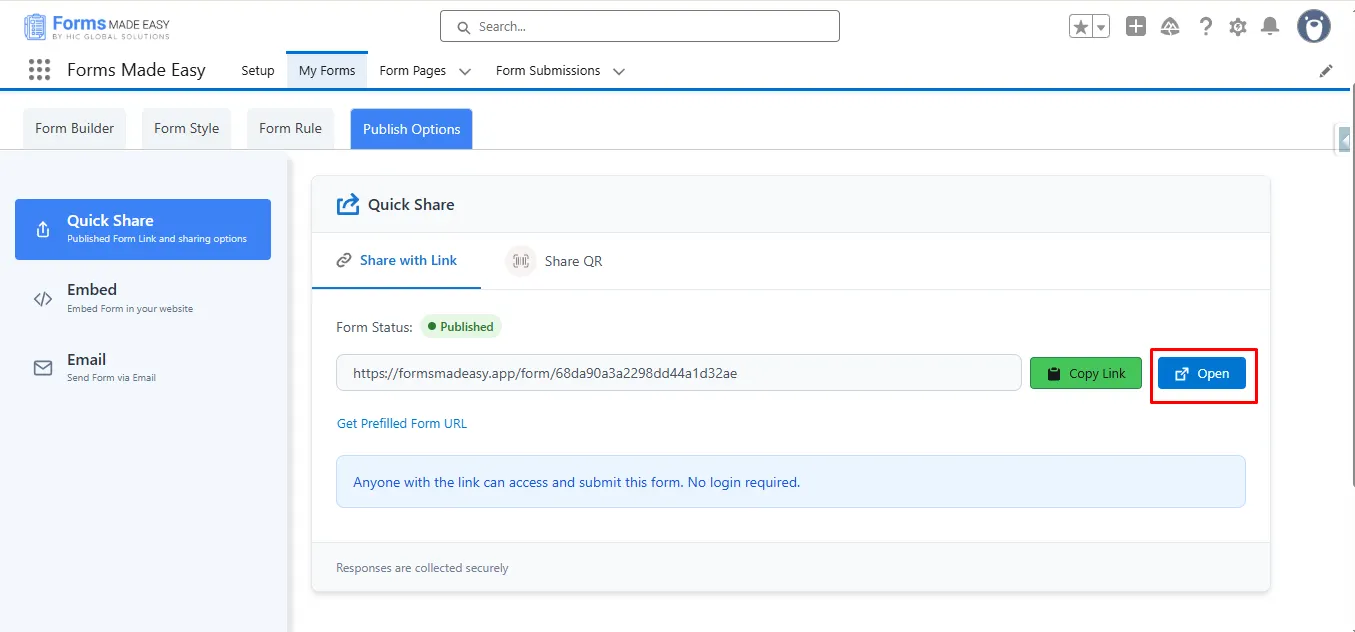
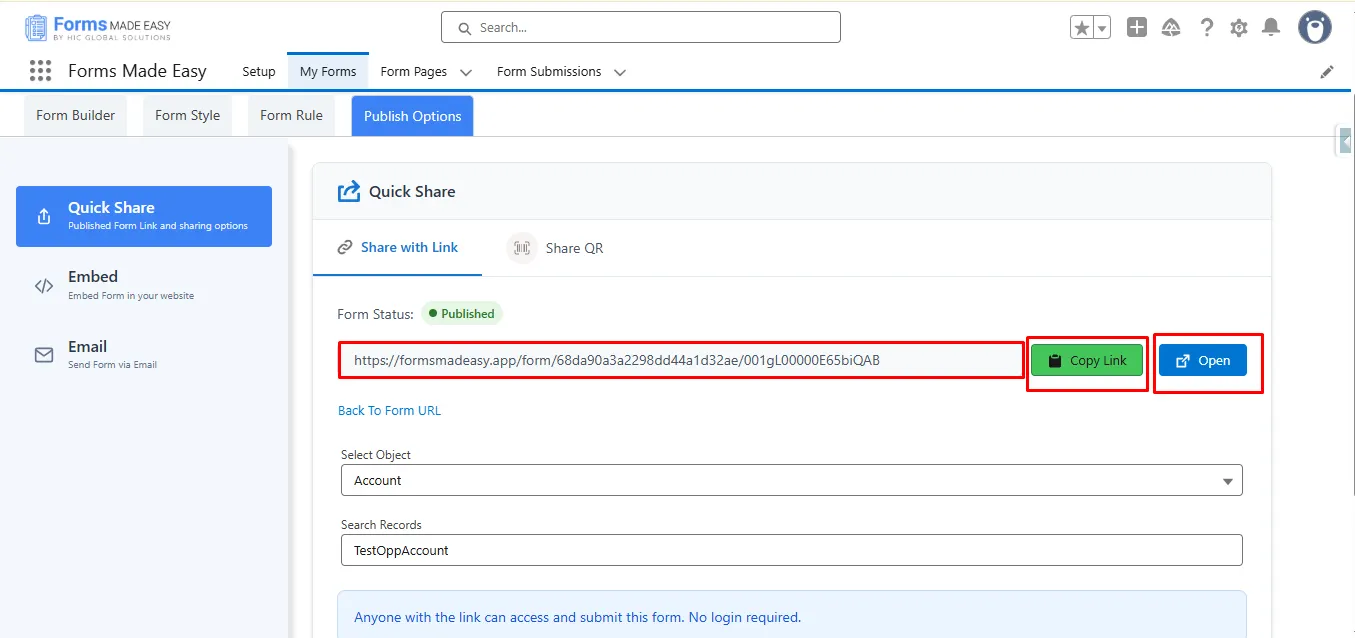
Step 11: Within the Share with Link section, you will see the Form Status displayed as: Published.
Step 12: Click on the “Copy Link” button to copy the form URL, which you can then share with others. You can also manually copy the link.
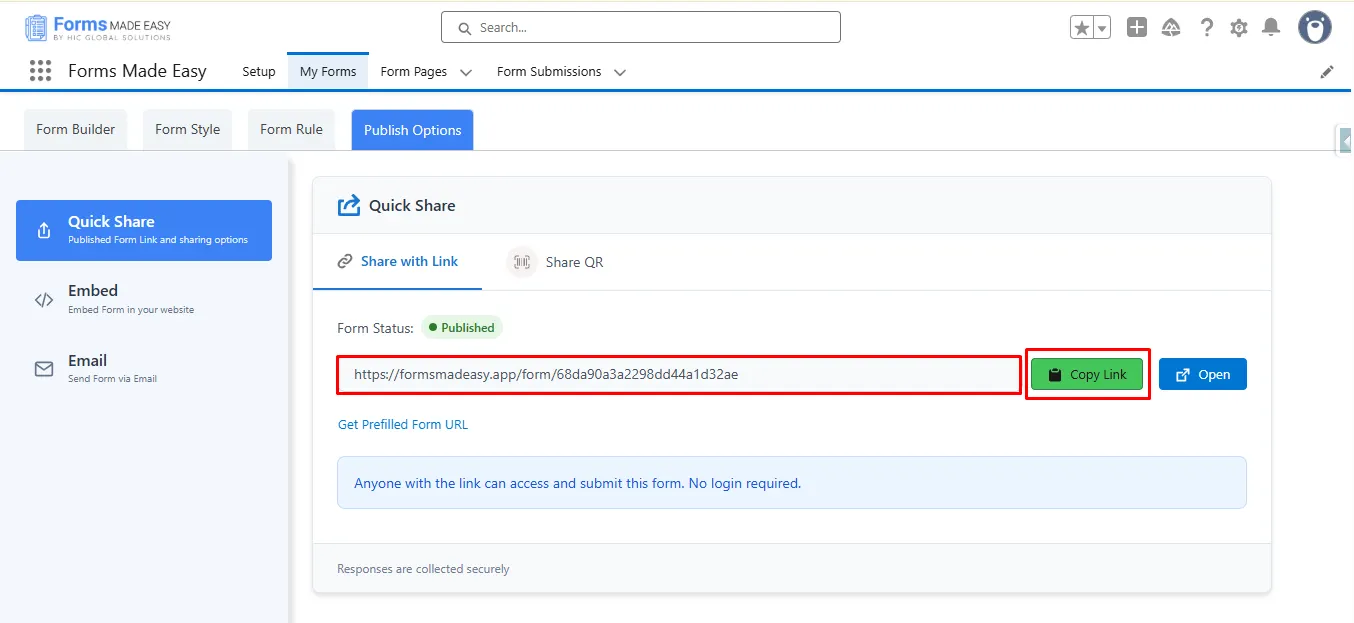
Step 13: Click on the “Open” button to directly open the form in your web browser.
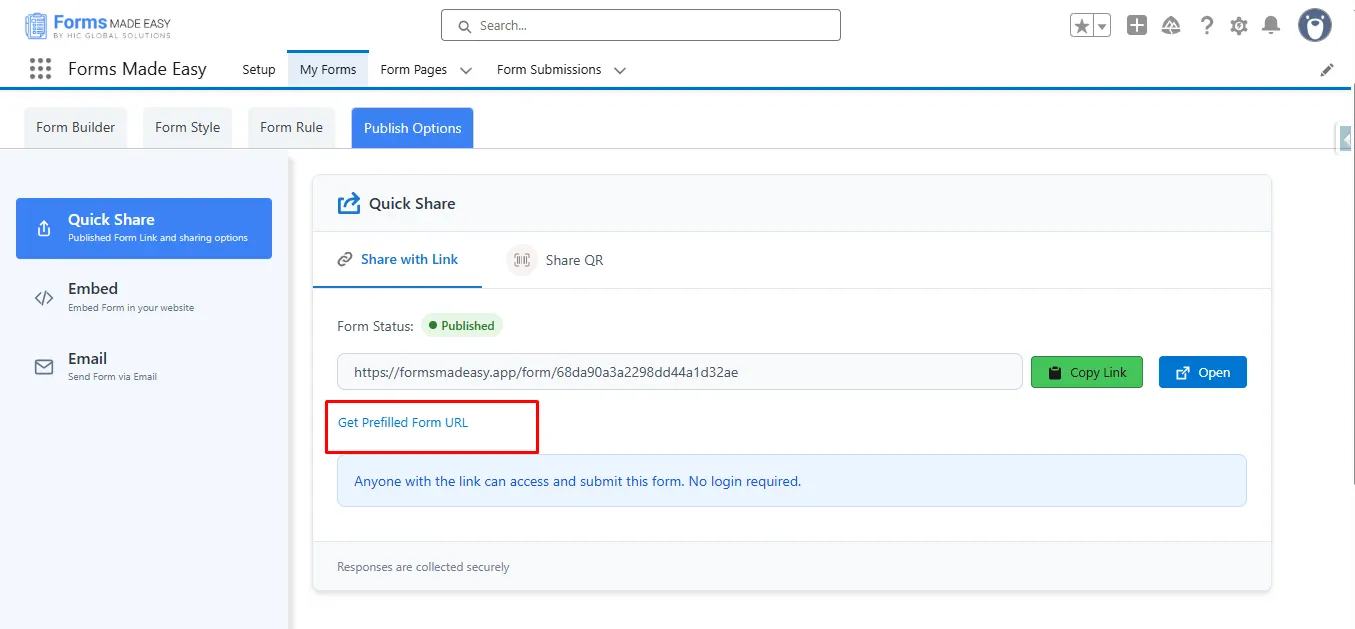
Step 14: Click on Get Prefilled Form URL to generate a link with prefilled data for the selected record.
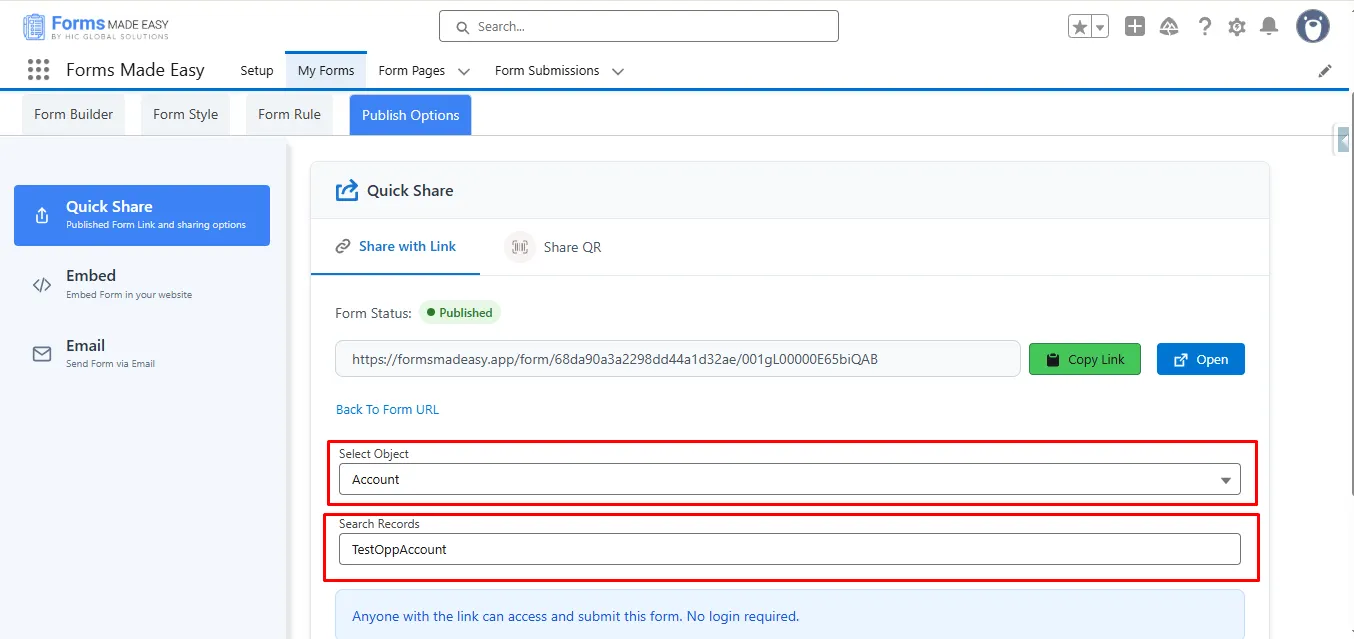
Step 15: Now, inside the Search Records section, you can search for records of the selected object by its name.
Note: In this case, we searched for records from the Account object. Make sure that the records exist in the selected object within Salesforce.
Step 16: Click on Back To Form URL to go to the Published form URL.
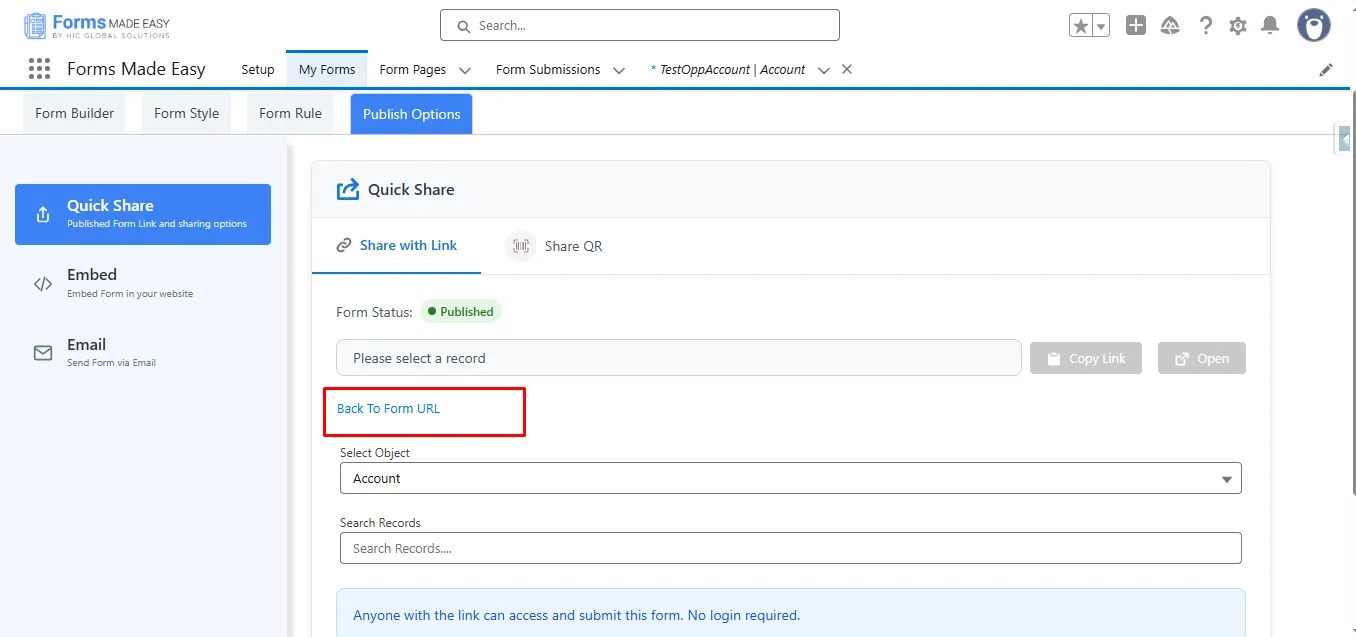
Step 17: Click the Copy Link button to copy the Prefilled Form URL, and the Open button to open the Prefilled Form in a new browser tab.
Note: You’ll notice that the form link changes from the published form URL to the Get Prefilled Form URL, which includes prefilled data for the selected record.
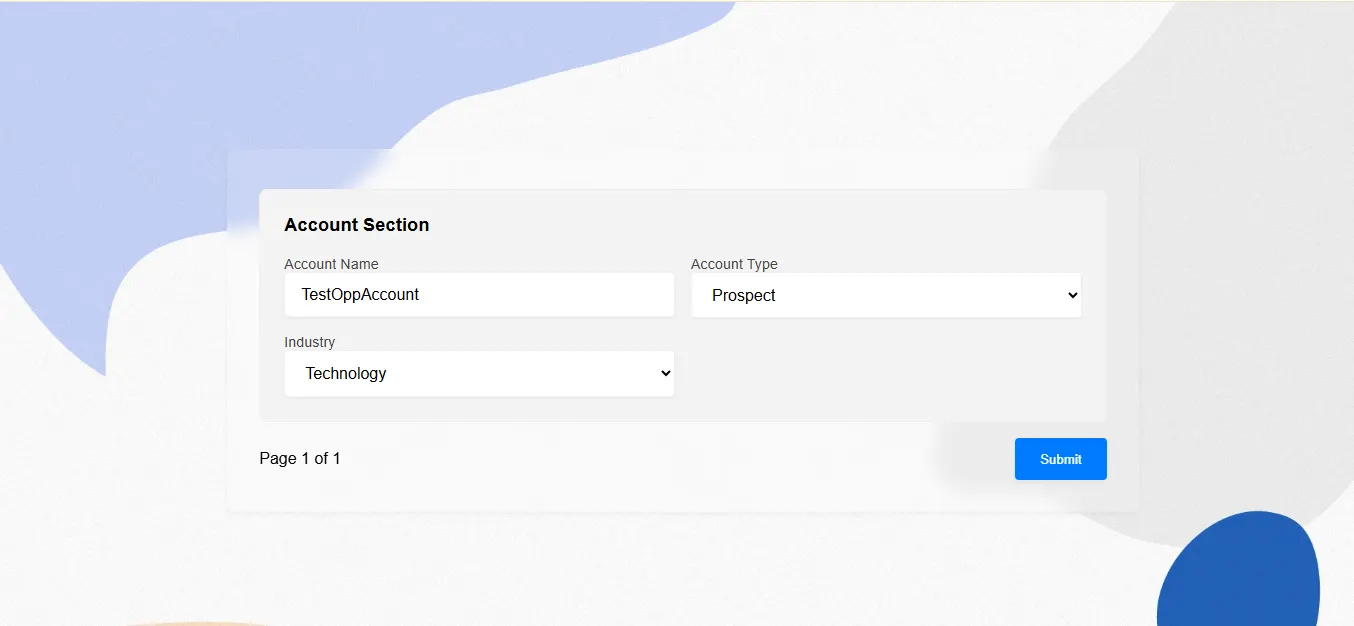
Step 18: You will see the prefilled form data displayed on the screen.
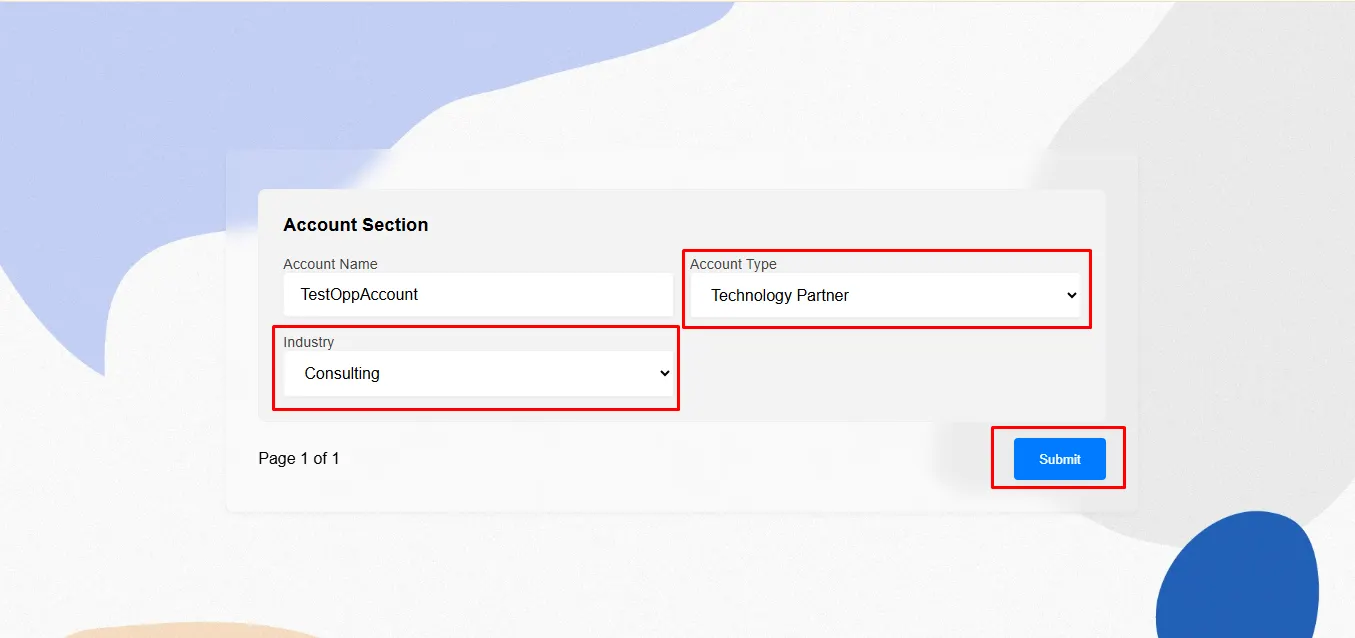
Step 19: You can update the prefilled values as needed and click the Submit button to save the changes.
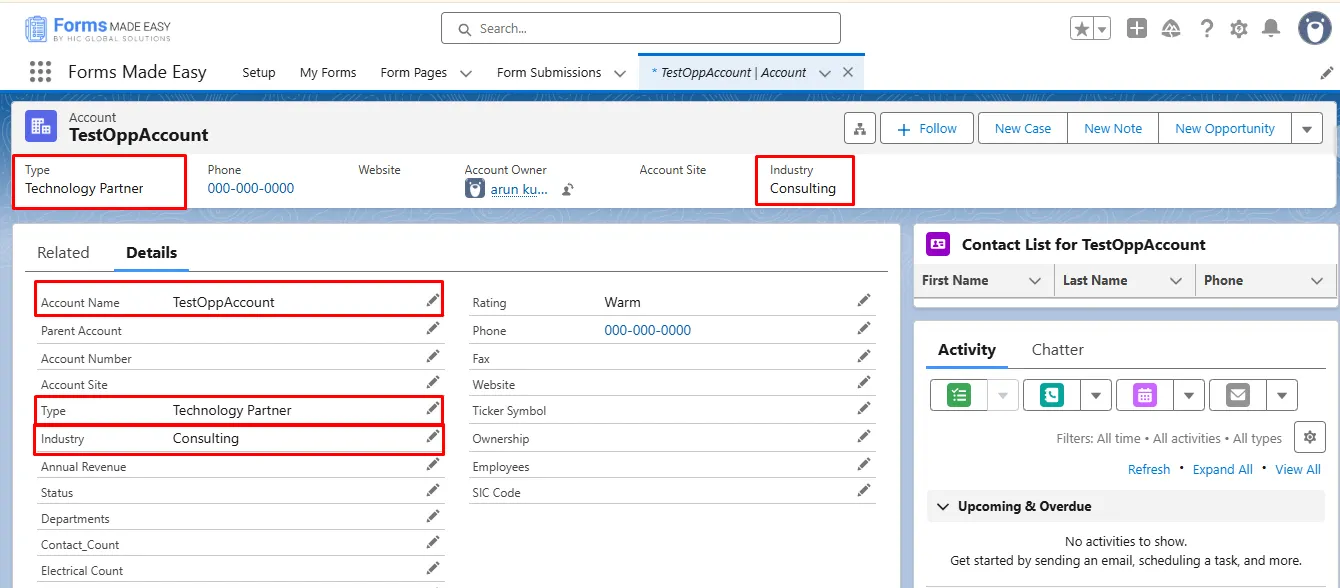
Step 20: Now, you will see that the values have been successfully updated in the Account object.
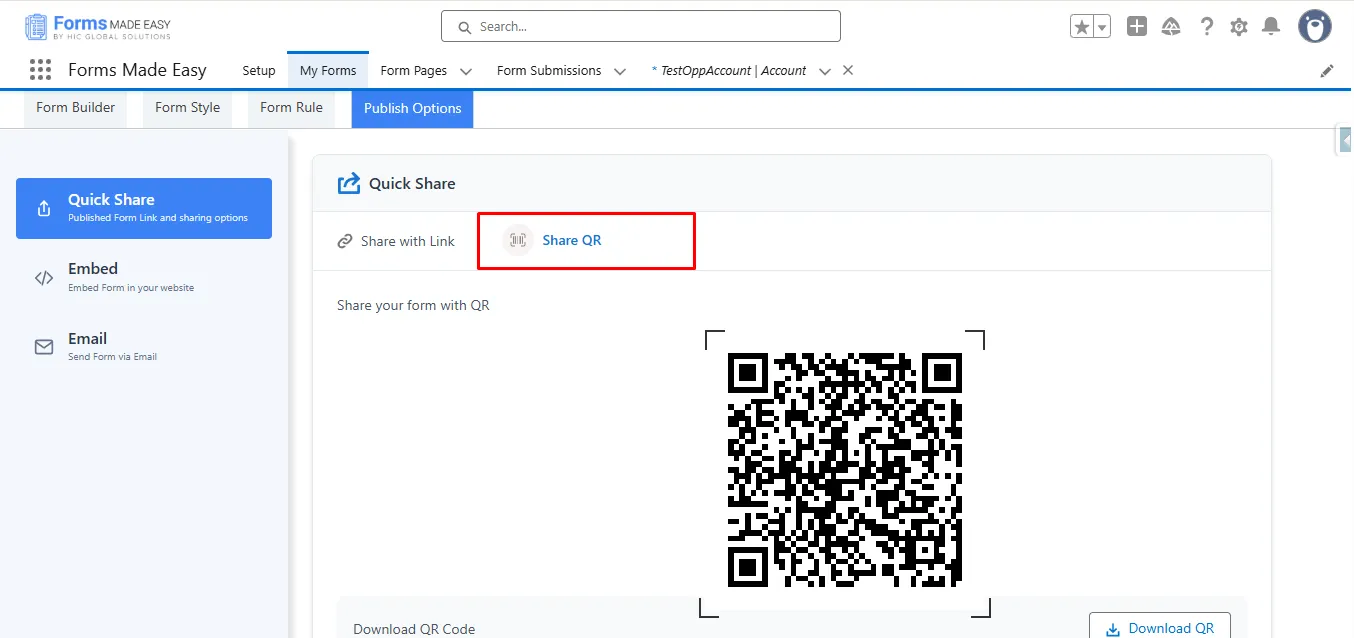
Step 21: Now, click on the Share QR tab to generate a prefilled QR code.
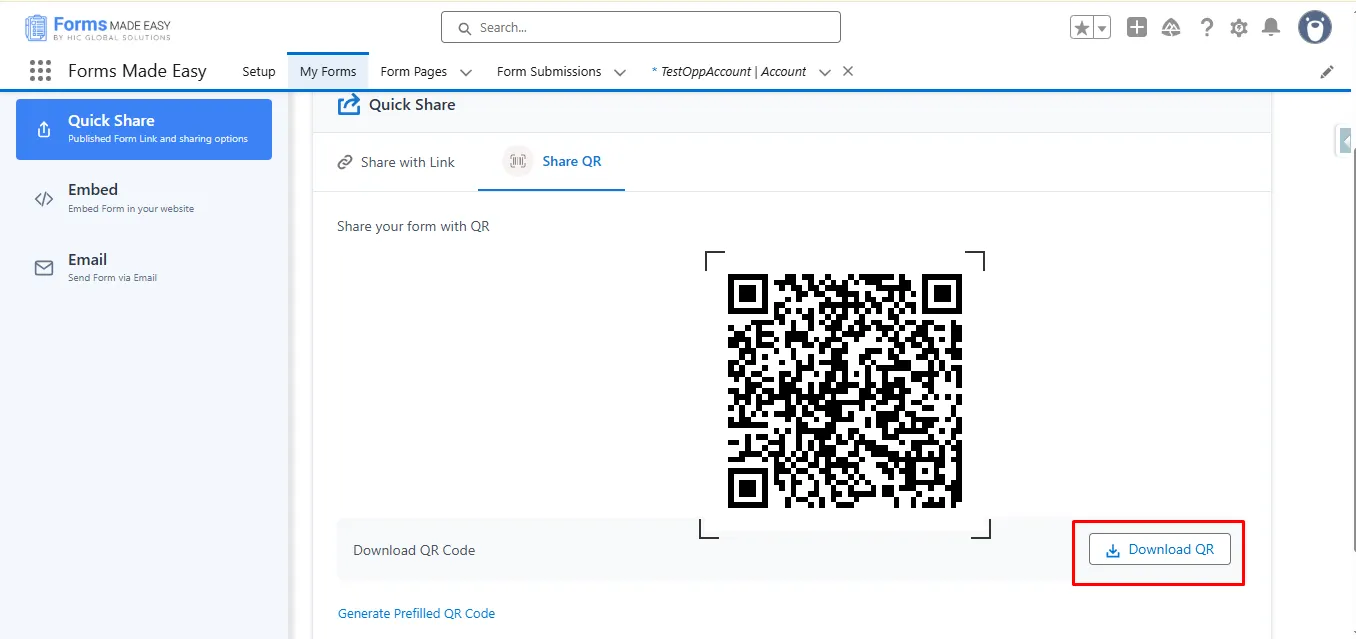
Step 22: Click on the Download QR button to download the QR code for the published form.
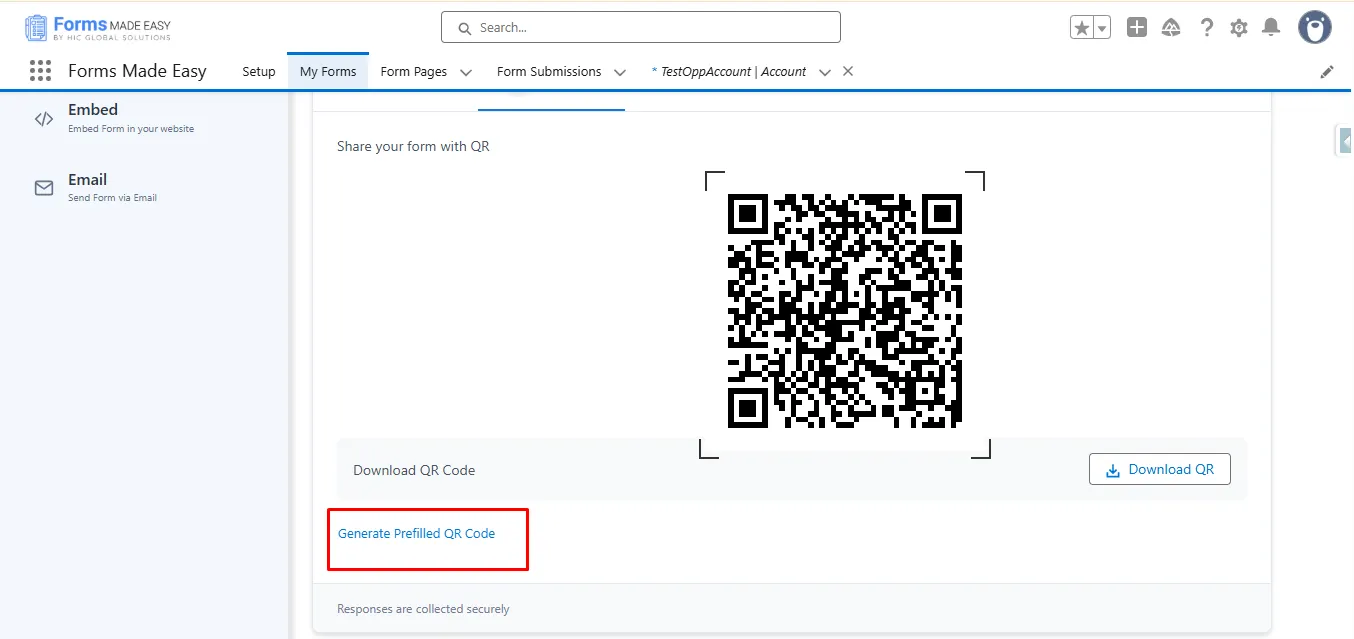
Step 23: Click on Generate Prefilled QR Code to create a QR code with prefilled data for the selected record.
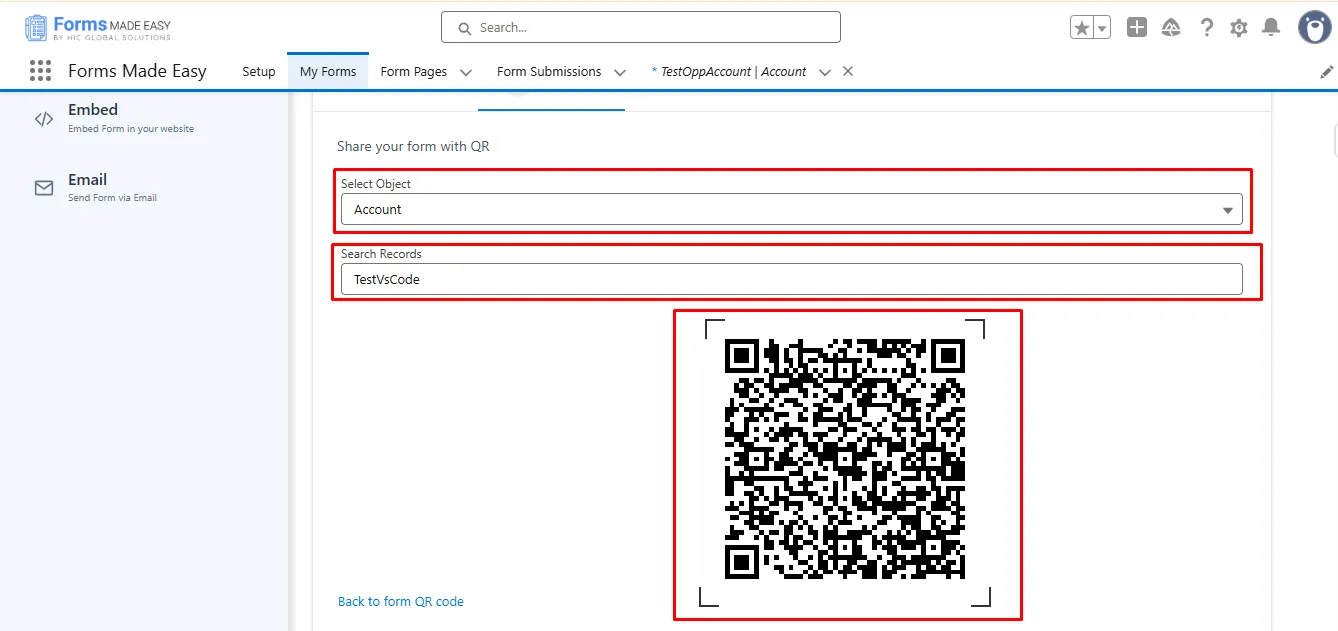
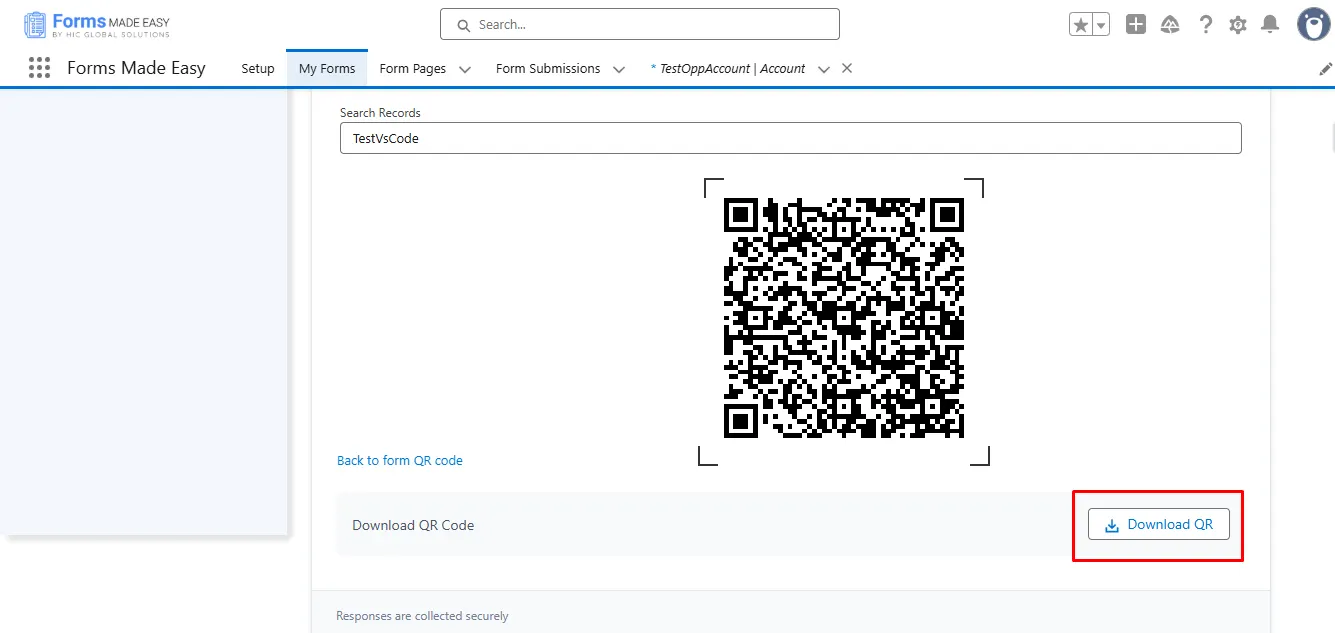
Step 24: Now, inside the Search Records section, you can search for records of the selected object by its name. Once a record is selected, a QR Code will be generated with prefilled data.
Note: In this case, we searched for records from the Account object. Make sure that the records exist in the selected object within Salesforce.
Step 25: Click on the Download QR button to download the QR Code containing the prefilled data.
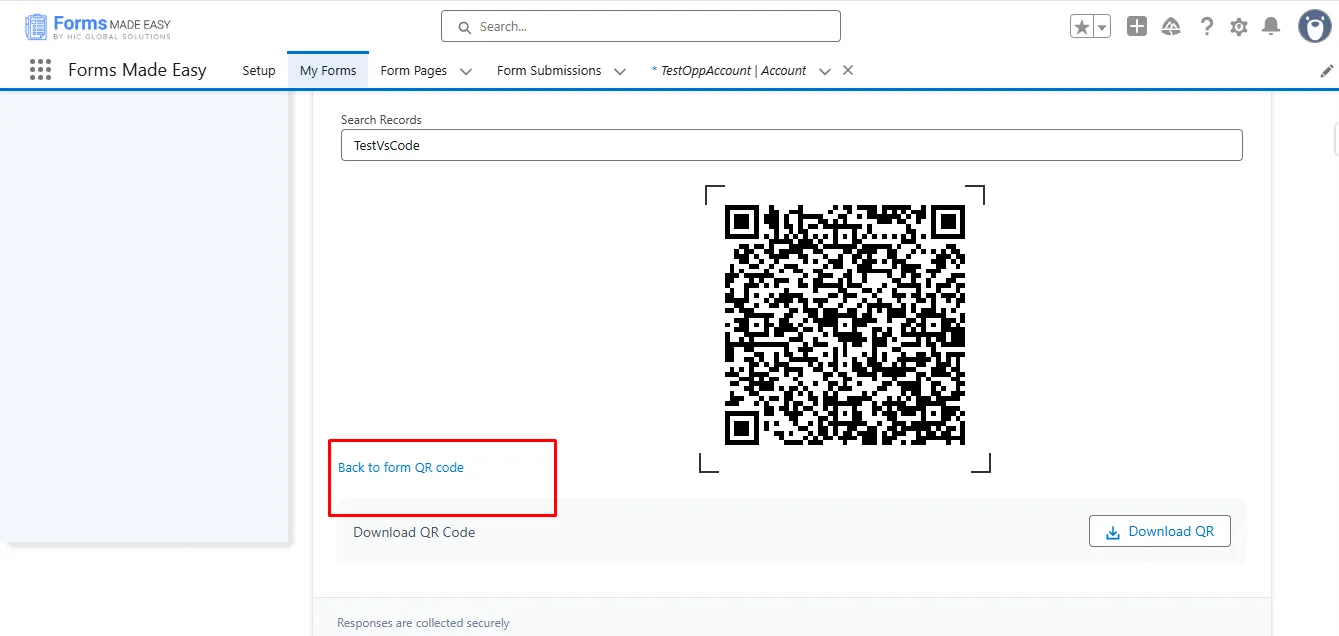
Step 26: Click on the Back to form QR Code to go to the form QR Code.
Conclusion
Sharing forms for any Salesforce record becomes streamlined with this approach, ensuring users receive accurate and prefilled information instantly. This method enhances clarity, reduces manual input, and saves valuable time for your team. With well-organized processes supported by powerful Salesforce form solutions, you can maintain consistent data quality while enjoying the simplicity offered by a reliable no-code form builder system.